
It’s the time of year to fill your table with lots of fall decor. With a little paper quilling magic, you can glue and coil the cutest paper napkin rings perfect for your Thanksgiving dinner — or any other festive occasion.
Acorn Napkin Rings
Level: Easy
What You Need
Tools and Notions
- Stacked quilling form (approximately 13 cm around)
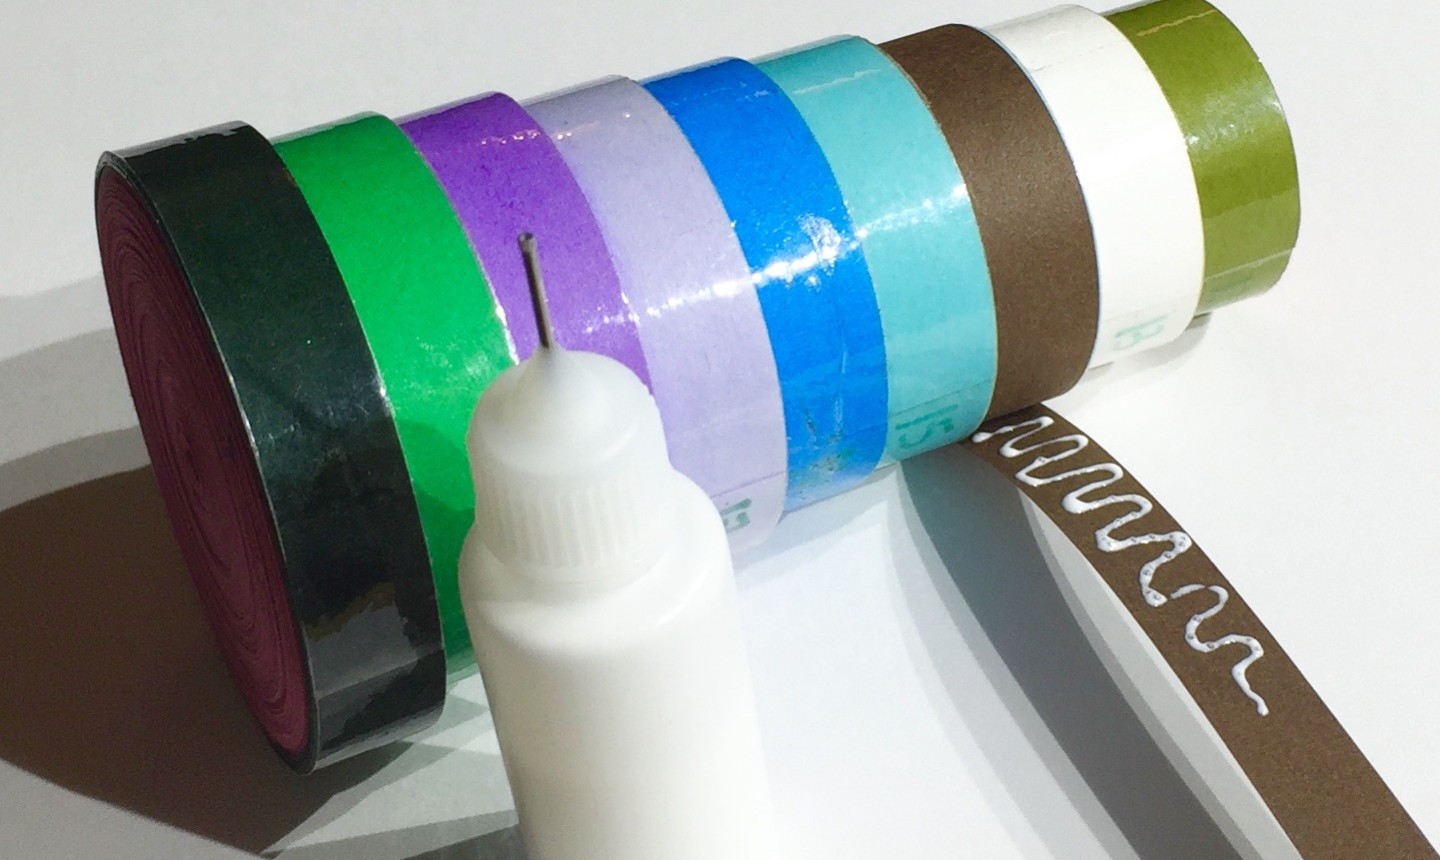
- Quilling glue in a needle-tip applicator bottle
- Slotted quilling tool
- Piercing tool
- Quilling needle form
- Scissors
- Quilling mold
- Thin twine
- Cotton swab or small paint brush
- Tweezers (optional)
- Wine cork (optional)
Quilling Paper
- ½” x 17″ strips in three shades of brown; four strips of each color per napkin ring
- Nine ⅛” x 17″ strips in rusty red or brown for the acorn top
- Eight ⅛” x 17″ strips in a harvest orange or brown
- 1 scrap piece of ¼” paper (or a ruler)
Instructions
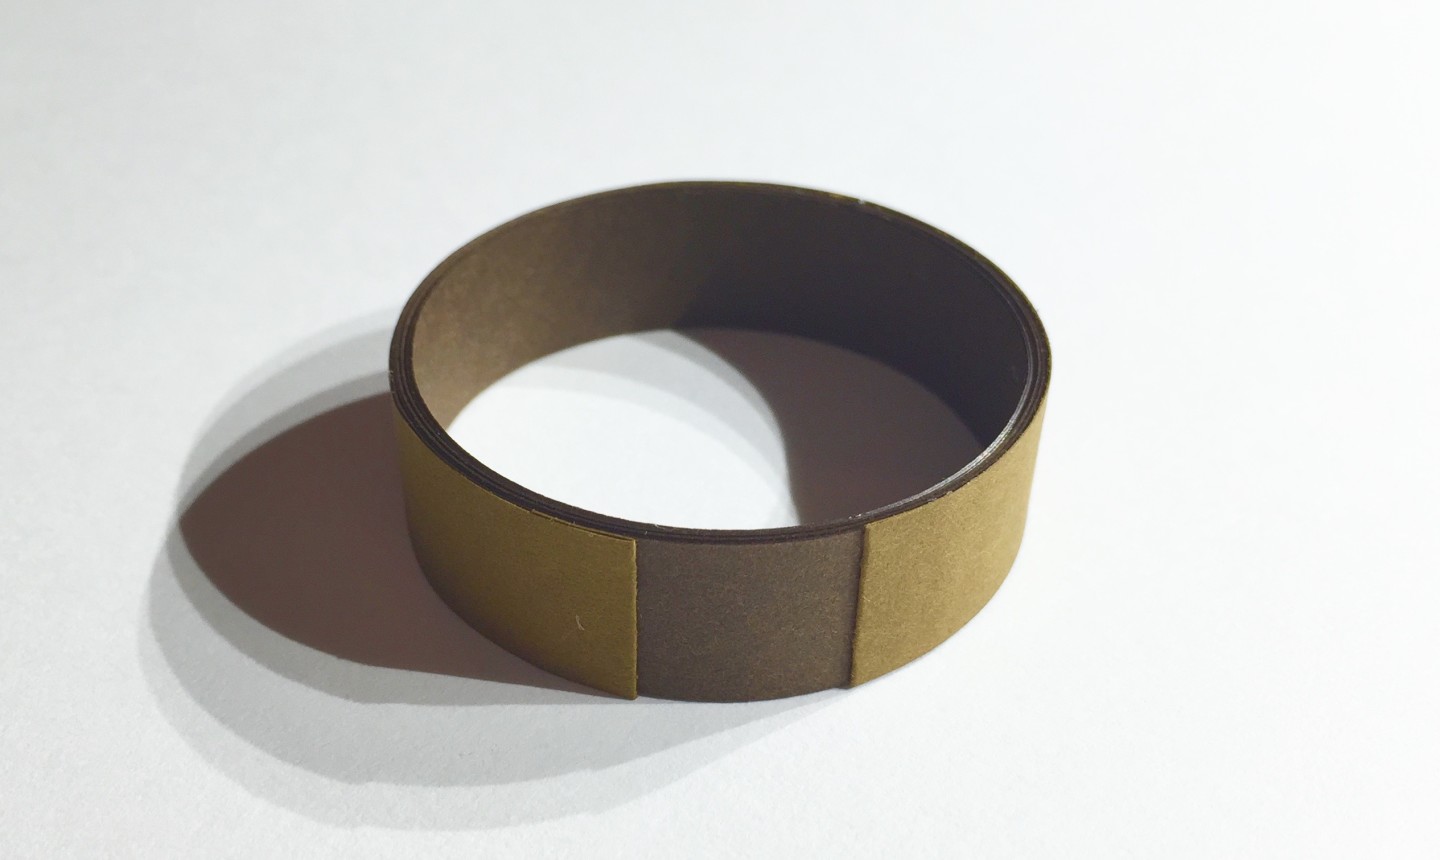
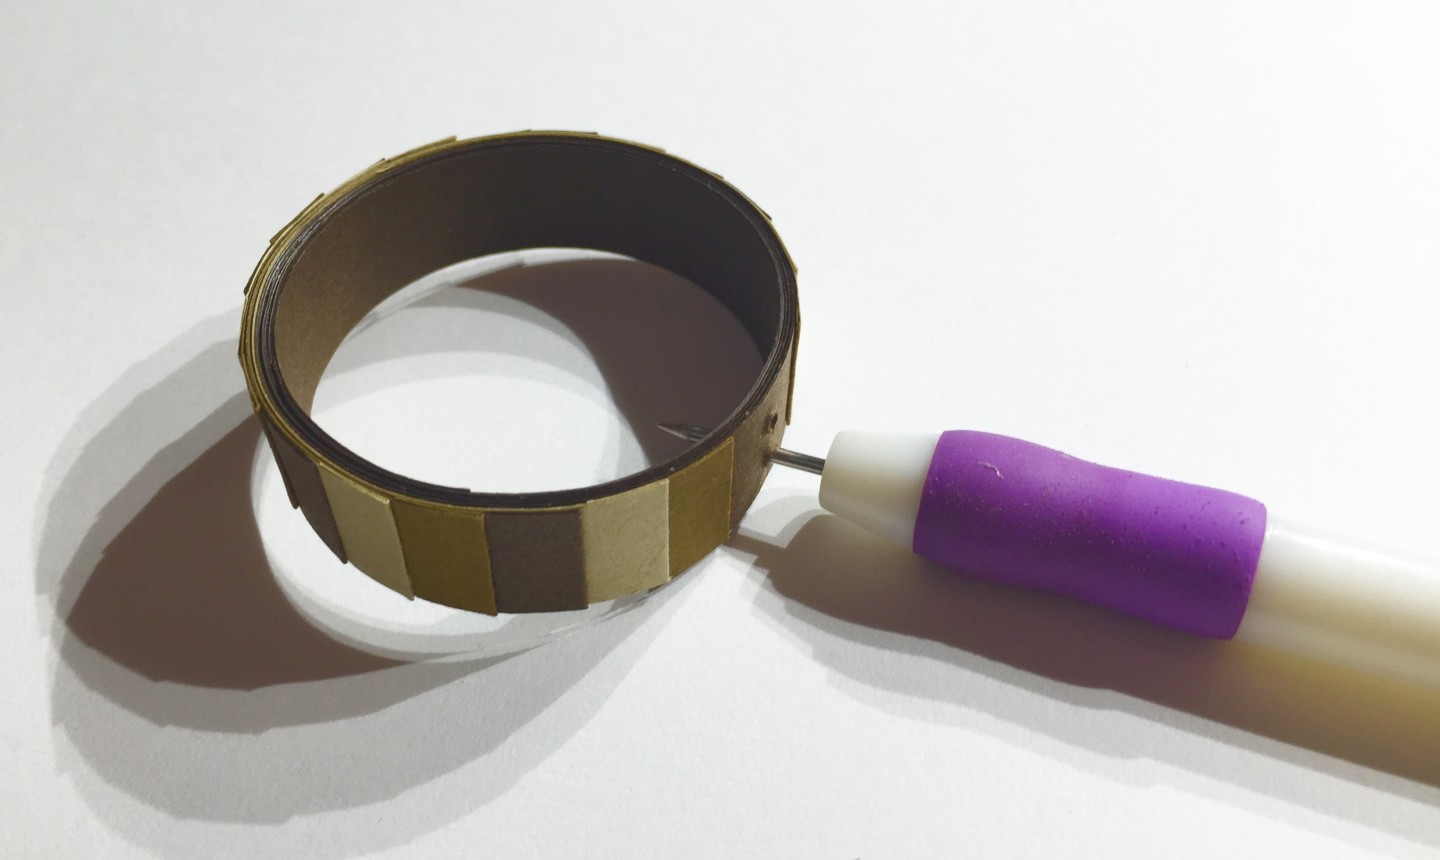
1. Shape the Base
Grab three of your ½” x 17″ strips, all in the same brown shade. This will be the base color for your napkin ring.
Wrap one of your strips around the stacked form and glue to secure. Use the needle-tip applicator to add a small amount of glue to the inside of your strip, then continue to roll. Make sure to only use enough glue to provide a good seal — you don’t want it spilling out the sides as you roll.
Roll and glue the other two strips in the same manner. Carefully remove the ring from the form.
Pro Tip: If you don’t have a stacked quilling form, you can use an empty toilet paper roll — just cover it in tape before you roll to make the removal process easier. Also, be careful to not squeeze the roll, or your finished ring will be misshapen.
2. Cut the First Ring
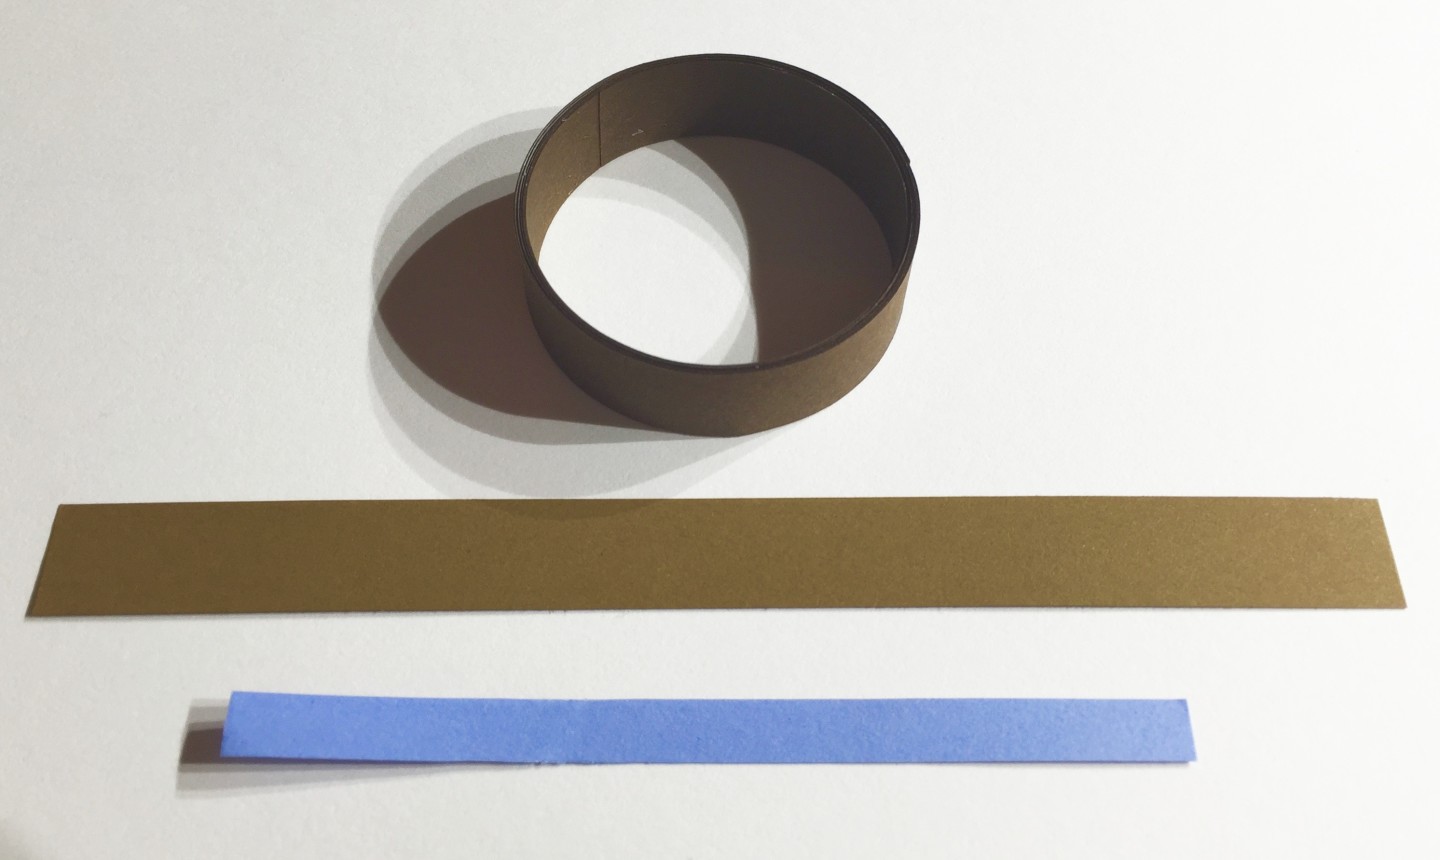
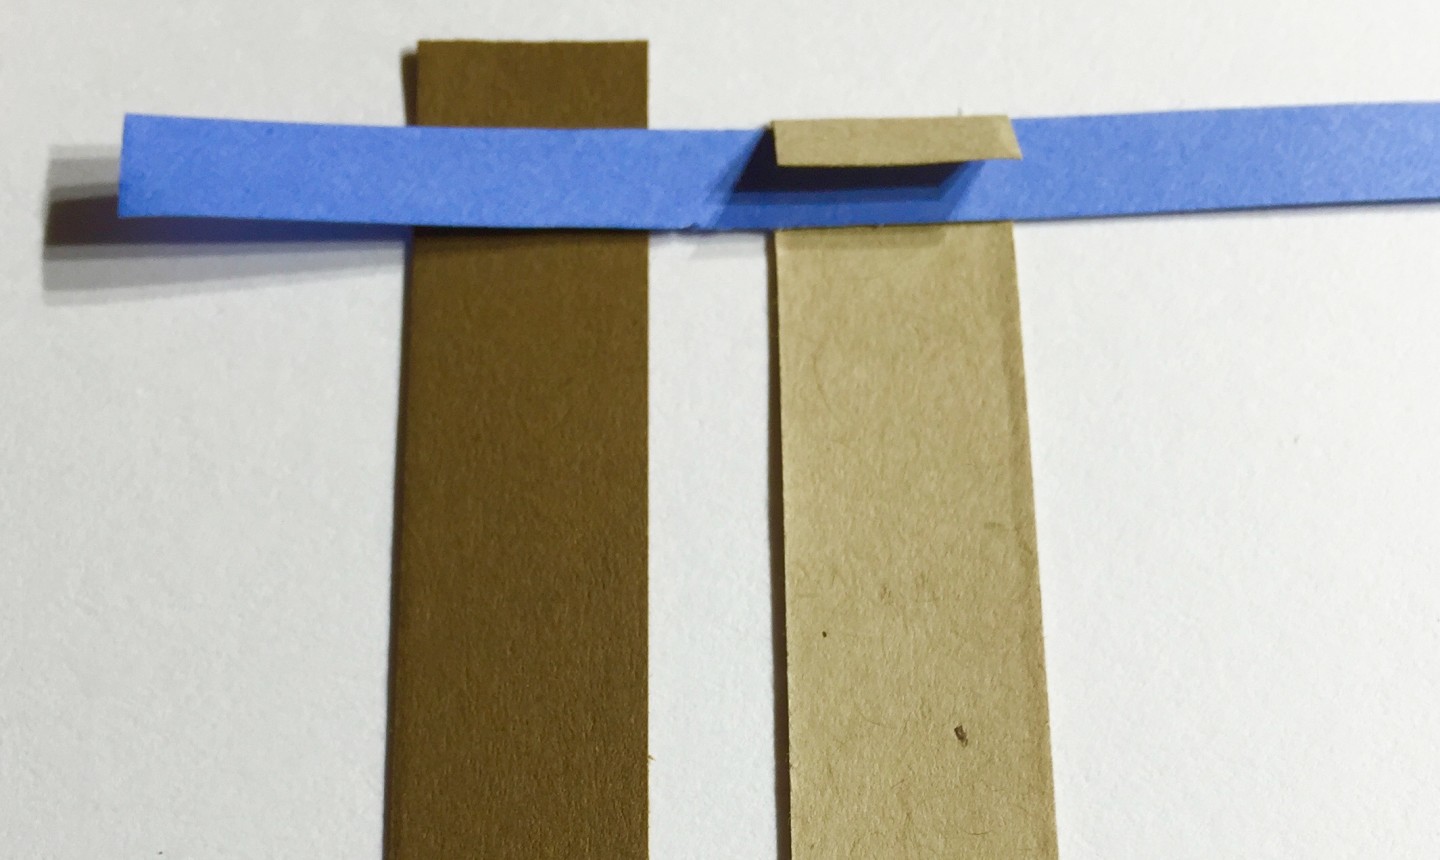
Grab one ½” x 17″ strip in each shade of brown, plus the scrap piece of ¼” paper.
Take the second shade of brown you wish to use and wrap it once around the ring you just made. (Do not glue it — this is for measuring purposes only!) Cut the strip so the two ends meet.

Place the ¼” paper on one end of your newly cut strip. Fold the strip over once to mark.
Pro Tip To make things simpler, you could also use a ruler to measure ¼” and fold.
Add a small amount of glue on the end and press down to seal. Press the crease well to make it as flat as possible. Repeat this process on the opposite end.
3. Cut More Rings
Placing one folded edge of your strip end-to-end with the third brown strip. Cut the third strip to match your folded one.
Fold the end of the third strip, using the ¼” scrap as a guide. Glue the ends as you did in step 2, then use this strip as your guide for the next ring.
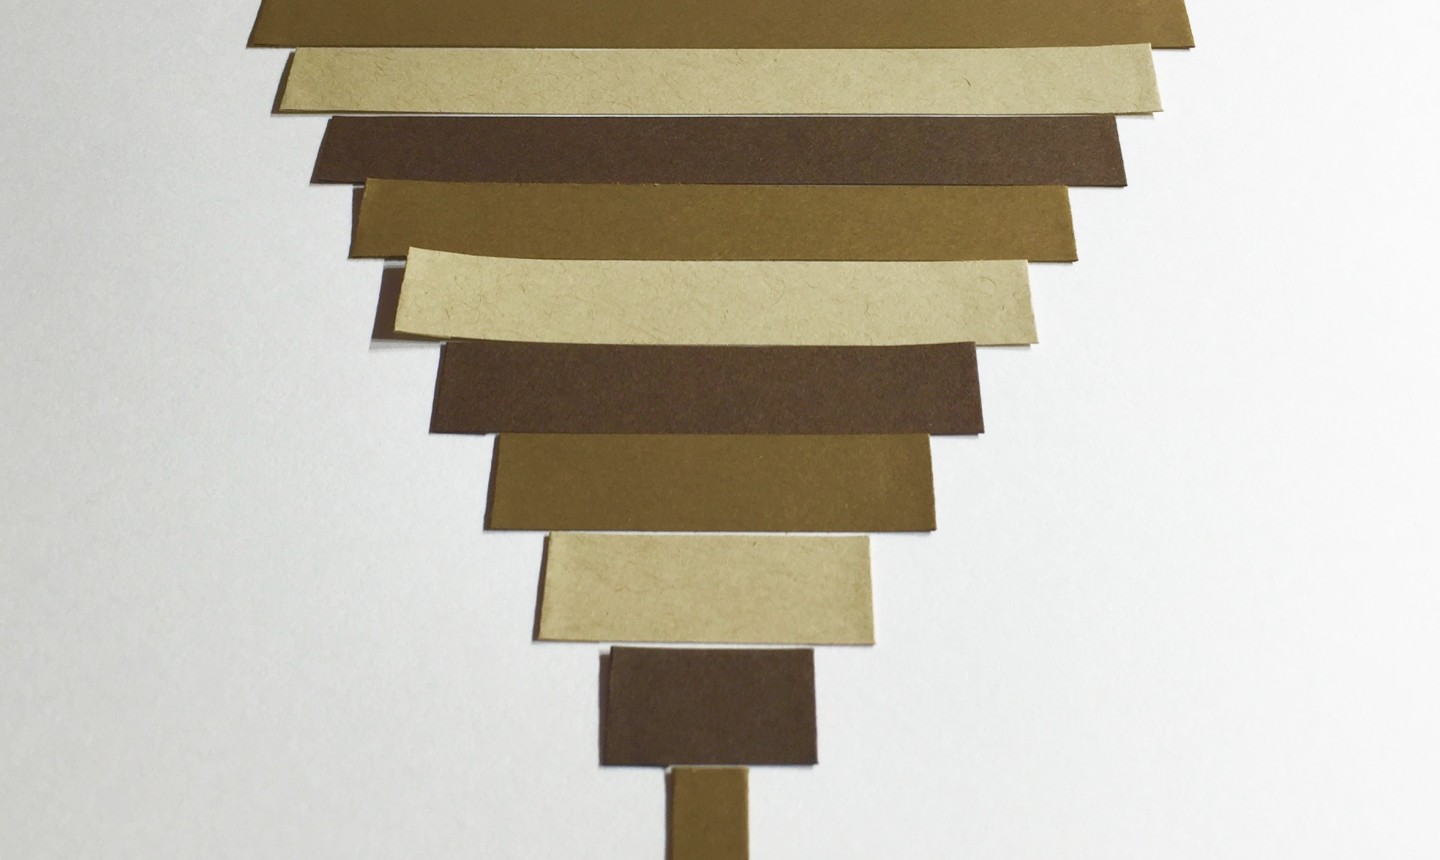
Keep working in this way, alternating the three shades of brown, until you have a strip that measures approximately ¼” wide once folded.
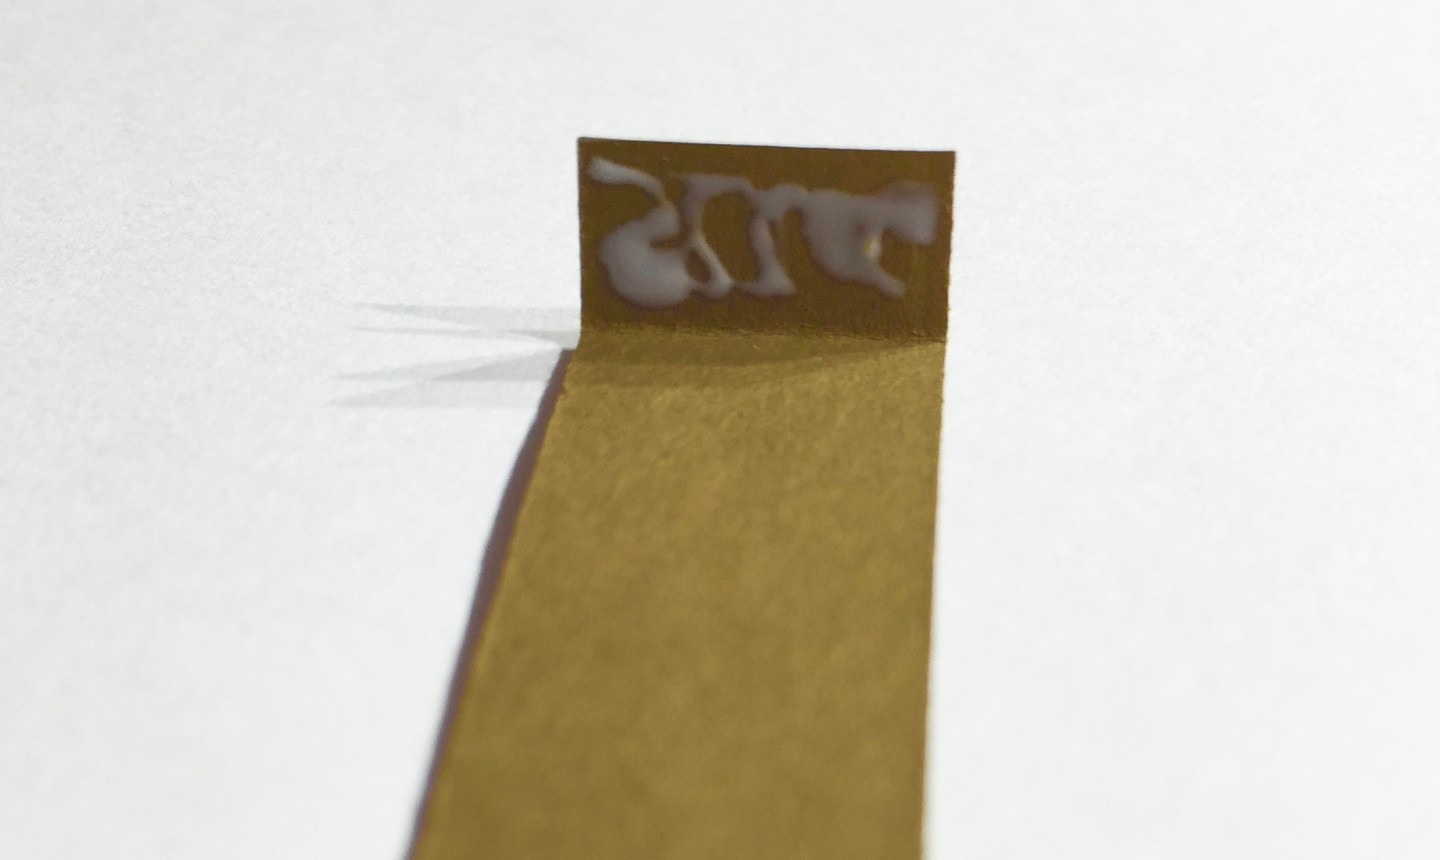
4. Glue the Strips

Beginning with the longest folded strip, apply a small amount of glue to the center on the side where the edges fold inwards. Place this strip over the seam of the ring base you made in step 1. Add glue along the inside of the folded piece on either side, then wrap around the base to secure.
Take the second longest strip and, without gluing, wrap it around the base to find equal placing. There should be approximately ¼” of the previous color showing on either side of the center.
Once your placing is arranged, use your needle tip to add glue onto the inside edge of one of the folded ends. Press to secure. Once the strip has bonded, glue the rest of the strip into place.
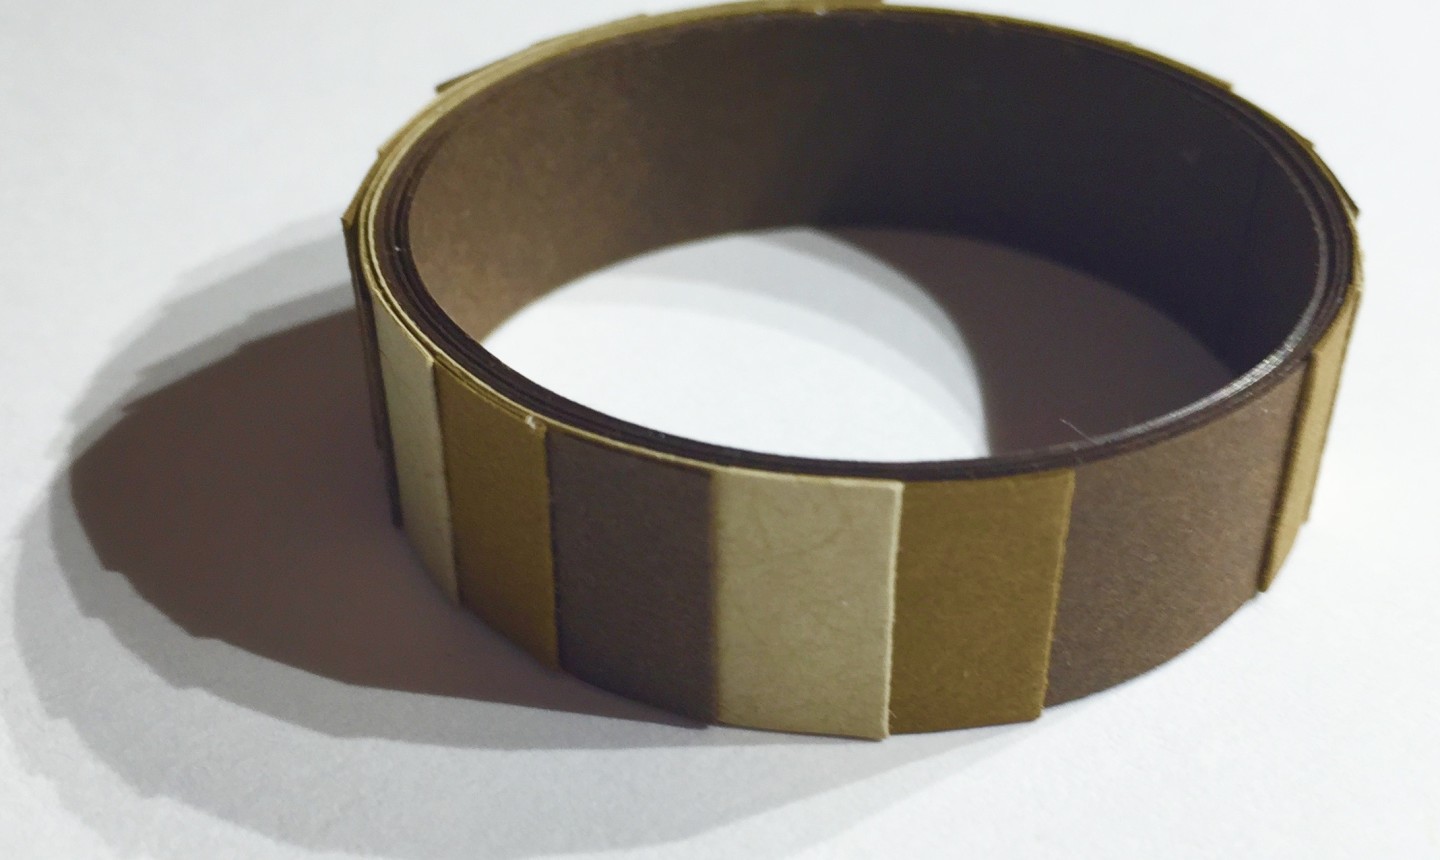
Continue this process until all of the strips have been glued in place.
The smallest rectangle will serve as the backside of the paper napkin ring. The acorns will dangle from the larger rectangle of the exposed base ring.
5. Attach the Twine
Use the piercing tool to poke two holes, one right above the other, in the center of the exposed ring base.
Pro Tip: Depending on how sharp your tool is, you may find it helpful to place a wine cork on the inner side of the ring to pierce into. Make the holes slowly so you don’t bend the paper ring.
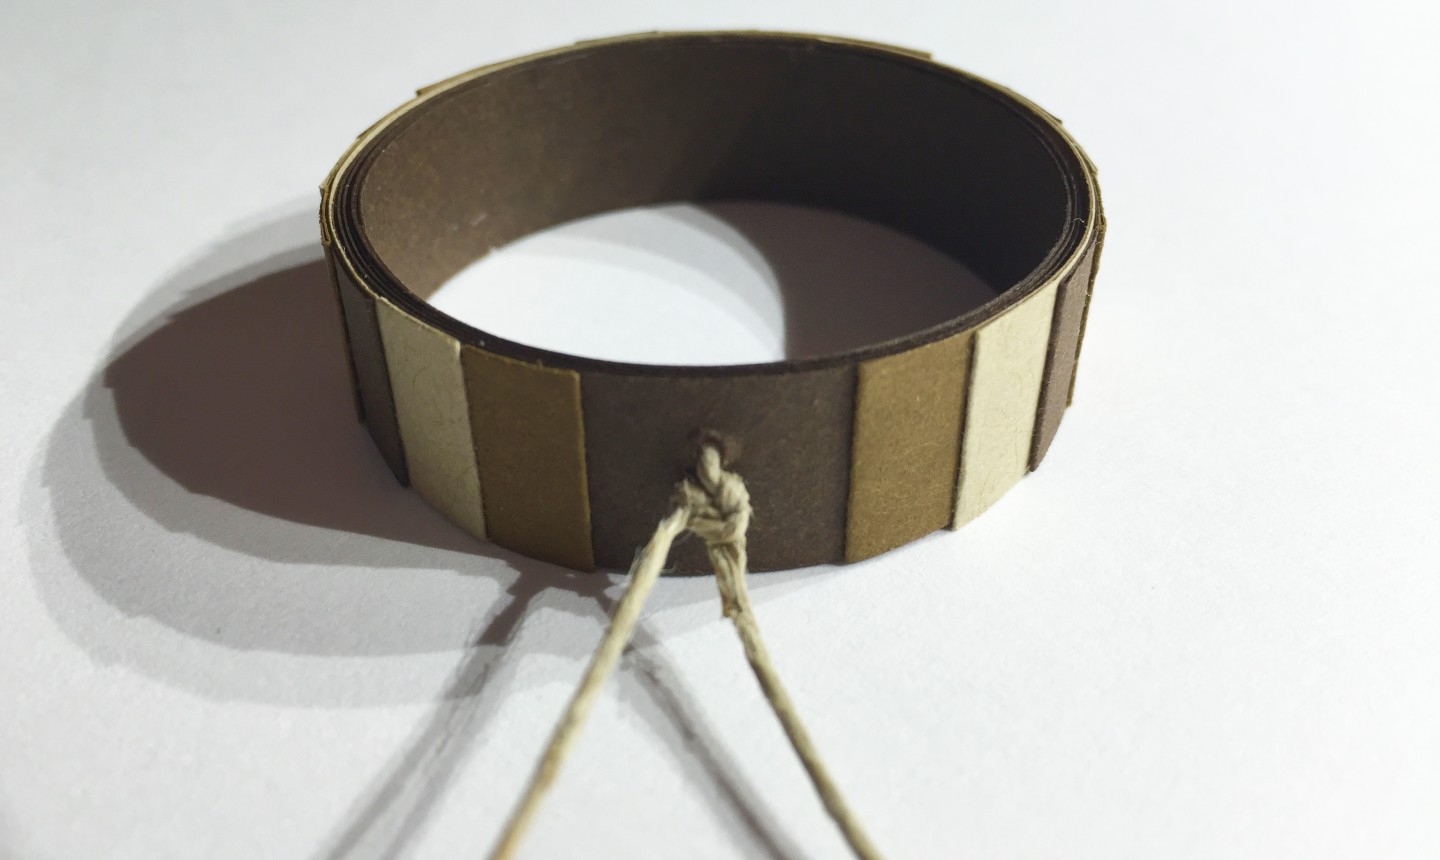
Cut a 6″ piece of thin twine and string it through the holes you made. Tie a center knot and set aside for later use.
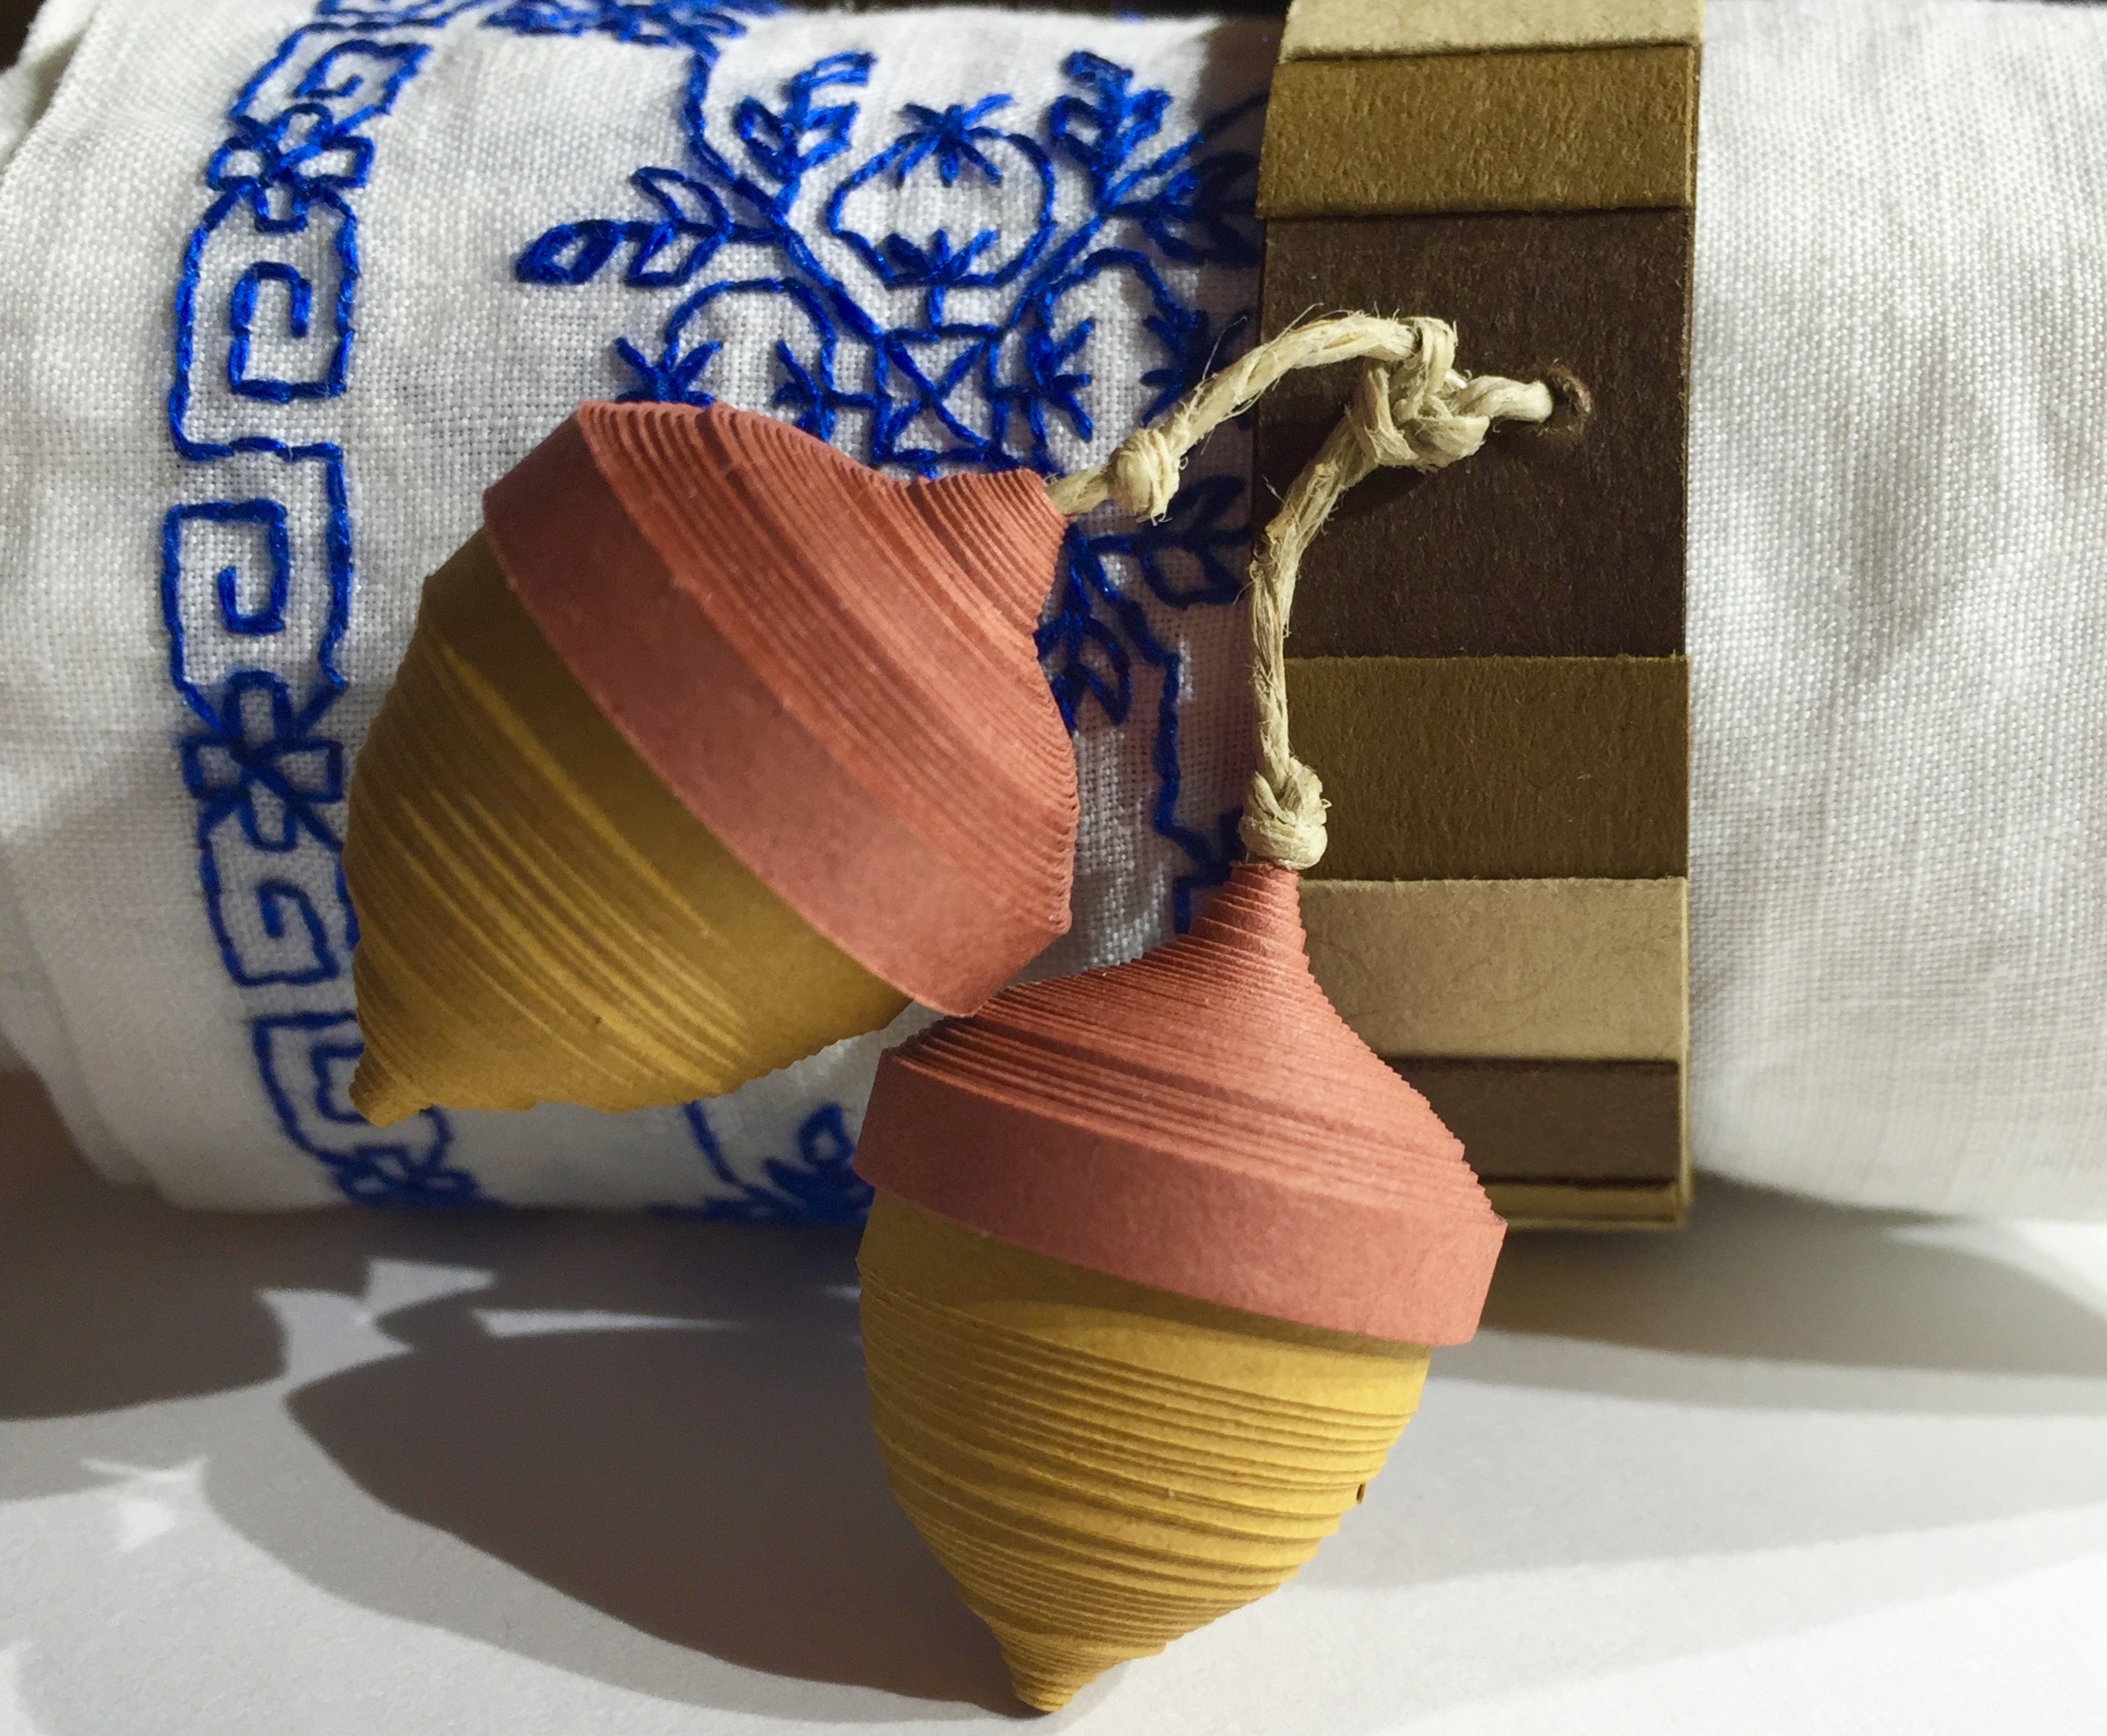
6. Make the Acorns
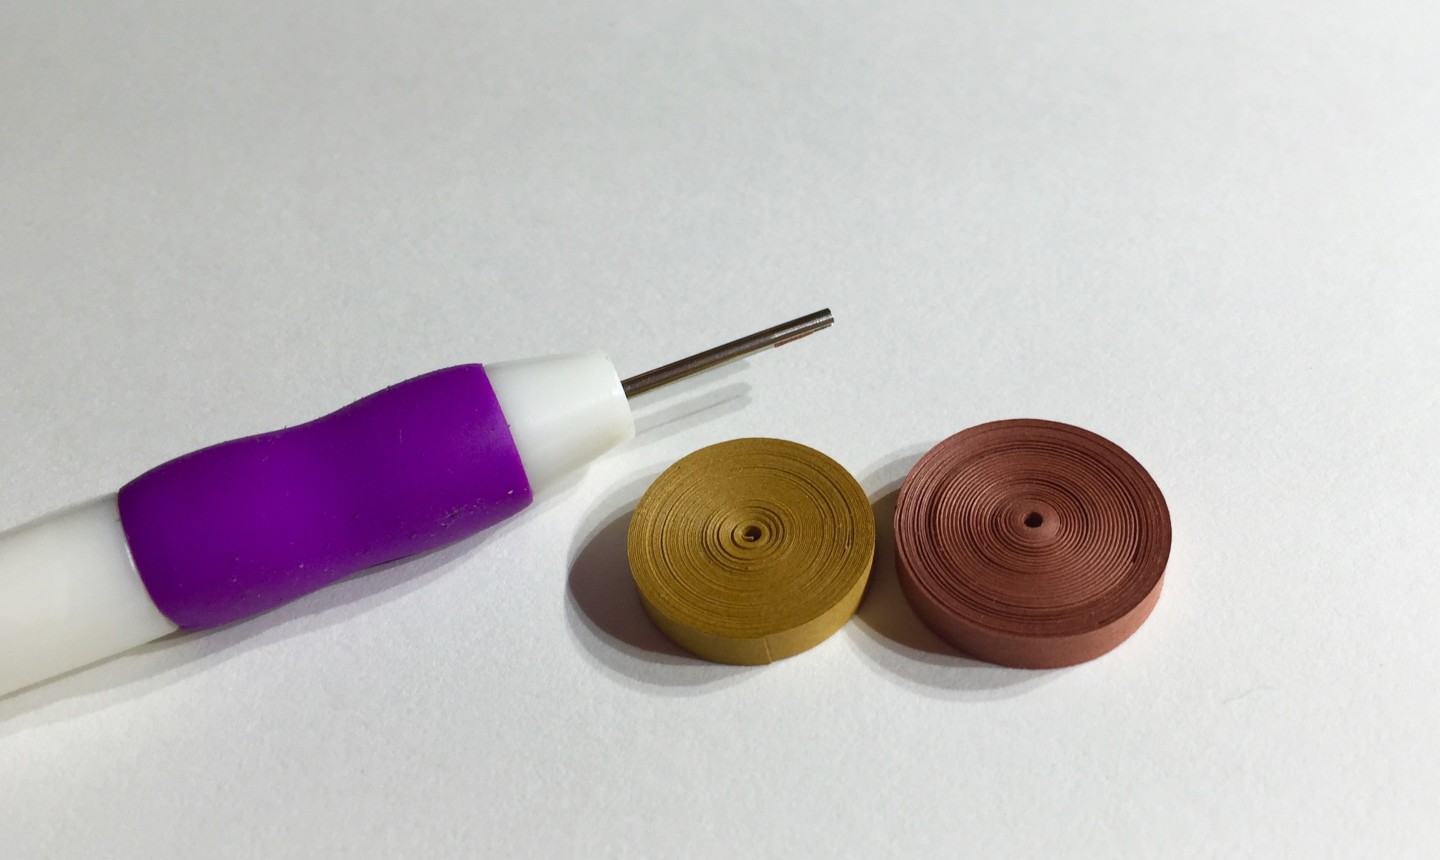
Each paper napkin ring will be decorated with two acorns. Each acorn is made in two parts: the top will be made with four and a half strips of paper, and the bottom will be made with four strips. Shape your coils with the necessary amount of ⅛” x 17″ strips of paper.
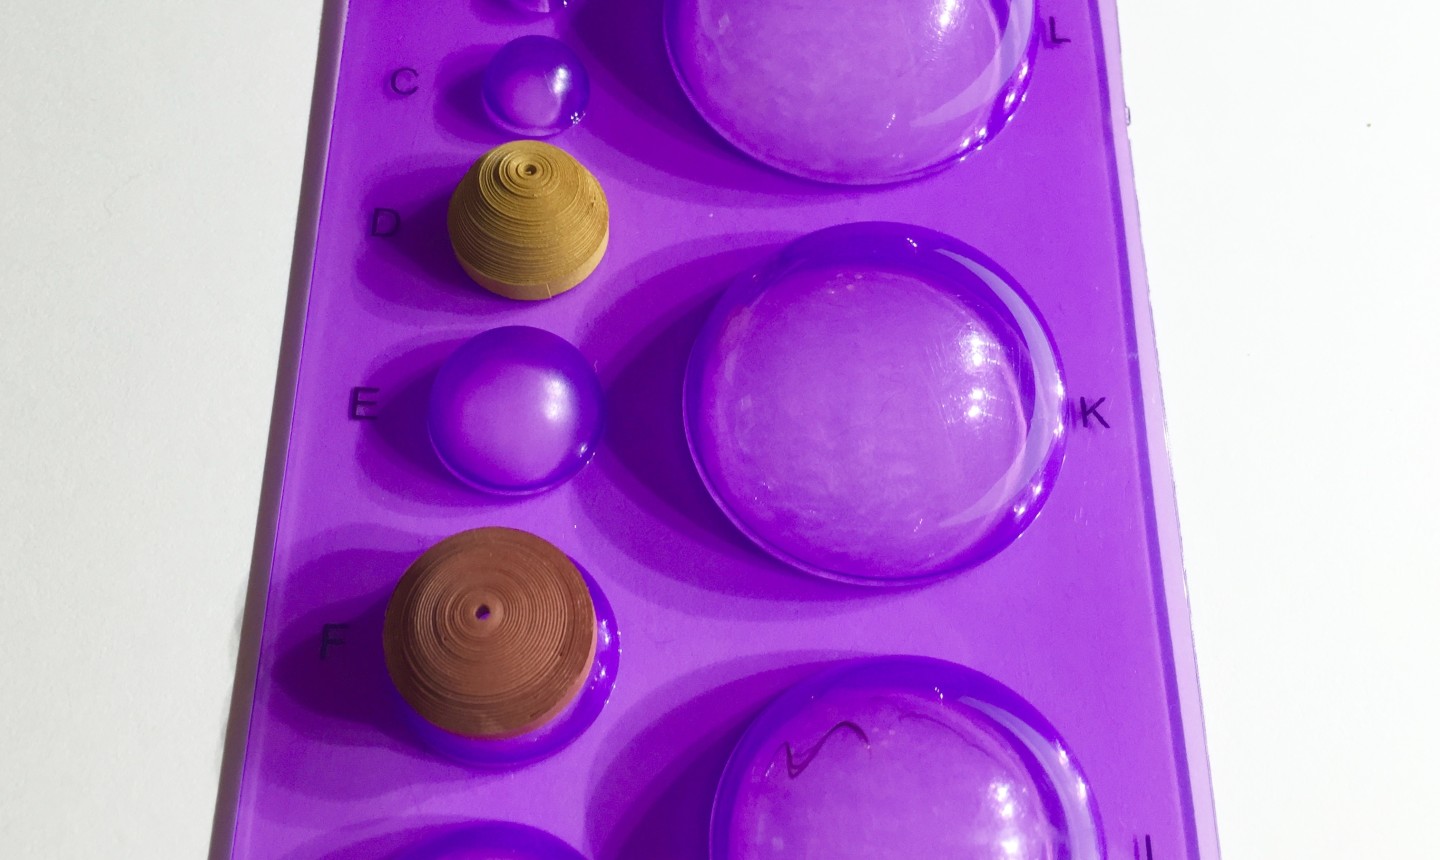
After making your coils, shape them using the quilling mold. Place the bottom half on a larger mound where it can extend completely down and over the dome. (The top only needs a little shaping, so the larger ones work better.)
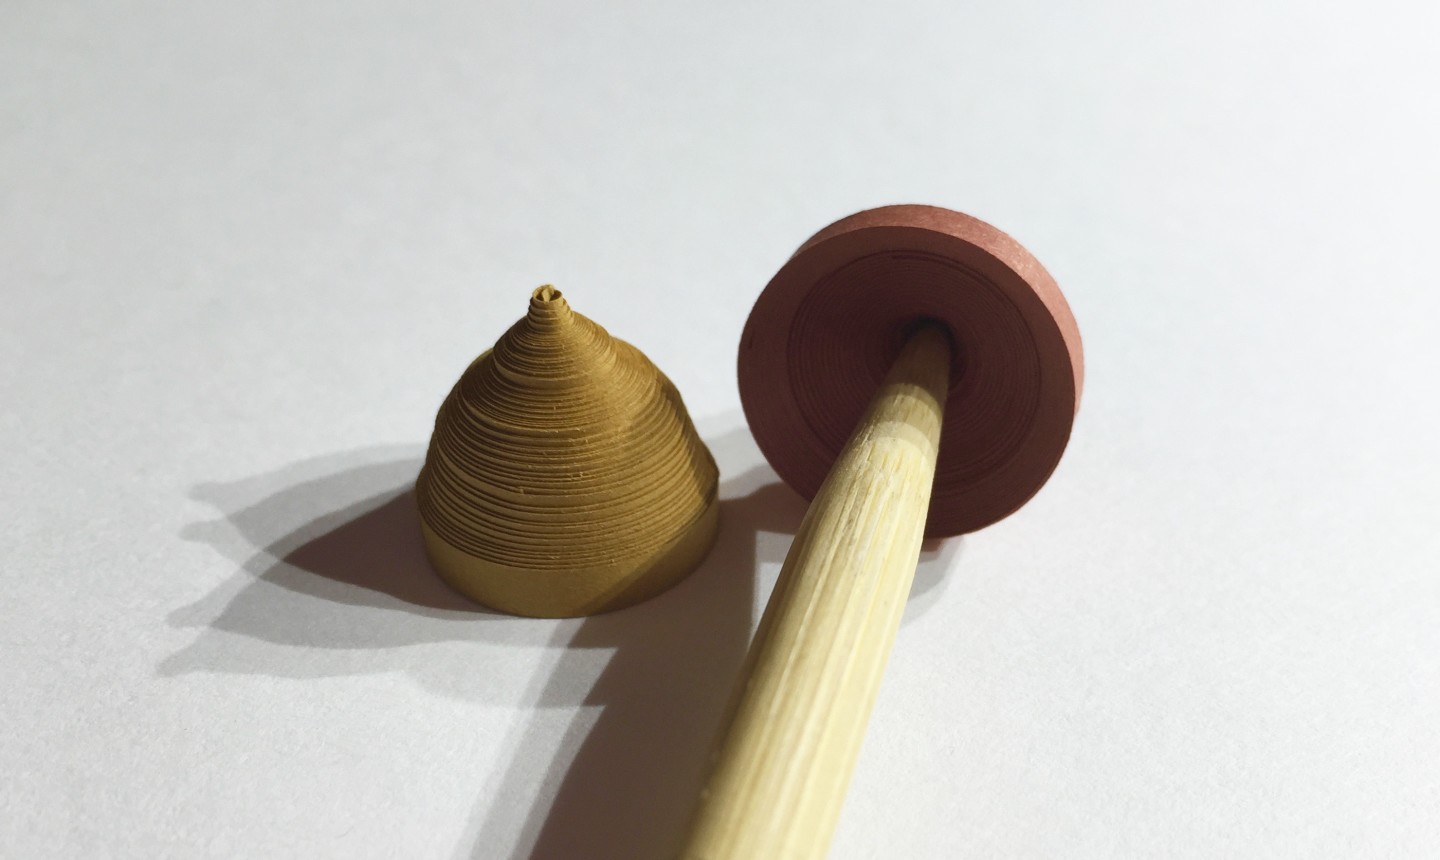
Pro Tip: You can also use the tip of a pen or pencil to shape.
Once you’re happy with each dome, add a copious amount of glue onto the inside surface and use a cotton swab or small paint brush to cover. Let it dry completely before moving on to the next step.
7. Attach the Acorns
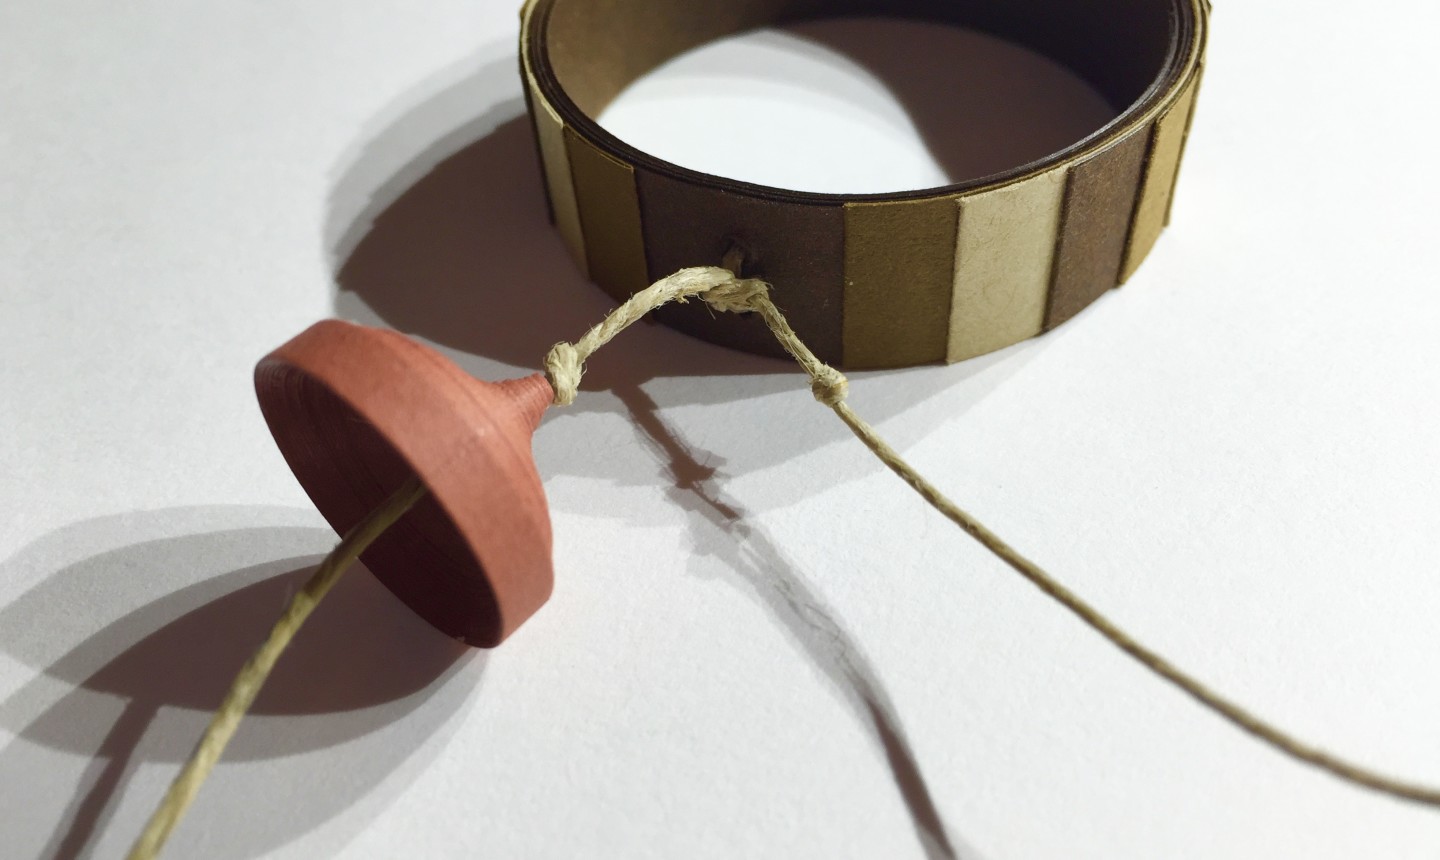
Tie a small knot in the twine where you want the acorn to go. This will stop it from sliding up and out of place.
Slide the acorn top onto the twine. Once in place, tie a second knot in the twine on the inside of the acorn top.
Pro Tip: You may need to use tweezers to help create a secure and snug knot.
Trim away any excess twine.
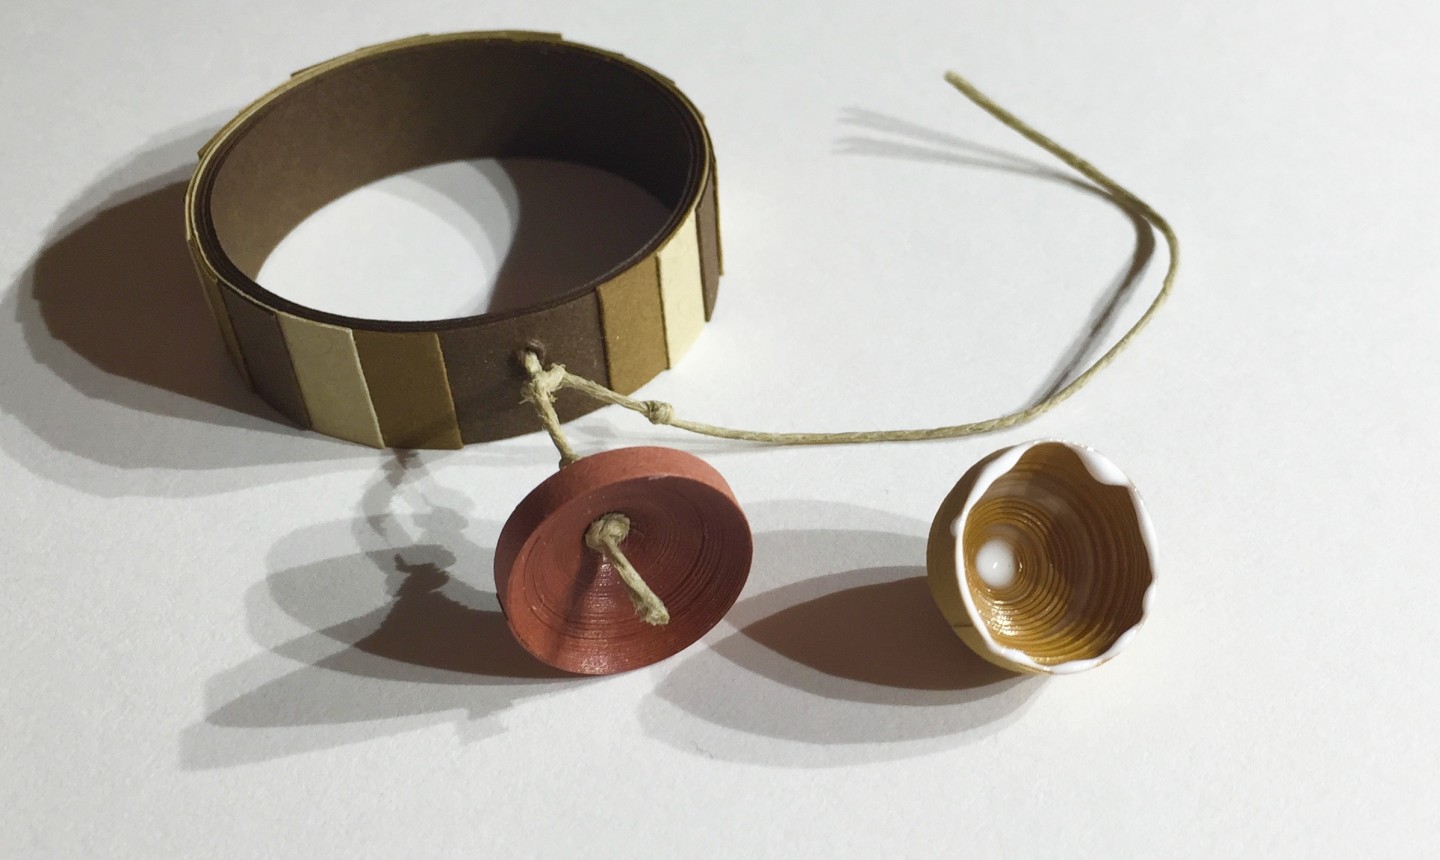
Add a thin strip of glue around the rim of the bottom acorn piece, then carefully place into the upper half.
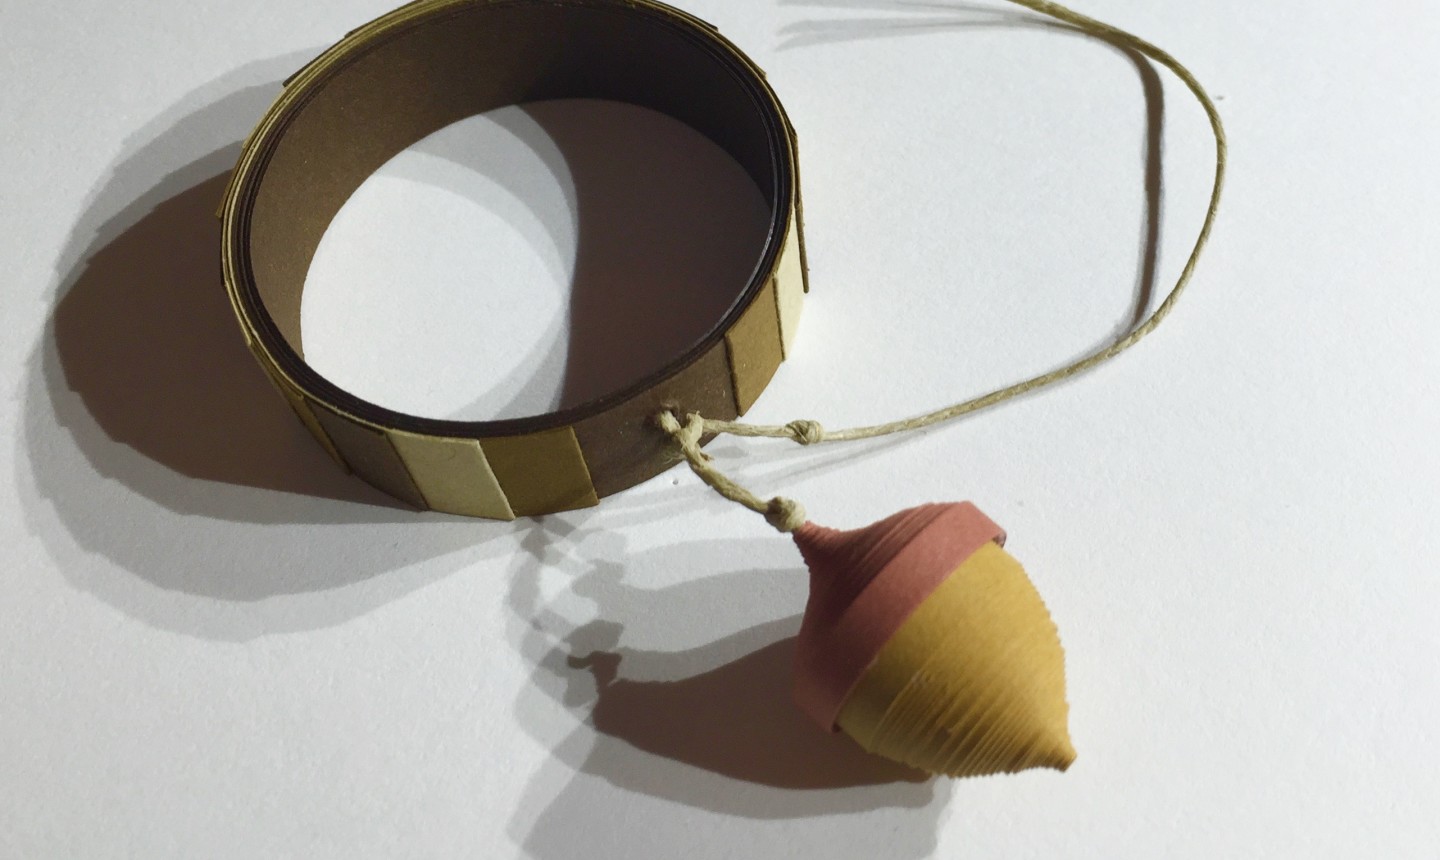
Attach the second acorn in the same manner, and let both dry completely.
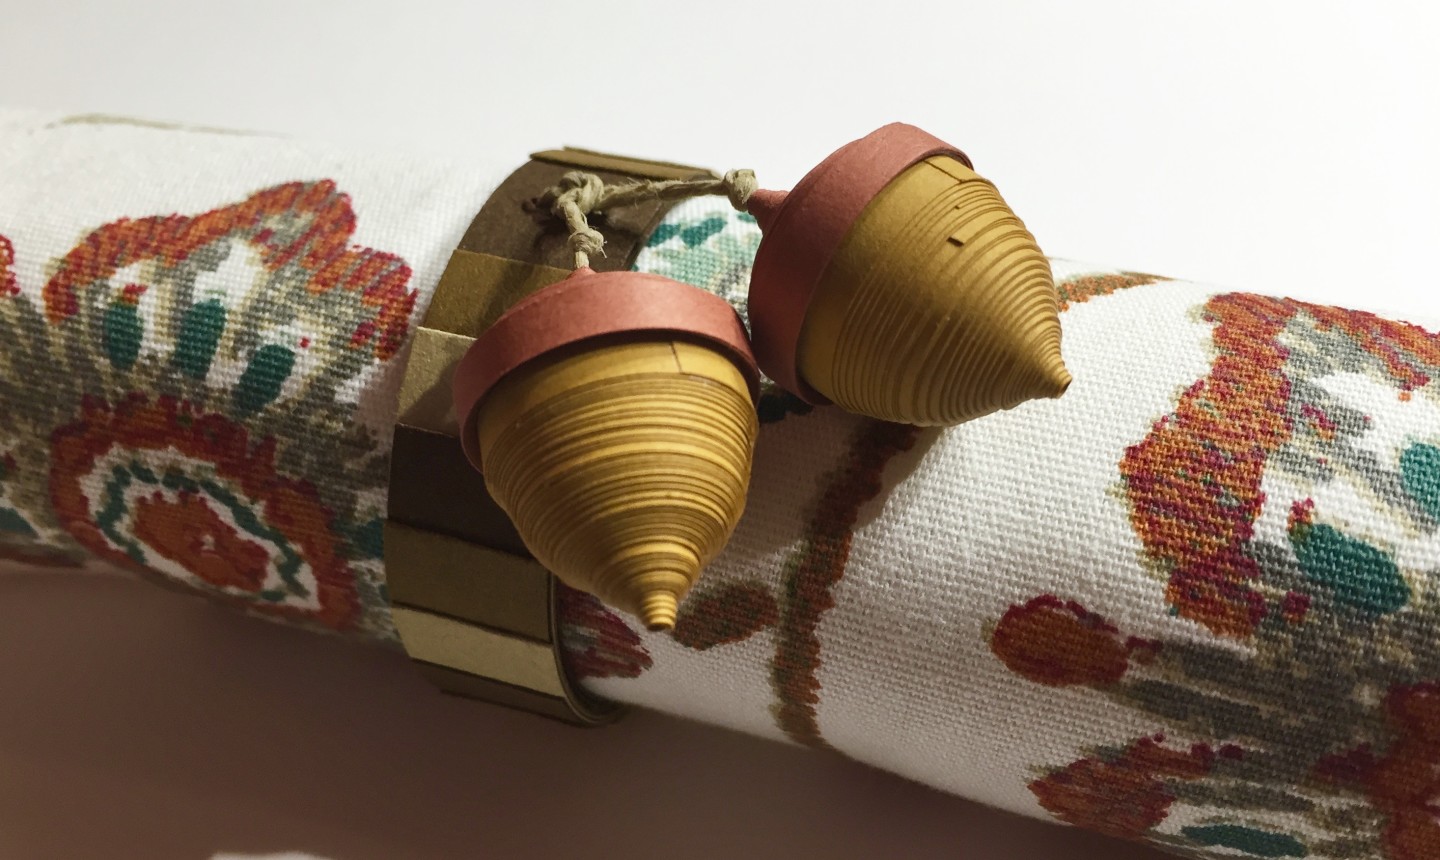
Roll up a few more acorns and you’ll have the perfect little festive touch to add to your dinner table this year.
I really enjoyed the project and I am grateful for the idea to dress up my Thanksgiving table. Thanks for the idea. Patricia
Awsome.
cute!
So cute. Thank you for providing this idea.