
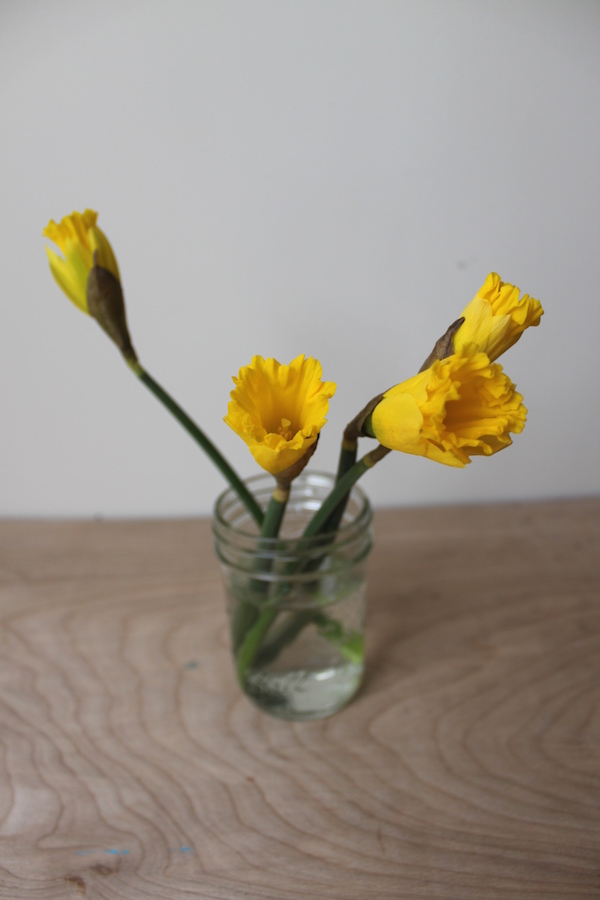
Spring is (mostly) here, and that means that colorful flowers will be back in bloom. They’re a welcome sight to gray days, and they’re great to draw, too.
Learn how to create pencil drawings of flowers using simple shapes!
In terms of tools, there’s a lot of flexibility in this project. I used three pencils of varying graphites. One was a “H,” meaning the lead was hard and not as dark. Another was a 3B pencil, which is soft and produced richer, dark lines. And finally, I sketched with a HB mechanical pencil, because I feel the most comfortable using that.
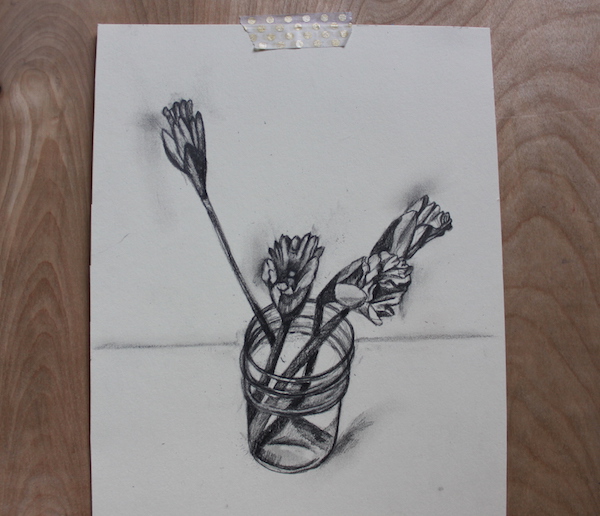
I decided to draw on an off-white, cream colored paper. But, feel free to use whatever tone you like.
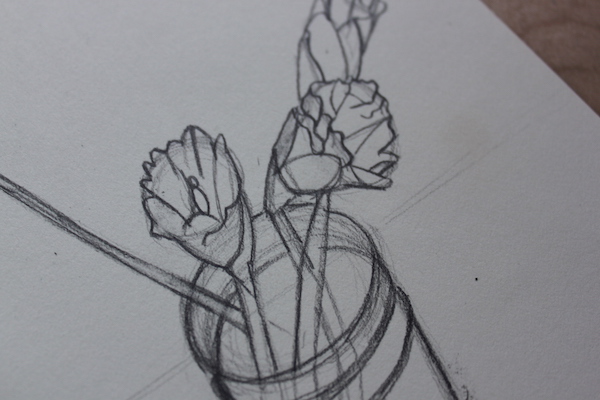
1. Simplify the shapes.
Considering how many intricate details there are in a single flower, it can get overwhelming trying to draw it all. So, before you get totally overwhelmed, let’s step back and break everything down into simple shapes.
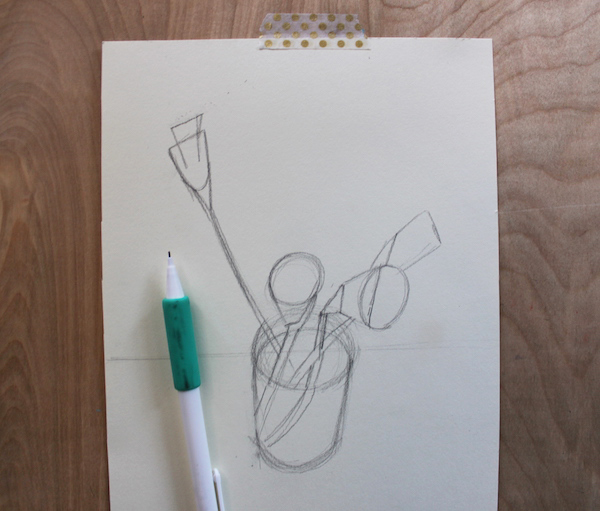
If something looks like a circle shape, draw a circle on your paper. On some of my flowers, there was a wide opening (a circle shape) that funneled into the stem (a triangle shape). Do this for everything you see, sans shading. We’ll refine the drawing soon.
At this stage, it’s important to get the placement down. If you don’t like how something looks, change it now. I fiddled around — erasing and redrawing — a lot before settling on these simplified shapes. Getting it right in the beginning will make the following steps easier!
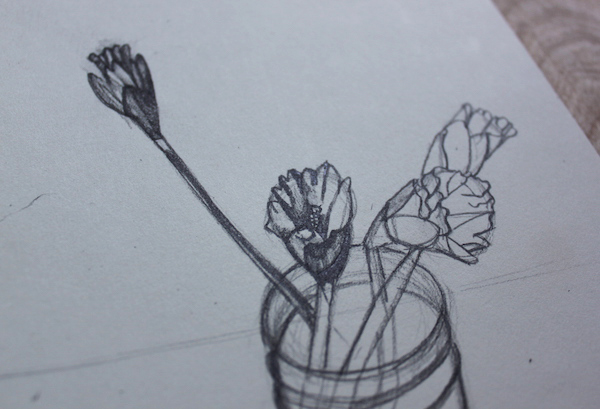
2. Begin to draw in the details.
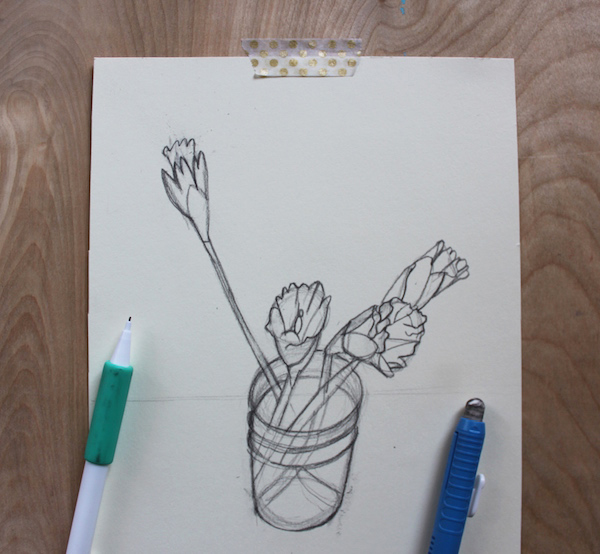
Now that you’ve got a basic blueprint of where everything will go, it’s time to draw in more of the details. You don’t have to get too specific at this stage — go for the larger petals and curves, and refine the general shapes you just drew. This could mean narrowing, erasing and changing your initial sketch to accurately reflect what you are seeing.
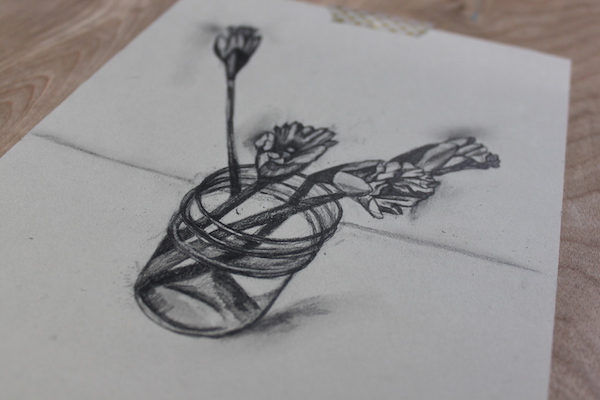
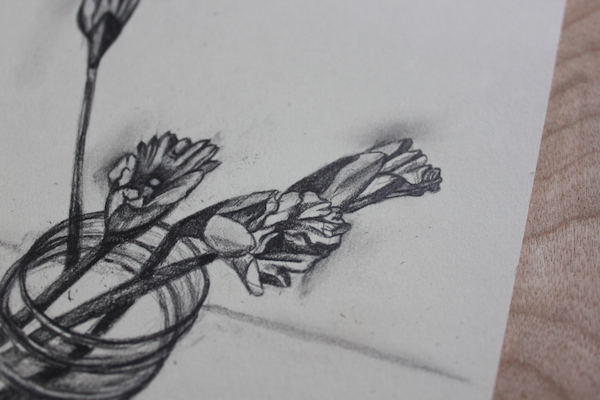
3. Shade, define, and clean up your drawing.
When you’re satisfied with how your drawing looks, head on to the final stage — shading! I like to shade flower by flower, petal by petal. And, here’s where my other two pencils came in handy. I used the H graphite for the lighter areas of the drawing and the 3B pencil for the darker. Sometimes, I will blend the two by smearing them with my finger.
In this drawing, you’re welcome to use a drawing technique you’re most comfortable with. I like to use a combination of blending with my finger and a back-and-forth stroke, but I sometimes used my mechanical pencils for tiny outlines.
The key here is to not rush. Make sure that your shading looks natural and not patchy. Even if each flower has different petals that are stacked together, it should still look like one whole bloom. If not, assess why that is. Do the dark areas not flow into the lighter areas? Are there too many outlines that are making your drawing look flat?
You’ll notice in my drawing that in some areas, the petals were highlighted. Instead of outlining in my drawing, I instead added a little blended shading outside of the flower. This framed the petal and made it look lighter without accidentally stylizing the work.
Share tips, start a discussion or ask one of our experts or other students a question.
No Responses to “Use Simple Shapes to Create Realistic Pencil Drawings of Flowers”