
Precisely applied elastic adds a professional touch to handmade lingerie, but sewing elastic is a skill not often taught in the average sewing class. Although it can seem intimidating, with some basic knowledge and a bit of practice, you can perfectly apply two common types of elastic: picot and band elastic.
Photos via Ohhh Lulu
What is picot elastic and where do you use it?

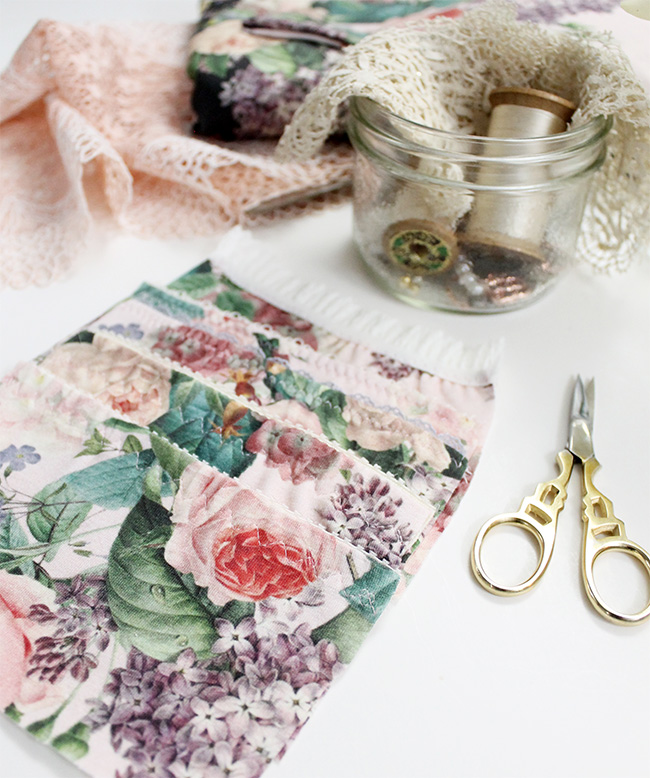
Picot elastic, sometimes simply called “lingerie elastic,” is an elastic with a single looped or decorative edge. Generally, these are narrow elastics are under ½” in width.
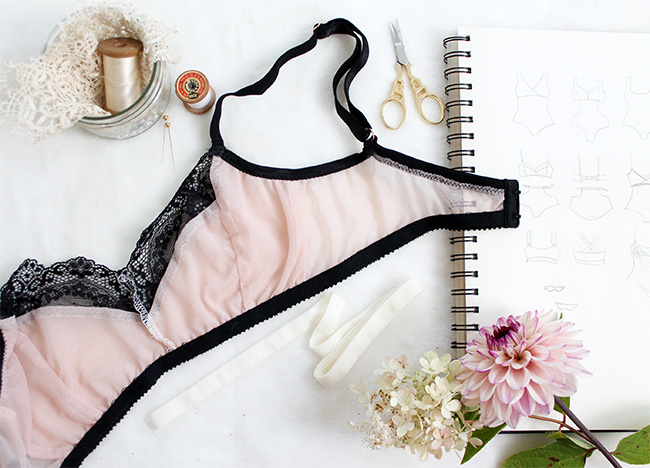
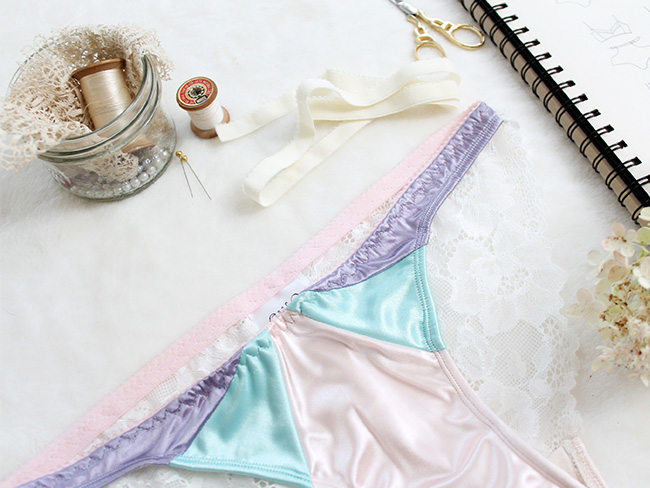
This type of elastic is perfect for edging legs of panties or necklines of bras. In most cases, when they are sewn into a garment, only the decorative edge remains visible from the outside.

What is band elastic?
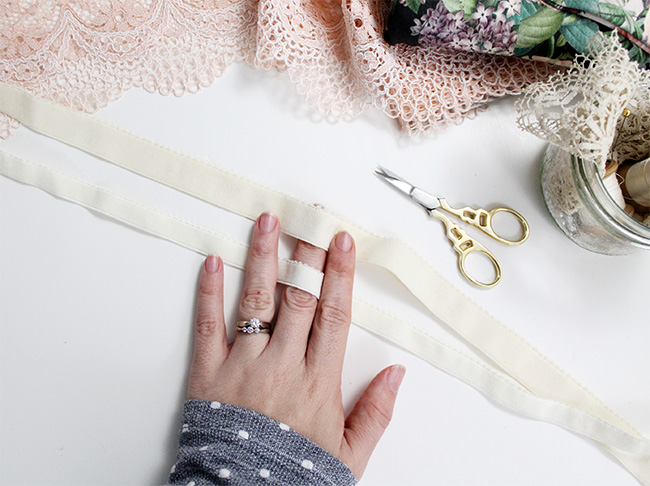
Band and picot elastic are similar in that they both have one decorative edge. However, band elastic has one plush side and one plain side, and is anywhere from 3/8″ to 1″ or even wider. This is the elastic used along the lower edge of a bra, and narrower band elastics also work great for waistlines on panties.
How to sew picot elastic 3 ways
There are a few different ways to sew picot elastic to a garment. Here, I’ll outline three variations.

Sewing picot elastic with a regular sewing machine
I recommend this method for anyone who is brand new to sewing elastics, or if you don’t have a serger.
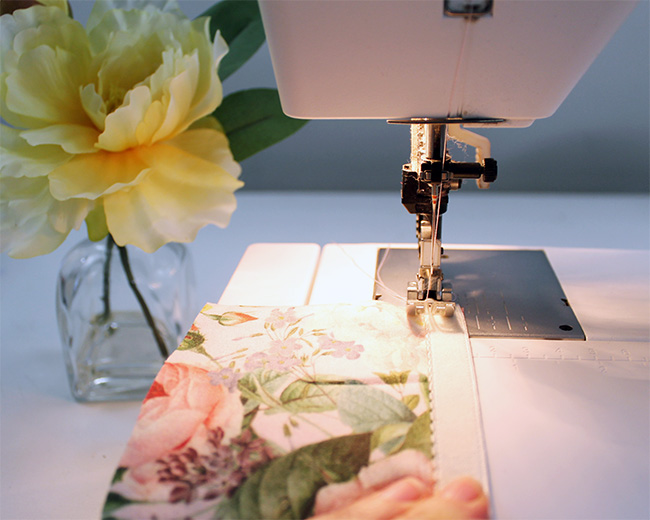
Step 1:
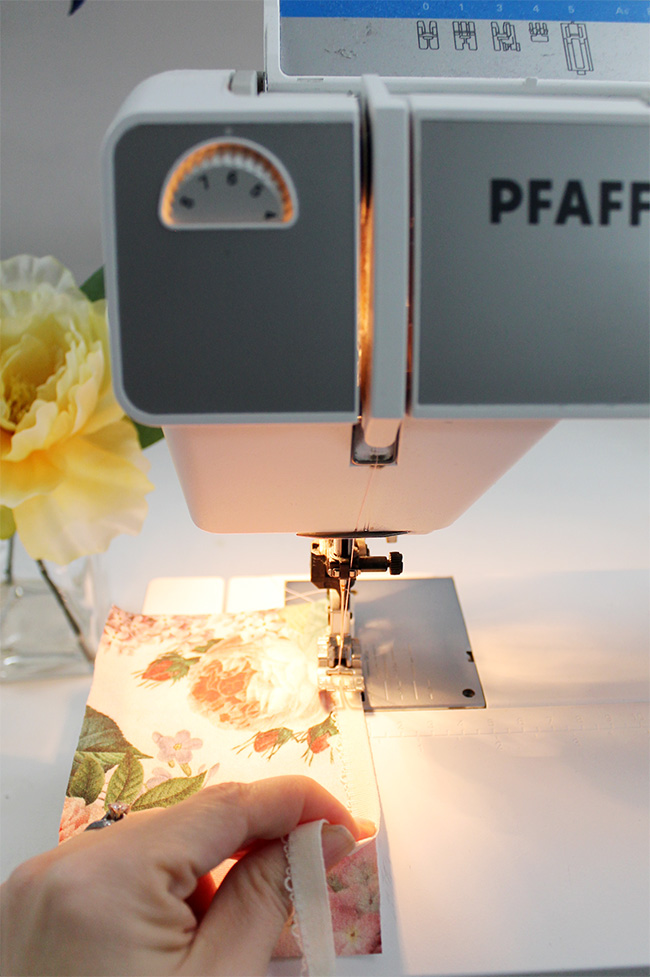
Begin by using a zigzag stitch to apply the elastic to the right side of the fabric. The decorative looped edge should be running along the lefthand side. Gently pull on the elastic as you zigzag stitch it on. Your stitching line should run as close to the decorative edge as possible without going over.
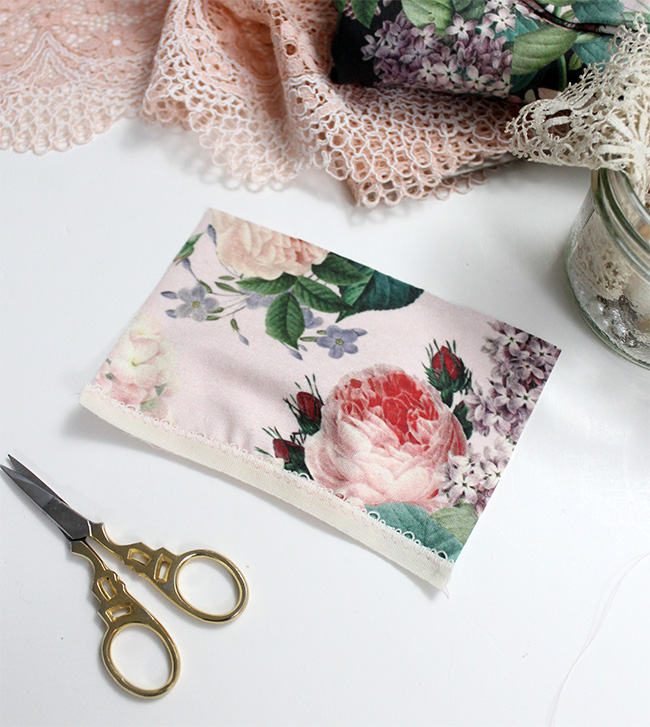
Step 2:
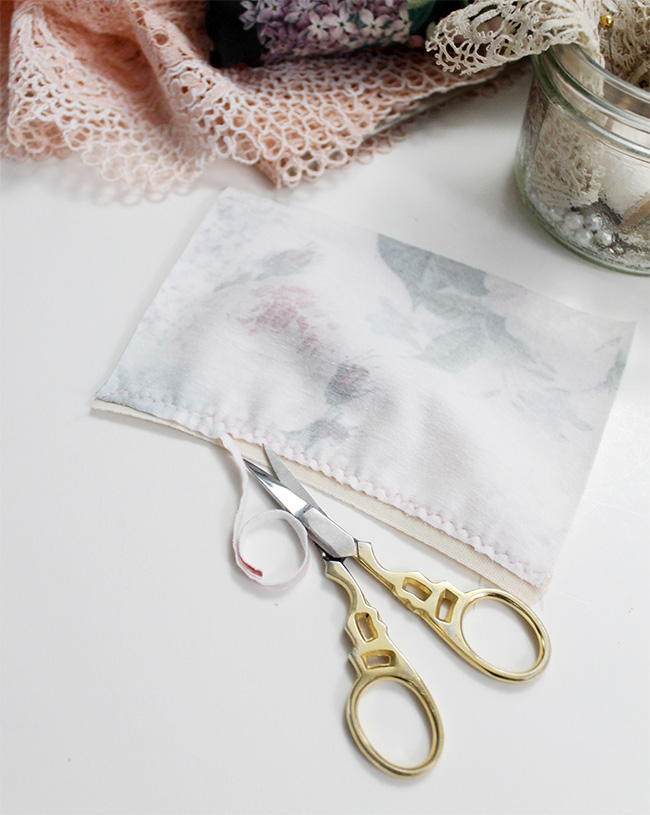
Working on the wrong side, trim back any excess fabric that extends beyond the stitching line.
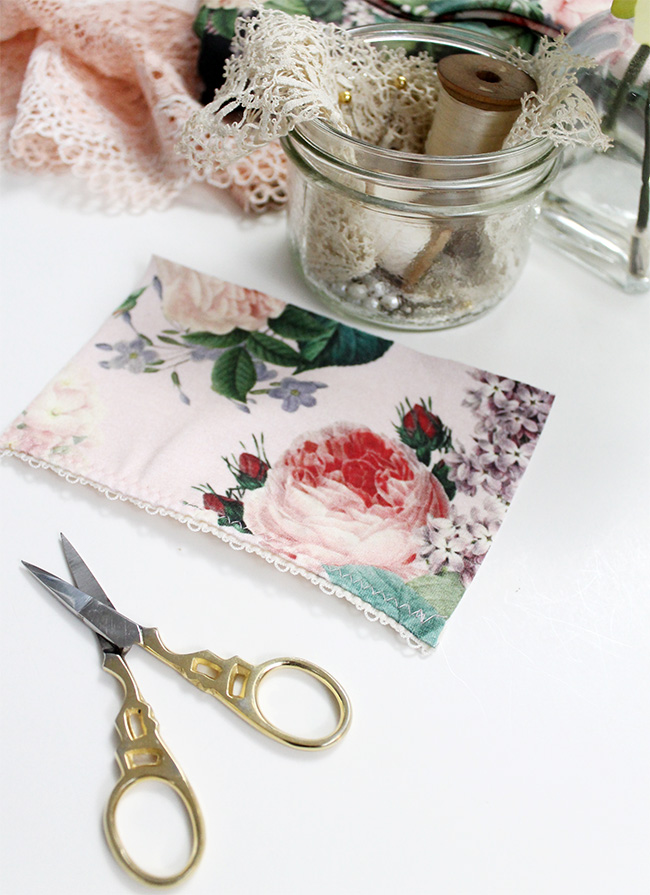
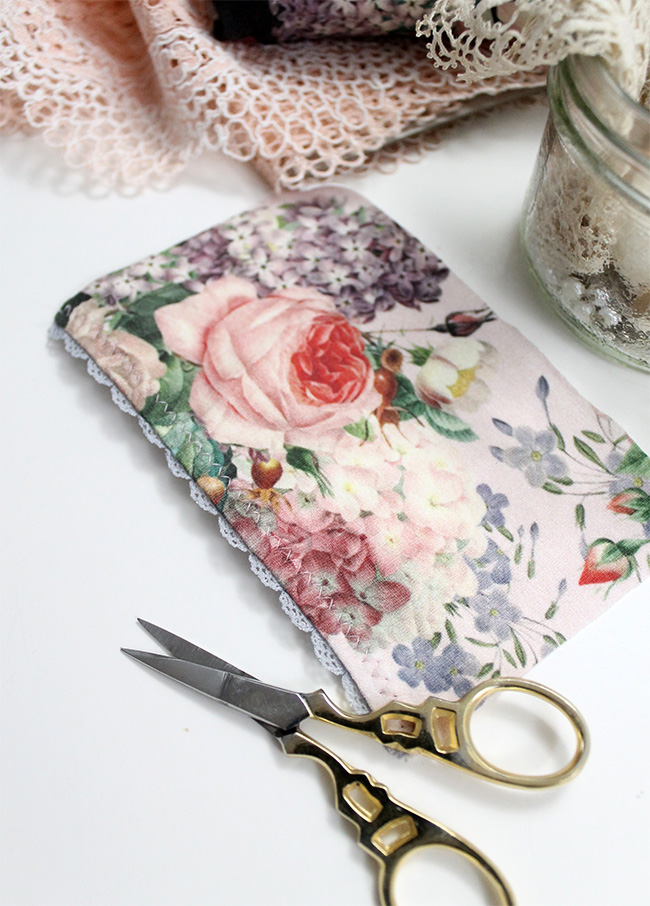
Step 3:

Turn the elastic under and use a zigzag stitch to stitch in place. Your zigzag stitch should anchor the plain edge of the elastic in place (otherwise it may begin to fold outward).
Sewing picot elastic with a serger and sewing machine
This is my favorite method for applying elastic. It’s quick, easy and offers a nice finish.
Step 1:
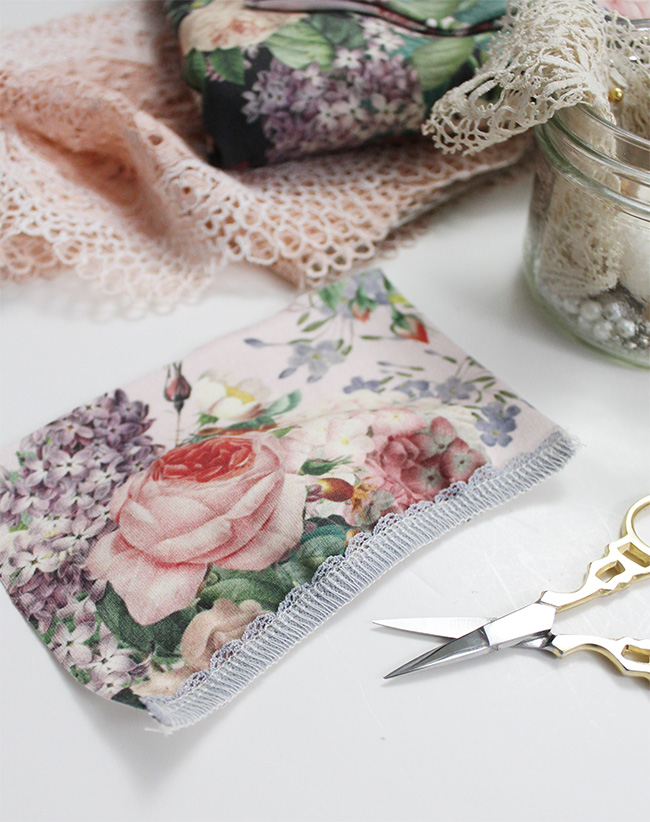
Place your elastic on the right side of your fabric so that the decorative edge is pointing towards the left. Gently pull on the elastic as you use your serger to sew the elastic in place. Be careful to not allow the serger blade to slice into your elastic!
Step 2:
Quick & easy “cheater” picot elastic
If you’re looking for a really quick and easy way to finish a legline, this is the method for you.
Step 1:
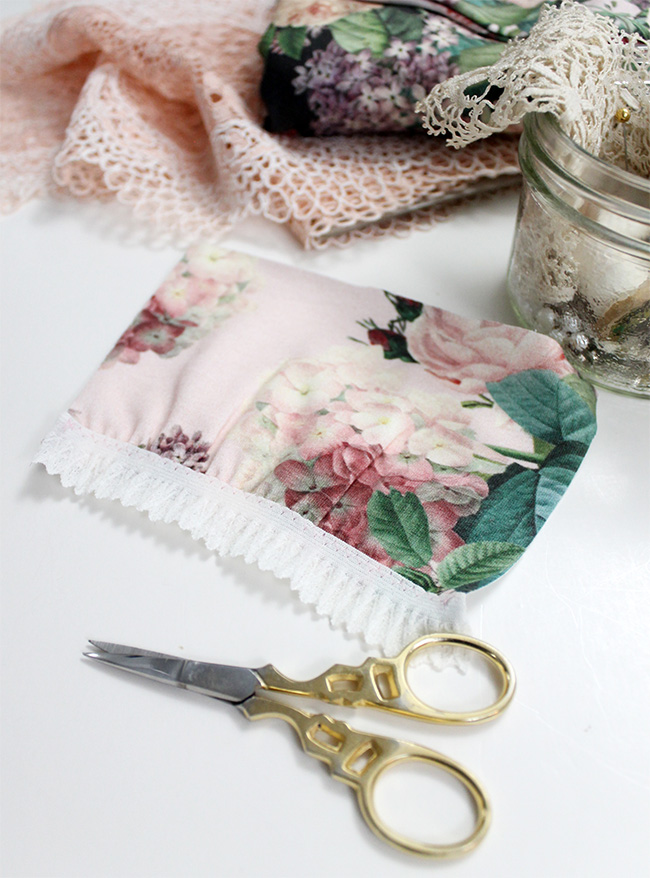
Place the elastic on the right side of the fabric. The decorative edge of the elastic should be running along the righthand side. Use a tight zigzag stitch to attach the elastic to the fabric, pulling on the elastic as you go.
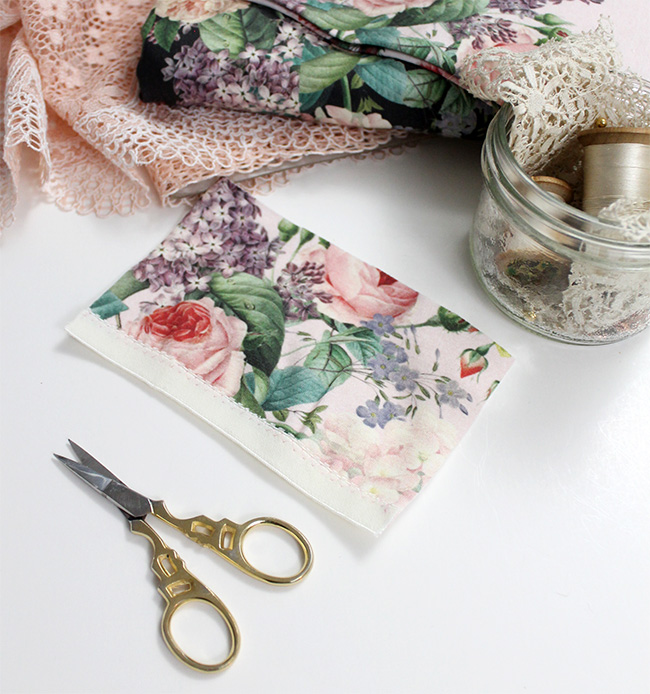
Step 2:
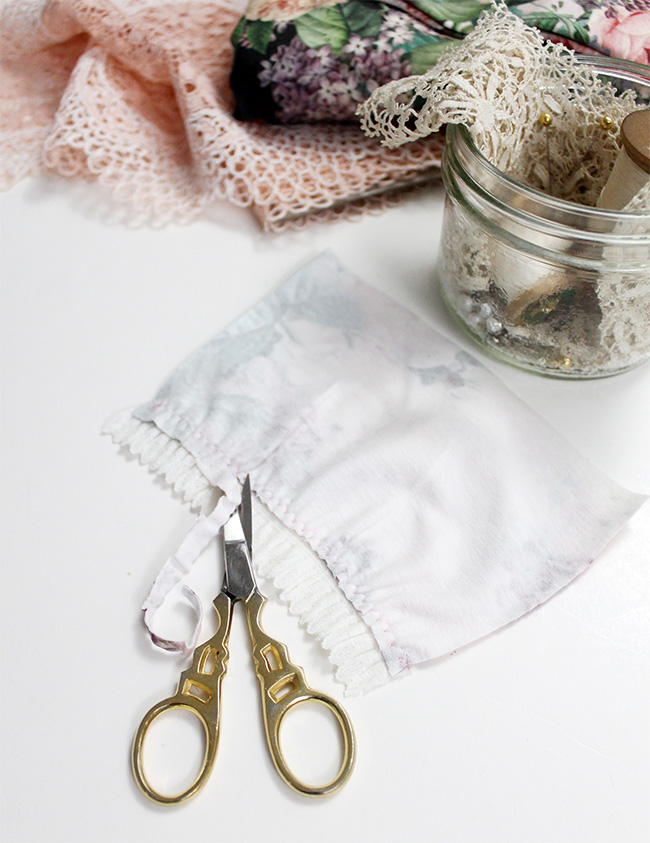
Trim back any excess fabric extending beyond the stitching line on the wrong side.
How to sew band elastic of any size
Unlike picot elastic, there’s only one main method you need to know for sewing band elastic.
Step 1:
Place your band elastic on the right side of your garment so that the plush side of the elastic is facing up and the decorative edge is on the left. Use a zigzag stitch to sew the elastic on, gently pulling on the elastic as you sew.
Just like when sewing picot elastic, you want your stitching line to run as close to the decorative edge as possible, without going over.
Step 2:
Trim back the excess fabric that extends beyond your stitching line.
Step 3:
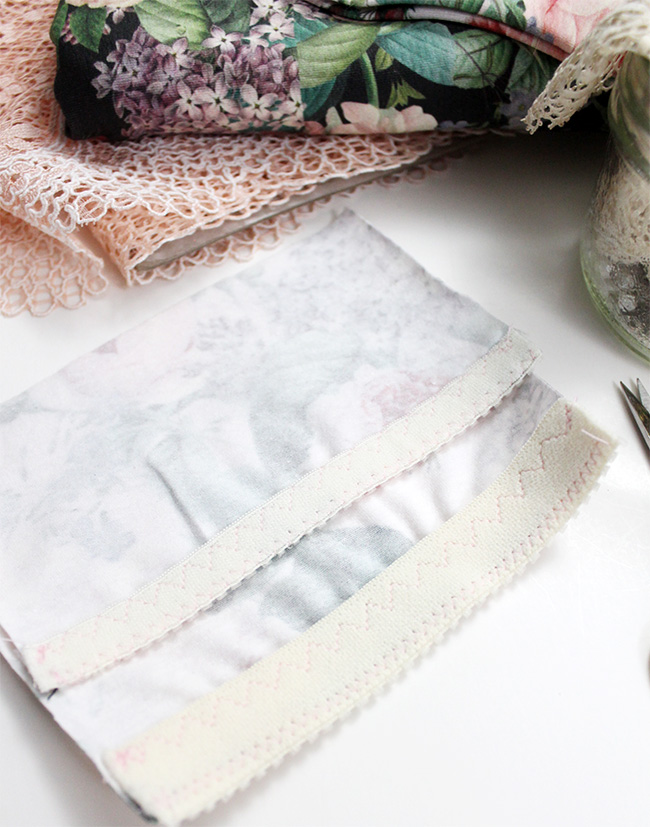
Turn the elastic toward the wrong side and use a multi-step zigzag stitch to stitch in place. You want the zigzag stitching to run close to the plain edge of the elastic, so with wider elastics you need to topstitch a little deeper into the garment.

A few points to remember…
Remember that practice makes perfect, so if your first attempt doesn’t turn out totally Instagram-worthy, don’t stress yourself. Just try again, and remember these 3 tips:
- Pull on the elastic, not the fabric. This tension creates a snug edge to the waist, leg or band of your garment.
- When initially zigzag stitching picot or band elastic onto a garment, make sure you stitch as close to the decorative edge as possible. If there is too much of a gap, more of the elastic will be visible.
- Always trim back any excess fabric that extends beyond the zigzag stitching line. This creates a smooth, clean finish.
Share tips, start a discussion or ask one of our experts or other students a question.
No Responses to “How to Sew 2 Types of Decorative Elastic for Lingerie”