
Joining wood can be one of the tougher parts of creating beautiful wood creation, so we’re always looking for quick and easy joinery techniques. That’s exactly what makes pocket hole joinery so appealing.
Photos via Creative Woodworking
Pocket hole joinery is basically screwing a butt joint together. The joint gets its strength from the fact that the screws are driven in at an angle. This allows the screw to grab the wood with more strength than if it was screwed straight into the wood with the grain.
Tools for pocket hole joinery
You will need a few special tools to get started.
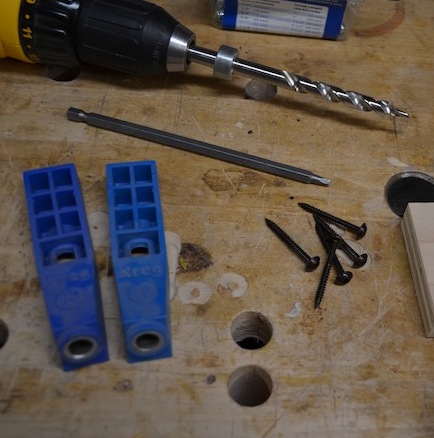
- Drilling guide. You need something to hold the drill bit at the proper angle. Drilling guides are available in a number of styles and prices.
- A specialized drill bit with a tip that cuts the hole for the screw and a shaft that cuts the shoulder for the head of the screw.
- A long power driver to fit your screws. It has to be long because of the shallow angle you need.
- Special pocket screws with wide pan heads made to sit on the shoulder cut by the drill bit.
- A clamp. You can use what you have, but a specialized “C” clamp is handy to hold the guides in place when you drill your holes.
You can spend a lot of money on a full pocket joinery tool set, complete with clamps and jigs that hold everything in place, but I find the simple setup above works just fine.
How it’s done
There are only two steps to pocket hole joinery: drill a hole, drive a screw. Simple as that.
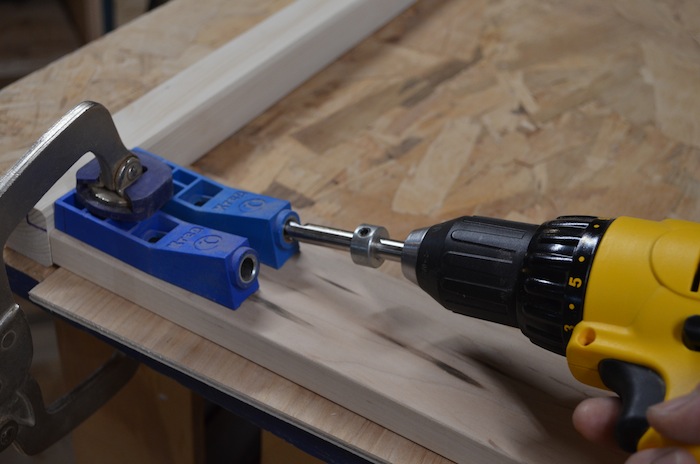
Step 1:
Before drilling, make sure you have the depth stop in the correct place. I like to set it so the bit doesn’t drill completely through the end of the piece. I drill a test piece and check to make sure the depth of the hole and length of the screws are appropriate.

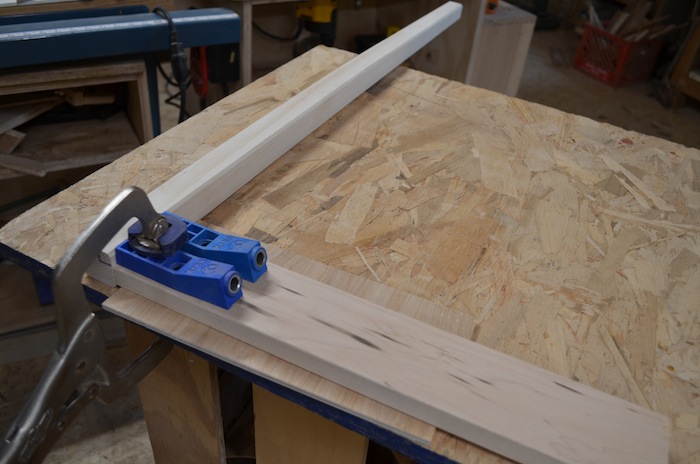
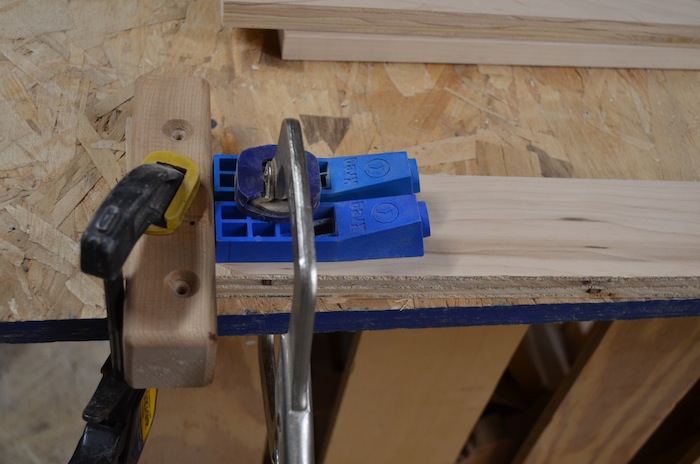
When you are satisfied, clamp your guide(s) in place. You want the end of the guide to be flush with the end of your workpiece. You can check by eye or hand to make sure it is flush, or you can set up a simple stop and butt the guides against it.
Once it’s good to go, drill the holes using the guide to hold the drill bit at the proper angle.
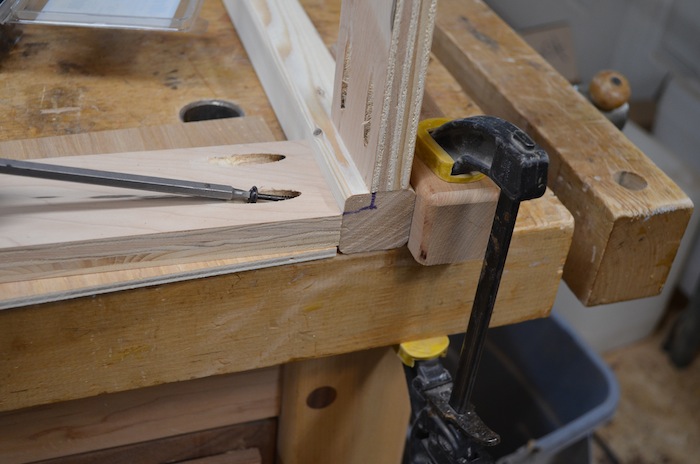
Step 2:
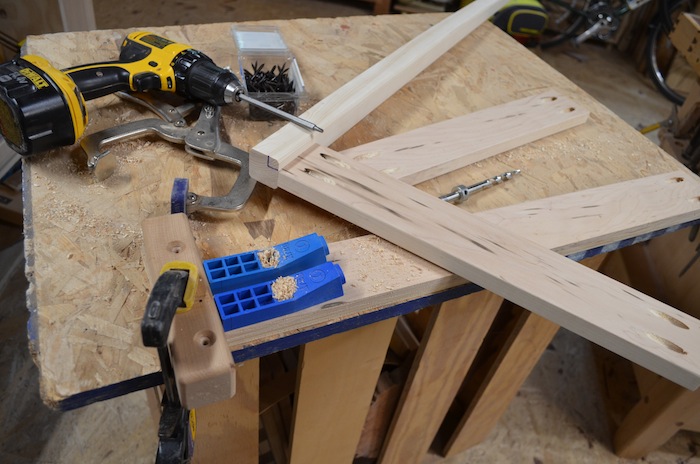
The second step is equally simple — screw the two pieces together. You just have to line up your work pieces the way you want them and drive the screws home. This is where the fancy jigs and clamps can come in handy. They will hold everything in place for you.
If I don’t want the pieces to be flush, I use shims to keep the layout consistent. In the photo below, I’m using a 1/4” plywood scrap under the workpiece to raise it so the apron will be slightly inset from the front of a table leg.
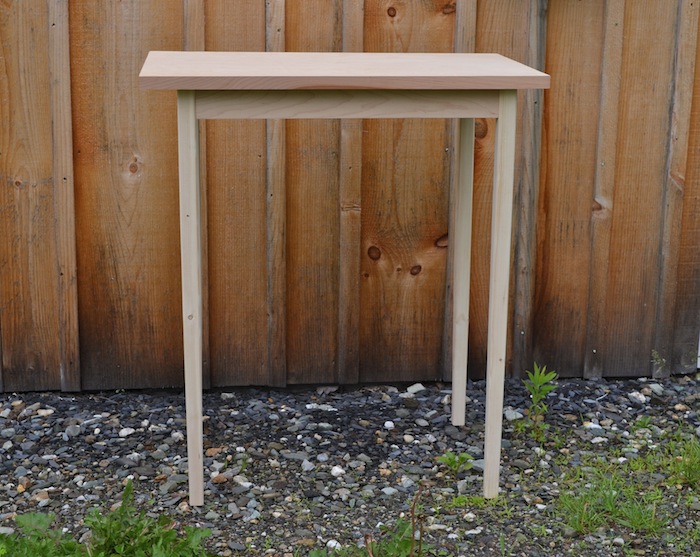
That’s really all there is to pocket joinery: drill and screw. Quick and easy.
Using pocket joinery, this table went together in about half an hour (not counting shaping the legs).
Share tips, start a discussion or ask one of our experts or other students a question.
No Responses to “Joinery in a Jiff: Quick and Easy Pocket Hole Joinery Tutorial”