
Portraiture is one of the more difficult things to succeed in. Normally, I paint watercolor portraits, but I decided to try my hand at colored pencil portraiture and I’d love to share what I’ve learned with you.
Follow along with this portrait drawing tutorial to create your own.
Step 1: Studying and sketching the subject
For this project, you can work from a photograph. Before you even start drawing, sit and study the subject. Pay close attention to the distance between the eyes, the corner of the nose and the corner of the mouth. You might even want measure these distances since they are so important for capturing an accurate representation. This guide has great information on understanding proportions in facial features.
When sketching the subject, keep it simple. You don’t want to have a lot of lines to have to cover up. Start with simple eyes, nose and mouth along with the shape of the face and hair outline. This might take some time to get correct, but be as accurate as you can in your initial sketch. You’ll make adjustments as you add color. You may even want to sketch with a light tan colored pencil instead of a lead pencil.
Bring Portraits to Life with Our Free Drawing Guide

Learn how to draw portraits that look amazingly lifelike! Master proportions, shading and more with this free download.
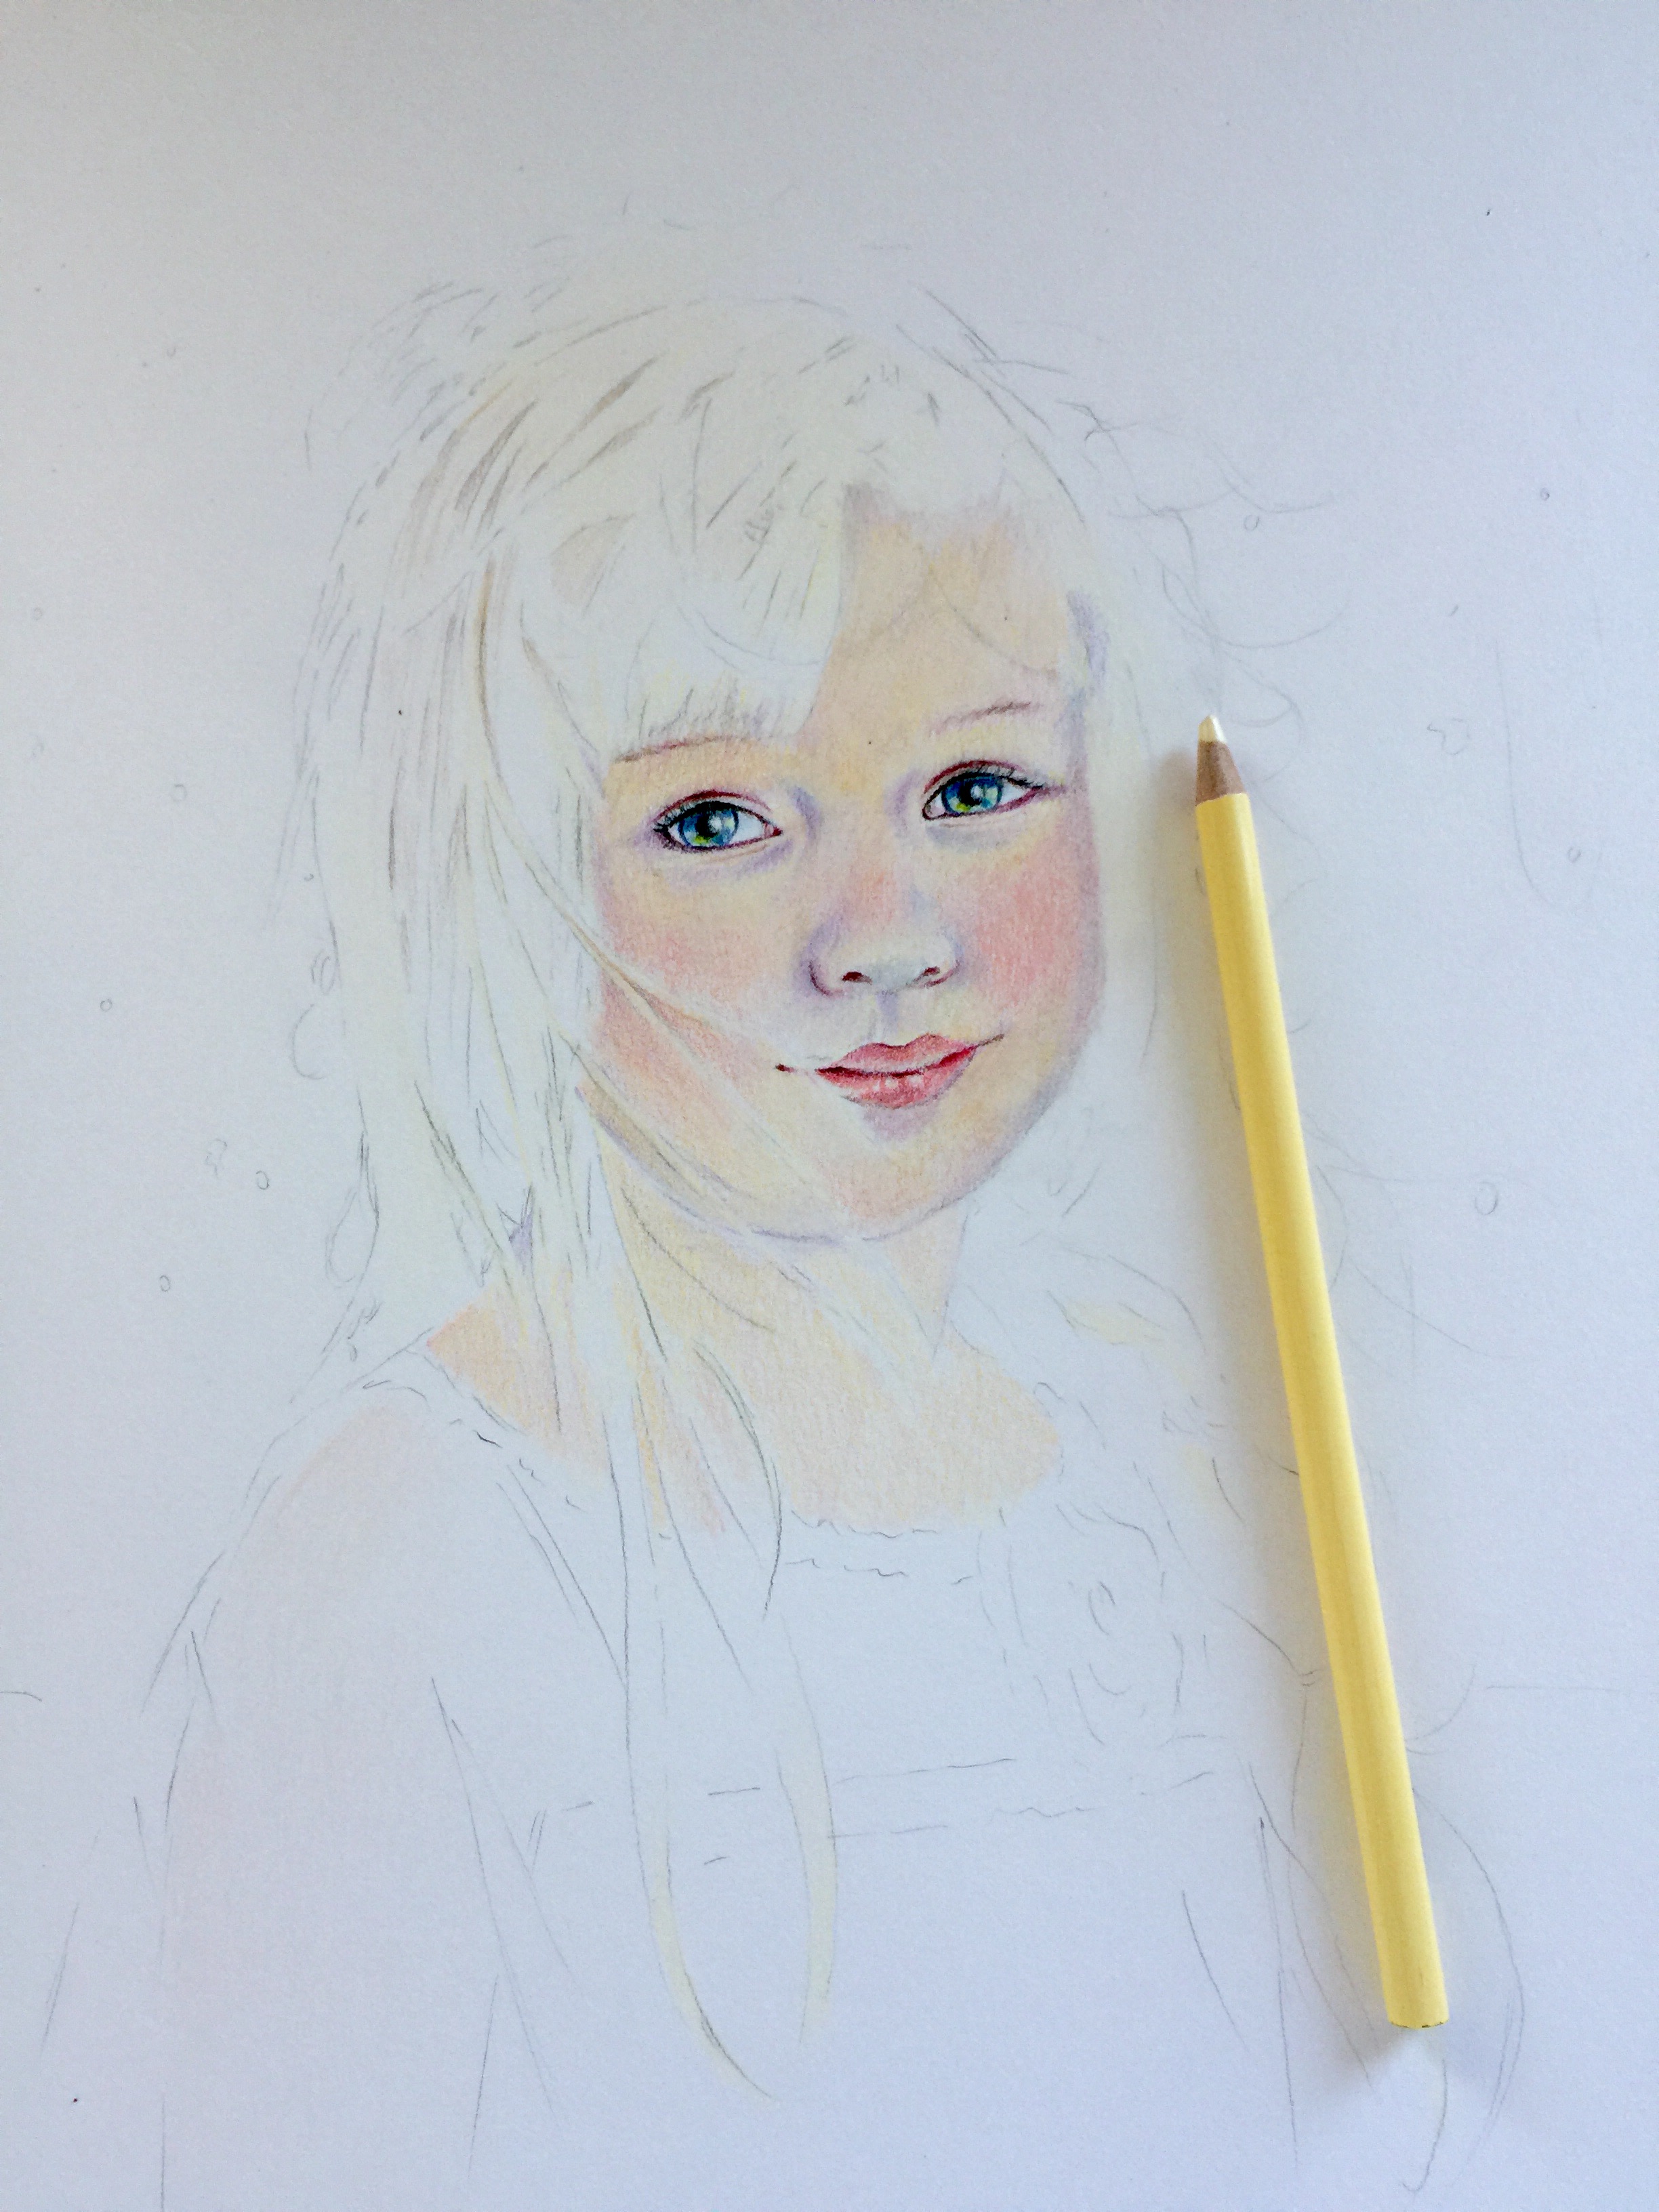
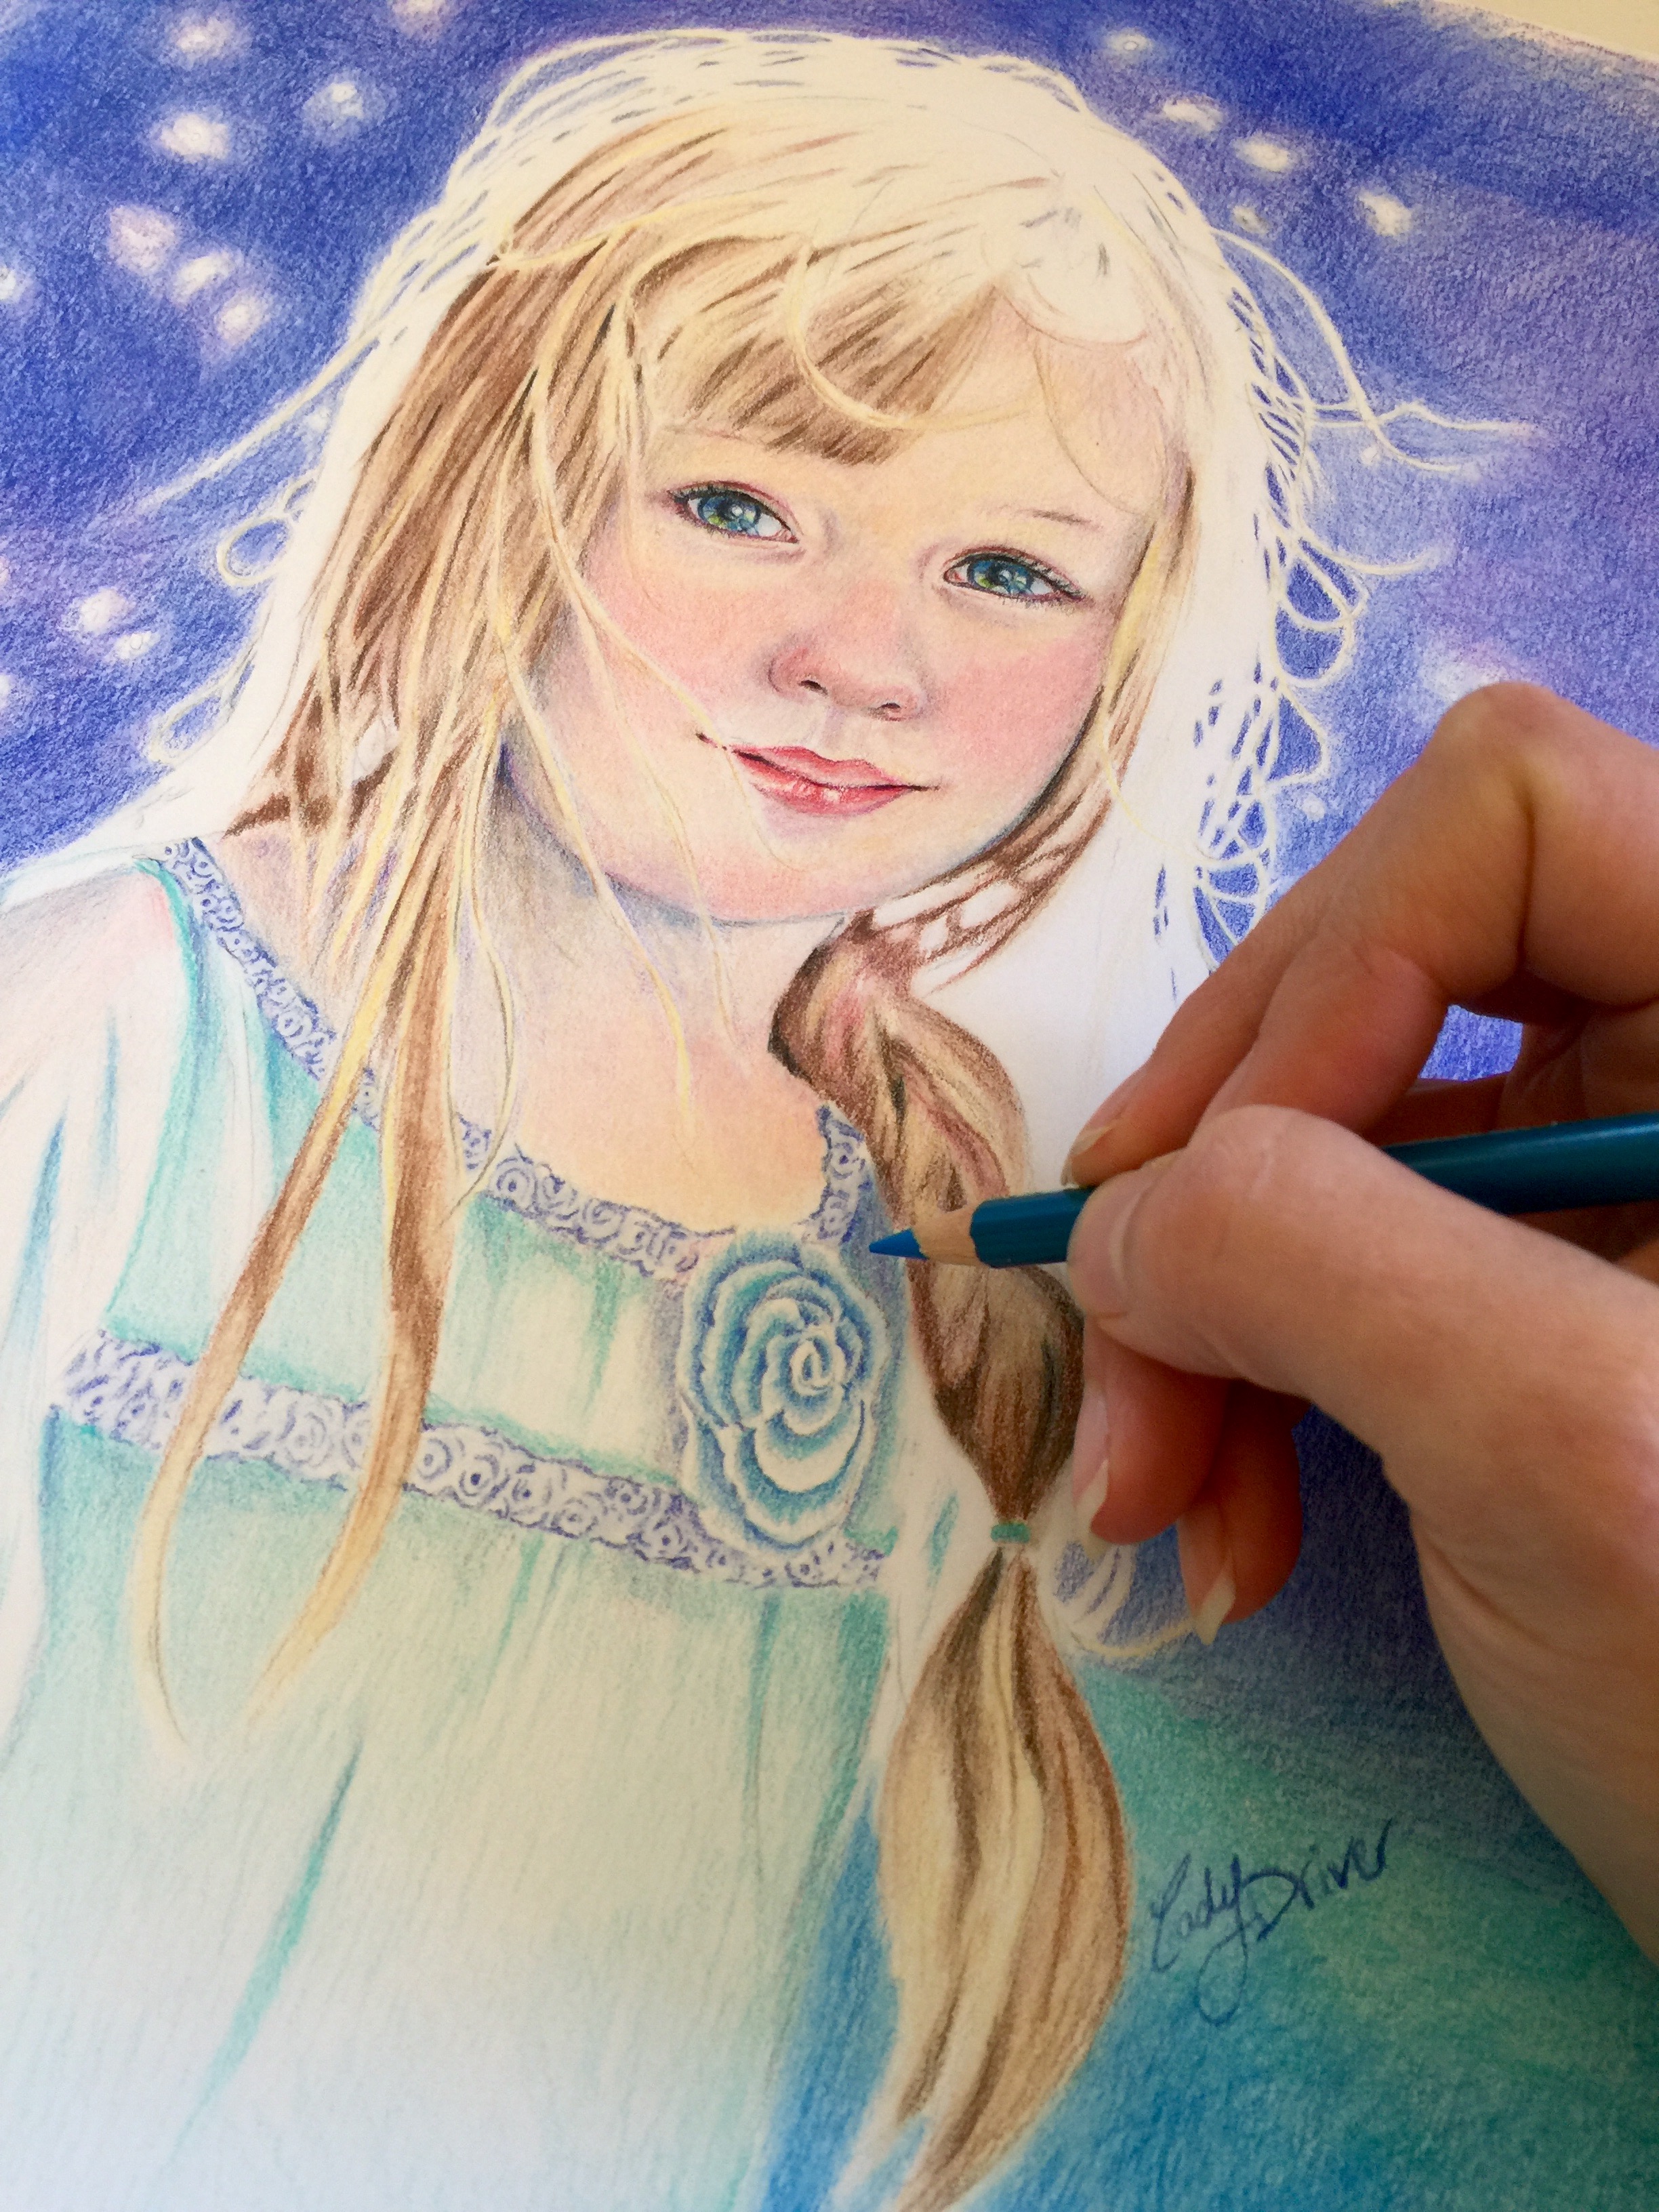
Step 2: The first layer of color
Start with detailed eyes, paying particular attention to the shape and shadows within the eyes. The eyes are the window to the soul of your painting, so spend a lot of time on them. All of the shapes, shadows and reflections will draw your viewer into your piece.
The skin tones will vary based on your unique subject. Because I drew a child with fair skin, I used a combination of light flesh-toned pencils, a cool purple and a touch of blue around the eyes.
For the creases around the eyes, nose and mouth, use a stronger burnt sienna color to keep those places from looking too “dead.” You’ll want to lightly layer flesh tones in with the purple to form the shapes around the eyes and nose. Try to see the shapes in the colors. If you can break down your visual cues to shapes instead of thinking about a “nose” or “eye,” you’ll actually capture your subject better in the end.
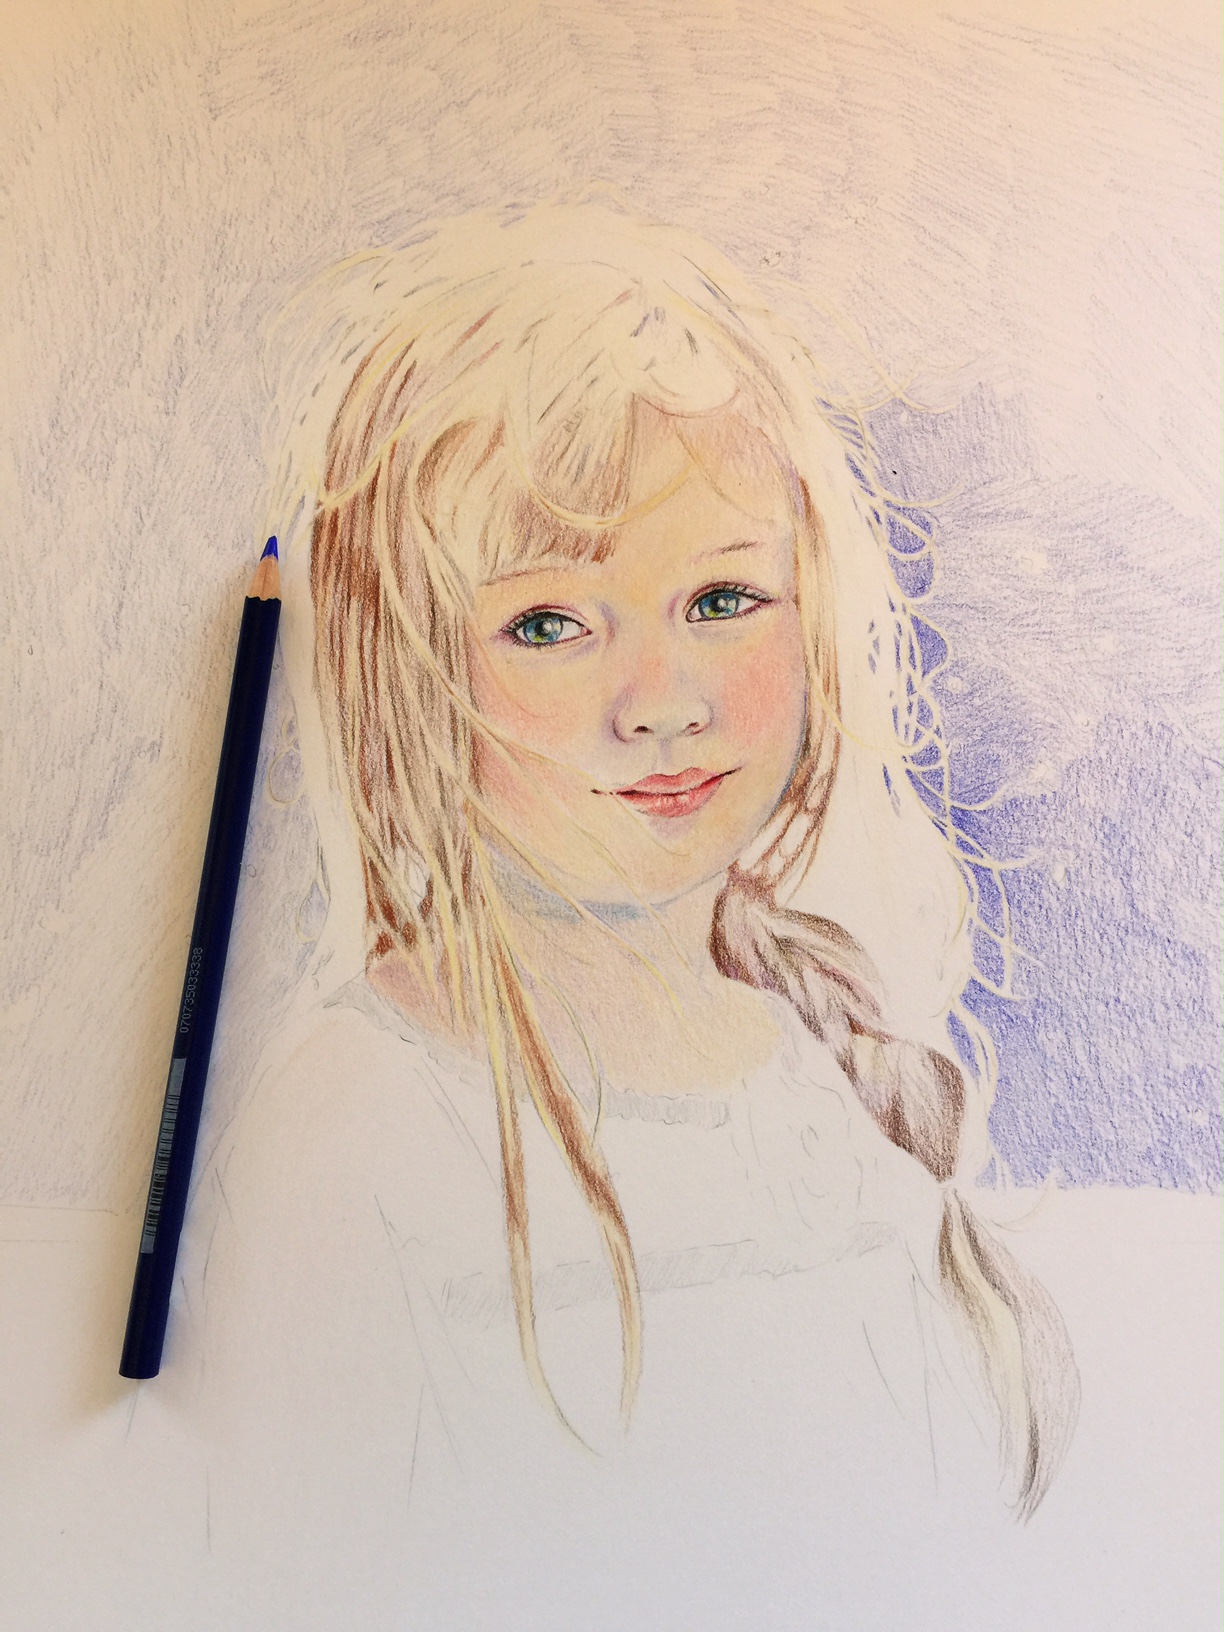
Step 3: Draw the hair and background
Since my subject had light blonde hair, I left a kind of light halo around her head for a nice glow. On the shadowed side of her head, I deepened the shadows in the crevices of her hair with shades of browns and purples. The colors you use to draw hair will vary based on your subject.
I wanted the “snowy” background to be a deep blue to contrast with her hair and dress, so I very lightly started the first layer of color, working carefully around the lighter hairs that are blowing in the breeze.
Continue to deepen the color in your background while working on the depth in the hair. This can take a bit of time, but take breaks and don’t get discouraged. A lot of the “stroke marks” will be smoothed out at the end when the Gamsol or alcohol is added — more on that in a minute!
An interesting trick you can use: Tur the picture sideways or even upside down. This helps the brain will stop thinking “eyes” and start looking at “shapes” more accurately so you can better capture the subject’s features. This can be incredibly useful in correcting mistakes that otherwise you might not have noticed. Try it sometime!
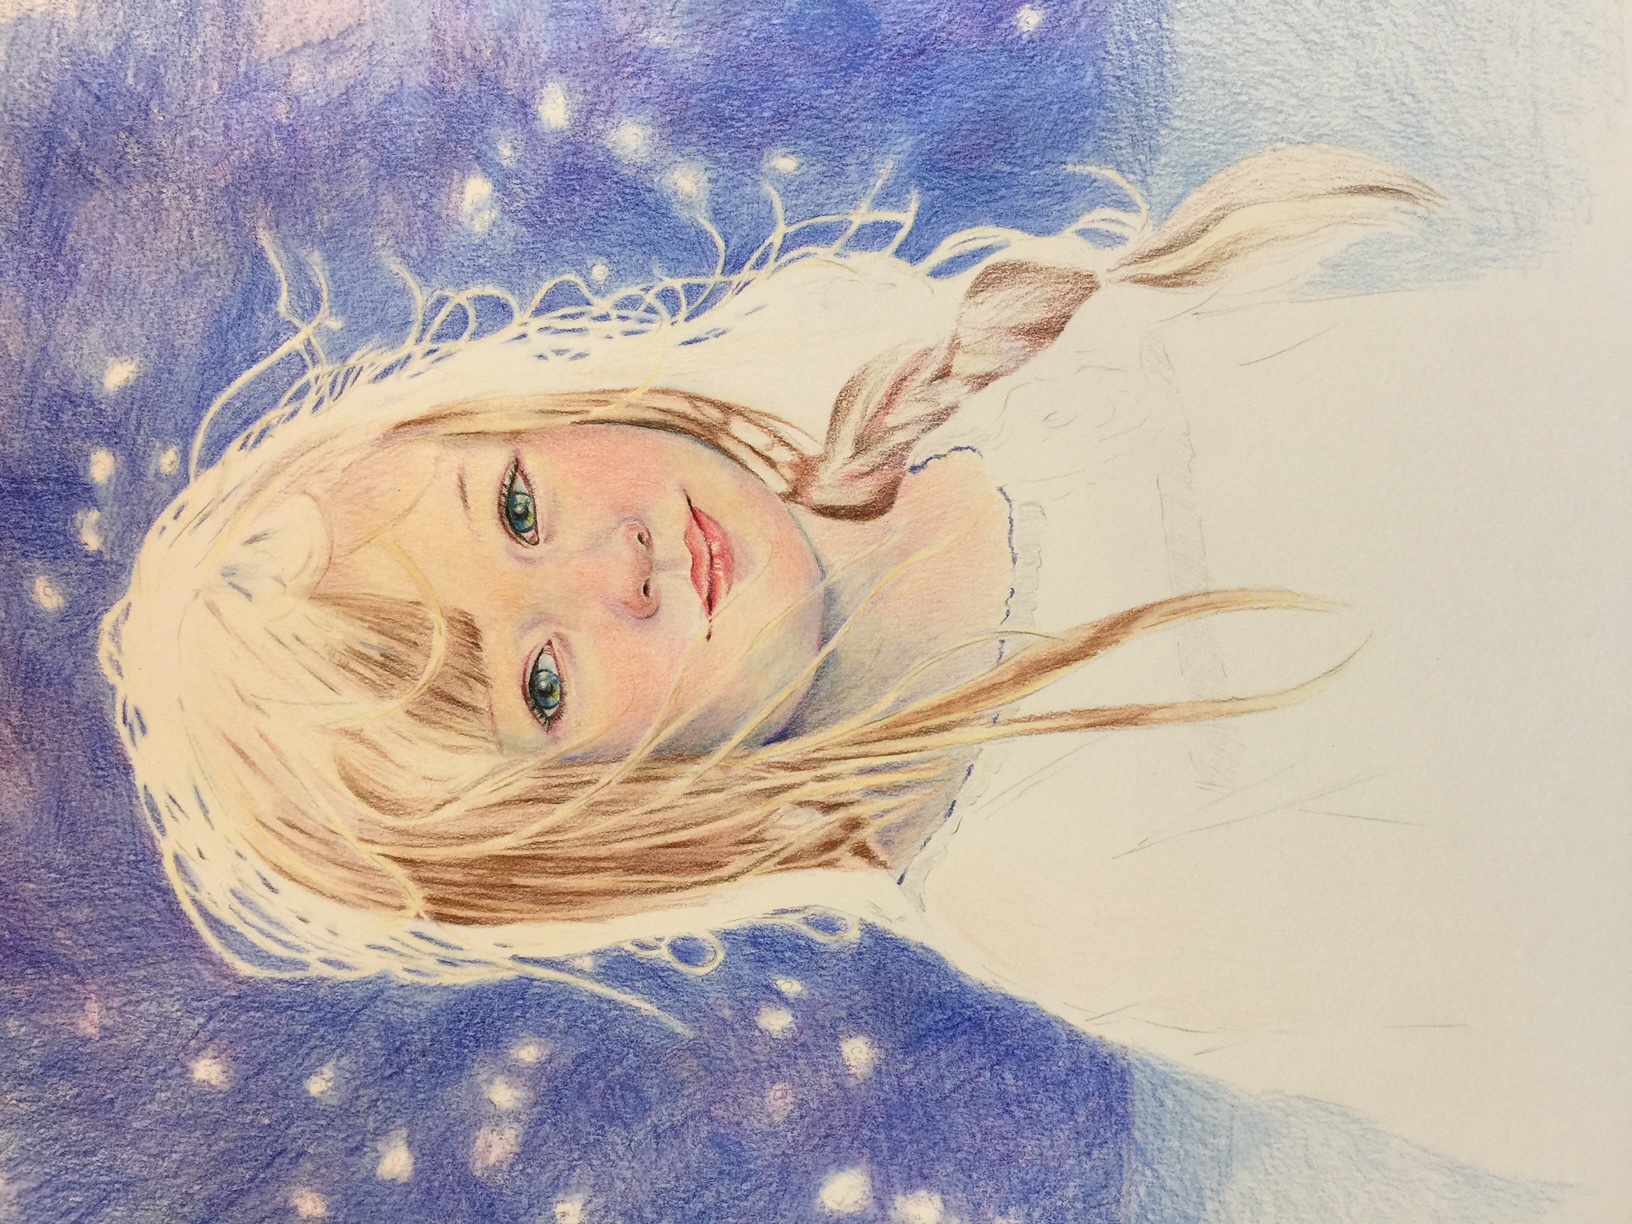
Step 4: Adding clothes and other details
After you are completely satisfied with the face, start on the clothing. Leave the clothing until last because if you make a mistake on the face, you can just start over without having invested a lot of time and effort on the clothing. There are a lot of long shapes and wrinkles in clothing. Notice the shapes and shadows and gradually work your color up from your initial light wrinkle outlines. Here are some more tips on drawing clothing on people.
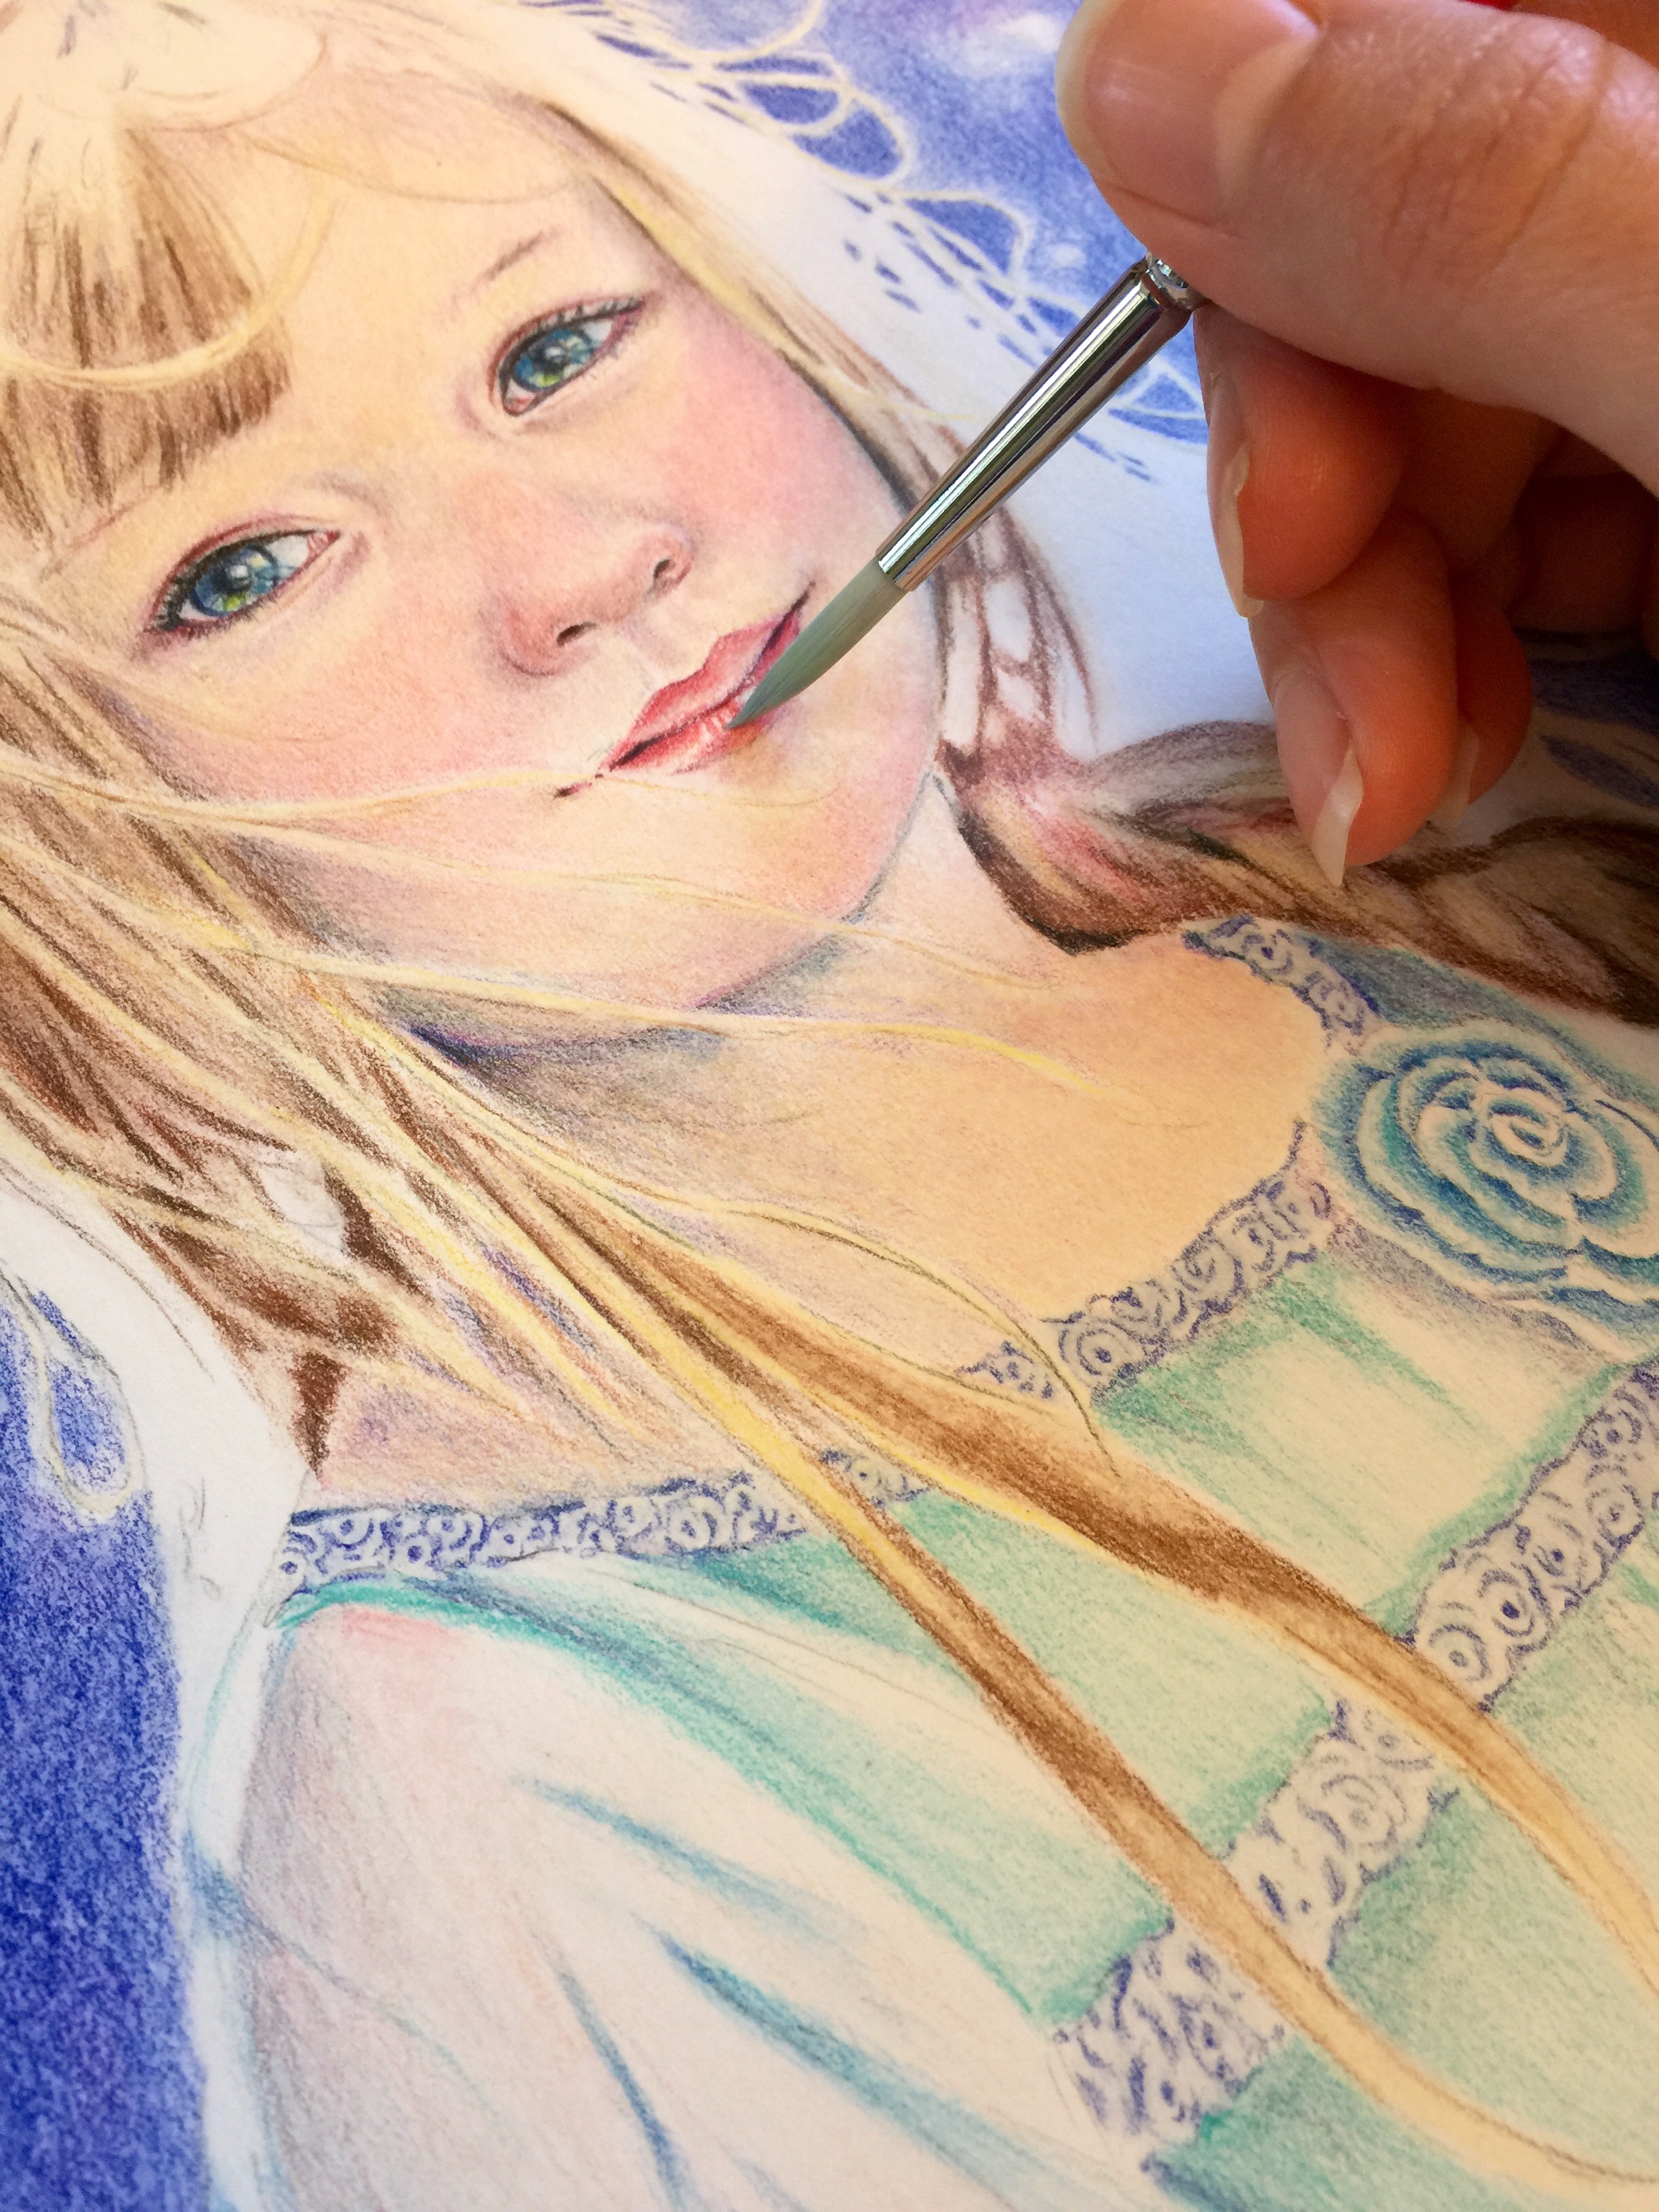
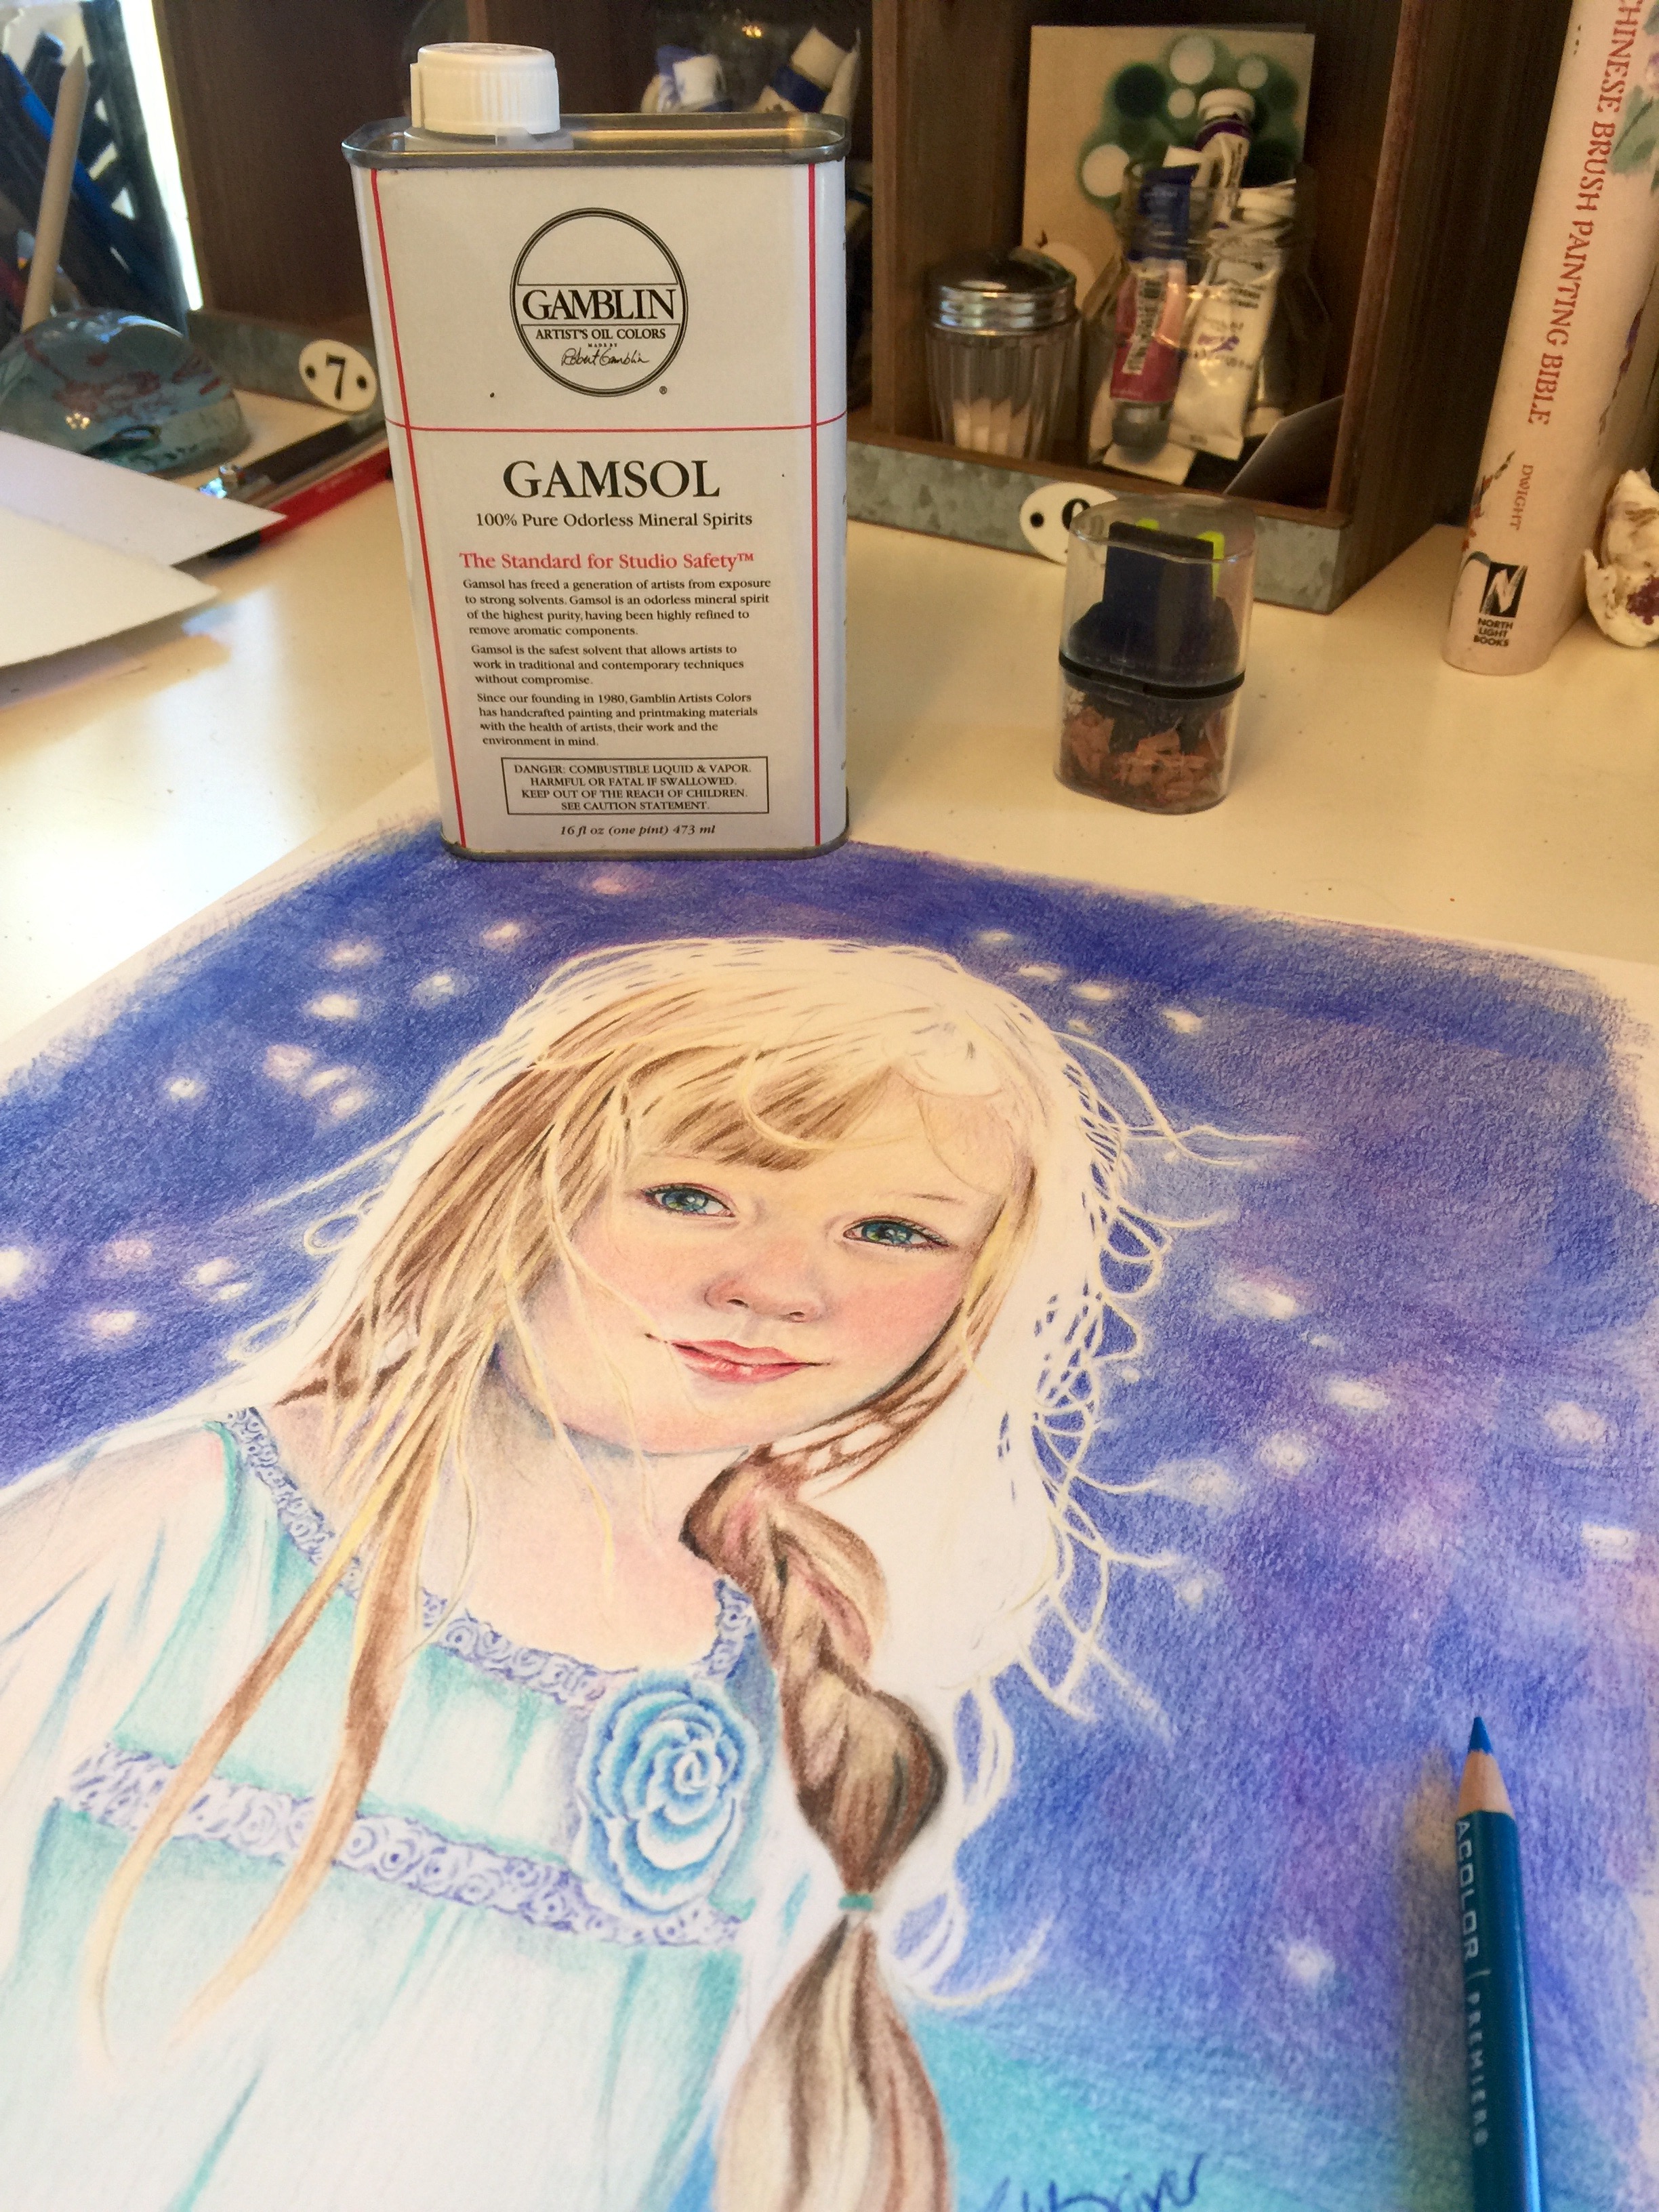
Step 5: Adding Gamsol
For smoothing out pencil lines, I recommend Gamblin Gamsol Odorless Mineral Spirits. Pour a little bit into a bowl and dip your paintbrush in it. Brush a light layer over your entire portrait. Don’t use too much — just a little bit will do. You may even layer on the Gamsol, let it dry and then layer on more color, if you’d like. It’s very versatile. For more tips on using Gamsol to blend colored pencils, check out this blog post.
Capturing beautiful moments with children and colored pencil has never been so much fun! With a little bit of practice, you will be able to create a piece that will delight every viewer.
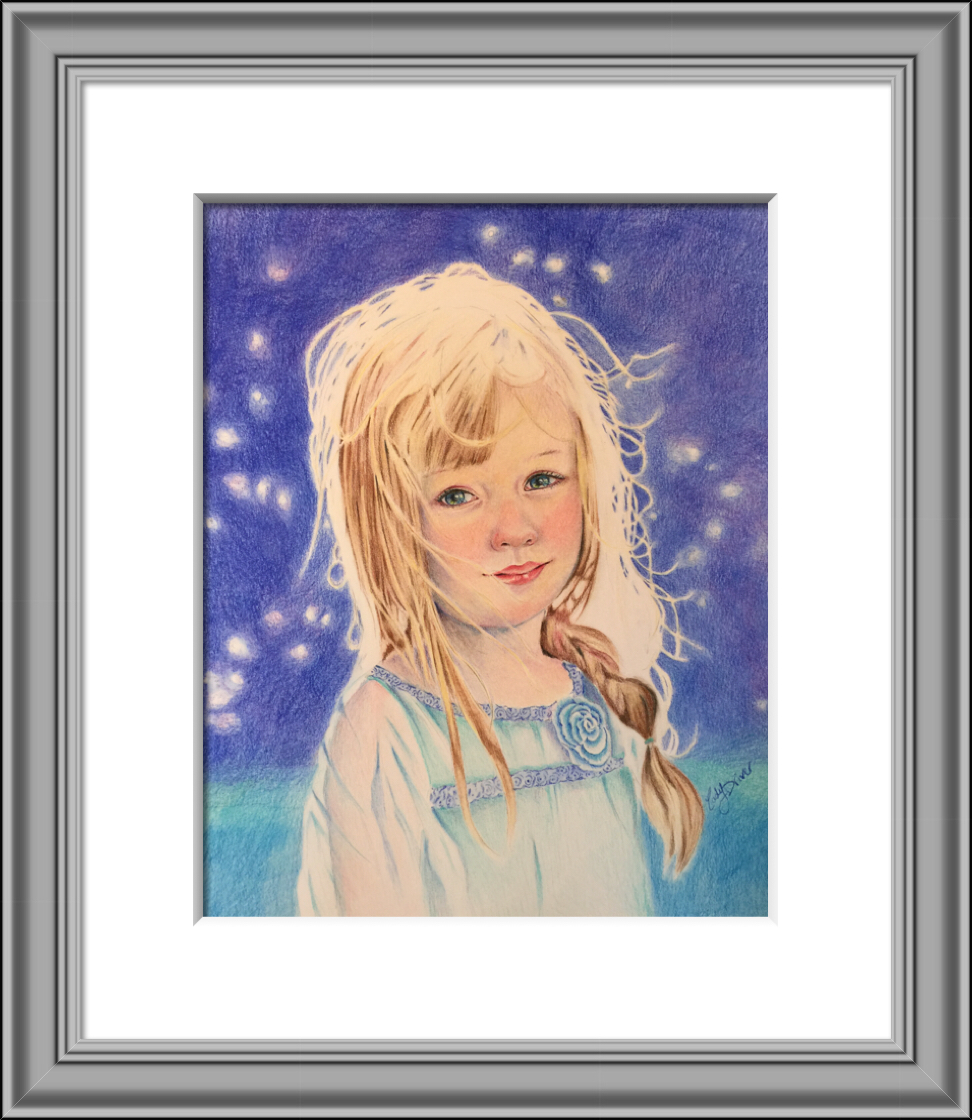
This piece is entitled, “The Cold Doesn’t Bother Her, Anyways,” based on a photo by Katelyn McCay Photography.
Bring Portraits to Life with Our Free Drawing Guide
Learn how to draw portraits that look amazingly lifelike! Master proportions, shading and more with this free download.
Relatively new to colored pencil, but I am really enjoying this medium