
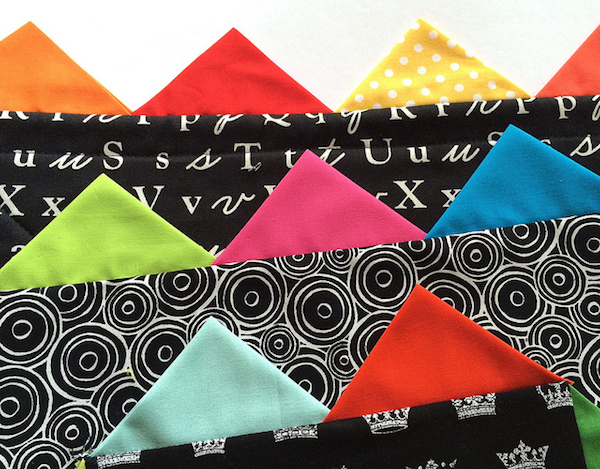
There’s more than one way to bind a quilt, and this method just so happens to be one of the most quirky and fun. Prairie points are folded triangles made from fabric squares, and can be used to decorate table runners, pillows, tea towels and — you guessed it — quilt edges. Plus, finishing your quilt with a prairie point binding is just as easy as it is fun — here’s what you need to know to make it happen.
How to Make Prairie Point Triangles
There are a ton of ways to make prairie points, but we’ll outline two of the most popular methods. No matter which one you use, you begin with a fabric square.
To determine the size of the square needed, you need to first figure out how high you want your finished prairie point to be. Then, use this simple formula for calculating the size of the squares: finished height x 2 + ½”. Example: if you want finished points that are 1″ high, multiply 1 by 2 then add ½. The result: each square should be 2½”.
Centerfold Prairie Points
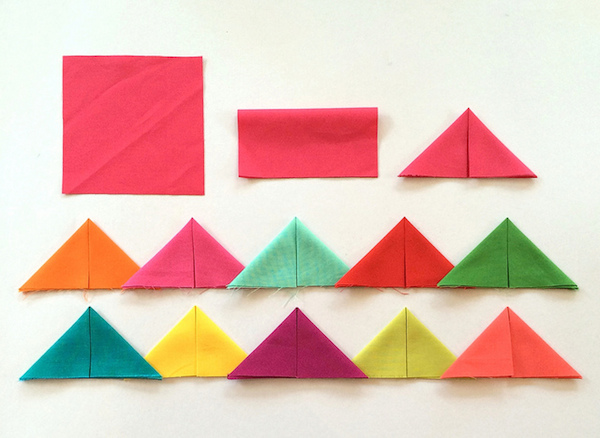
This style of prairie points bring the open folds to the center point, which are then overlapped in alternate positions or placed all in the same direction — whichever you prefer.
To make centerfold prairie points, fold the square in half, right sides of the fabric out. Press with an iron, then bring the folded corners to meet in the center and create a triangle.
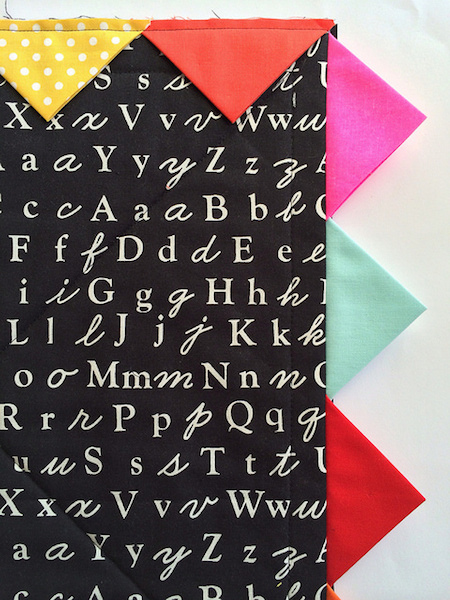
Nesting Prairie Points
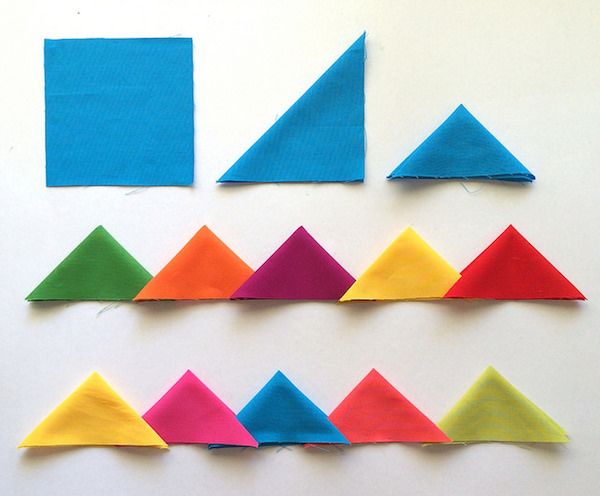
This style allows you to nest the points inside one another. To make, simply fold a square into a half triangle and then again into a quarter triangle. Press with an iron and you’re done.
Now that you know how to shape the triangles, let’s walk through the prairie point binding technique.
Prairie Point Binding
Level: Easy
What You Need
Pro Tip:Prairie points should be attached to the quilt after it’s been quilted. When quilting, be sure to leave 1½” unquilted around each edge.
Instructions
1. Square Up
Trim the quilt sandwich, making sure the edges are squared up.
2. Pin Back the Backing
Prairie points are sewn to the quilt top and batting only, so you need that backing out of the way. Fold it back from the edges of the sandwich and pin.
3. Pin the Edges
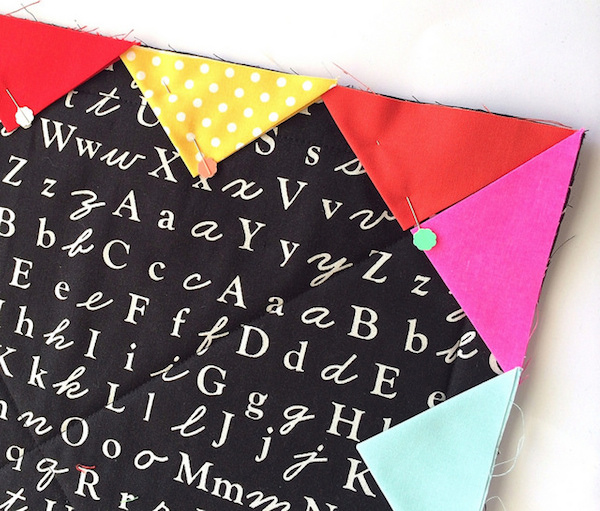
Working along one side at a time, align the raw edge of the quilt with the raw edge of your prairie points. Adjust the points to create even spacing and pin into place. The corner points should sit next to each other without overlapping.
4. Sew
Sew the raw edges of the prairie points to the edge of the quilt top and batting using a ¼” seam. When finished, trim the batting at the corners to remove any excess bulk and turn the prairie points outward, pushing the seam toward the back.
5. Finish the Backing
Turn the backing under by ¼” all around. Finger press and pin into place so the folded edges of the quilt top and backing are aligned. Blind stitch the back down and you’re done!
Love this. I hope I can figure out how to use with a minky backing.
Must try. Thank you