
As spring beckons, can’t you just taste the fresh food from your garden? Well, as you dig into the growing season and start preparing a vegetable garden for spring, follow these five steps to enjoy a more productive, enjoyable edible garden this year.
1. Try a raised bed.
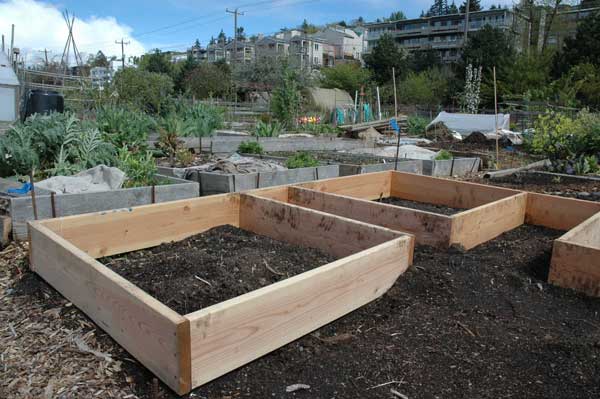
Lift up your veggies into a bed built of stone, wood or galvanized steel.
Vegetables love sun and warm soil, and in many gardens, the soil warms up slowly in the spring. But with a raised bed, you can warm the soil faster, and dry it quicker too, if you’re in an area with lots of moisture. The sun hits the sides of the bed, radiating heat into the soil, which dries it and keeps it warmer.
In the photo above, the wooden raised beds at a community garden are screwed together so each can be replaced when they rot over time. Do note that untreated wood is safer than lumber treated with chemical preservatives, which could leach into your vegetables.
Other benefits: raised beds create a barrier for pets and children, they’re easier to work in if you have mobility problems, and they can add an interesting visual element to the garden.
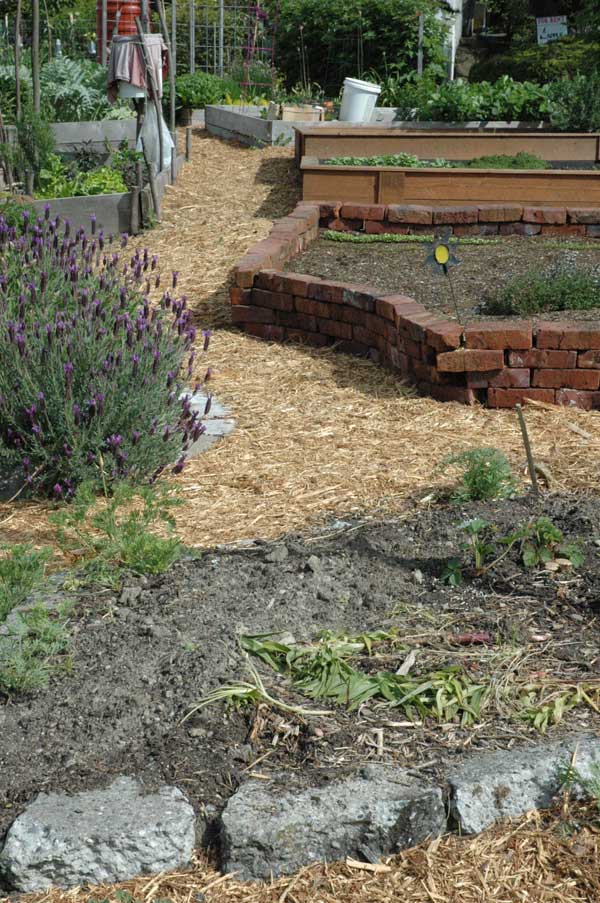
A variety of materials, from stacking concrete pavers and broken concrete pieces to bricks and boards, can be used to build easy raised beds. You can buy pre-made corners and attach wood planks to them. Or, how about purchasing a shiny stainless steel stock tank? They come in pleasing oval shapes. There are many easy designs and pre-made options; the biggest challenge might be hauling in a load of soil to fill it.
See also our post on the 5 best vegetables to grow in raised beds.
2. Boost your soil with compost.
Fertilizers are great for targeted plant nutrition, but a wise gardener once said, “Feed the soil, not the plant.” If you have rich, fertile soil, your plants will thrive. Build your soil by adding compost.
Homemade compost is best, but there are plenty of organic commercial products available in bulk or in bags. Contact your local Master Gardeners for recommendations of quality choices.
Spread the compost over your vegetable bed in a 1- to 2-inch layer. Then use a garden fork to dig it in. You can also “top-dress” with compost, but some products, especially if layered on thickly, will crust over and prevent air and water from getting through. If you see that happening, just dig it under.
Compost adds some nutrients to the soil, but it also boosts your organic matter level, which helps hold moisture and nutrients in the root zone.
3. Pre-warm your garden bed before planting.
Most of us start our vegetable gardening by taking off the weed layer or whatever else has covered the garden for the winter. If you’ve been growing a cover crop, that must be chopped down and dug into the soil too.
But often the soil is still too cold for many vegetable seeds to sprout. Did you know that bean seeds need 60 degree F soil to sprout? Lettuce and other greens will sprout at 40 degrees, but it might take a long time. Warmer soil gives you a faster start.
So here’s an easy way to warm up the soil fast: cover it with a layer of clear plastic for about a week. This “solarizing” can warm a sunny garden bed 5 to 10 degrees. Remember, it’s the soil temperature, not the air temperature, that will most affect seeds and seedlings. You can find out your garden soil temp by purchasing a soil thermometer, sold at nurseries for about $10.
And here’s a bonus: weed seeds in the soil will also sprout, so you can skim the first layer of weeds off before planting.
Don’t leave the plastic on too long, though. After a couple of weeks, the lack of air and the warmer temperatures will start to kill off the “soil foodweb” of microscopic critters that are beneficial to your garden.
4. Control the moisture level in your bed.
If you’re in an area with a rainy spring, or experience heavy, pounding rainstorms, covering your bed after planting seeds and starts will help. A lot of rain can “leach” nutrients down through your soil into the water table, so fertilizers can be moved out of the root zone and be unavailable to your plants.
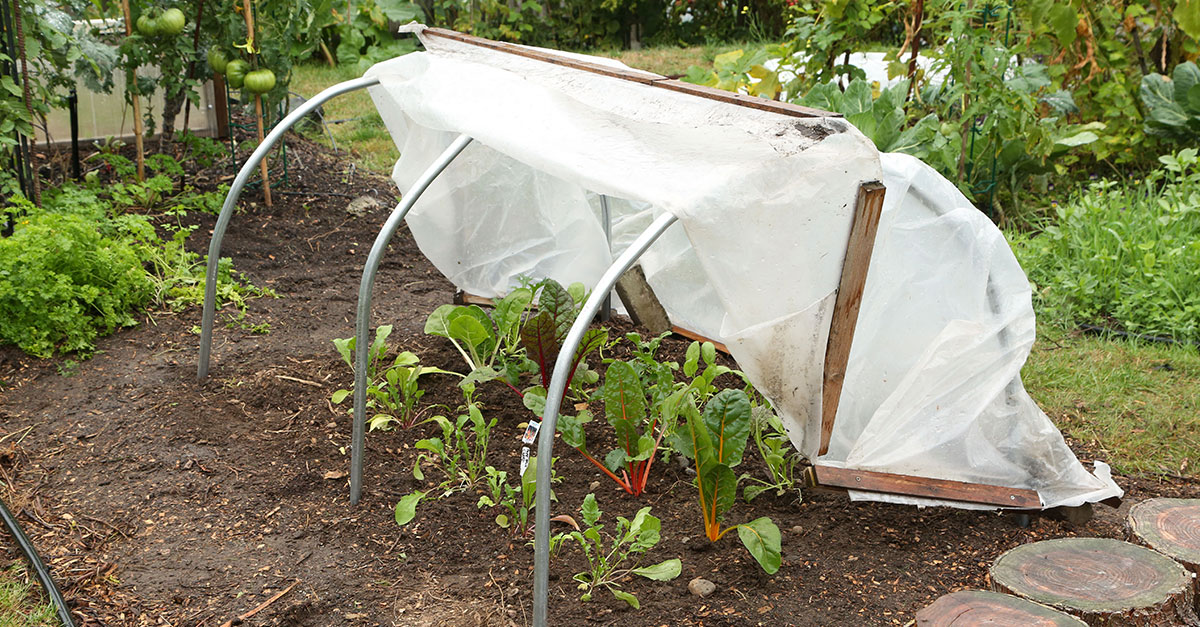
Photo via Cool Season Gardener
A simple cloche can be your garden’s umbrella. Many gardeners use the hoop-house type: a row of hoops forms a tunnel over the bed, with plastic stretched over the hoops and held down around the edges. You can make your own, but there are many commercial types available as well.
A benefit and a drawback: your soil and plants will stay warmer (faster start!) but you will have to pay more attention to the watering. Soil under a cloche can dry out faster, and of course you need to remove the cloche for any rain to hit the bed, or when you want to water by hand.
5. Start with fresh, quality seed.
Many vegetable seeds will only last a couple of years. They are living things, and they store best in a cool, dark place with fairly low humidity. Even so, lettuce might last 2 years, and tomato seed 4. Beans and other larger seed might last longer. Still, fresh seed will germinate more consistently, giving you the most return for your gardening effort.
Look for the year that should be stamped on every seed packet as a “grown for this season” date. If you have home-saved seeds, or have been given seeds by a gardening friend, always note the year the seeds were saved.
You can “germination-test” the seeds by counting out a number of them, putting them between moistened paper towels and placing that in a large zippered plastic bag. The towels should remain damp. Put this in a warm place, like on top of the refrigerator. Wait and watch, and within 2 weeks, they should be sprouting. Count how many sprout and divide by the number you started with. If less than half of them sprout, your seed is too old to use.
To save a bit of money and always have fresh seed, go seed-shopping with a friend, then split the packet.
Nature is about to burst into bud, and gardeners need to be ready. Along with fresh seed, get the most out of your garden this year by trying a raised bed, building your soil with compost, solarizing the bed and using a cloche to control moisture on your young plants.
About the author
 Bill Thorness is a Seattle-based Master Gardener and author of Cool Season Gardener: Extend the Harvest, Plan Ahead, and Grow Vegetables Year Round.
He is the instructor of the Craftsy class The Extended Harvest: Vegetables for Every Season.
Share tips, start a discussion or ask one of our experts or other students a question.
No Responses to “Fast Spring Start: 5 Tips for Edible Success”