Baking can be a blast, with flour and sugar flying, as you whip up new flavors and experiment with combinations. But once the cake is baked, getting it out of the pan can be frustrating and scary. As a result, preparing your cake pans properly is one of the most important things to consider as you look for ways to help improve the overall look of your cakes. It may seem like a non-issue, but in fact it makes all the difference!
Here are the most common ways to prepare cake pans:
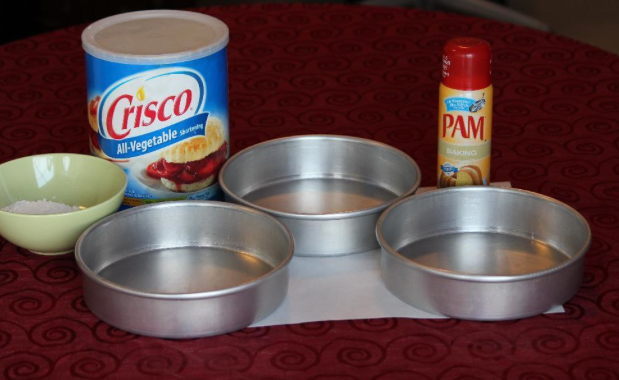
1. Shortening and flour: I grew up being told, like many of my colleagues that the ONLY way to prepare a cake pan was by spreading a thin layer of shortening on the entire inside surface of the pan, making sure to get every nook and cranny. Then covering that shortening in a layer of flour. I will admit that I am a rebel and now DO NOT use this method. I find it messy and unreliable. Many times the cakes still do not detach from the bottom of the pan; then you are stuck spending hours warming the bottom of the pan or the cake tears as half of it falls from the pan while the other half sticks. No thank you! For all you traditionalists out there: there is a better way!2. Baking spray: This is a spray can of shortening with flour added. It is a little less messy than the traditional method, but can get expensive as you can go through it quickly. I do use this if I am doing a Bundt cake or using a specialty cake pan, but I do not use it on all of my cakes.
3. My favorite! Parchment paper circles: This is the most simple, reliable, and cheapest way to prepare your cake pans!
So let’s take a look at how to prepare your pans using parchment paper.
Note: Wax paper is NOT the same as Parchment Paper. If you substitute wax paper it will smoke in your oven which can’t be good for the cake!

Materials
- Cake pans
- Parchment paper- can be found in most grocery stores, cake supply or restaurant supply stores, or online
- Scissors
- Pencil
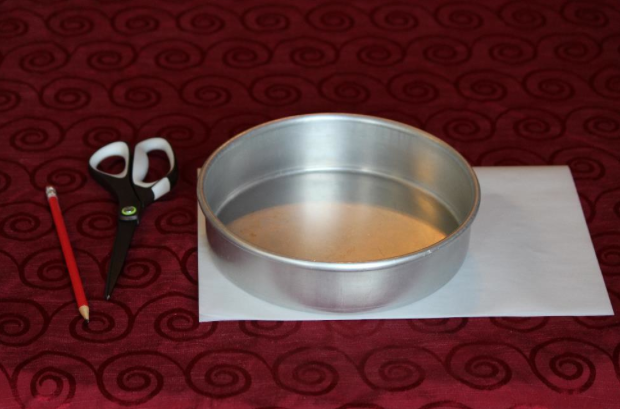
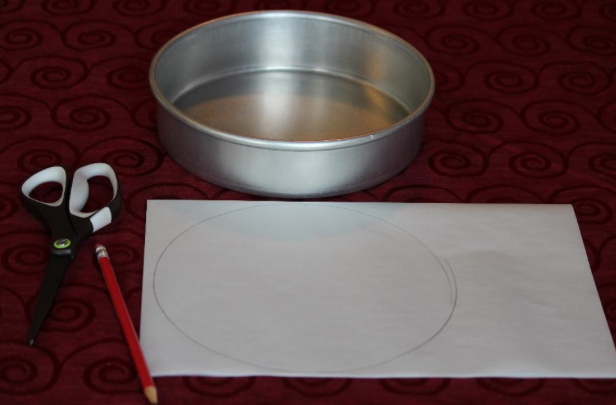
Step 1: Place your cake pan on the parchment paper and outline the pan on it.
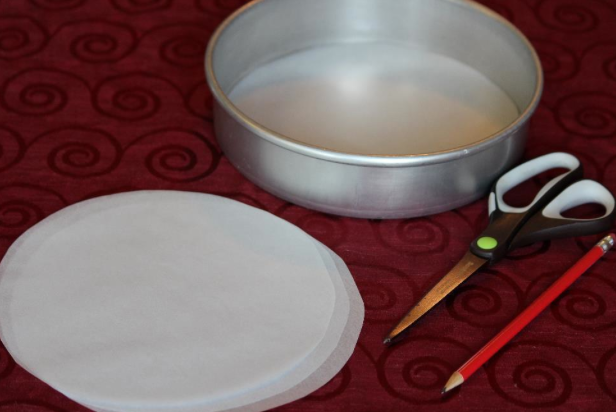
 Step 2: Cut out the parchment circles and place them in the bottom of your cake pan. You have now prepared your cake pan! You do not need to spray the side or the bottom. You do not need to add anything else; just that parchment circle on the bottom will do the trick.
 Step 3: From there, add the batter and bake normally. Once the cake is out of the oven and completely cool in the pan, use a sharp knife and run it along the edge of the pan to release the edges.
Step 4: Then flip it over and your cake is ready to continue its journey!

Share tips, start a discussion or ask one of our experts or other students a question.
No Responses to “Make Sure Your Cakes Don't Stick: Preparing Cake Pans”