
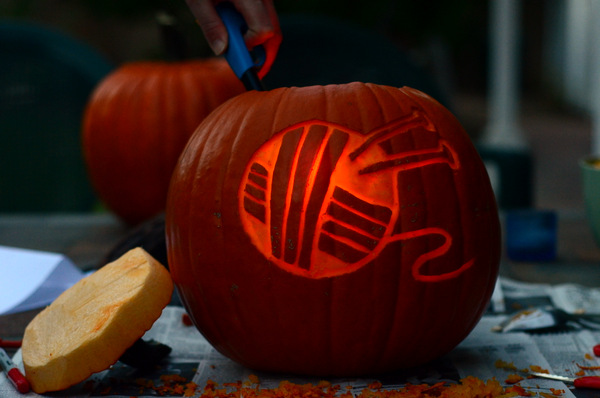
Who says jack-o’-lanterns have to be spooky? This Halloween, show off your yarn love and carve a crafty pumpkin.
Ball of Yarn Pumpkin
Level: Easy
What You Need
Instructions
1. Pick a Pumpkin and Print Your Template
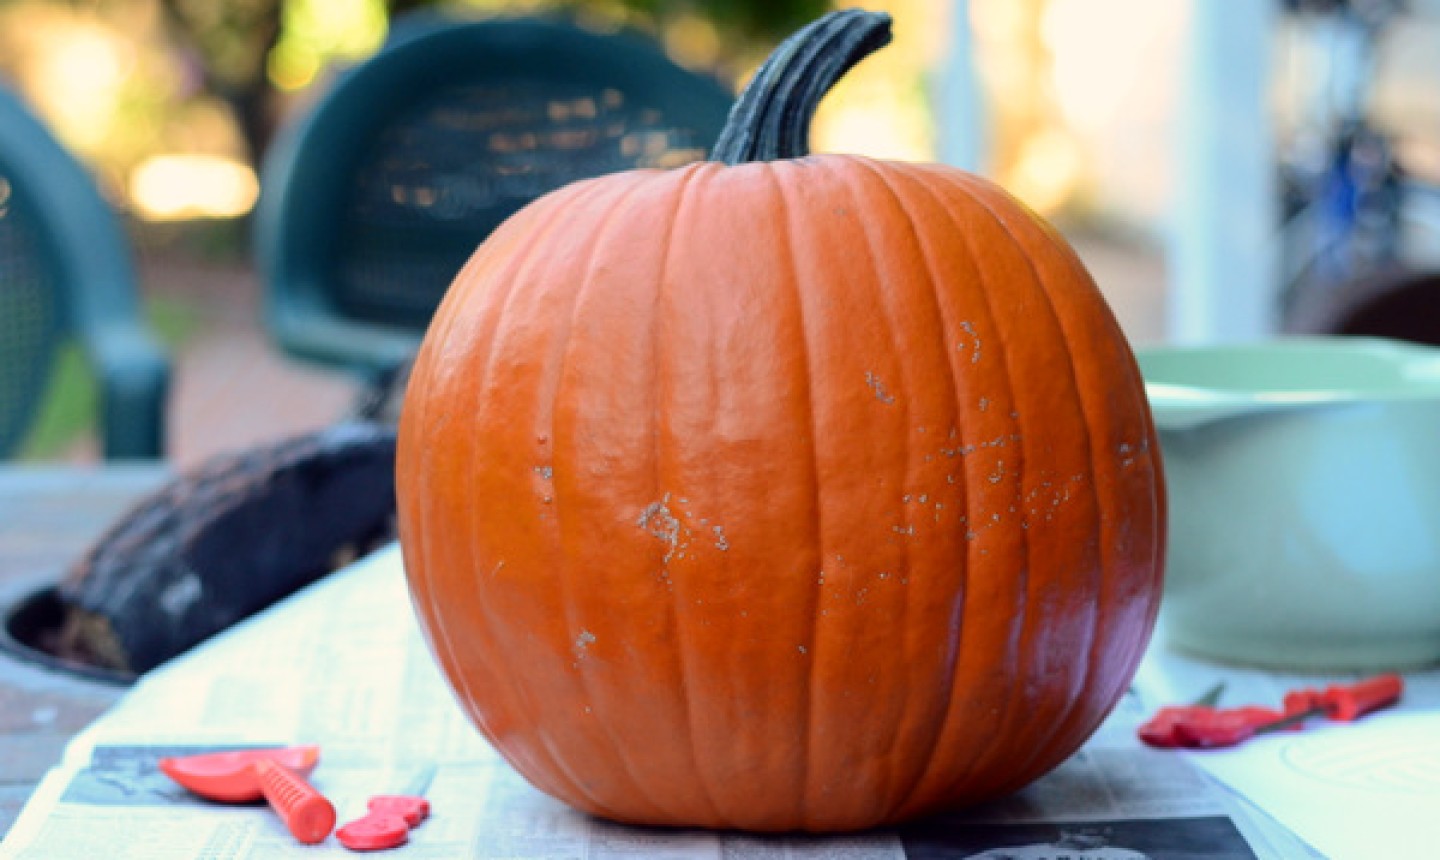
Any pumpkin that catches your eye is fair game for carving, regardless of size, shape or color. Larger pumpkins tend to give you more visual impact and are easier to carve details onto, so you may want to choose one that’s at least 10-15 pounds.
2. Clean It Out
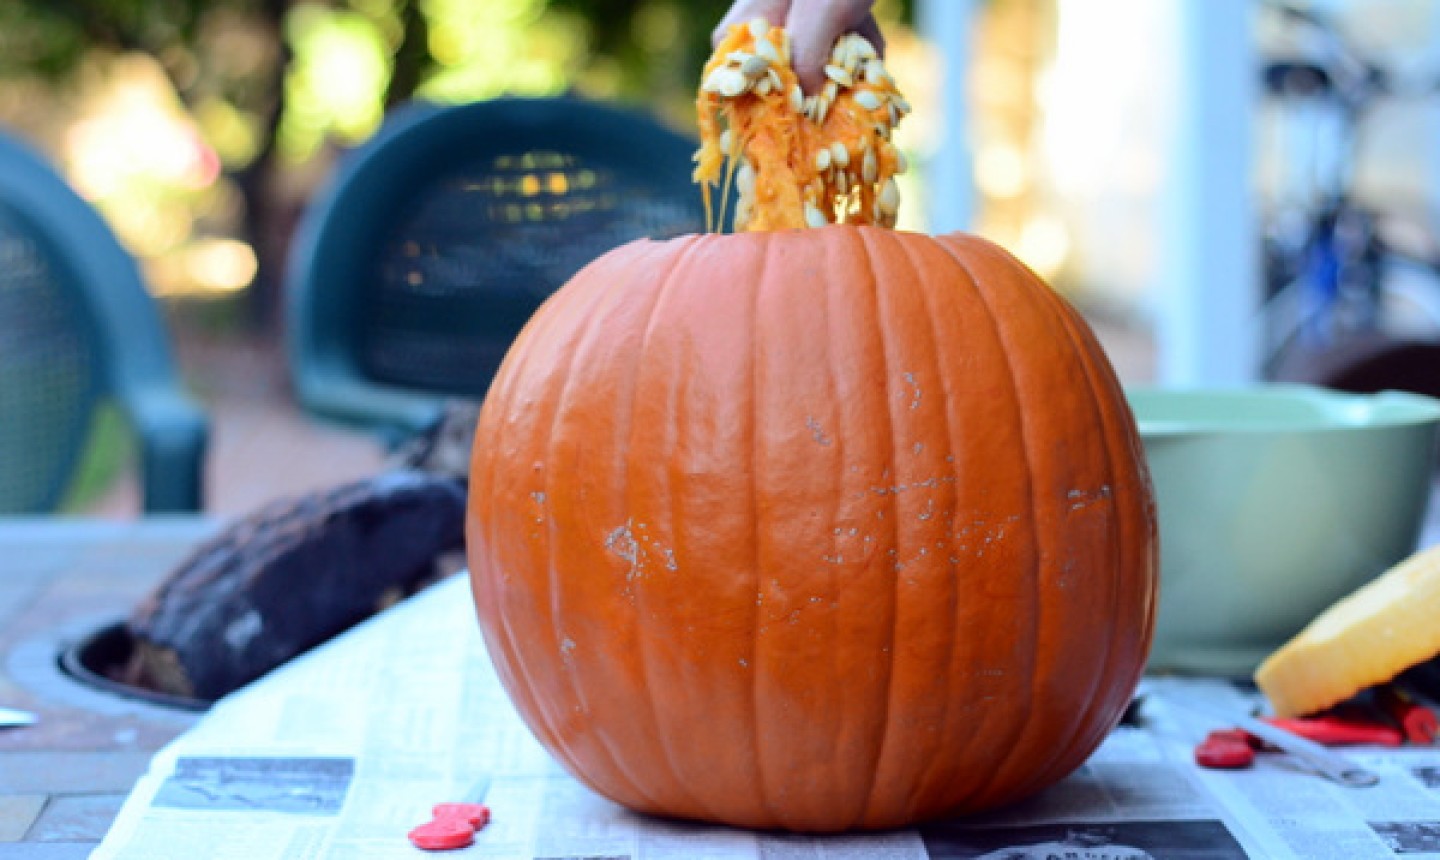
Cleaning out your pumpkin is the fun, messy part of the job. Use a serrated knife to remove the top of the pumpkin. Remove the guts and seeds by hand, then grab a plastic pumpkin scraper to clean the sides.
Good to Know: With a sculpted pumpkin design like this one, you’ll need to thin the wall of the pumpkin on the side you are carving. You can do that at the end of the carving process. (See instructions in step 6.)
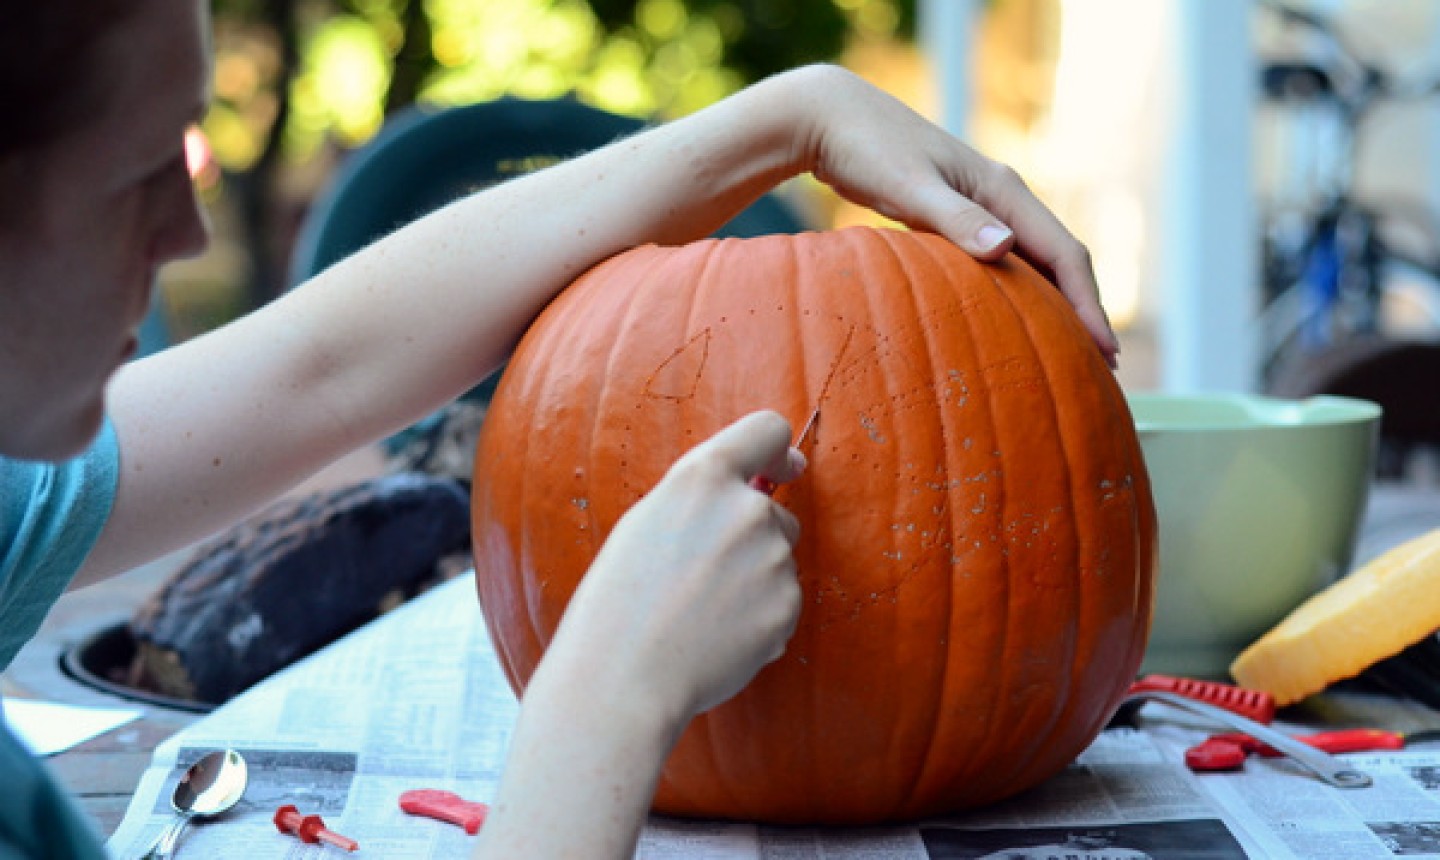
3. Transfer Your Template
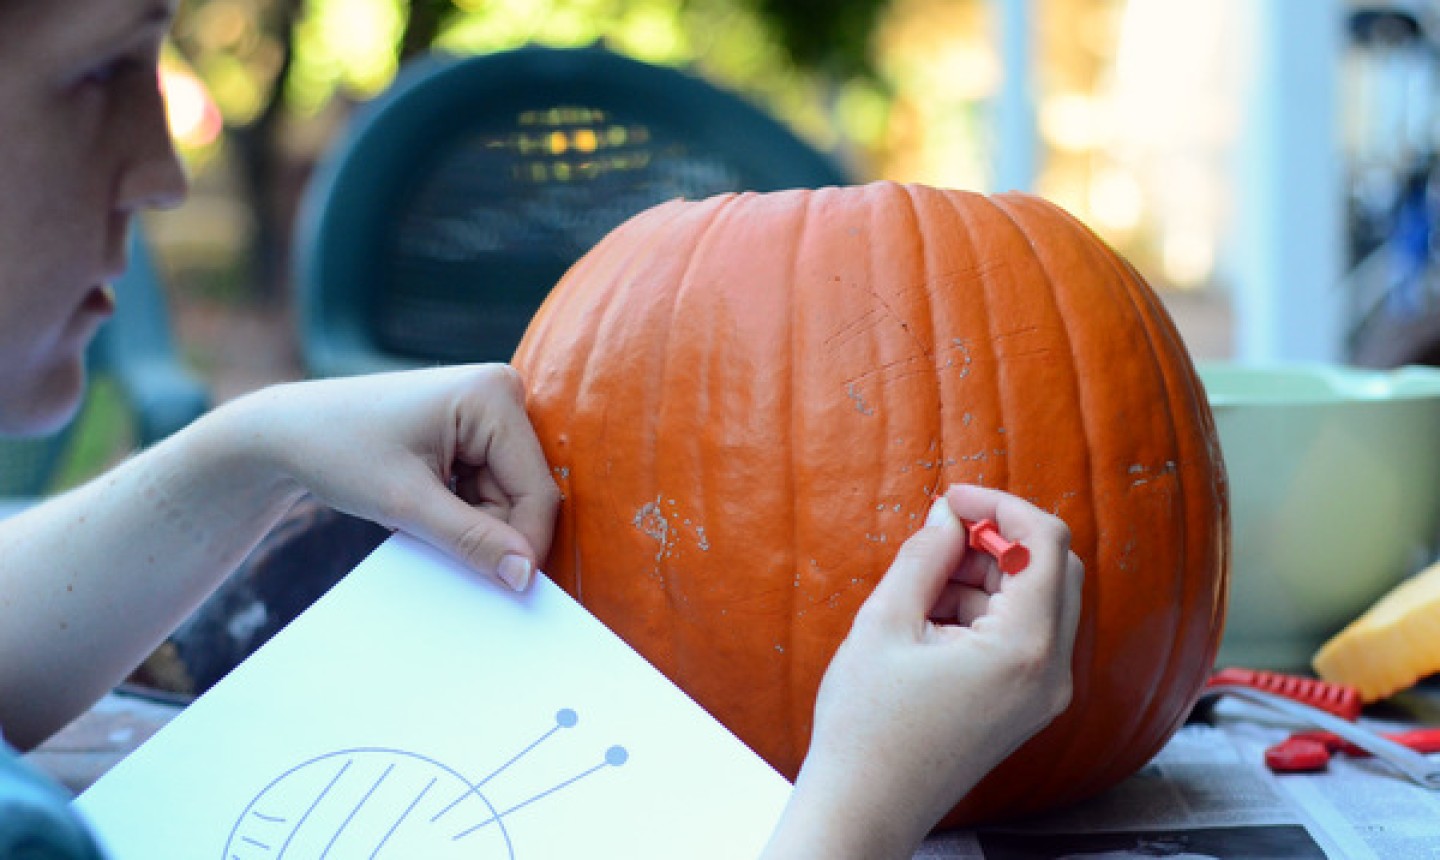
The easiest way to transfer your template onto a pumpkin is to tape the paper and poke holes through the outline. This creates a connect-the-dots effect that’ll be a guide to your carving. There are pumpkin carving tools specifically for this purpose, but you can also use a toothpick or skewer.
Good to Know: If you have a steady hand and a good eye, you can also use the template as a reference and simply sketch the design into the pumpkin using pencil or a red marker. (That way you won’t see leftover marks on the finished carving.)
4. Cut the Outline
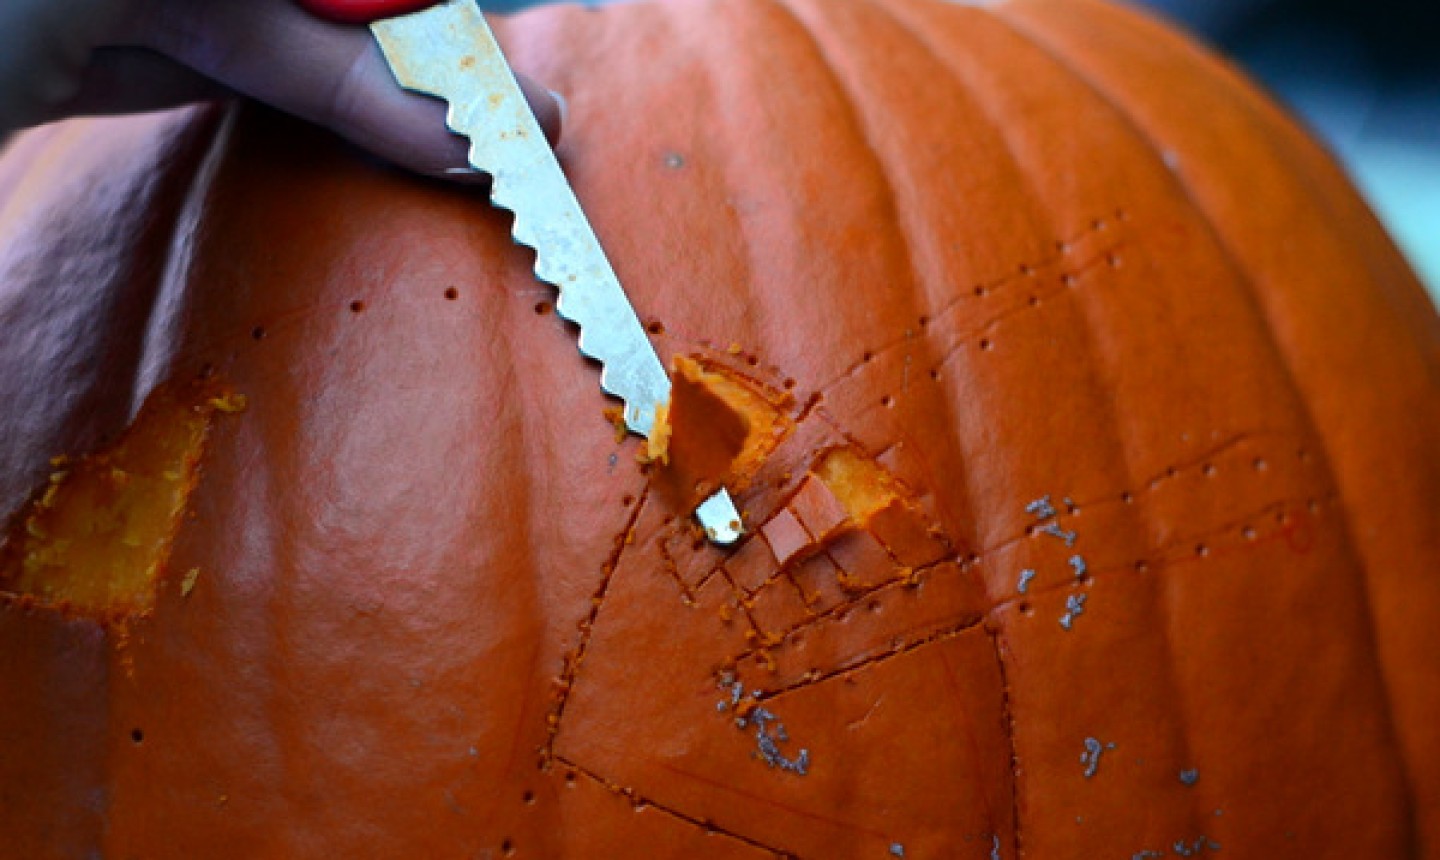
Go back over the same lines a second time, placing your knife at a slight angle so the lines become slightly thicker and more visible.
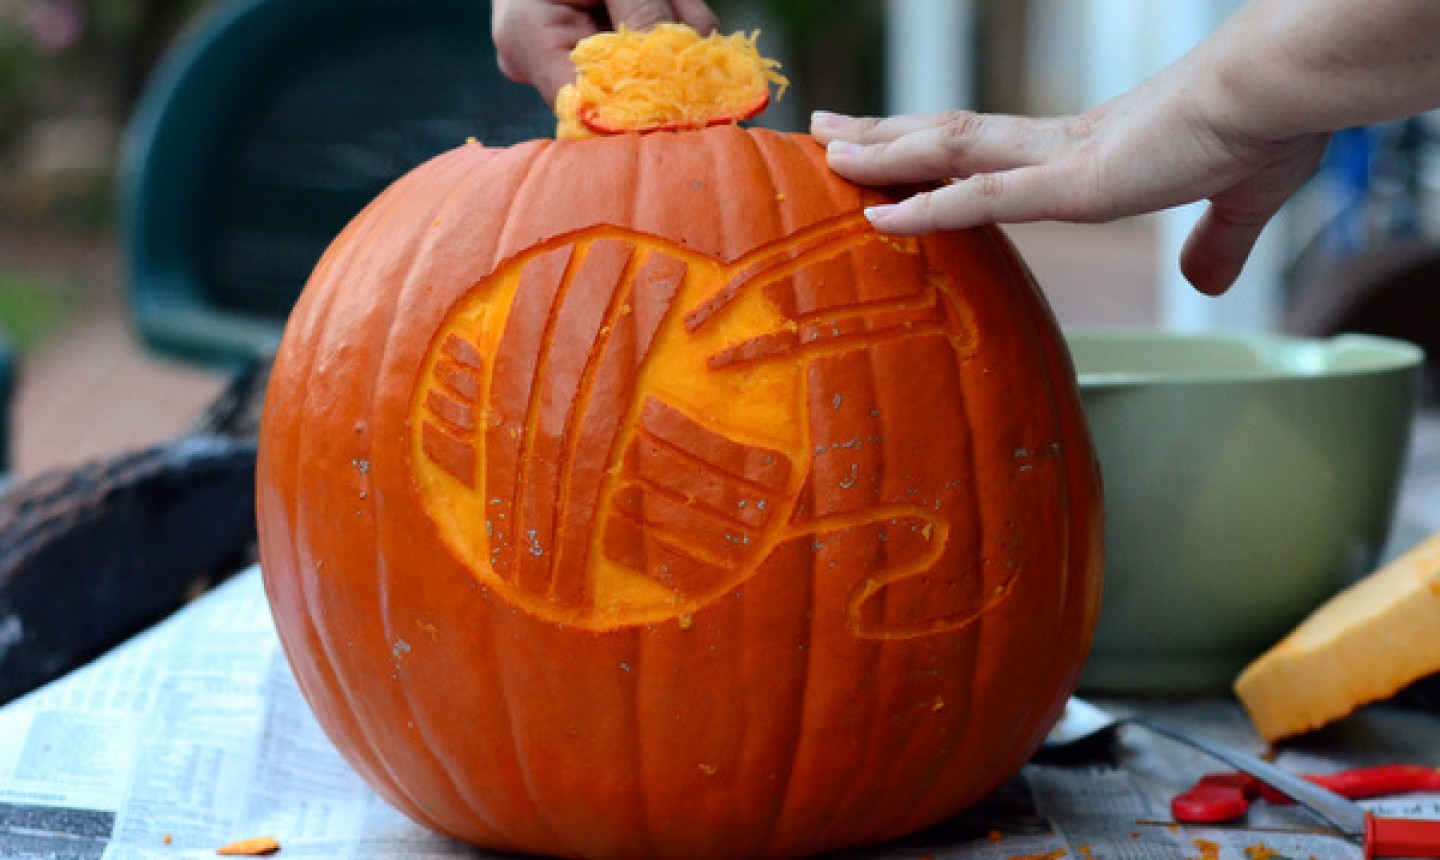
5. Sculpt the Ball of Yarn
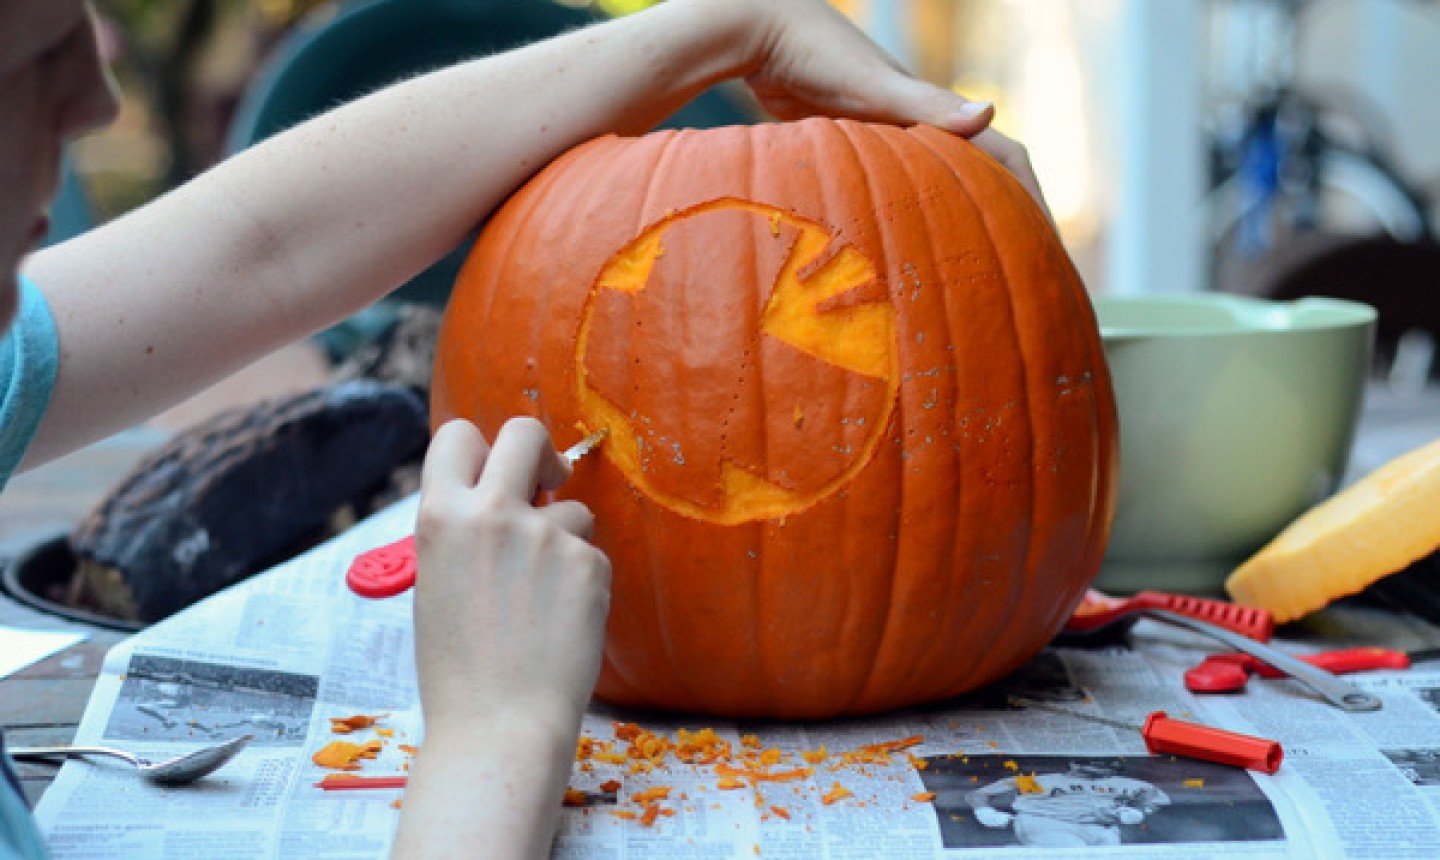
Once you have your basic outline in place, it is time to sculpt the details!
Remove the pumpkin skin from the “blank” areas of the template by scraping it off with a dull knife (a small, sturdy butter knife works well), small spoon, melon baller or zester with a large opening. You could also use a small, round-tipped pumpkin-carving knife.
Good to Know: Sculpting pumpkins is a lot easier than it looks, as it only involves taking off the outside layer of the pumpkin. The flesh is soft and simply needs to be thinned so light can pass through the wall when you’re ready to light it up.
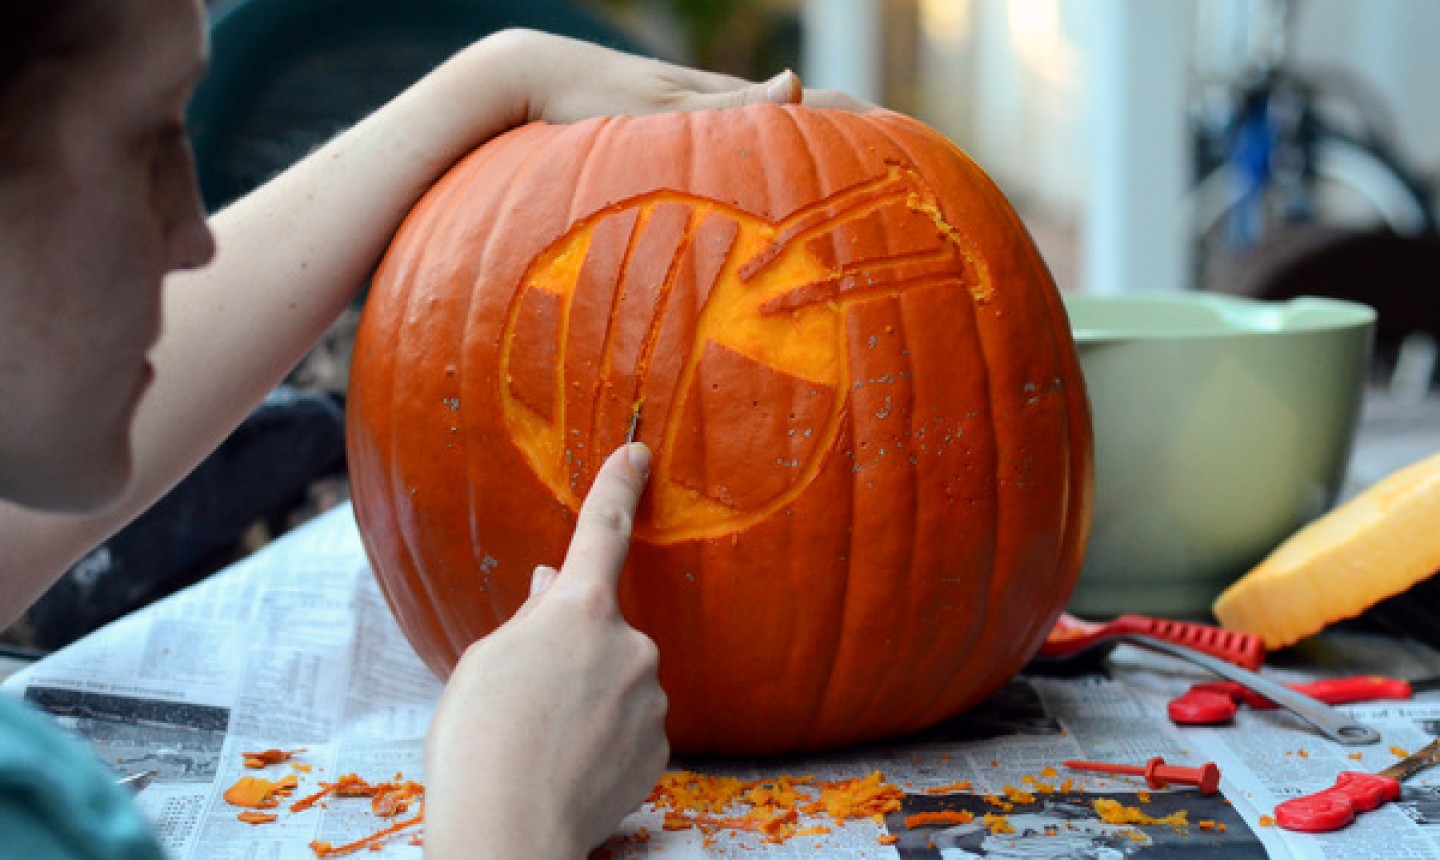
Trace over the lines you previously cut to make them even thicker and more defined. (The design actually only has a few lines, so you want to really be able to see them!) Try to make your cuts about ¼” deep, just know that may vary depending on the thickness of your pumpkin’s wall.
6. Thin the Walls
Once your design is finished, thin the wall of the pumpkin from the inside. Use your spoon or pumpkin scraper to scrape away some of the flesh from the wall the design is on. When you place a tealight candle inside, you should be able to see light through the areas you carved.
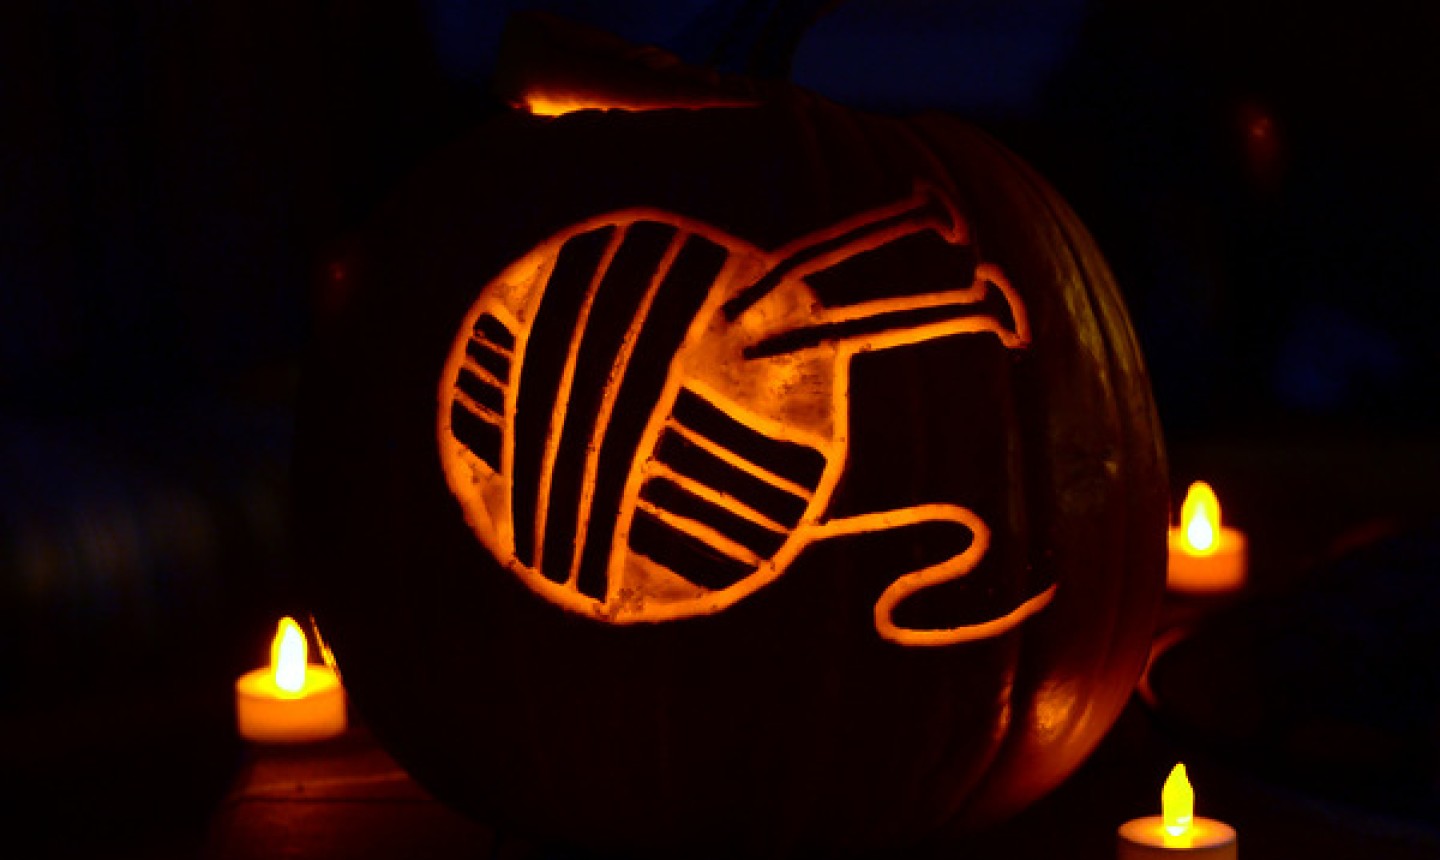
Now you just have to wait until nightfall to light up your totally unique jack-o’-lantern!
Share tips, start a discussion or ask one of our experts or other students a question.
Already a member? Sign in
No Responses to “Show Off Your Knitting Love With a Yarn Ball Jack-O'-Lantern”