
The quilt-as-you-go method is a quilting technique that is exactly what it sounds like — you quilt as you go along. So, as you are piecing your fabric together, you are also quilting the quilt. It is a great technique to use on table runners, pot holders and other small projects that you would like to make quickly. It works best with piecing that is done by adding one strip to the next.
Let’s go over quilt-as-you-go basics, so you can use this technique.
To create your quilt as you go block, you will need:
- Batting: For a beginner, cut to about 10-12″ square. Use 100% cotton or an 80-20 blend.
- Backing fabric: But the same size as the batting, or a little larger
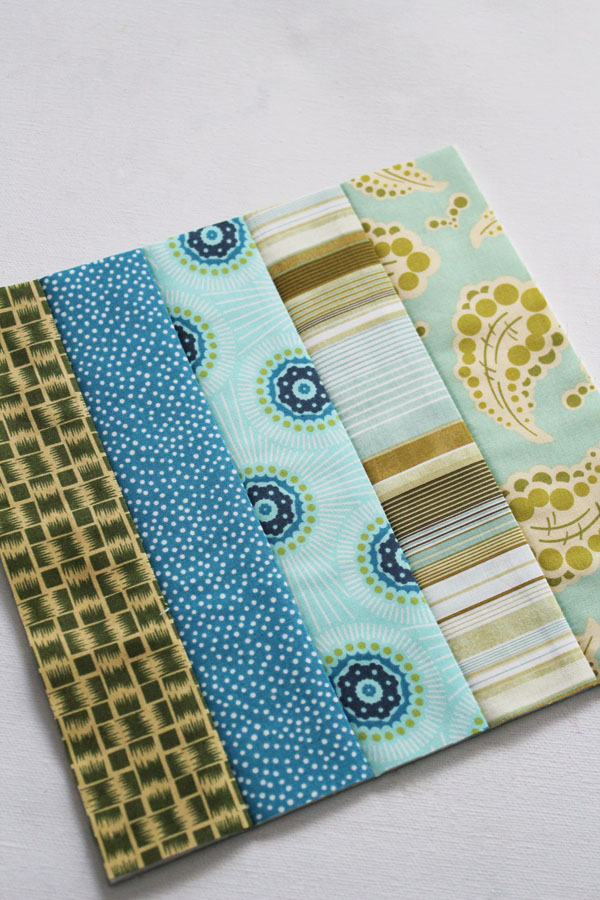
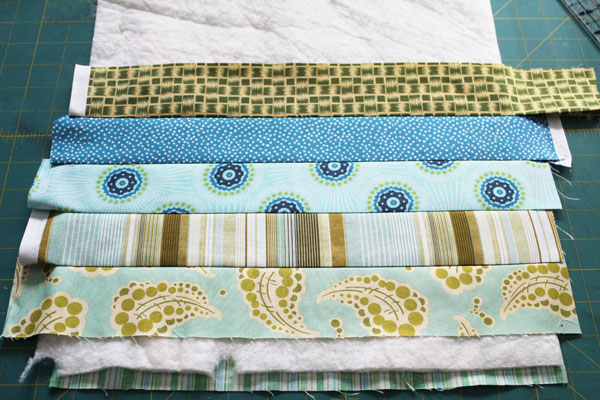
- Fabric strips: these can be the same size or different sizes for variety
- Scissors, rotary cutter, ruler, and sewing machine with a walking foot
- Iron and ironing board
This technique is great for beginning quilters, because progress is made quickly. And experienced quilters love how fast you can turn a pile of strips into a project that is both pieced and quilted at the same time.
Step 1:

Begin by making your quilt sandwich. Lay your backing fabric wrong side up, then the batting, then the first strip, right side up. The first strip will be the only strip that is placed right side up. Every other strip will be placed right side down.
Step 2:
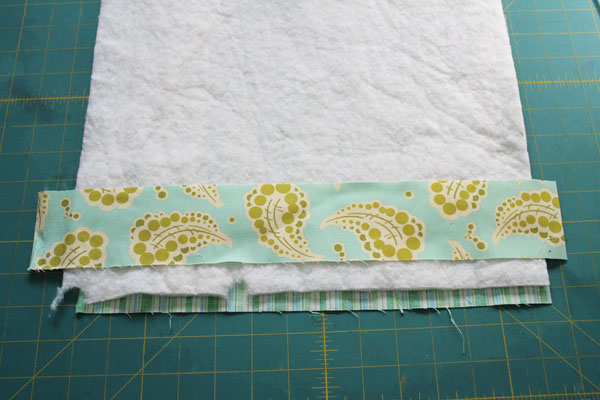
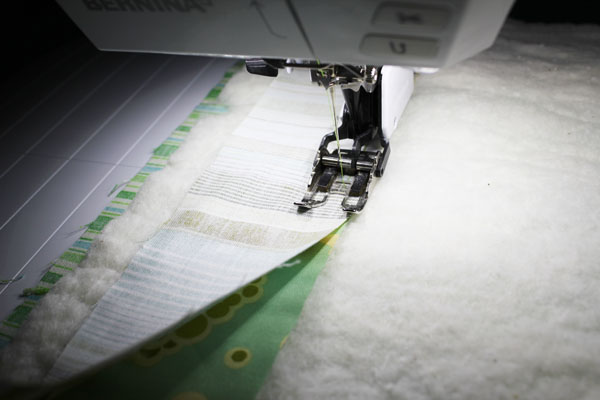
Place the second strip on top of the first. If your strips are different sizes, make sure that the sides where your seam will be line up. Stitch down using a walking foot. You can learn more about a walking foot in this Craftsy post on the basics of machine quilting.
Step 3:
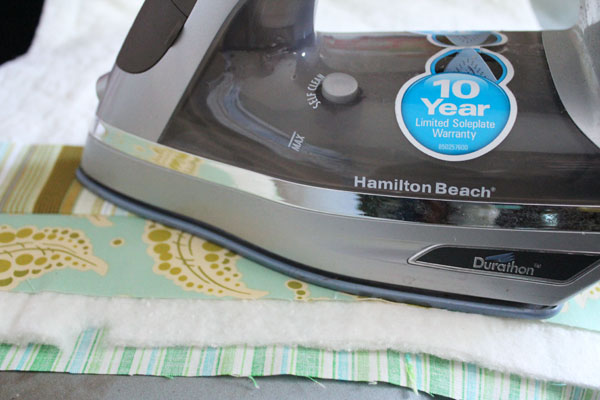
Once you have stitched the length of the strip, take the block to the ironing board, and press the top strip back.
Step 4:
Repeat this process, stitching down additional strips, then pressing them back.
Step 5:
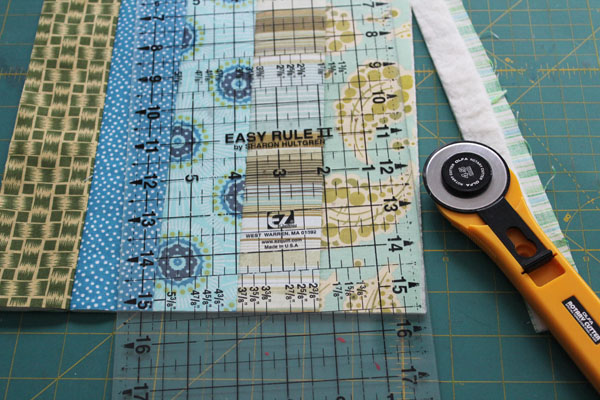
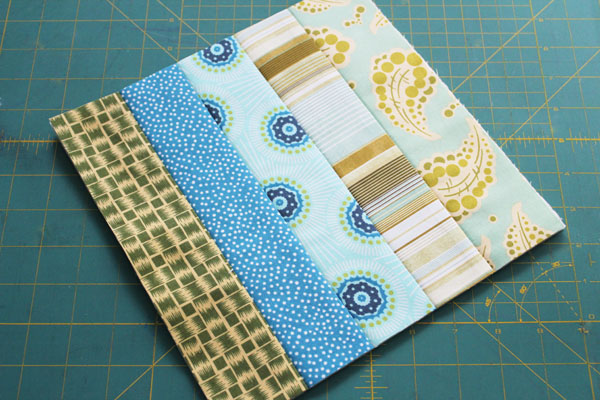
When your quilt as you go block is large enough, you can trim it down.
Step 6:
Quilt as you go blocks make wonderfully quilted pillow fronts. Add the pillow back, and insert a pillow form for fun and fast quilted decor. It is also a fantastic technique to use for making purses and bags.
Step 7:
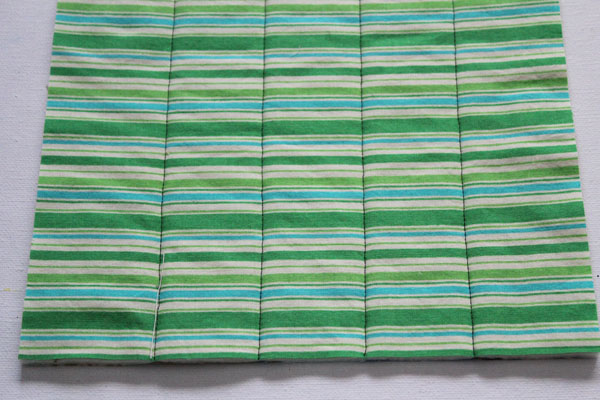
If your strips are smaller than the quilting distance suggested on the batting you used, you won’t need to add any more quilting to your piece. You can add extra quilting if you like, but as you can see from the back of the block, the strips have been pieced, and the block has been quilted, all at the same time.
Step 8:
Have you ever tried quilt as you go? What kind of project did you make?
I did a table runner once. Turned out beautiful. Autumn on one side, Christmas on the other. Unfortunately I gave it away and I never got around to doing another one. I’m inspired now to do this for myself.
So easy to sew if your a newbie to quilting!