
Machine embroidery is a wonderful tool for quilt makers. Depending on the design, you can easily piece blocks, embellish them with embroidery and even quilt them right in the hoop!<
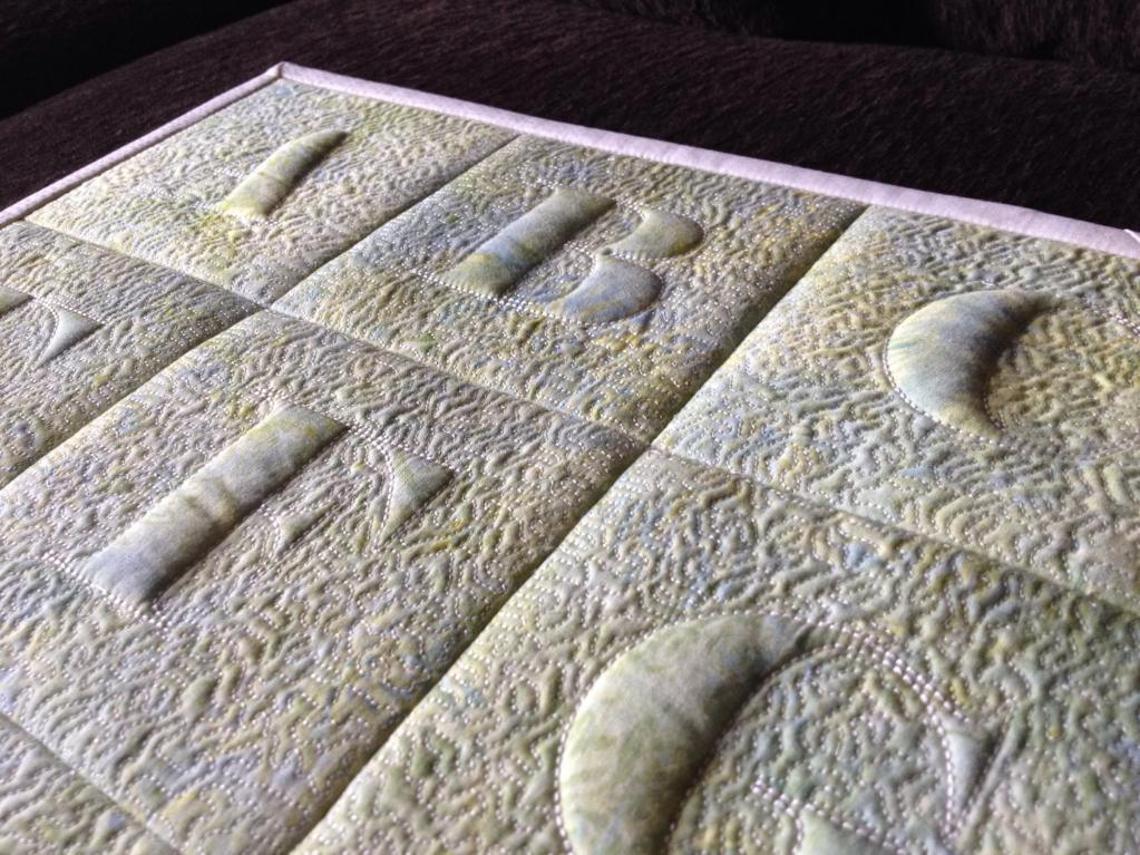
Trapunto quilt photo via Craftsy member sheilahoneycutt’s Pattern Store
Here are 8 tips quilting with an embroidery machine.
1. Baste first
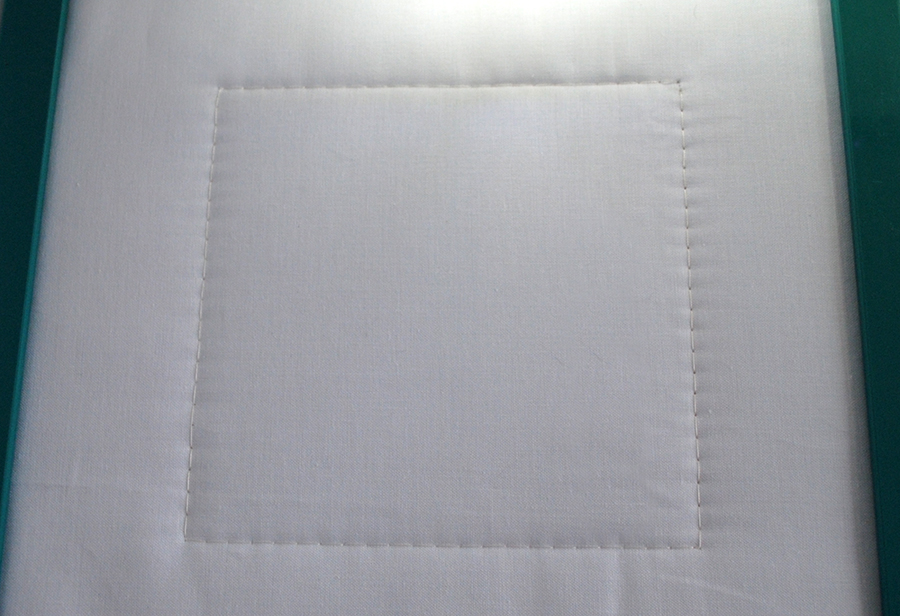
Photo via Debbie Henry
If the design doesn’t include a basting stitch around the outside of the embroidery area, add one. Most embroidery machines include this function. It helps keep layers secure and removes easily afterward.
2. Think big but start small
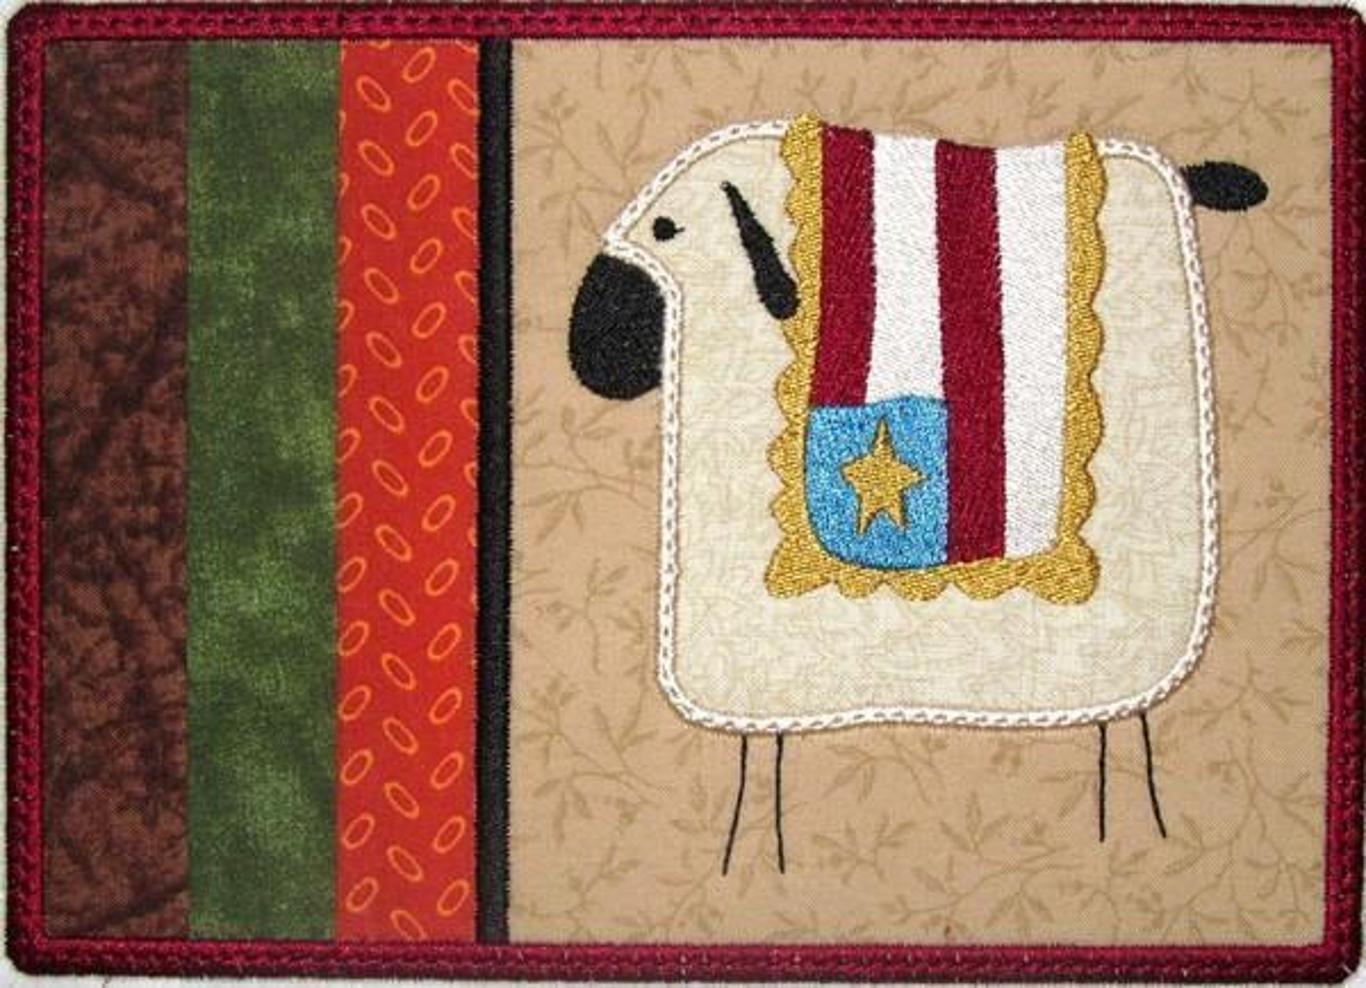
Photo via Craftsy member Sanity’s Machine Embroidery Designs
Before jumping right into stitching a quilt, try a mug rug like the one pictured above. That will give you a feel for how machine embroidery designs perform various quilting tasks. Created entirely in the hoop, this embroidery design combines appliqué with pieced strips, backing and edges finished with satin stitching rather than bias binding.
3. Use a magnetic hoop
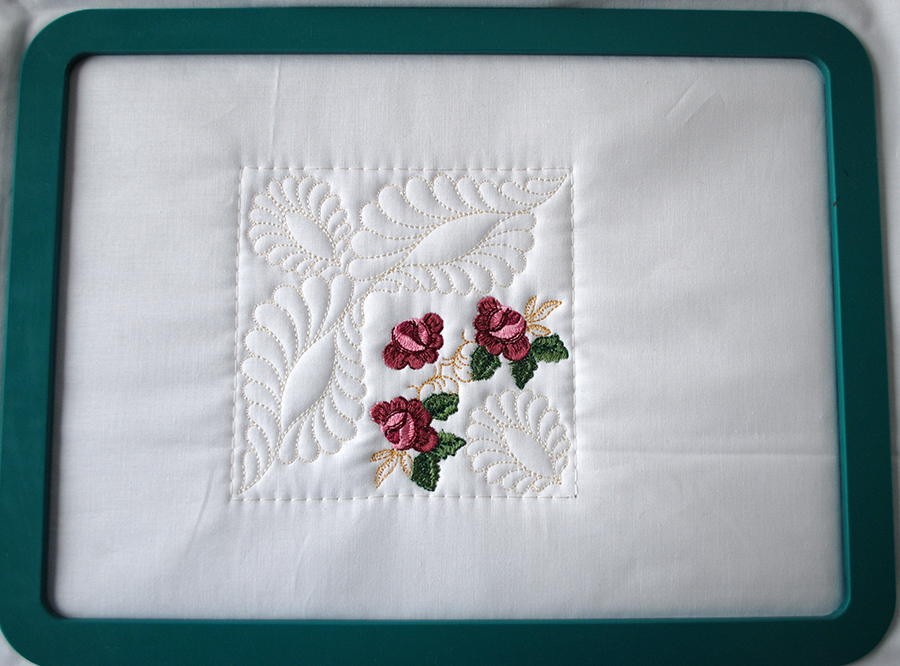
Photo via Debbie Henry
Magnetic hoops like the Snap Hoop Monster are very useful for quilting in the hoop. They easily hold fabric and batting together without leaving hoop marks and are especially useful when positioning projects that need to be hooped multiple times.
4. Trim blocks to size after embroidering
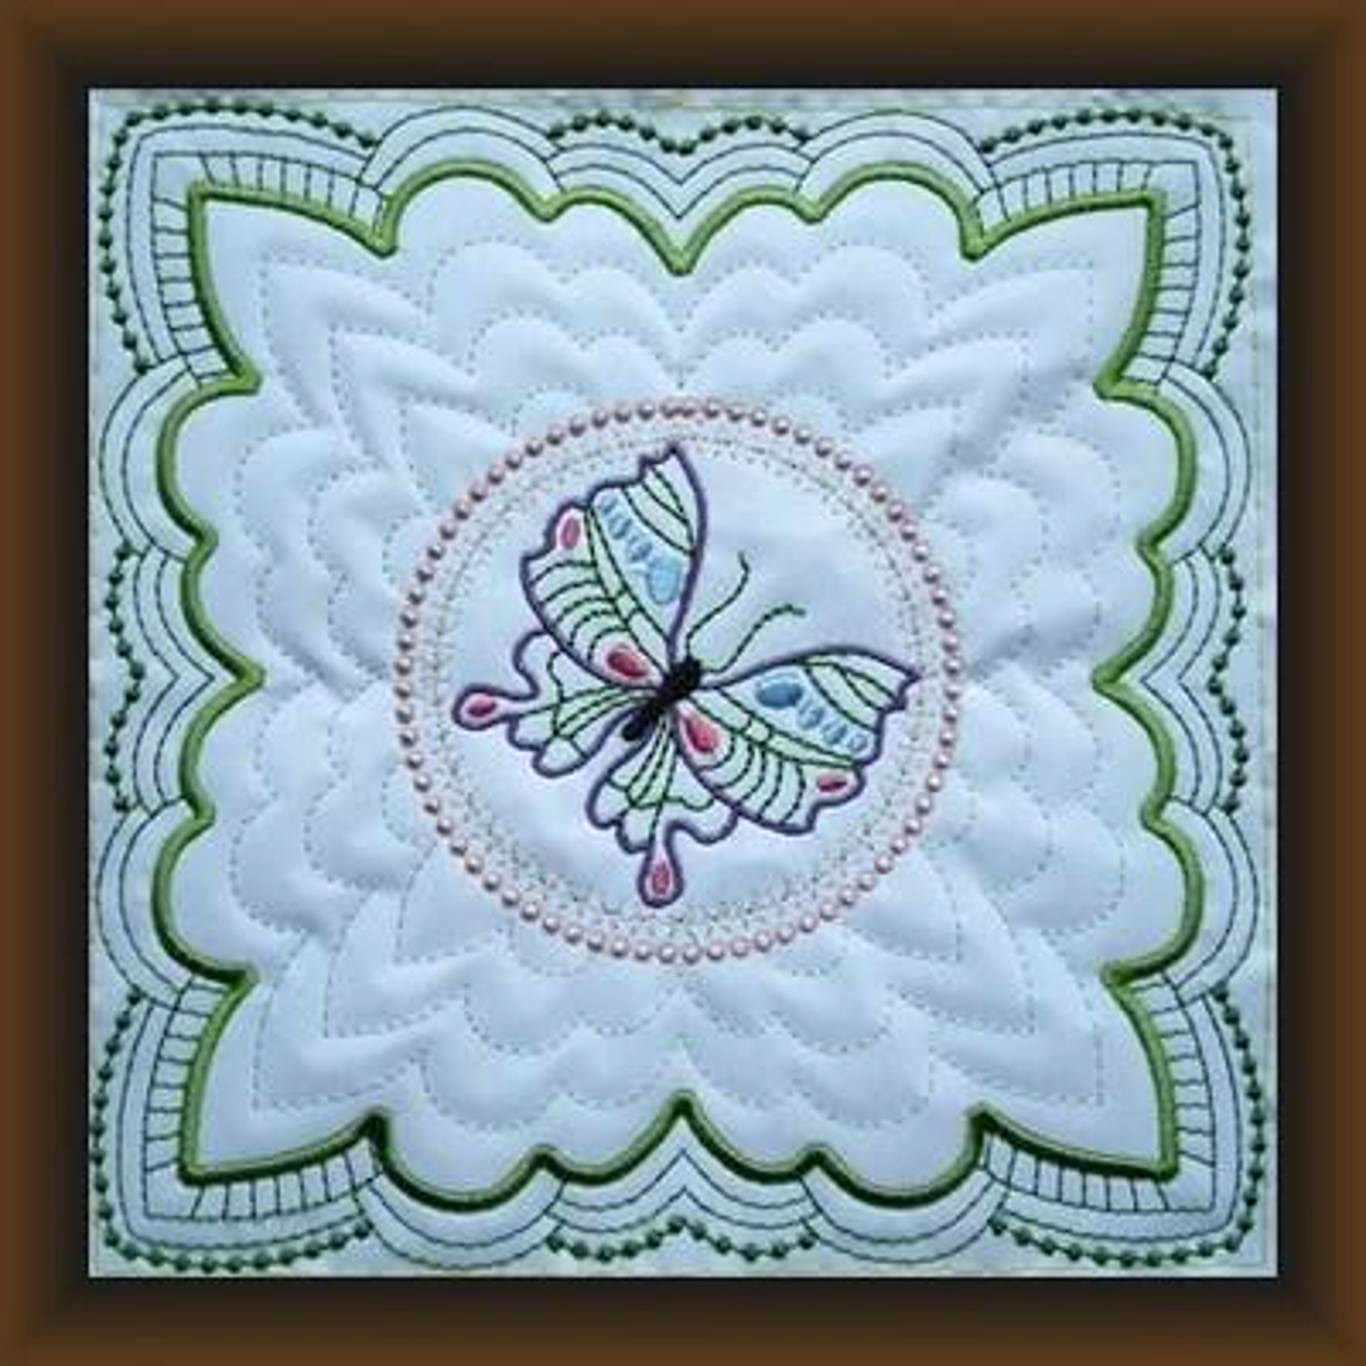
Photo via Craftsy member Sanity’s Machine Embroidery Designs
Cut your base fabrics larger than needed and trim them down to size after finishing the embroidery. This ensures that the designs have clean edges and are properly centered before piecing or adding borders. This butterfly block is a perfect example.
5. Use precut fabrics and shapes
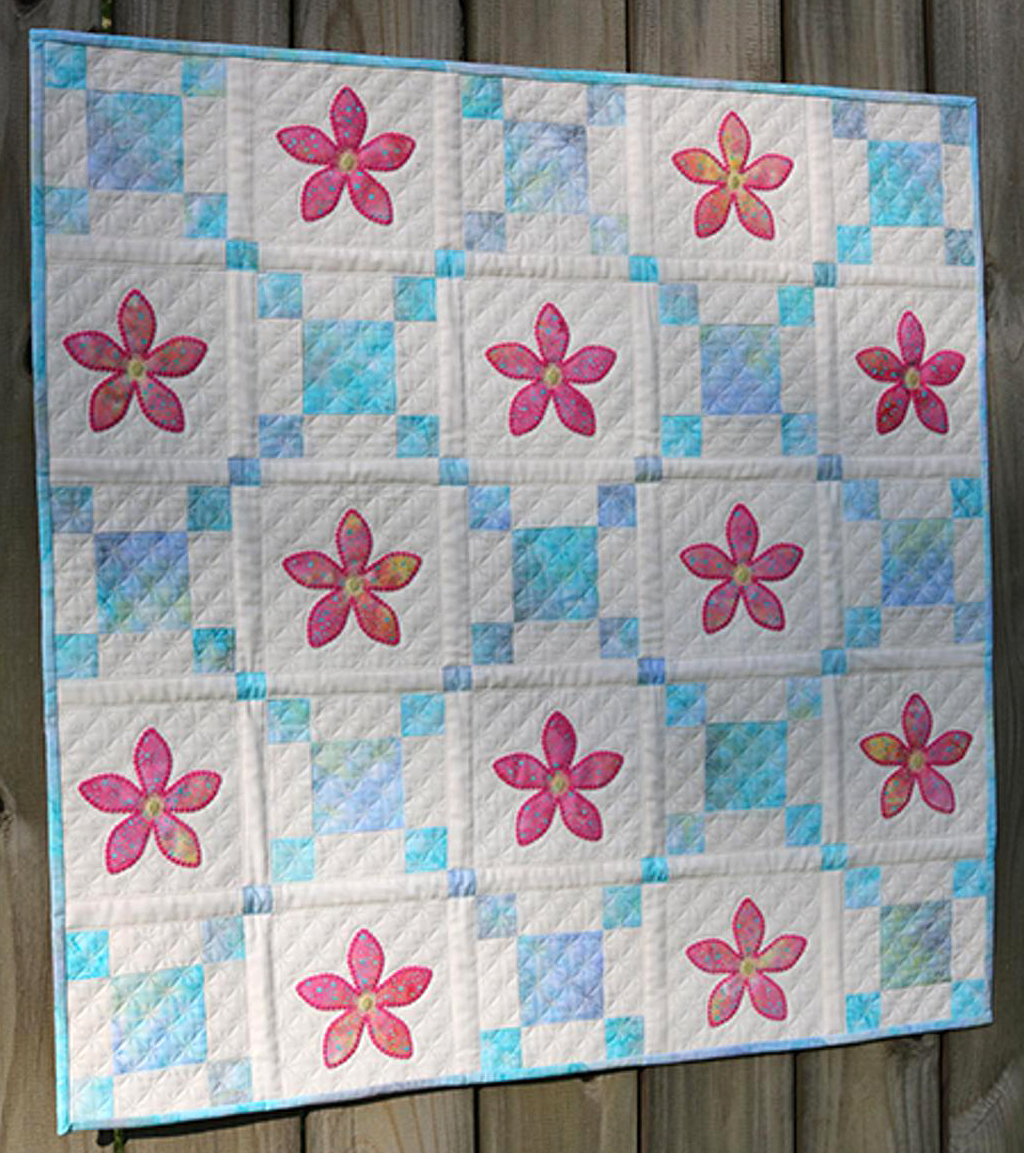
Photo via Craftsy member B-quilts
Precut fabric strips and squares make quick work of piecing quilts. Then you can spend more time adding die-cut appliqué shapes (such as AccuQuilt Fun Flowers used in this quilt) and digitized embroidery designs to coordinate for perfect appliqué every time.

Photo via Craftsy member B-quilts
Even the letters used in this wall hanging were cut with an AccuQuilt die. That saves a tremendous amount of time when compared to cutting each letter by hand! Each appliqué motif is stitched in its own block, making the final assembly easier yet.
Many embroidery digitizers now supply SVG files that are compatible with digital cutting machines, like Silhouette Cameo and Brother ScanNCut, with their designs.
6. Make it manageable: building blocks
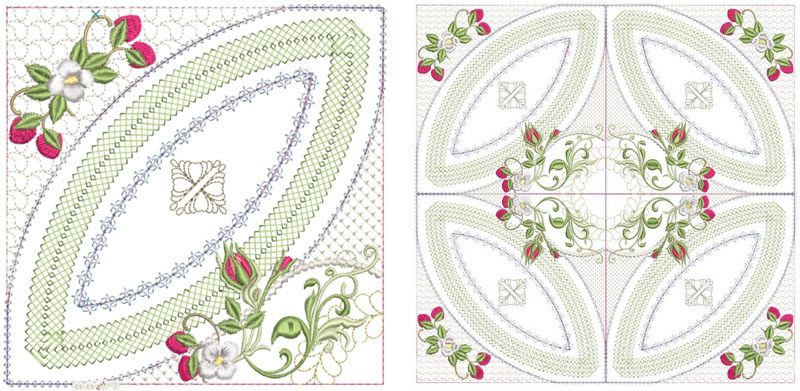
Photo via Craftsy member Pixies Rule!
Depending on how the designs are digitized, embroidered quilt blocks (like this Mock Wedding Ring) can be used alone or combined to make larger blocks. Often, blocks are quilted in the hoop during embroidery or stitched together and quilted after assembly.
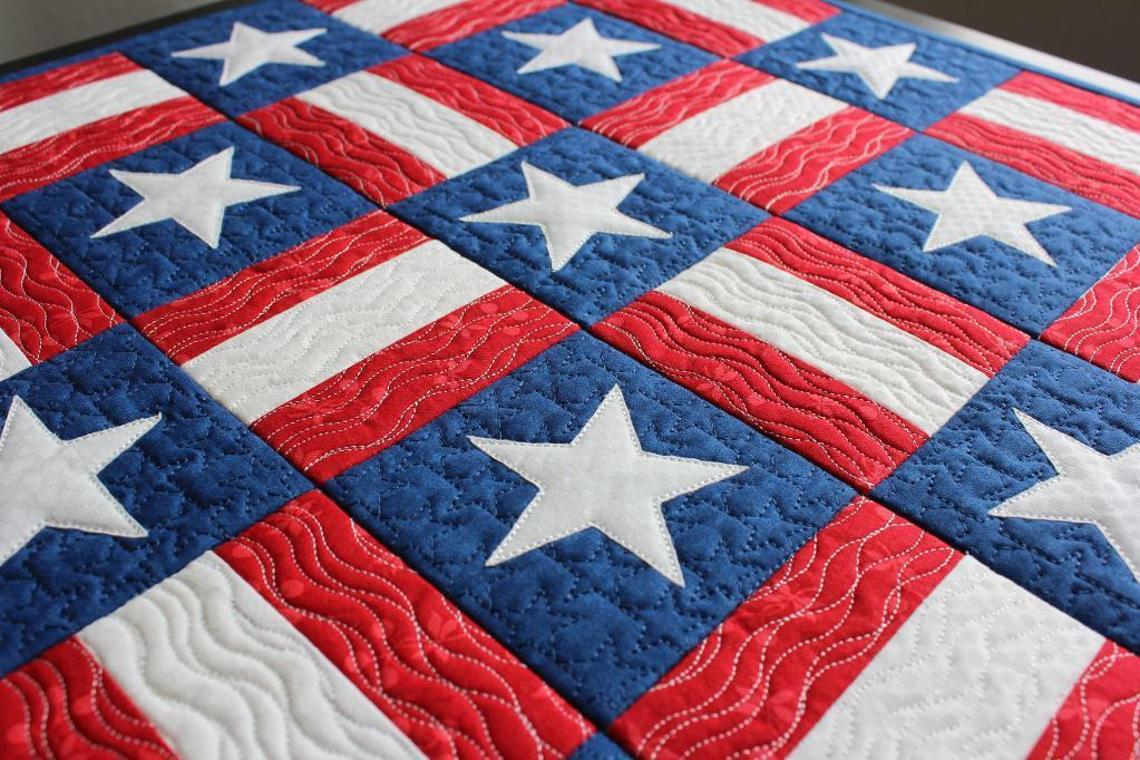
Photo via Craftsy member sheilahoneycutt’s Pattern Store
In the quilt block pattern above, star blocks are quilted in the hoop with the addition of a raw-edged appliqué star. The striped blocks are also pieced in the hoop before being quilted with a wavy, decorative stitch.
7. Think outside the hoop
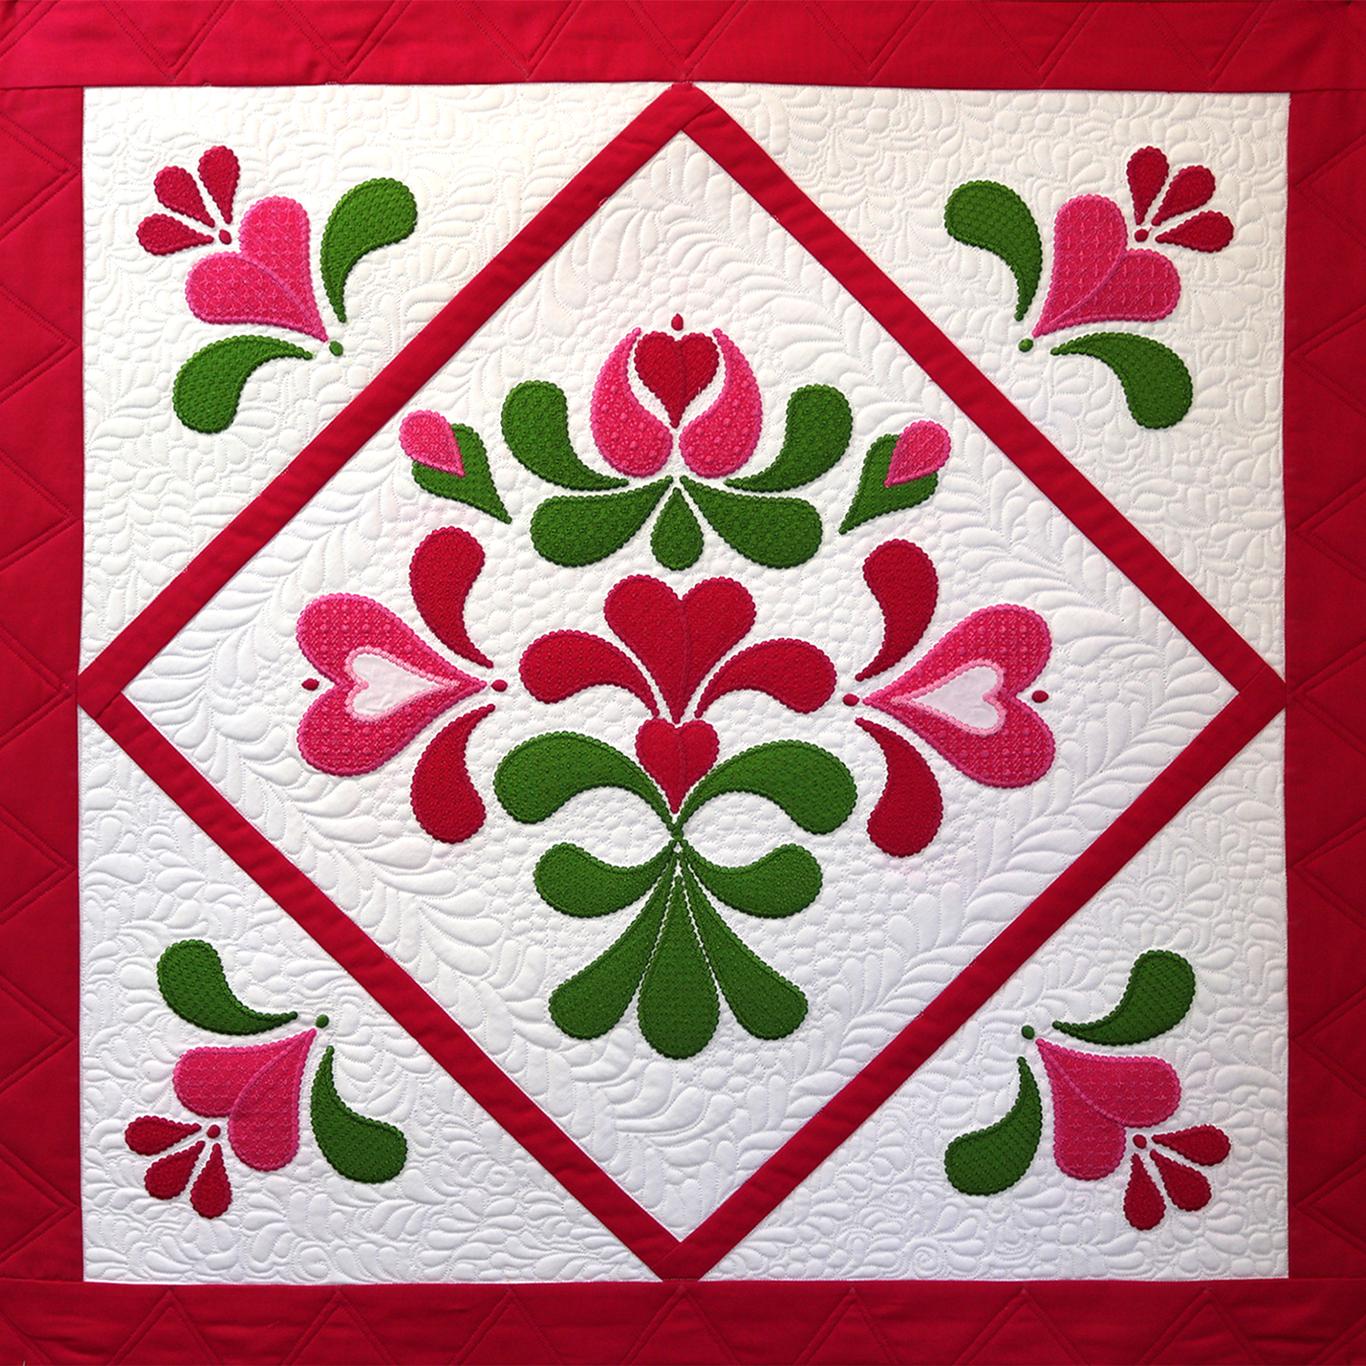
Photo via Craftsy member B-quilt
Imagine being able to appliqué a 24” square quilt block in a 5-by-7-inch hoop. Craftsy member Marjorie Busby of B-quilts digitized this gorgeous appliqué block so that you can easily re-hoop for each section and keep everything aligned.
Start by tracing alignment marks from the template onto your base fabric. Part of the embroidery process stitches alignment marks on the stabilizer. Then, line up the fabric marks with the stabilizer marks and the result is pure magic. Adding corner pieces, sashing and a border to the middle block means numerous possibilities for creating big quilts with standard hoops.
8. Go crazy!
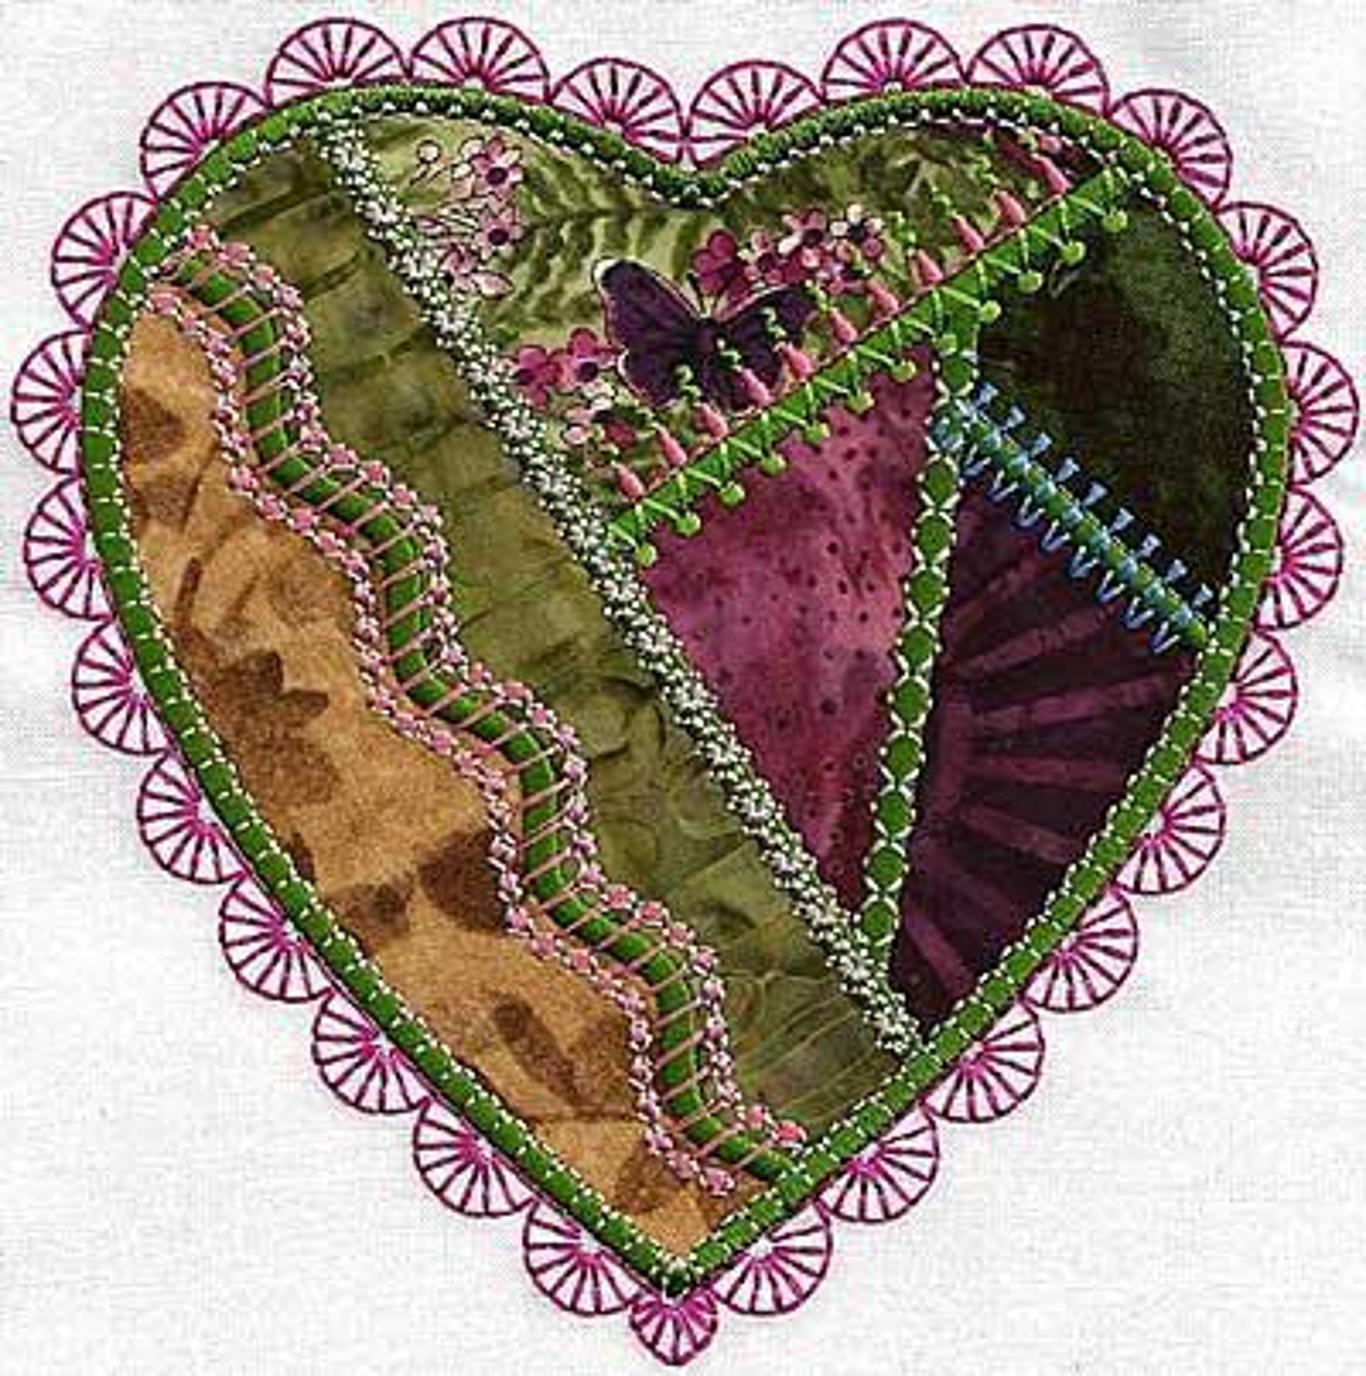
Photo via Craftsy member Molly Mine
Appliqué easily becomes a crazy quilt block with plenty of embellishments, all done by machine. Give it a try — I bet you’ll be pleasantly surprised at the gorgeous results and abundant possibilities. Check out this crazy heart quilt for inspiration!
I'd love to see this concept in a video class!
Interested in learning to use my 4” hoop machine.
How long does it take to get my bought classes back online?