
What pops into your head when you hear the word- stencil? I think of those old ABC stencils that I used to trace my name onto my school notebooks as a kid. Maybe you think of painting or scrapbooking! In the world of quilting, stencils are an effective tool that quilters have been using for hundreds of years.
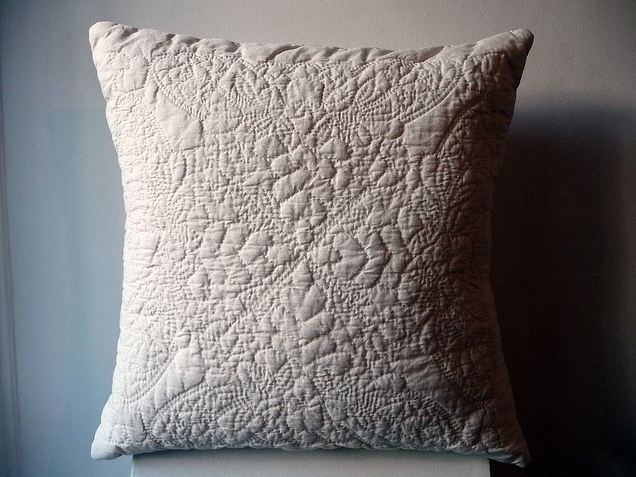
Photo Credit: carryboo
By definition, a quilting stencil is a template that is used to trace designs onto a quilt top prior to quilting. These templates have grooves cut into them that form specific designs and patterns. The grooves are traced to create lines on the fabric that show where to sew. These designs are generally more elaborate and complex, and as a result they are a really nice way to kick your quilting up a notch.
Quilting stencils can be used in all different ways. They can be used to fill in negative space, add a focal piece like a medallion, create a special border, or cover an entire quilt with an edge to edge design. Once traced, these patterns can be stitched by hand or machine.
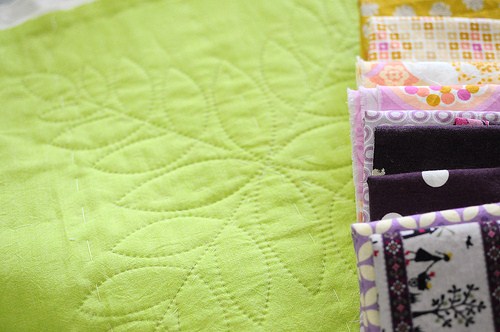
Photo Credit: the workroom
How do you use quilt stencils? Here is a quick overview:
- Gather the necessary supplies: finished quilt top, quilting stencil, and some type of marking tool.
- Baste quilt top, batting, and backing together.
- Decide where to start stenciling. A medallion in the center? Edge to edge from one side to the other? A border that needs to be centered? Many prefer to start stenciling in the center of the quilt so the markings aren’t messed up as they work.
- Place the stencil on the quilt top, checking to make sure it is straight and square
- Trace the stencil with a marking tool (see below). Reposition if necessary and repeat.
Now you are ready for quilting!
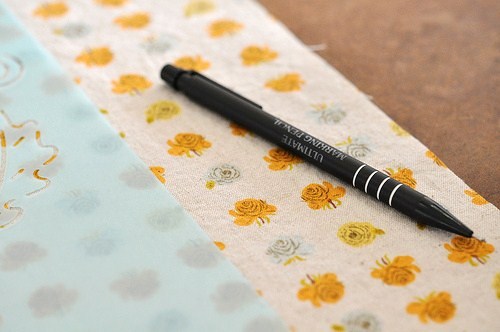
Photo Credit: katherine skene
Once you select your stencils, the next decision that needs to be made is which type of marking tool you will use. Here are a few options:
1. Fabric mechanical pencils. These pencils have an eraser on the back to get rid of the excess lines.
2. EZ Quilting washout pencils. They are available in different colors and wash out of most fabrics. When using these, always test them out on a fabric scrap first. This will help you see which color shows up best on your quilt, but it will also allow you to find out if the pencil will wash out.
3. Chalk. It marks clearly and can be easily wiped away. The only problem with chalk? It can be brushed away too easily!
4. Quilt pounce. This is the fastest way to transfer your designs! It is a chalk filled tool that you pounce and swipe across the stencil. The special powder inside stays on the fabric until it is removed according to the manufacturer’s directions.
Are you worried that the markings won’t disappear on your fabrics? I have a couple tips for you.
- Follow the directions on the package when using these products.
- Always test out your pencils/pens on scraps of fabric from your quilt top to make sure they erase completely!
- Don’t press too hard or you will stretch and distort your fabric.
- Never use a really sharp pencil; duller (not blunt) tips work the best!
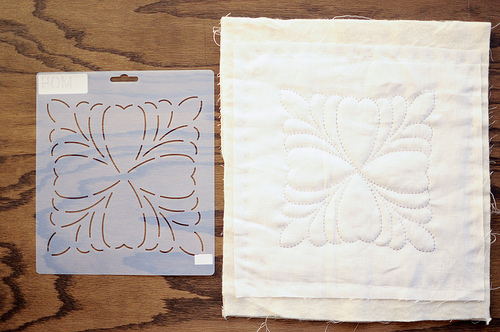
Photo Credit: the workroom
Are you ready to get your hands on quilt stencils now? They can be purchased at general craft, sewing, or quilting stores. And they are available online too! You can even draw your own pattern and make your own if you’d like. Happy quilting!
Share tips, start a discussion or ask one of our experts or other students a question.
No Responses to “Quilting Fun with Stencils”