
Do you look at your quilt and think it’s missing something, just that little extra touch to bring it from excellent to wow! Beads can add that sparkle to a quilt or that extra bling to your wall hanging to make a quilt really stand out. Use this quilting with beads tutorial will help you add the wow factor you’re looking for to all your quilts!
Follow along with this tutorial to learn how to quilt with beads!
Beads come in so many shapes, sizes and colors that it can be a hobby just finding the right beads for your project! But this tutorial will help you navigate the world of beading so you can add these lovely embellishments to your quilt with ease. We will start with the basic seed bead, and then you can take this knowledge and apply it to any shaped beads you dream of.
Supplies:
- 5″ square of white or cream fabric
- 5″ square of batting
- 5″ square of backing
- seed beads
- thread
- slim needle
- pencil
There are special beading needles, long, thin and a bit flexible. However, your craft needle will work fine, just make sure it is thin enough to pass through the holes of the beads.
Step 1:
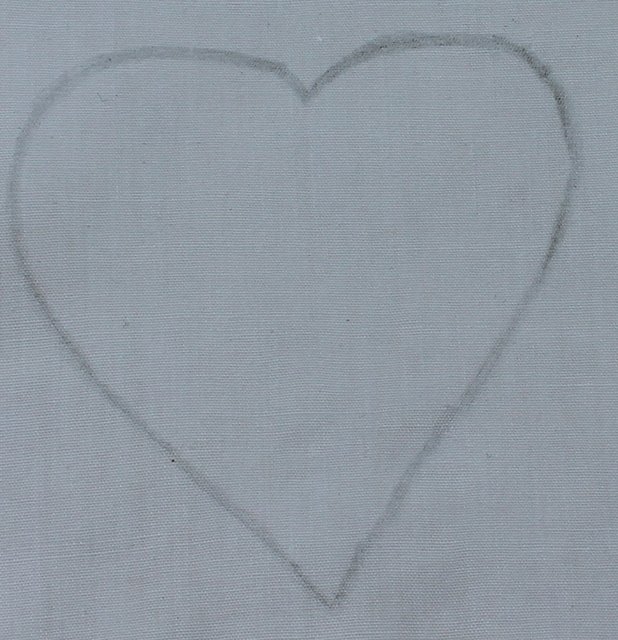
For the purposes of this tutorial, we will use a small sample size. Take your pencil and draw a design on your white/cream fabric. This is what you are going to bead. For your first try, don’t make tight little circles or curves, but nice long smooth curves.
Make a quilt sandwich and hoop it, or pin the edges so it doesn’t shift.
Step 2:
You can purchase special beading thread but quilting thread can be used as well. Thread your needle, and make a small knot in the end. On the backside of your quilt sample bring the thread through and give a tug until your thread is buried in between the batting and backing.
Step 3:
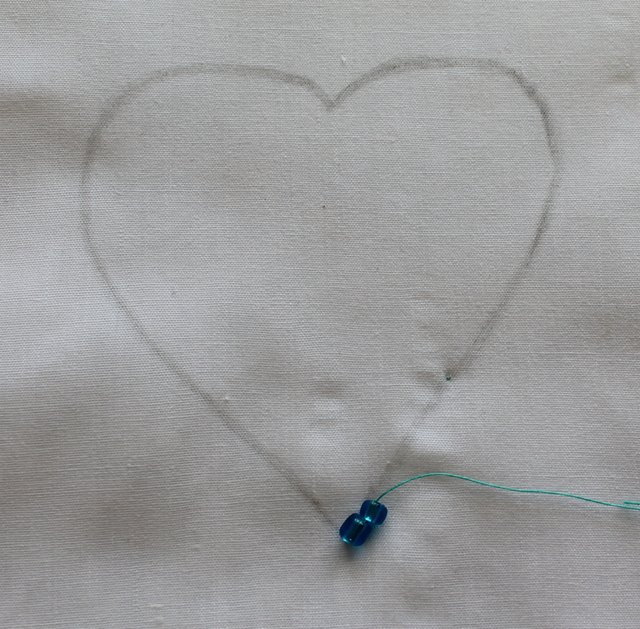
Bring your needle up to the top where you want your first bead to go, usually at a corner or “end” of a line. To start, place two seed beads on the line of your quilt. Thread the two beads on your needle. Push them back to the end of the thread so you can see where they fall on the fabric. This tells you where you need to push the needle down to the back.
Go right beside the bead, not squeezing it in, that will cause it to buckle, and not leaving a space or you will have thread showing. Bring the needle straight down to the back.
Step 4:
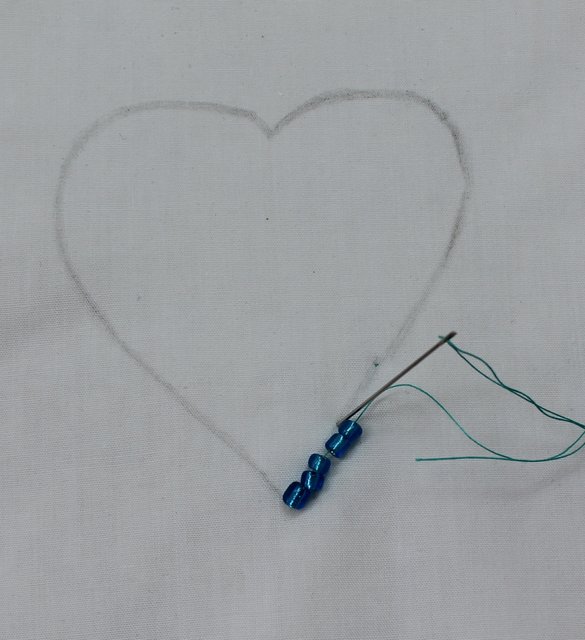
To strengthen and get your needle ready for the next set of beads, bring the needle back up between the first and second bead and run the needle through the first bead again. the bead that is going to be beside the next set of beads you string on or the one that is leading the way on your drawn line.
Now, you’re ready to put 3-4 beads on at a time. Place the beads down on the fabric, so you know where the needle needs to go into the fabric.
Step 5:
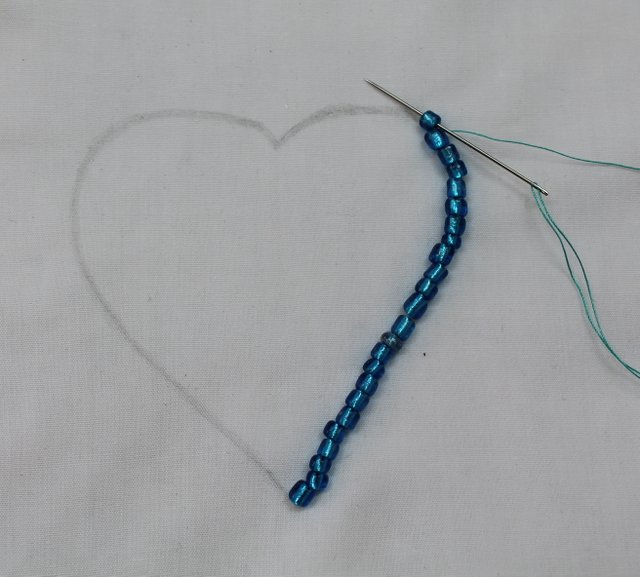
Bring the needle straight down again to the back, come up again between the first and second bead, and send the needle through the first bead again. Then put another 3-4 beads on.
You are always coming up from the back so you can rethread the first bead on your row of beads.
Step 6:
Continue on in this manner. When you are coming to a corner, just put on enough beads to get you to the corner, so you can alter directions easily.
Step 7:
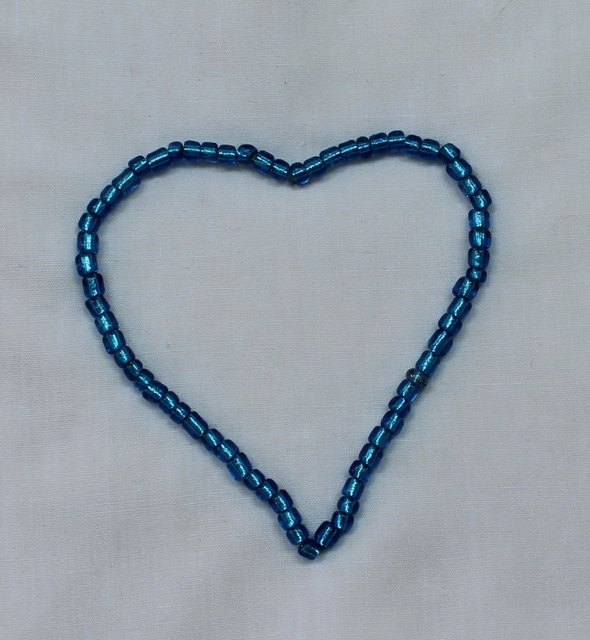
To finish off beading, put on your last bead, run the needle and thread through again, so the needle is now at the back. Then, bury the thread in the backing. You are done with your fabulous beaded accent!
Share tips, start a discussion or ask one of our experts or other students a question.
No Responses to “Adding the Wow Factor: A Quilting With Beads Tutorial”