
Let’s take a look at three ways that I recycled my rejects.
There are so many possibilities for repurposing our less-than-best, but here are three that are super simple, useful, as well as beautiful:- Woven art to frame
- Greeting cards
- Fridge magnets
1. Woven art
In this quick project, you’ll need:
- Two paintings of about the same size
- A pencil
- A ruler
- Scissors
- A blank sheet of paper the same size as the paintings
- Blue painter’s tape
- Craft glue
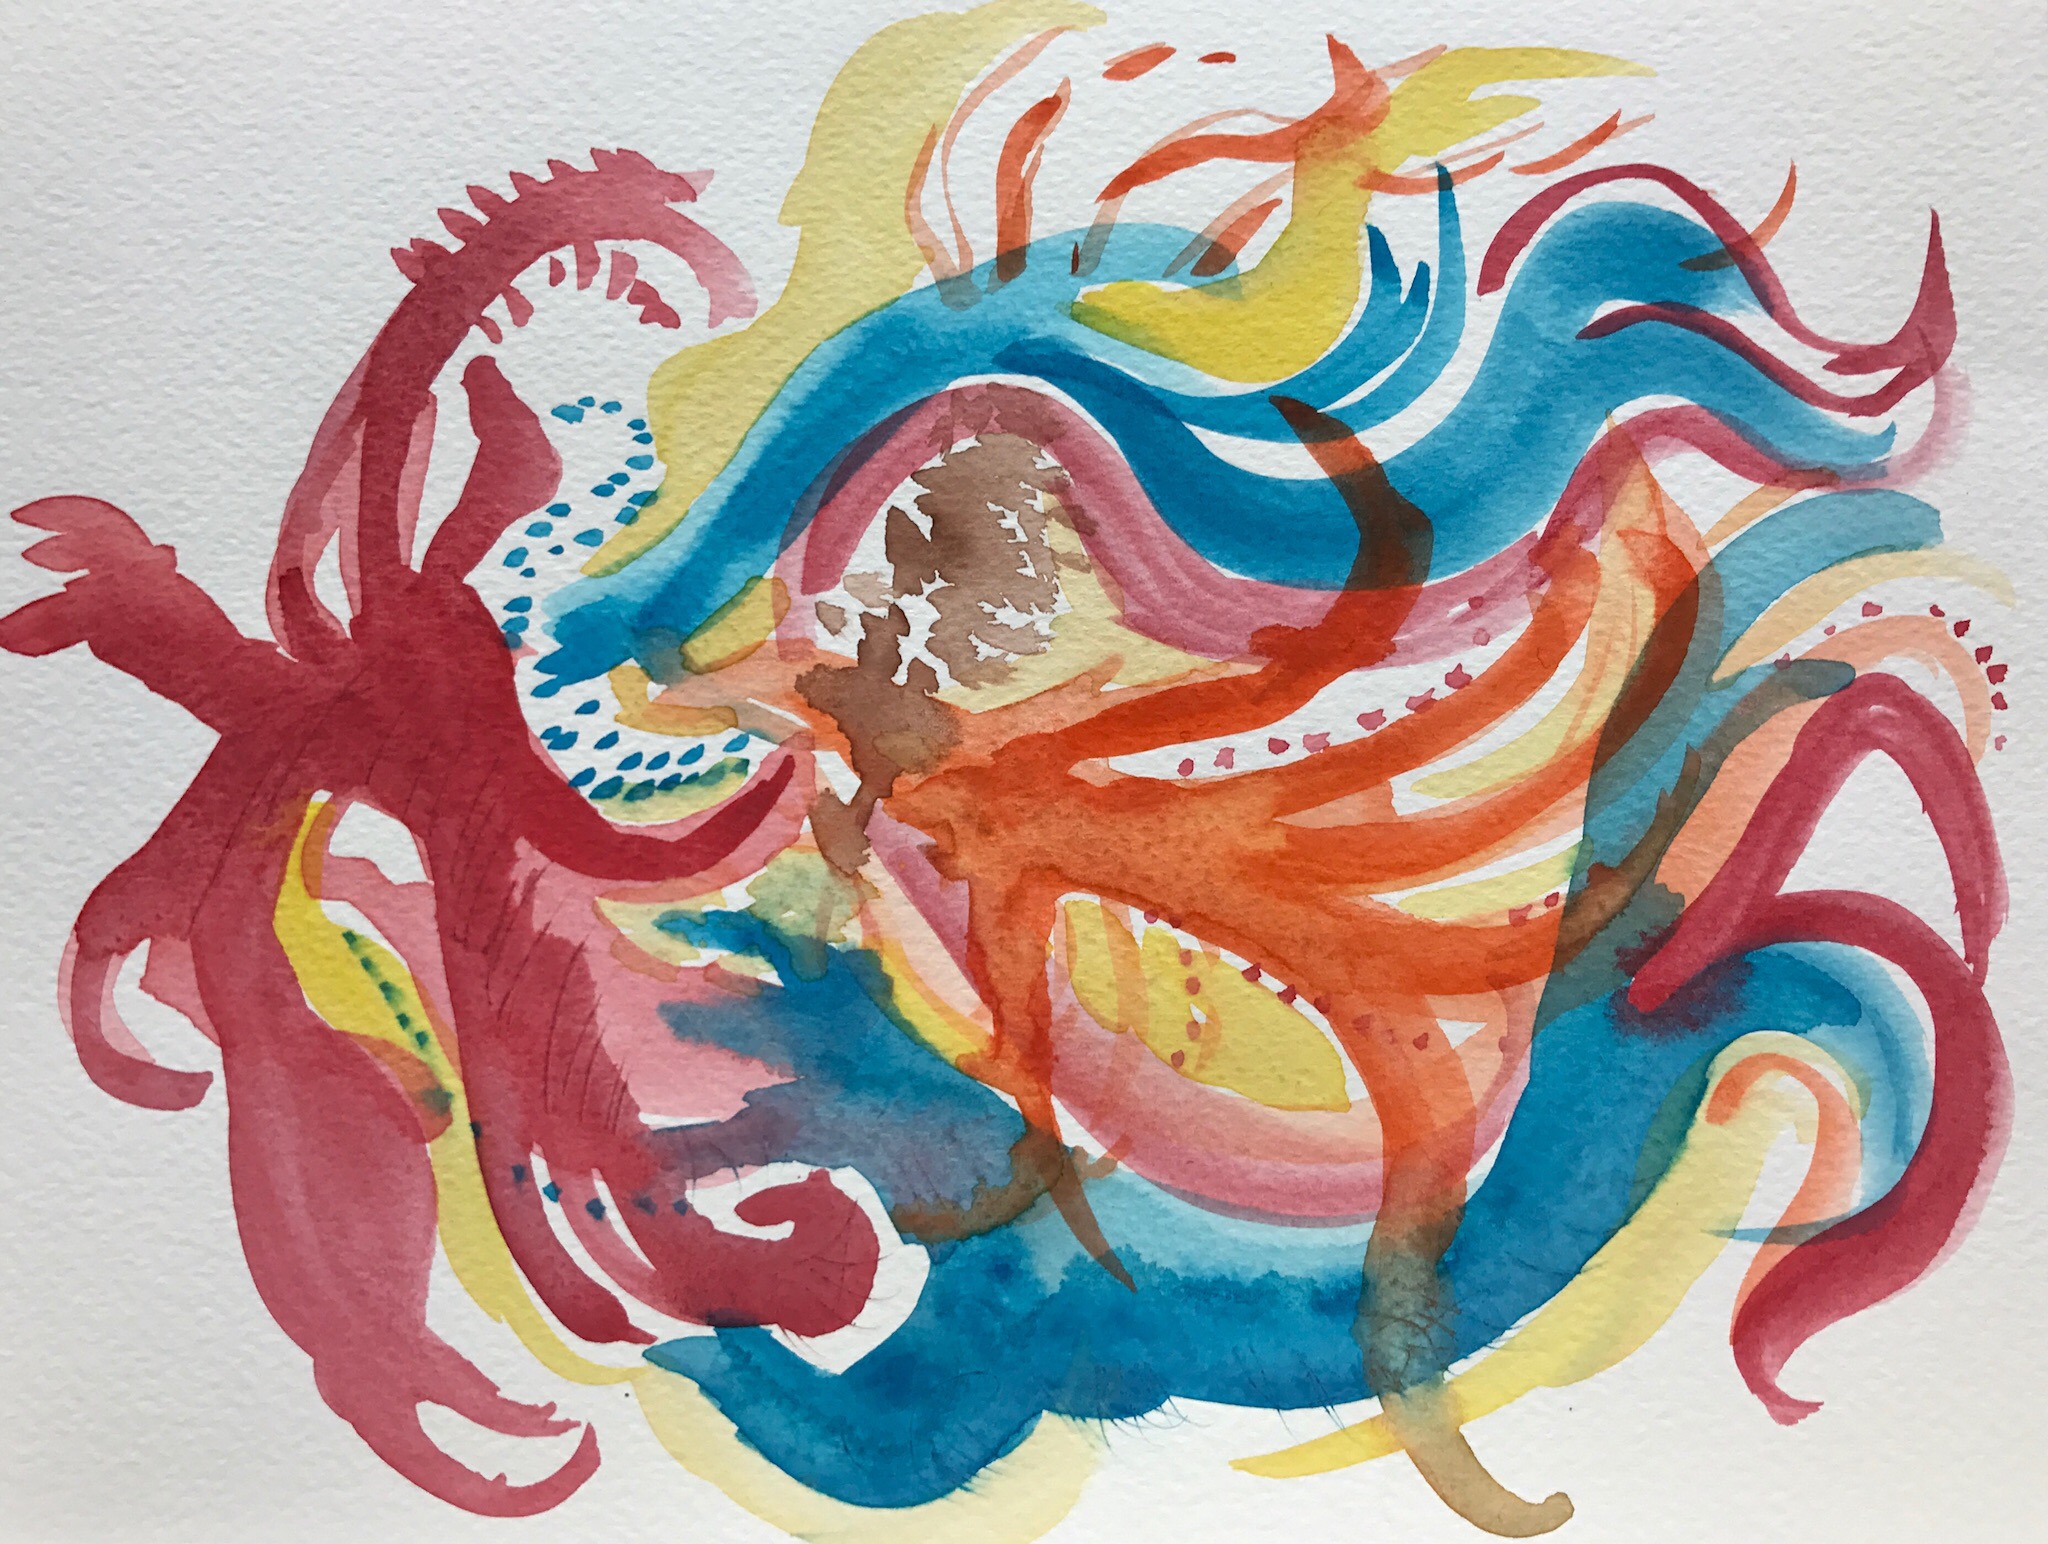
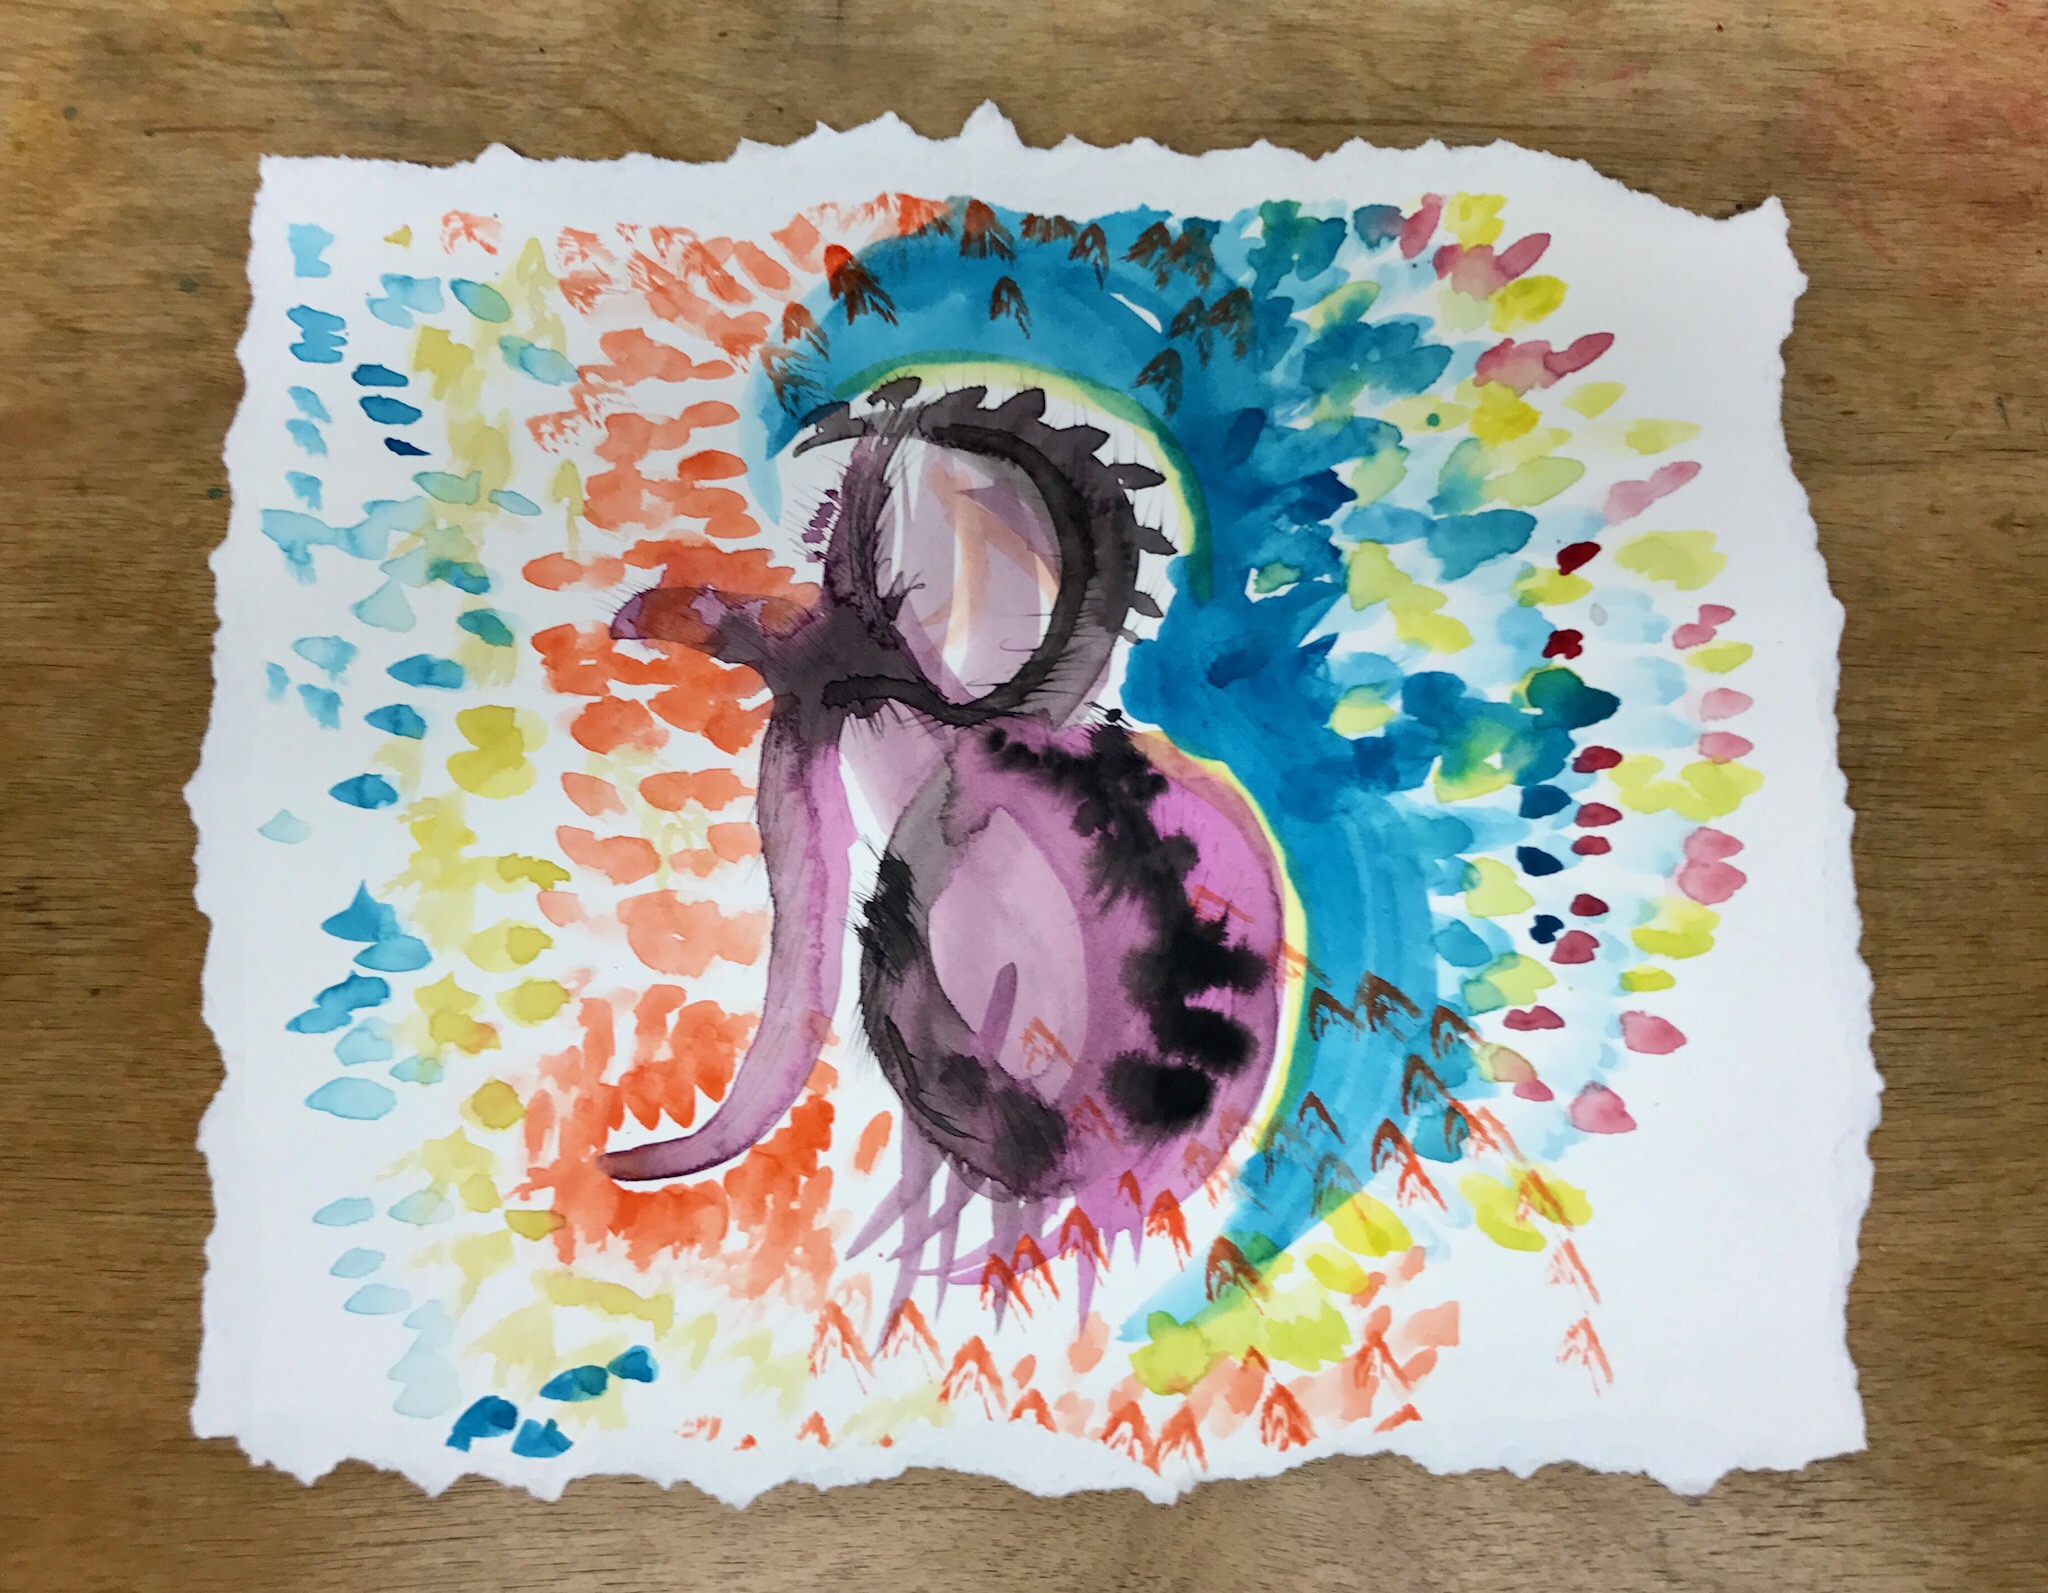 The two paintings above were leftovers from a free-form watercolor class that I teach. They were both created on the same size paper.
Step 1:
The first thing I did was to tear off about 1″ around the edges. This gives the edges a decorative look. You could also use a decile-edge rule or scissors, if you have them. I really enjoy the random appearance of the edges when I simply tear them…carefully.Step 2:
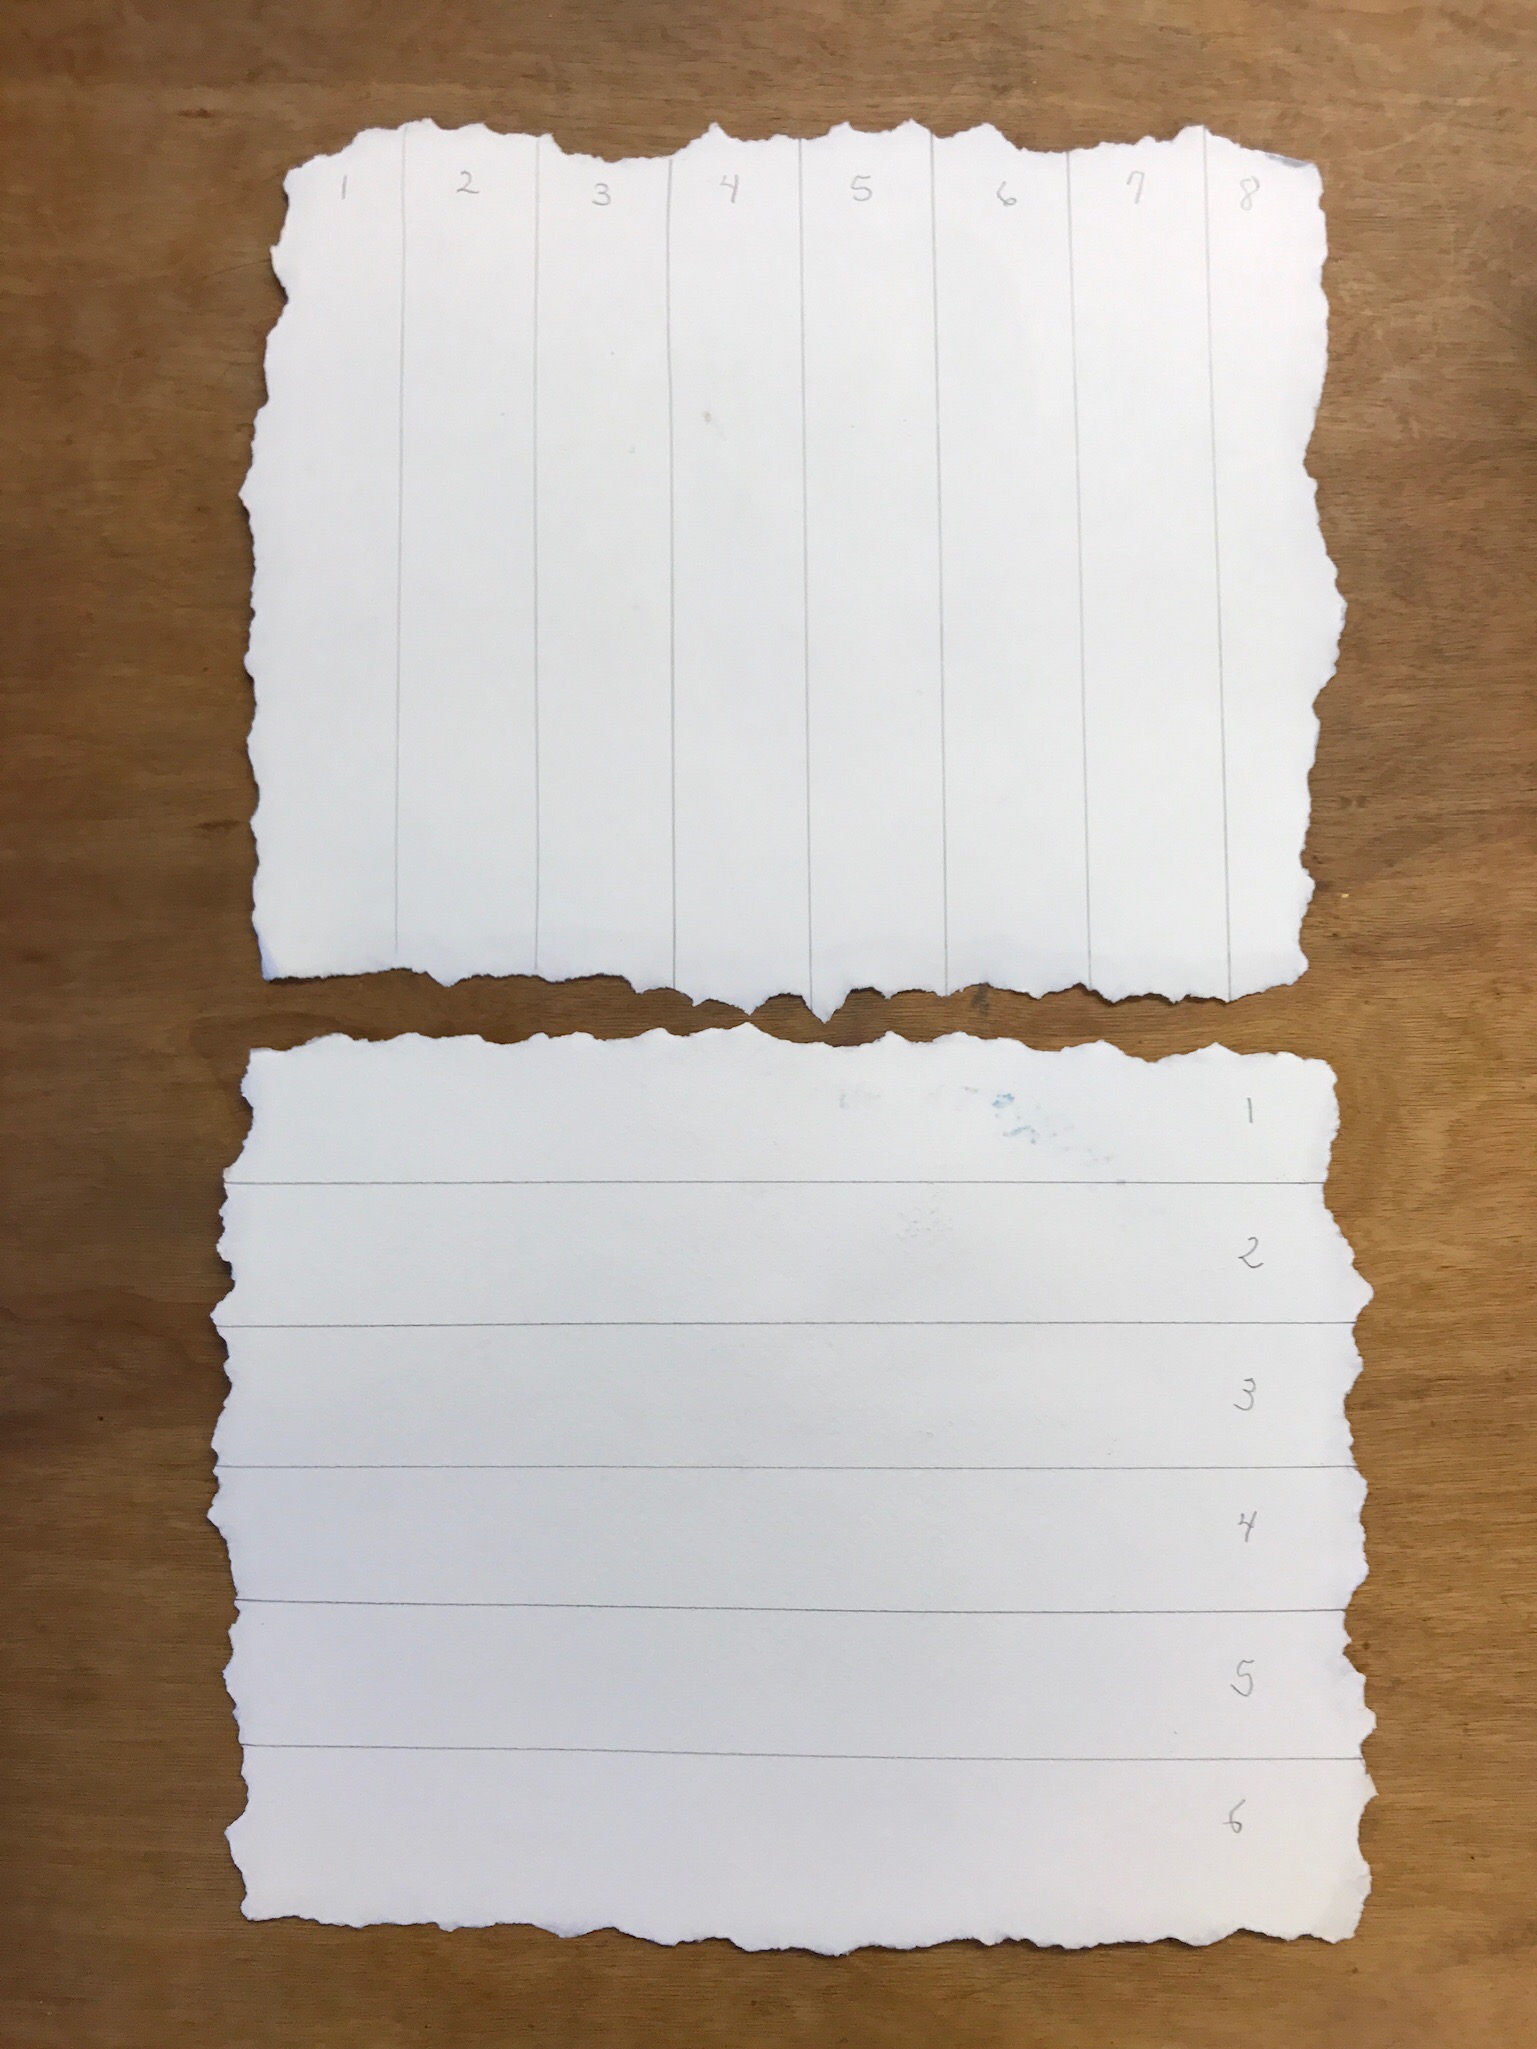 Next, I used my ruler and a pencil to mark off equal sections across the back of the paintings. One one I used vertical lines, and on the other I used horizontal lines. I number the sections to help me keep them in order.
Step 3:
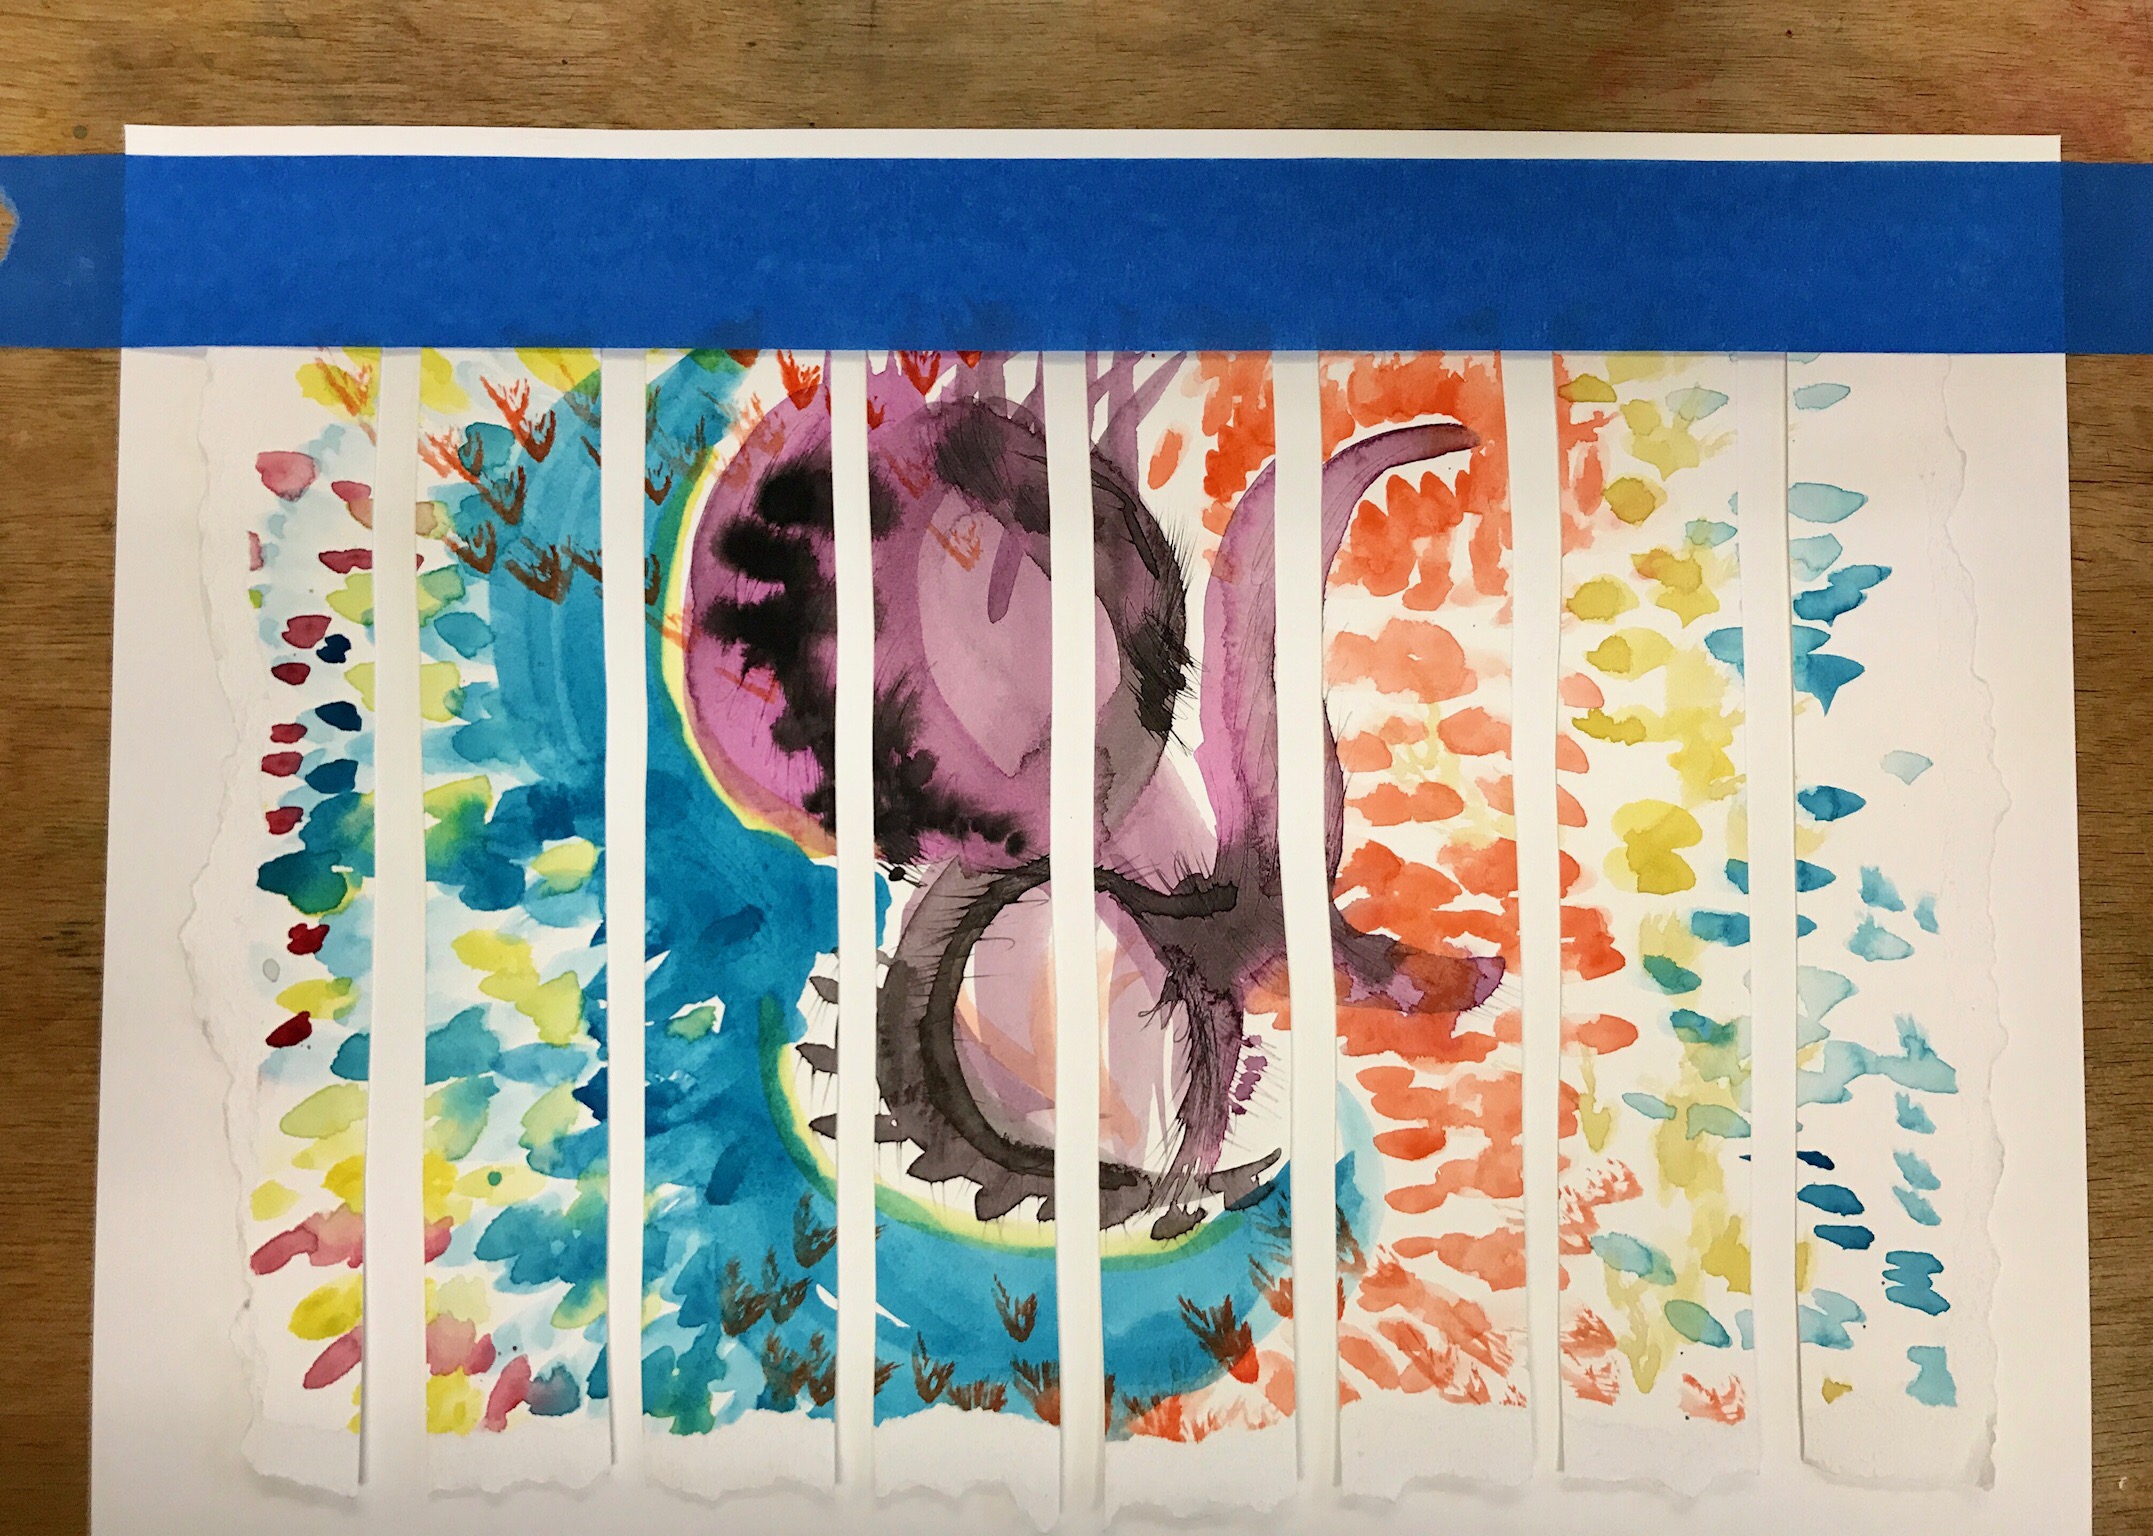 Next I arranged the sections of the vertical strips, in order, on the extra sheet of paper. I taped down the top with blue painter’s tape to keep them in place, temporarily.
Step 4:
I then began weaving the horizontal strips, in order, in and out through the vertical strips. The first strip went under-over-under, and the second went over-under-over, all the way across.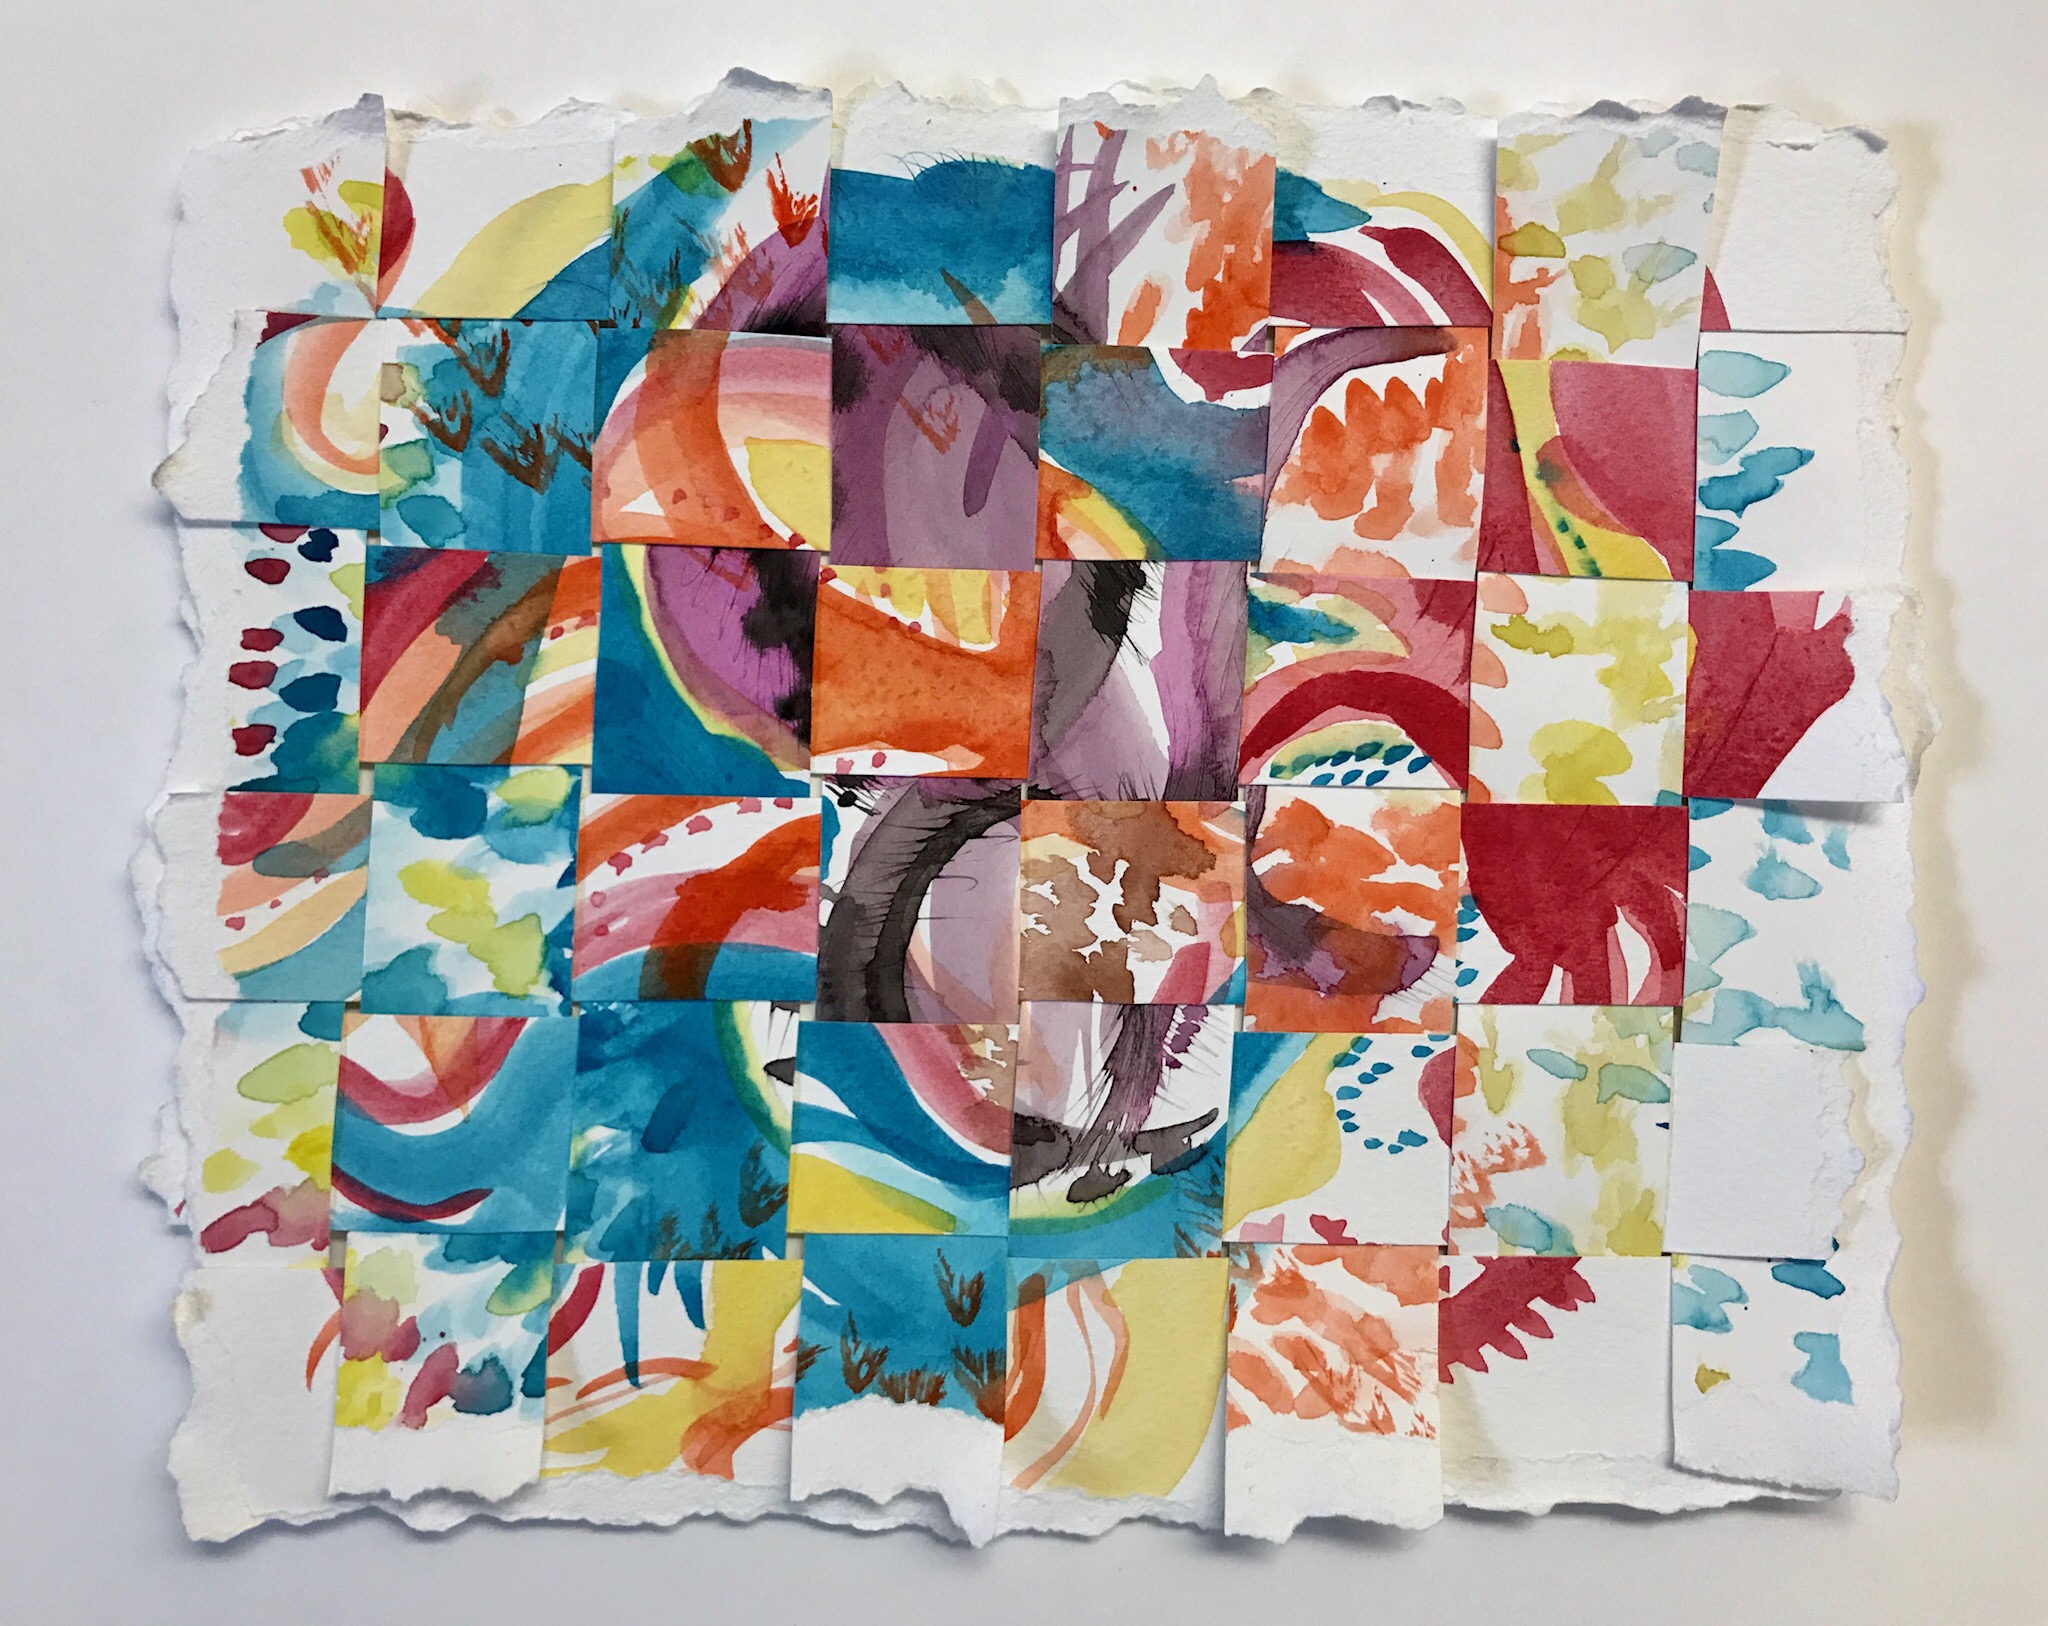 Once all the strips were all in place, I adjusted them to make them as even as possible on all sides. I then removed the blue painter’s tape and used craft glue to adhere them to the plain piece of paper.
Voila! A lovely piece of art that is more beautiful than its individual parts.
Once all the strips were all in place, I adjusted them to make them as even as possible on all sides. I then removed the blue painter’s tape and used craft glue to adhere them to the plain piece of paper.
Voila! A lovely piece of art that is more beautiful than its individual parts.
2. Greeting cards
Here’s a simple way to make a special card for someone using a painting that just didn’t make the cut.For this project, you’ll need:
- One of your reject paintings
- A blank 5″ x 7″ greeting card
- Craft glue
- A permanent black marker.
Step 1:
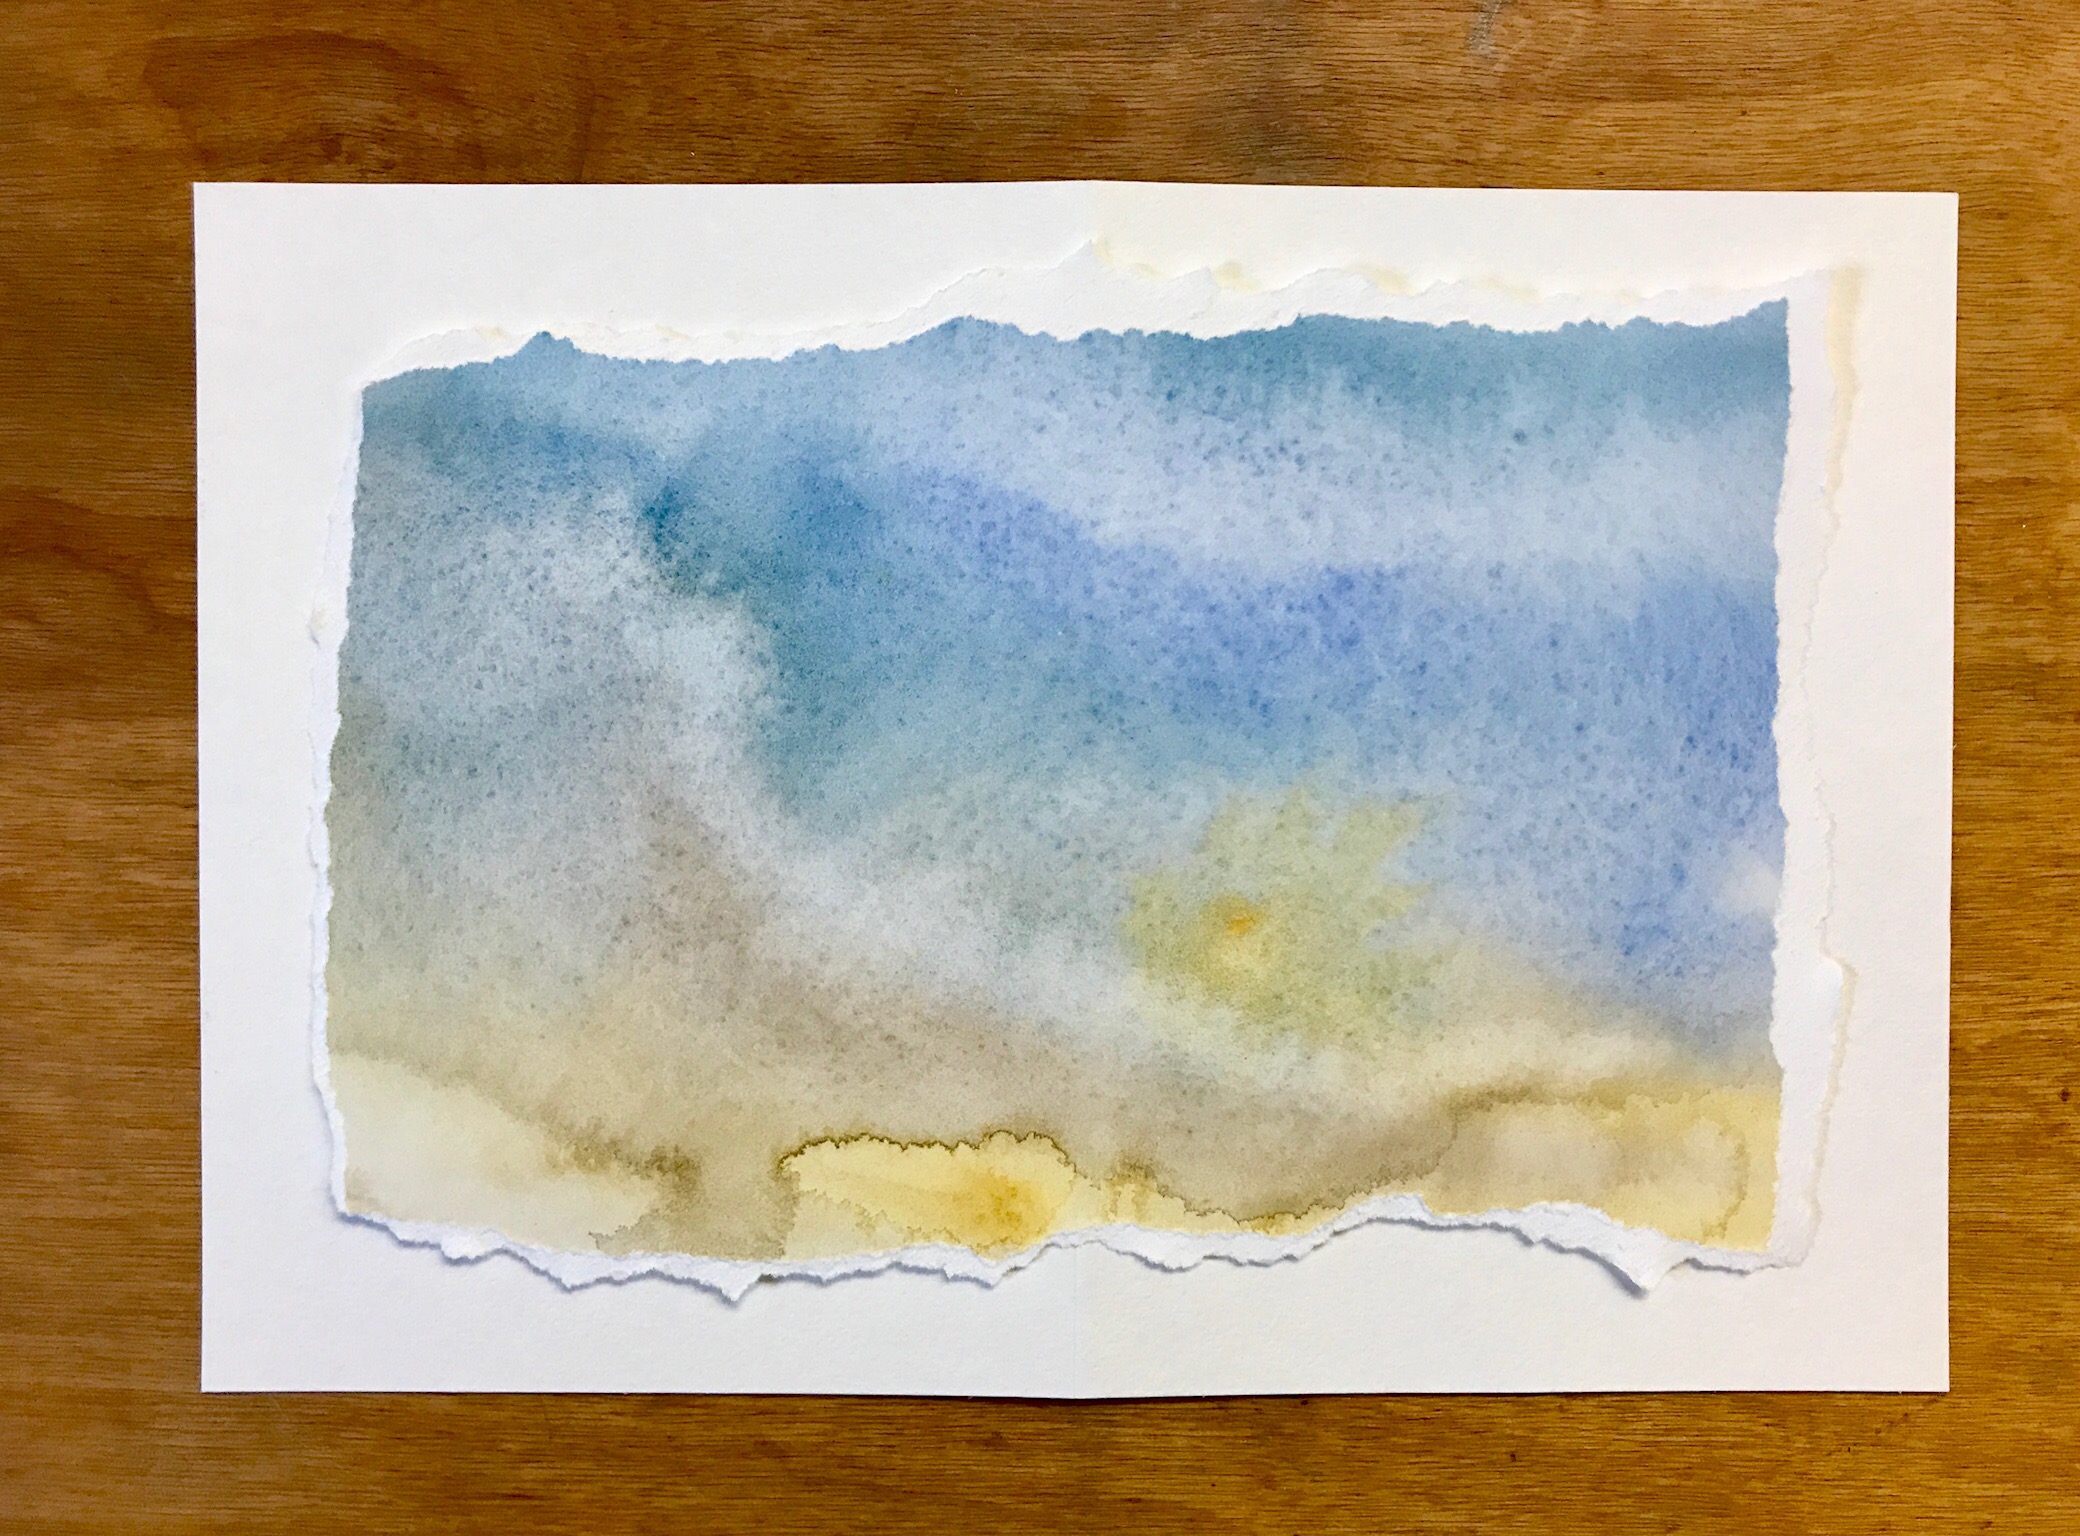 To begin, I tore a piece of the painting a bit smaller the the entire size of the card, unfolded.
Step 2:
I then used craft glue to adhere the painting onto the card, setting it right in the middle.Step 3:
Once the glue was dry, I folded the card in half and used my ruler’s edge to create a nice crease edge.Step 4:
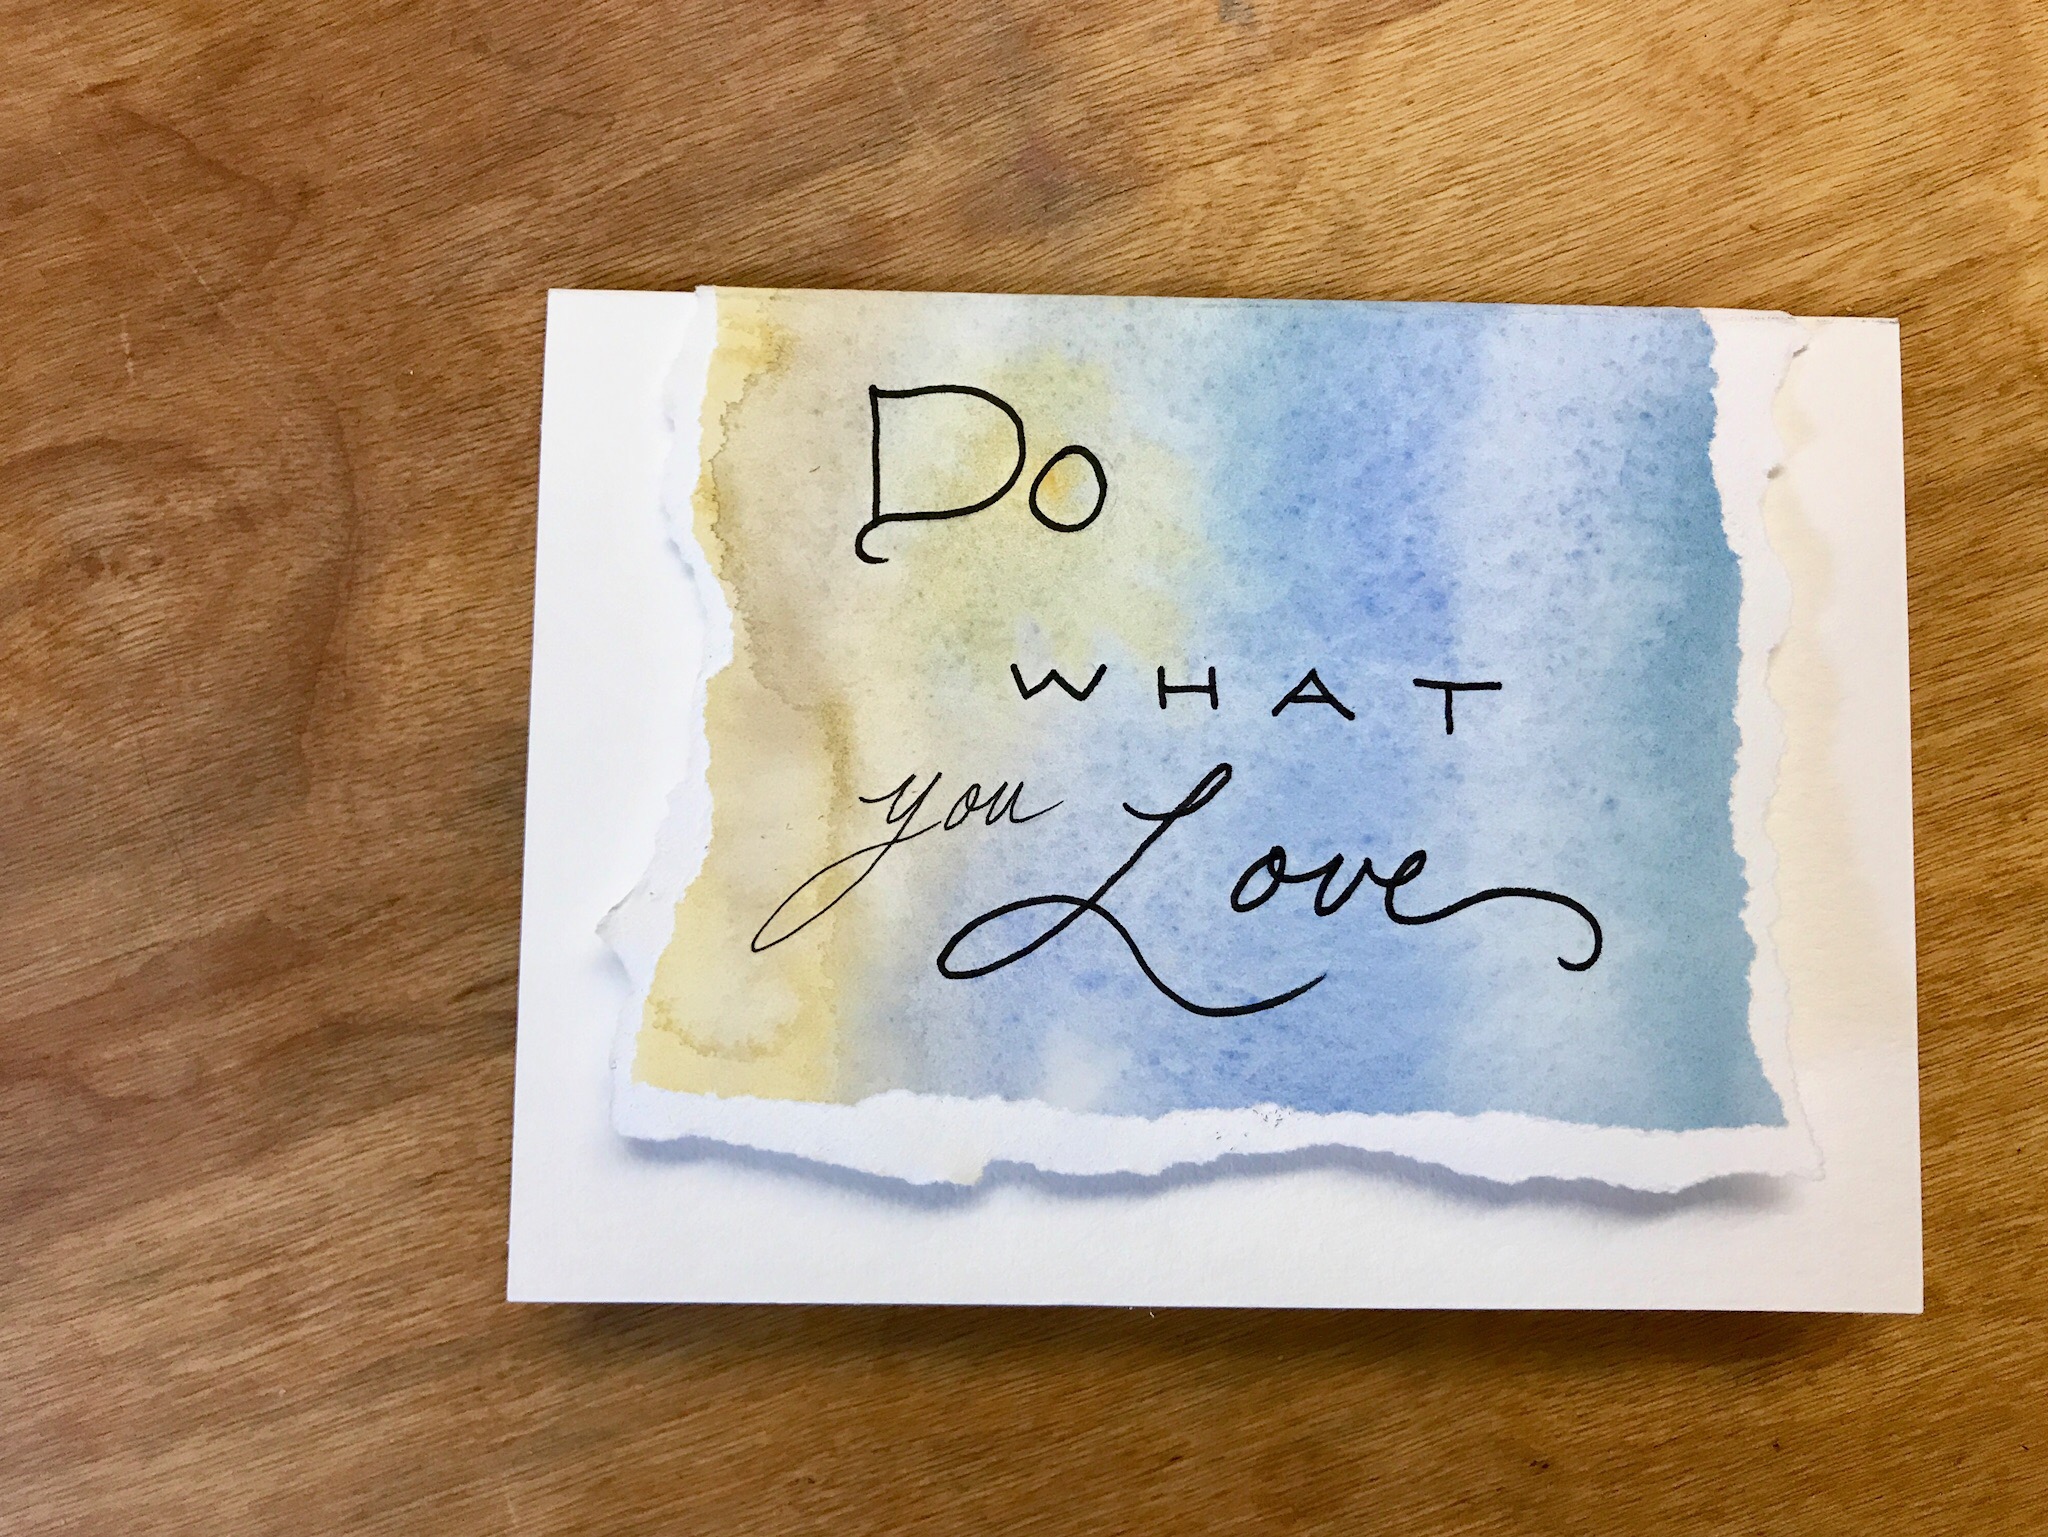 Using a black marker, I carefully a wrote the quote across the painting on the front side of the card. You can also add drawings, metallic inks, sticker letters, rubber stamps…anything goes!
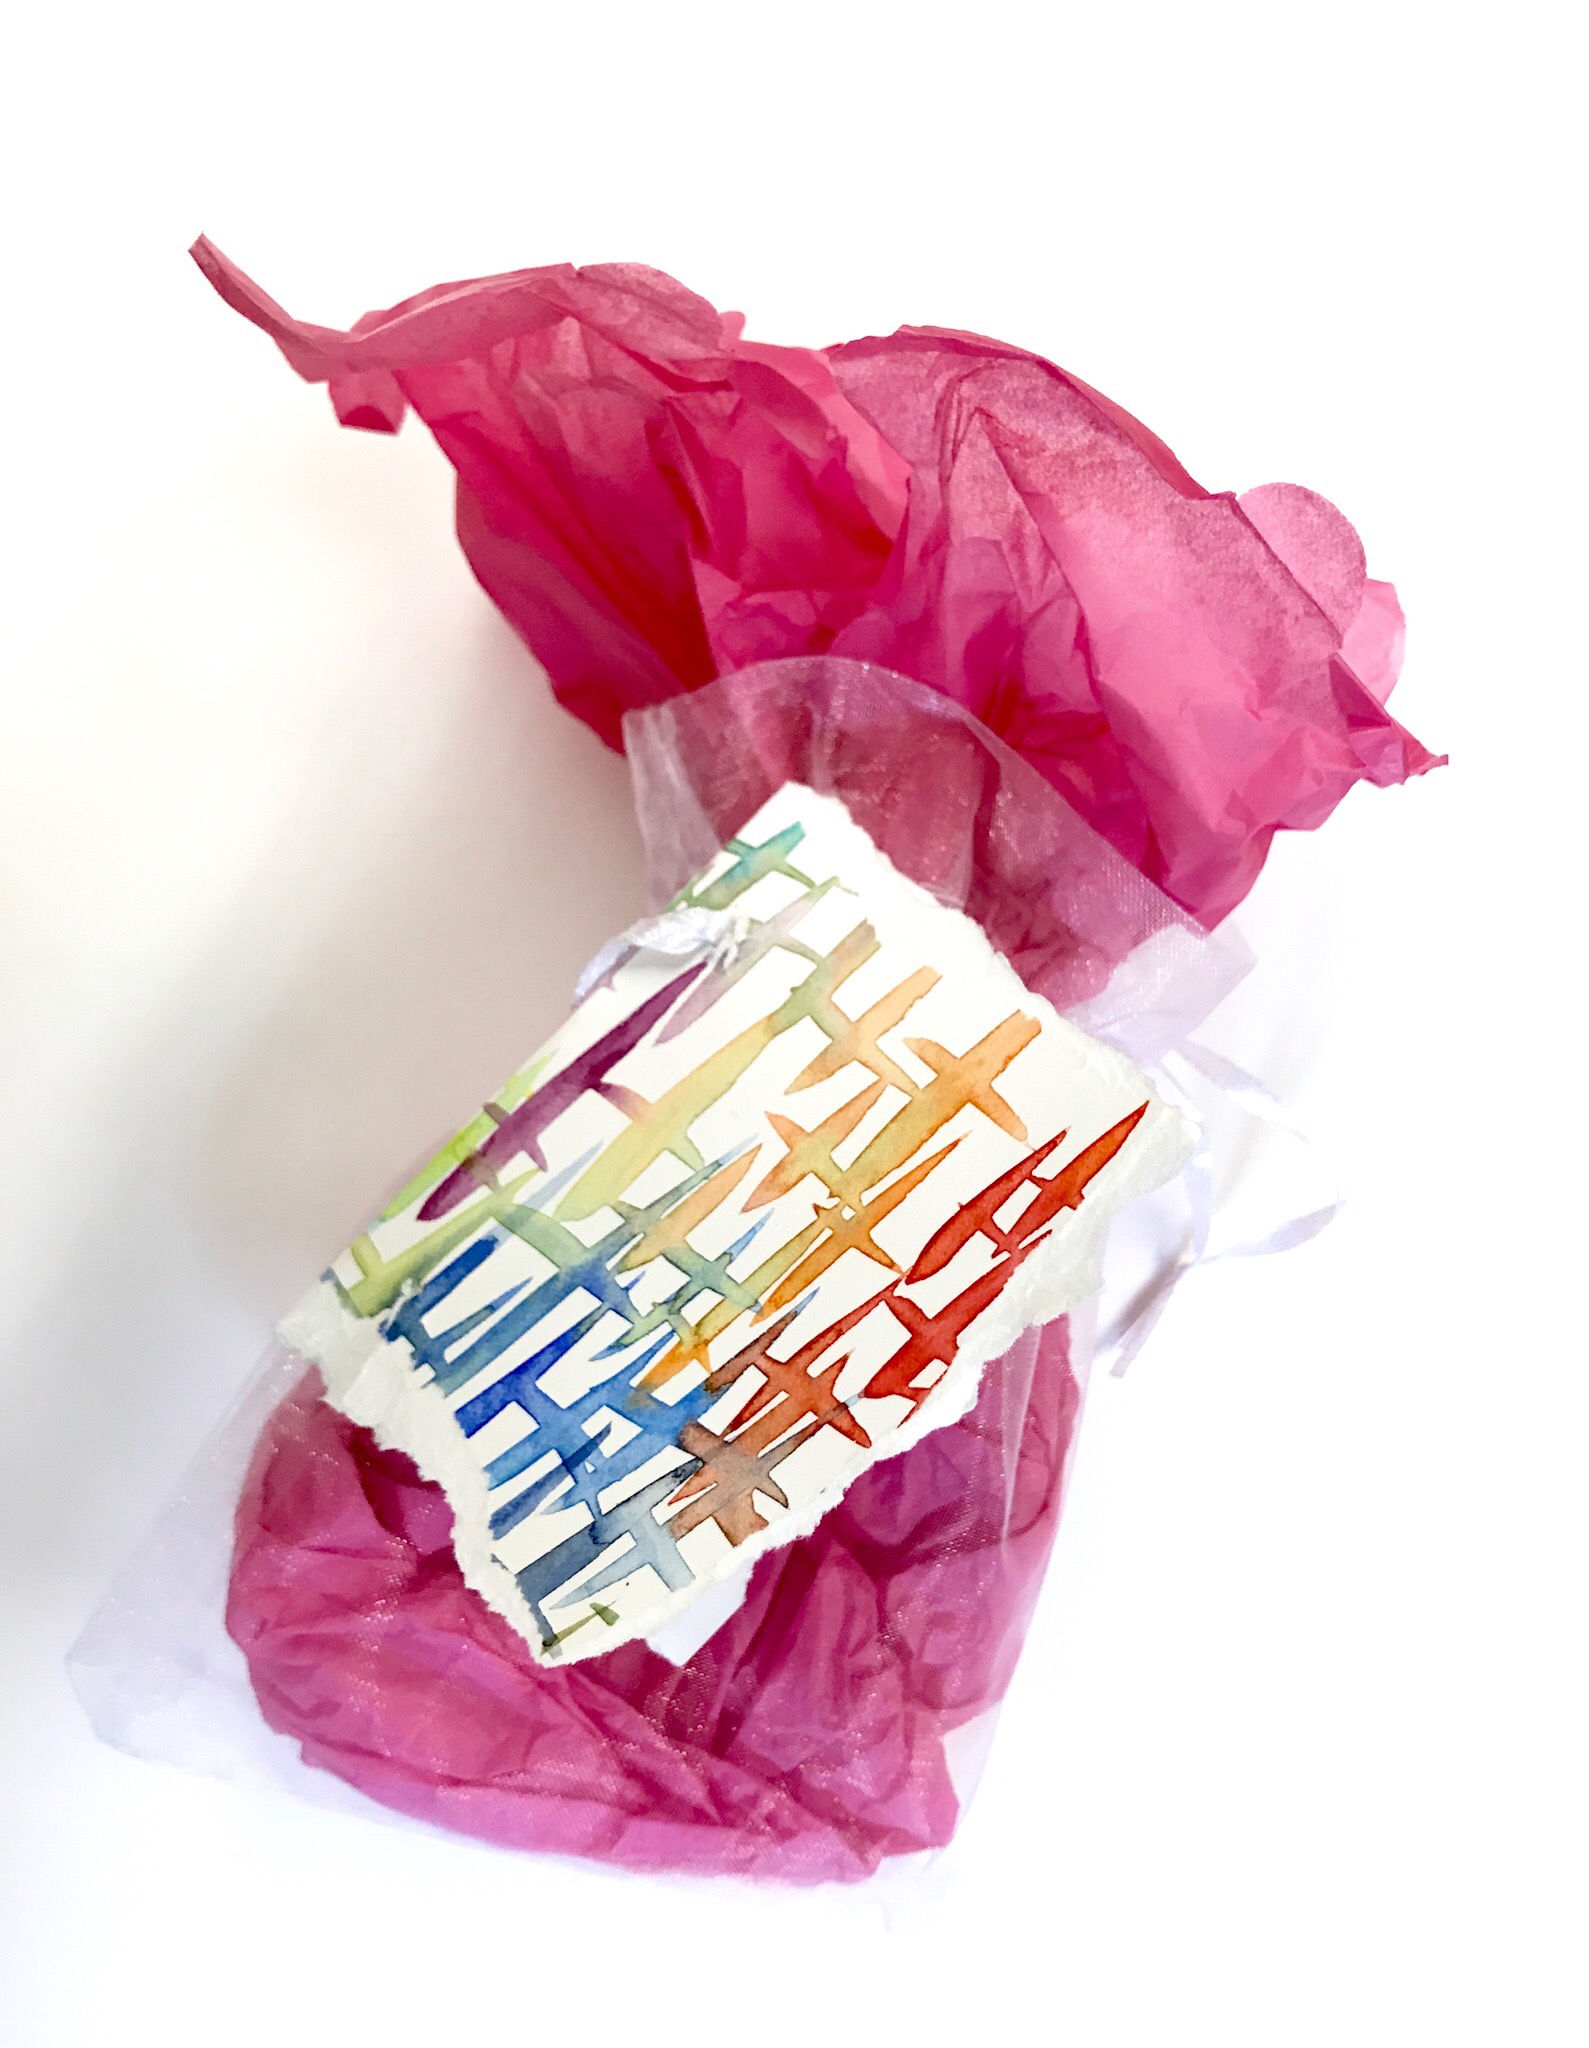
I also make small gift tags from painting rejects. Simply tear it into a suitable size for your gift, then punch a hole in a corner and attach with ribbon or cord. Super simple and an extra special touch for your gifts!
Using a black marker, I carefully a wrote the quote across the painting on the front side of the card. You can also add drawings, metallic inks, sticker letters, rubber stamps…anything goes!
I also make small gift tags from painting rejects. Simply tear it into a suitable size for your gift, then punch a hole in a corner and attach with ribbon or cord. Super simple and an extra special touch for your gifts!
3. Fridge Magnets
This might be my favorite use of my reject pile! Who doesn’t love colorful fridge magnets? And what a great way to make a lot of gifts with the handmade touch.For this project, you’ll need:
- One of your reject paintings
- Clear glass domes found at craft stores
- Craft glue that dries clear
- Self-adhering magnets or magnet tape
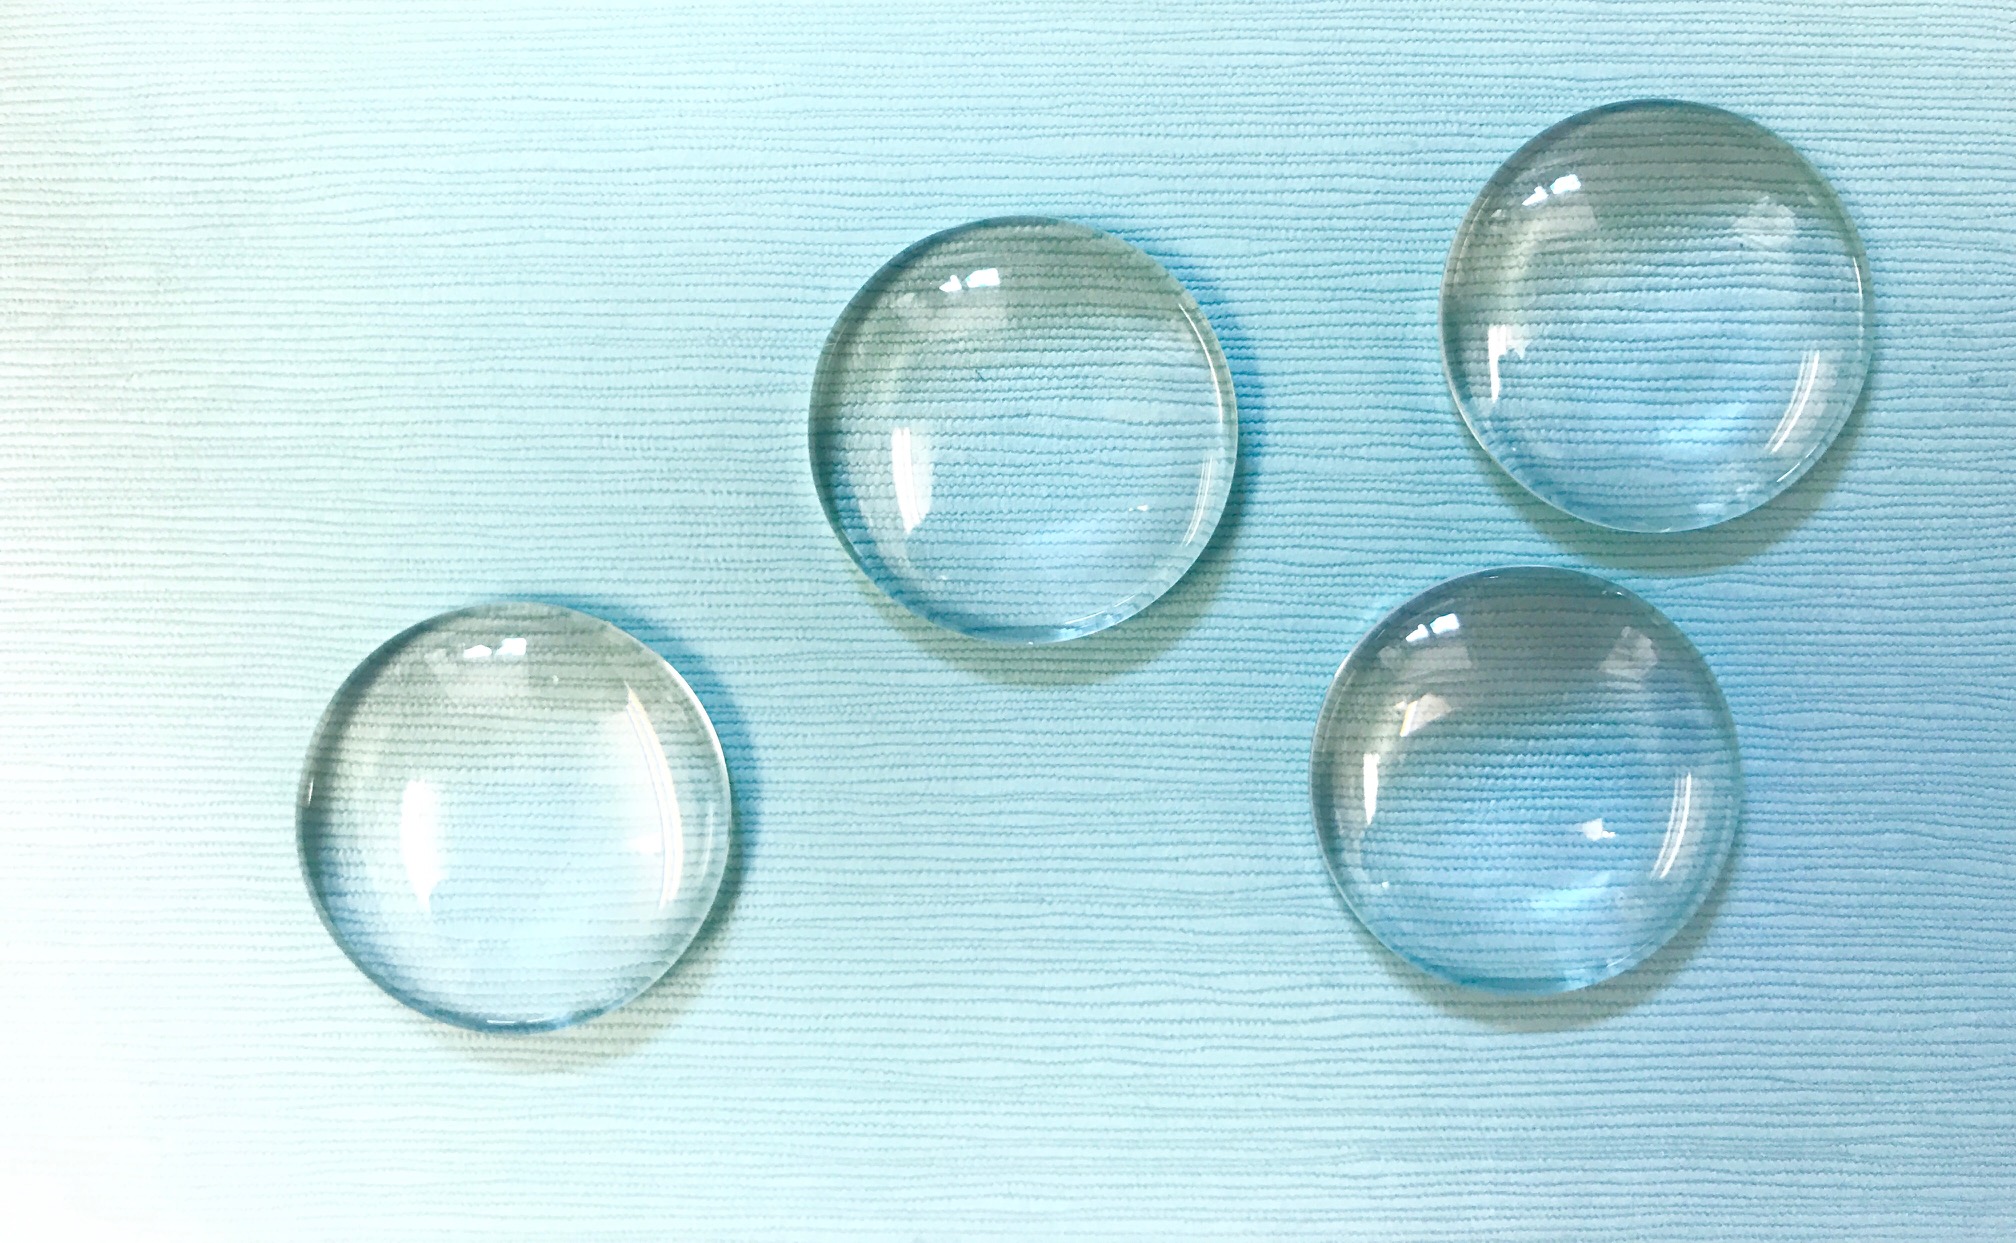 The clear glass domes come in many sizes. I chose the 1″ size.
Step 1:
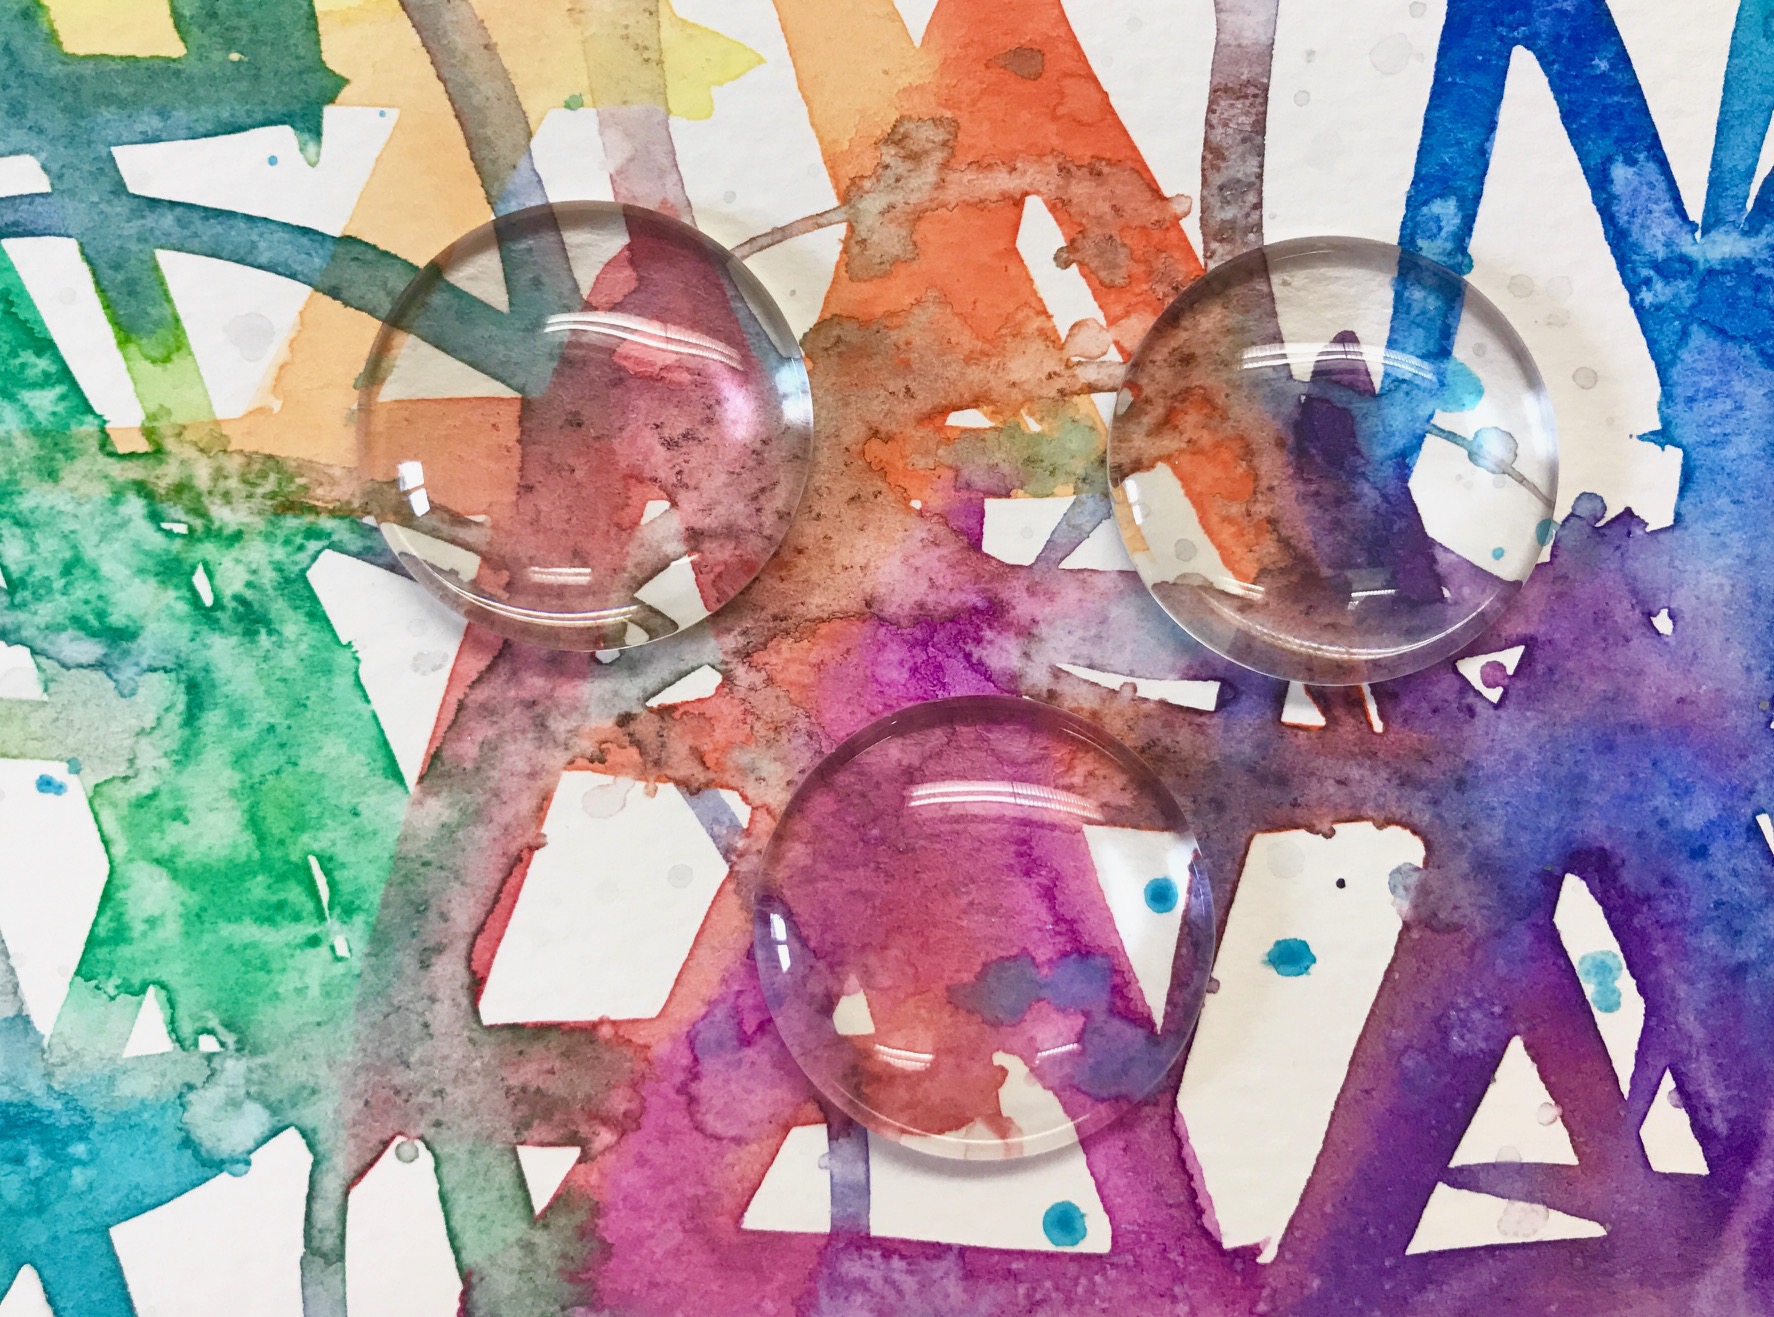
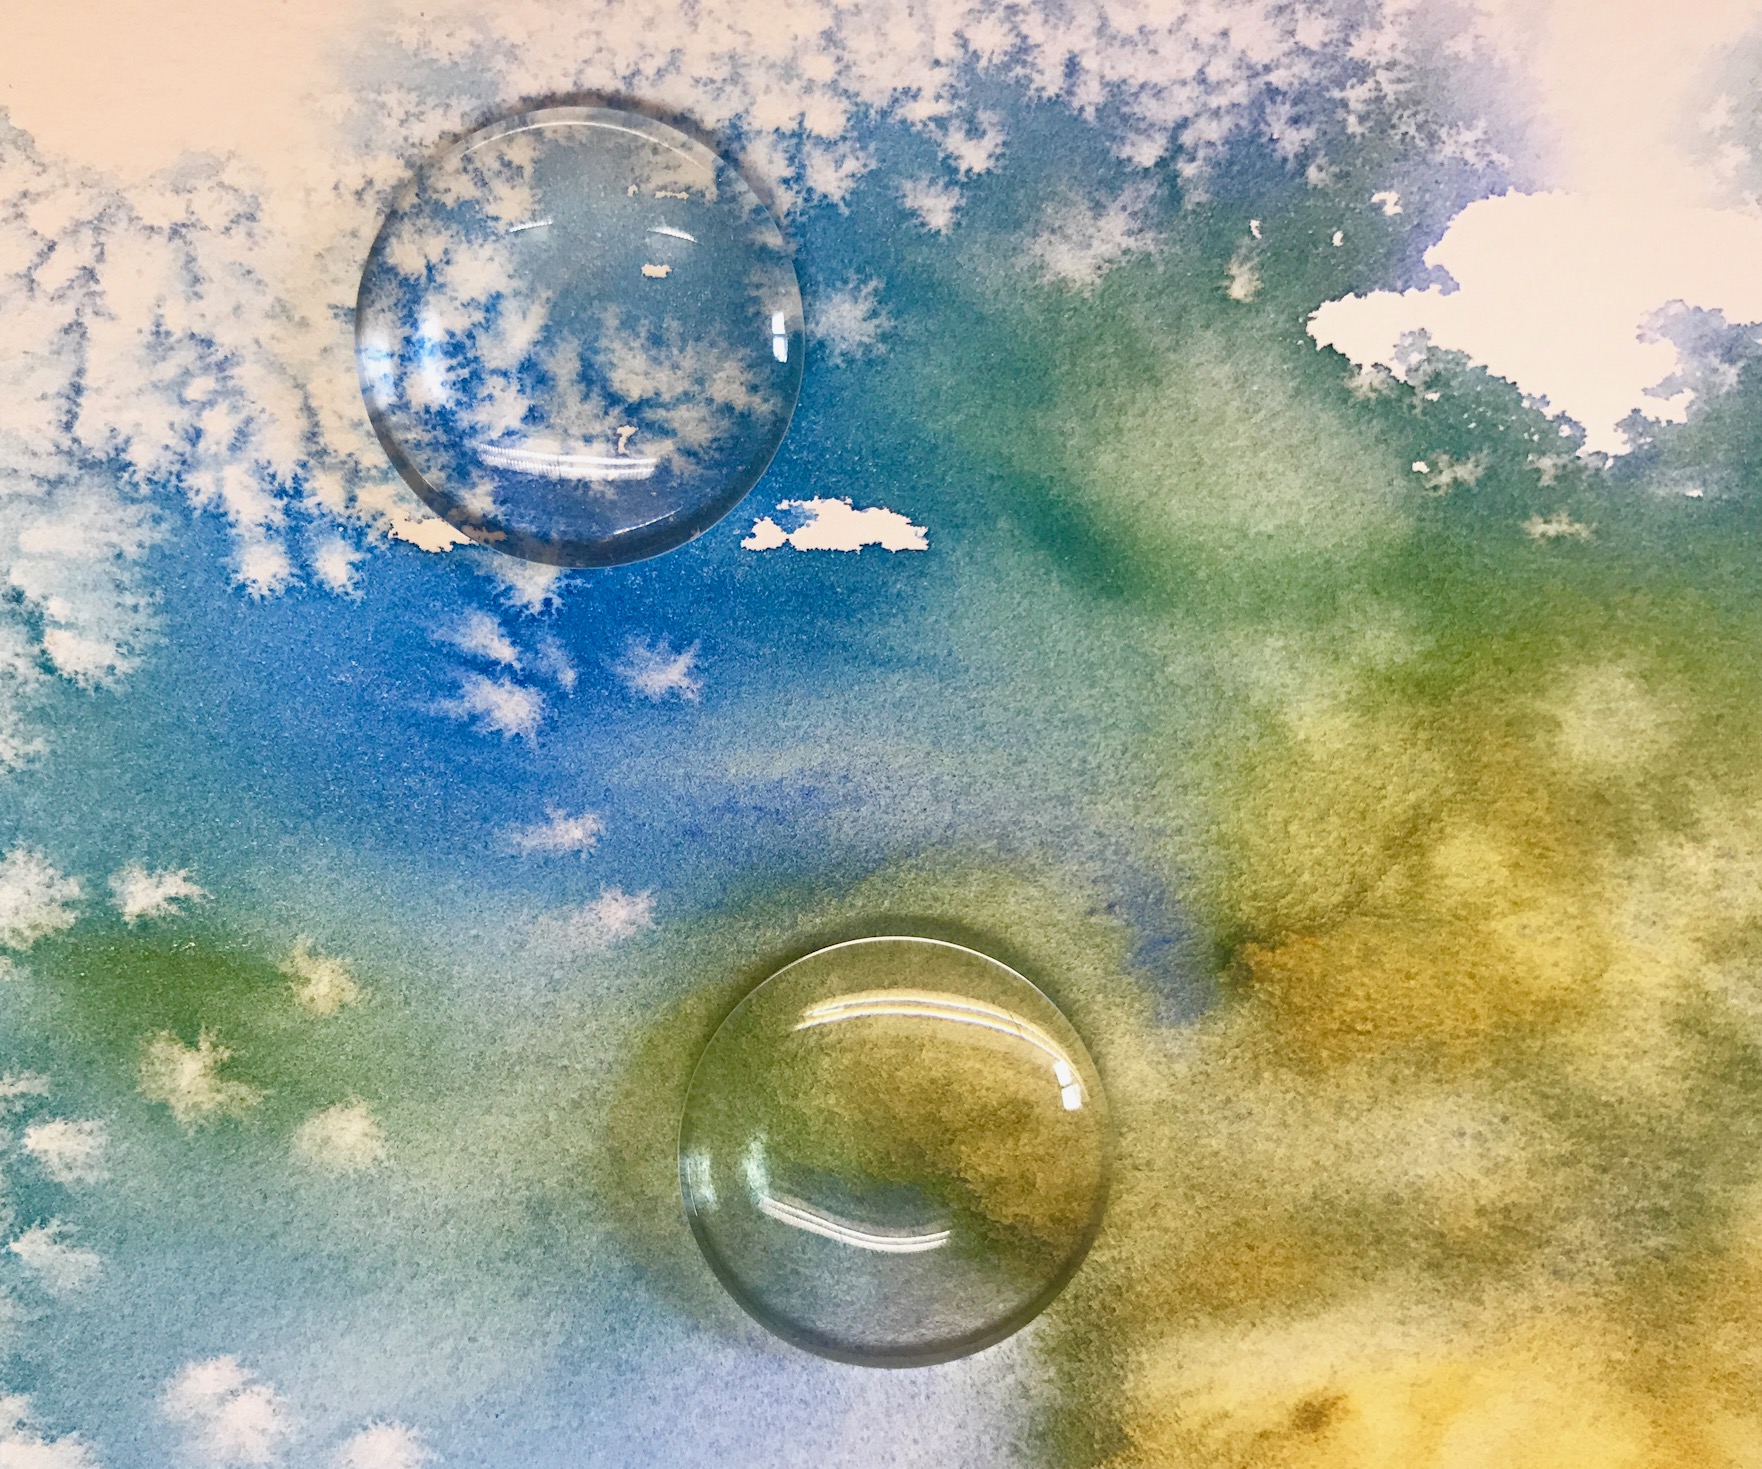 First, I laid the glass pieces on my painting, finding the most interesting spots to capture.
Step 2:
When happy with my layout for each of them, I used a pencil to trace a line around the glass dome, directly onto my painting. Next, using as pair of scissors, I cut out the circles, making sure to cut just inside of my pencil marks.Step 3:
I then spread a thin layer of clear-drying craft glue onto the bottom of the glass dome and then pressed the circular cut-out onto the glue.Step 4:
Finally, I adhered a small piece of magnet to the back and they were all ready to go.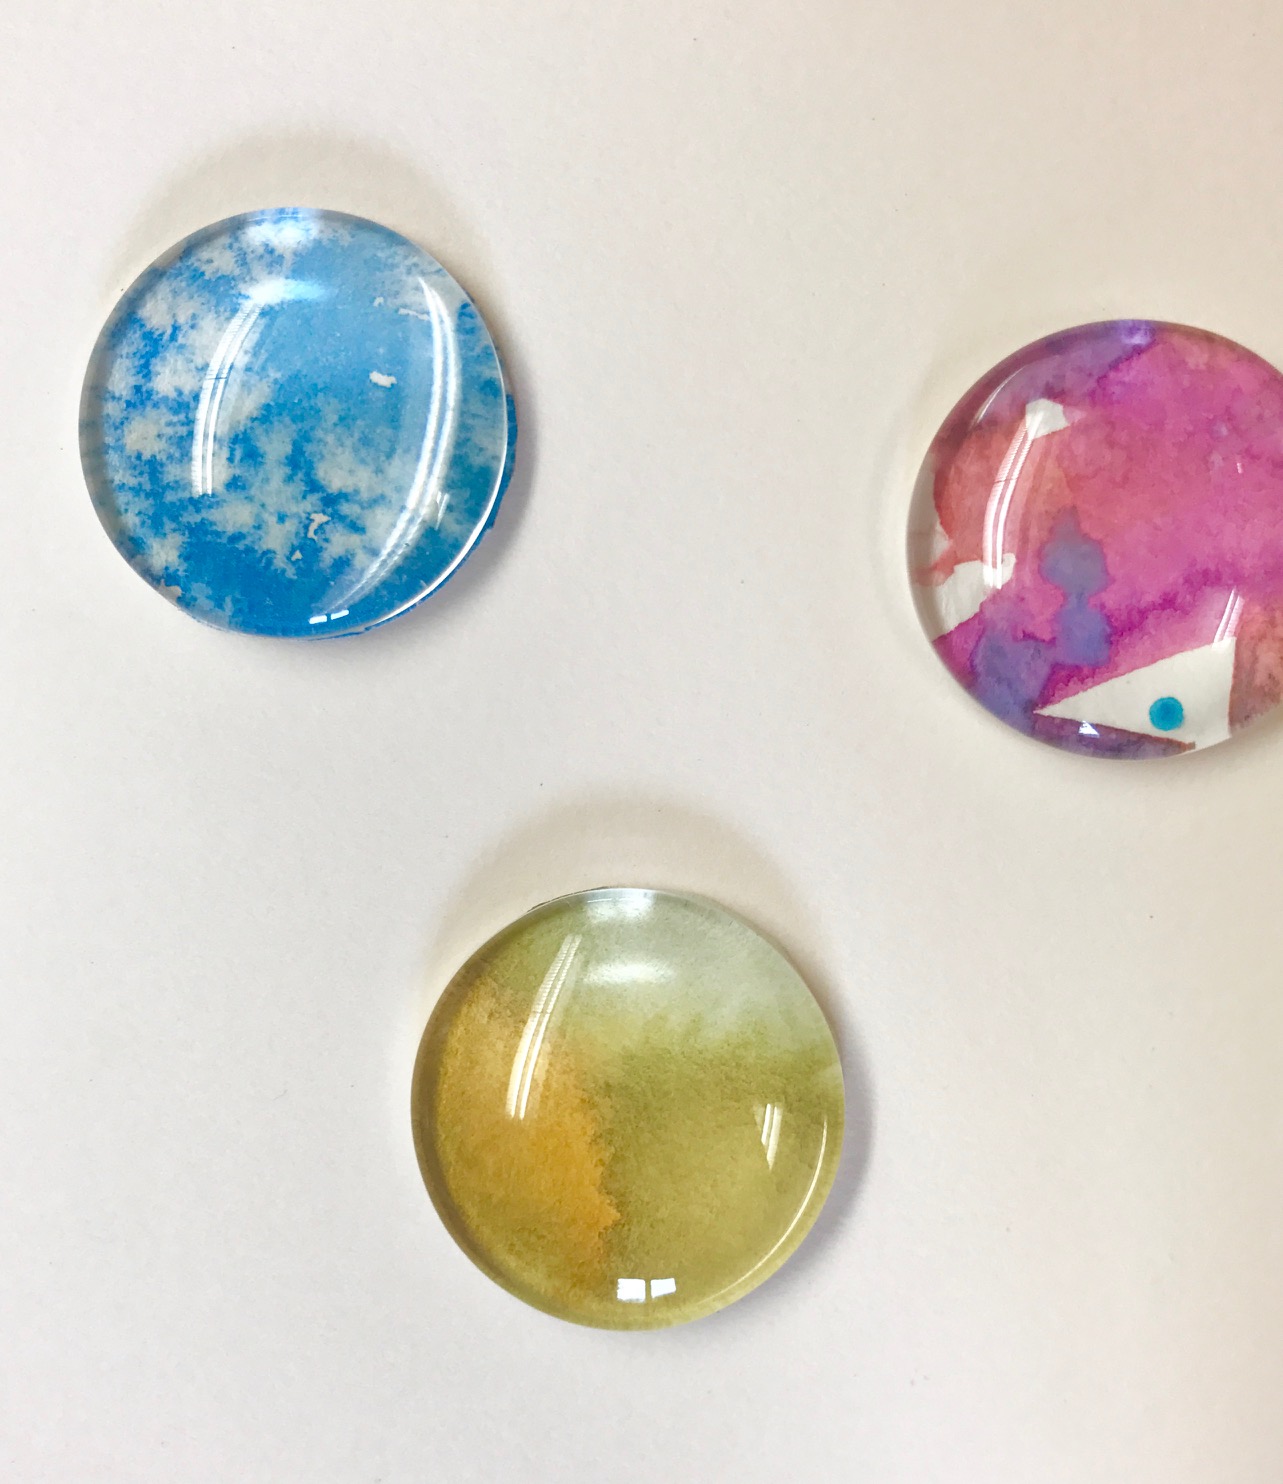 I put five into a small gift bag, like the one shown above with the gift tags, to give as party favors at a recent event and people loved them. Aren’t they pretty?
One last little bonus project for you…
Why not cut a few paintings into book marks to tuck into your family’s favorite reads? And there you have it! With so many great ways to reinvent your scrap pile, you’ll never fear making a mistake in your paintings again.
Share tips, start a discussion or ask one of our experts or other students a question.
No Responses to “3 Ways to Repurpose Rejected Paintings”