
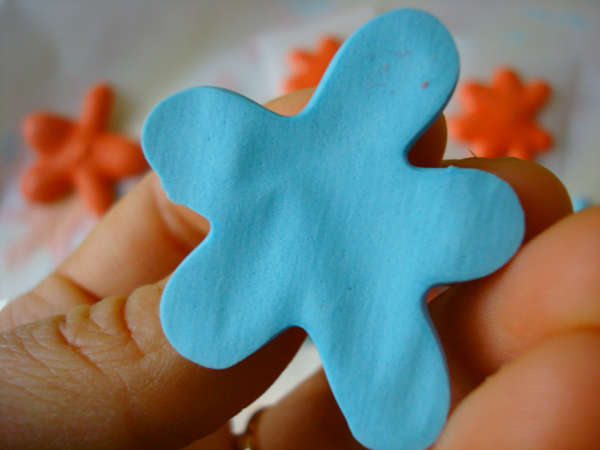
When most people think of decorating cakes with royal icing, they probably think of using it sort of like paint — as it’s ideal for making highly detailed images on cookies or cakes. But did you know that it’s the perfect medium for making decorative and multi-dimensional sugar flowers, too?
What are the advantages of learning how to make royal icing flowers?
Though arguably not as common as making flowers from sculpted sugar paste or piped buttercream, royal icing is a medium that comes with distinct advantages. The icing is the consistency of stiff meringue when piped, so it retains a certain delicate and soft look, but it hardens as it dries, rendering it a very durable and long-lasting decoration. Sturdier than buttercream, it can be piped into shapes, such as loops, that might not hold in buttercream.
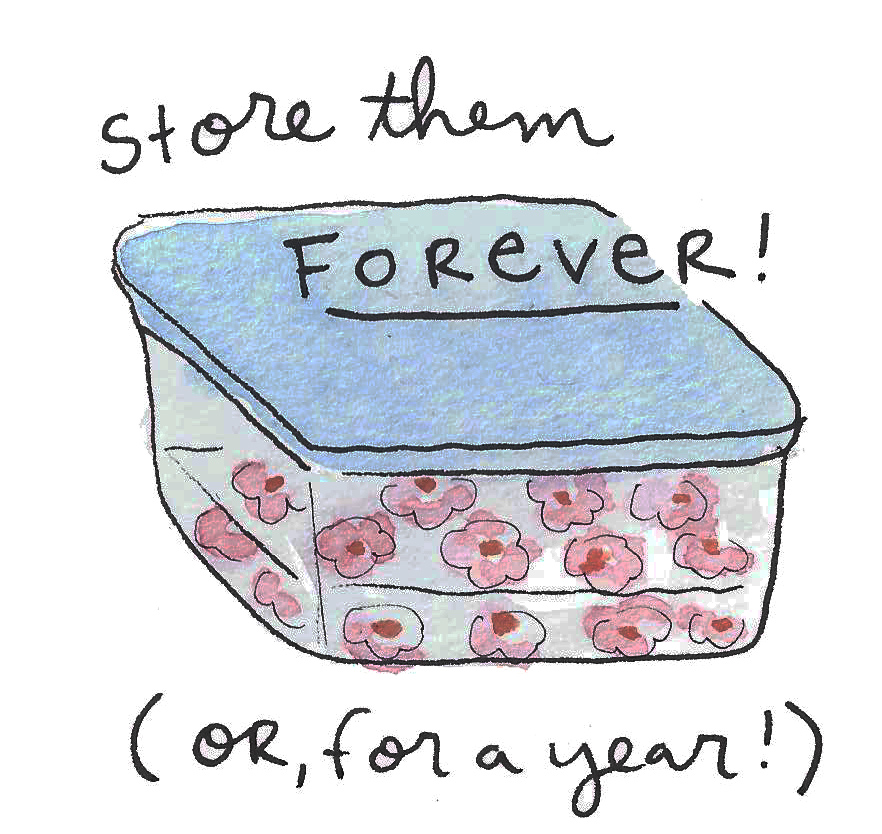
Royal icing flowers are generally quicker to learn how to make than learning how to make gum paste sugar flowers, which can get pretty involved, and you don’t have to worry about them drying out. And they can be made well in advance, as they have amazing storing qualities. If held in an airtight Tupperware, they will keep indefinitely (though maybe a year is more reasonable). Plus, one batch of royal icing will yield a large amount of flowers, so they’re ideal for making then storing and grabbing as needed for projects or when a little garnish is necessary.
Getting Started
Are you ready to test it out? Here’s a primer on how to make simple royal icing flowers. Keep in mind that this is something that can be as simple or as complex as you’d like; most buttercream flower tutorials will also work with royal icing, and you can add as few or as many details as you desire.
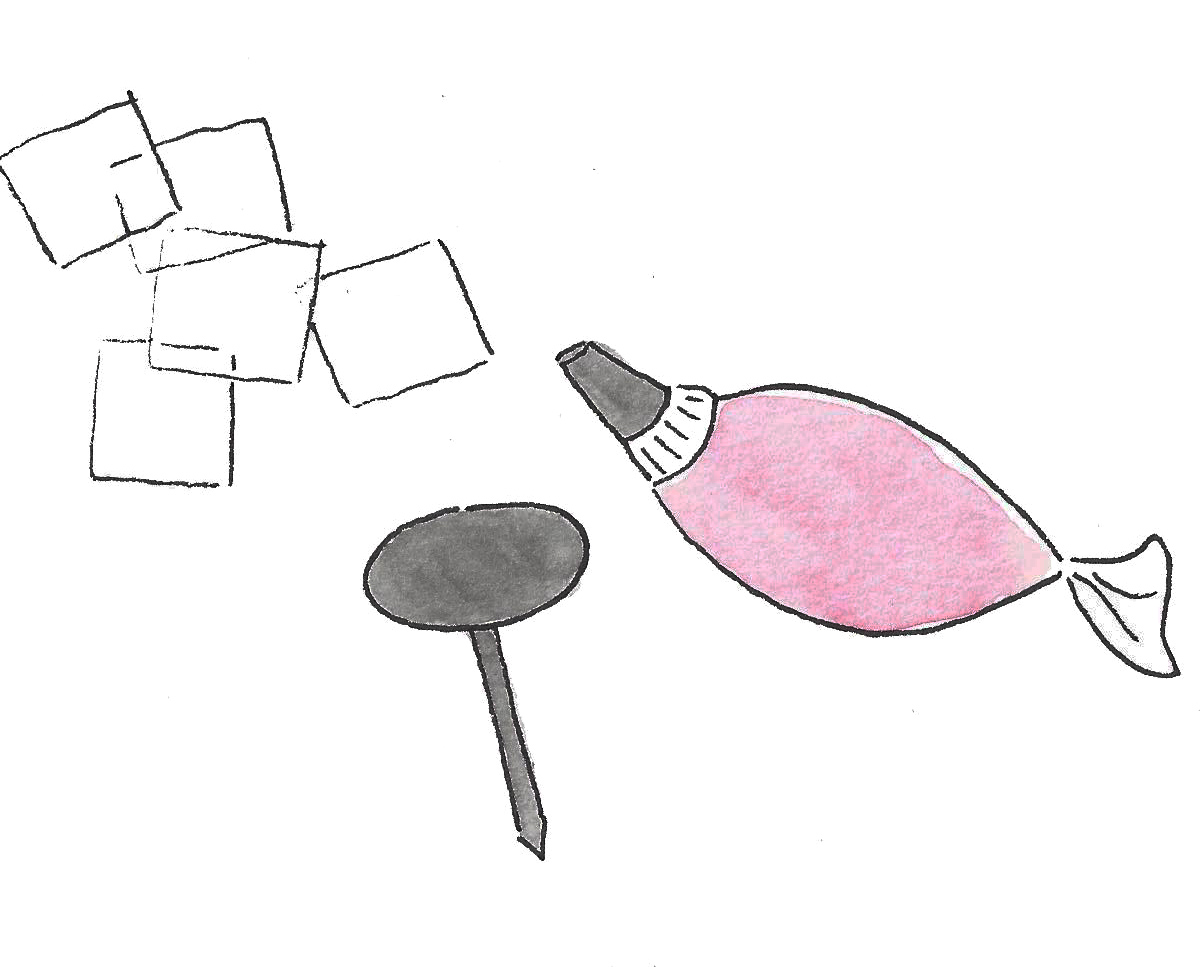
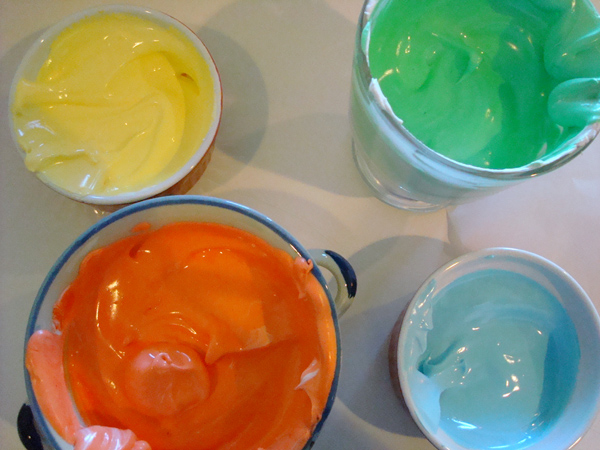
To get started, you’ll want to assemble your materials. You’re going to need royal icing, a pastry bag fitted with a coupler, a rose tip (large or small), a small circular tip (size 3 or 4), a rose nail, and a large amount (a batch of royal icing will yield over 100 flowers, depending on size) of small squares of waxed or parchment paper.
Note that you’ll want this icing to have a fairly stiff consistency, and when adding color, be sure to use only gel or paste colorings as they won’t affect the texture as much as liquid coloring.
Since this recipe will yield a respectable amount of royal icing, you might want to divide it among several dishes and tint it various colors.
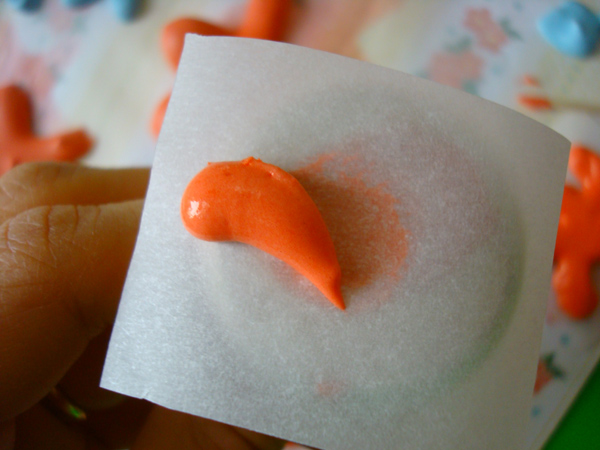
The squares of paper are for use on the rose nail; if you feel that a simpler and flatter type of flower will suit you, or if you’re a beginner and a bit daunted by all that equipment, it’s fine to pipe directly on to a bigger sheet of parchment paper and go without the nail and little pieces of paper.
First, you’ll fit the piping bag with the rose tip, and fill the bag with the icing color of your choice for the flower’s petals. First, pipe a tiny dot of icing onto a sheet of paper, and place it, icing side down, on the nail to adhere the paper and keep it in place. This is all going to be easiest to handle if you hold the pastry bag in your dominant hand and your flower nail in your other hand.
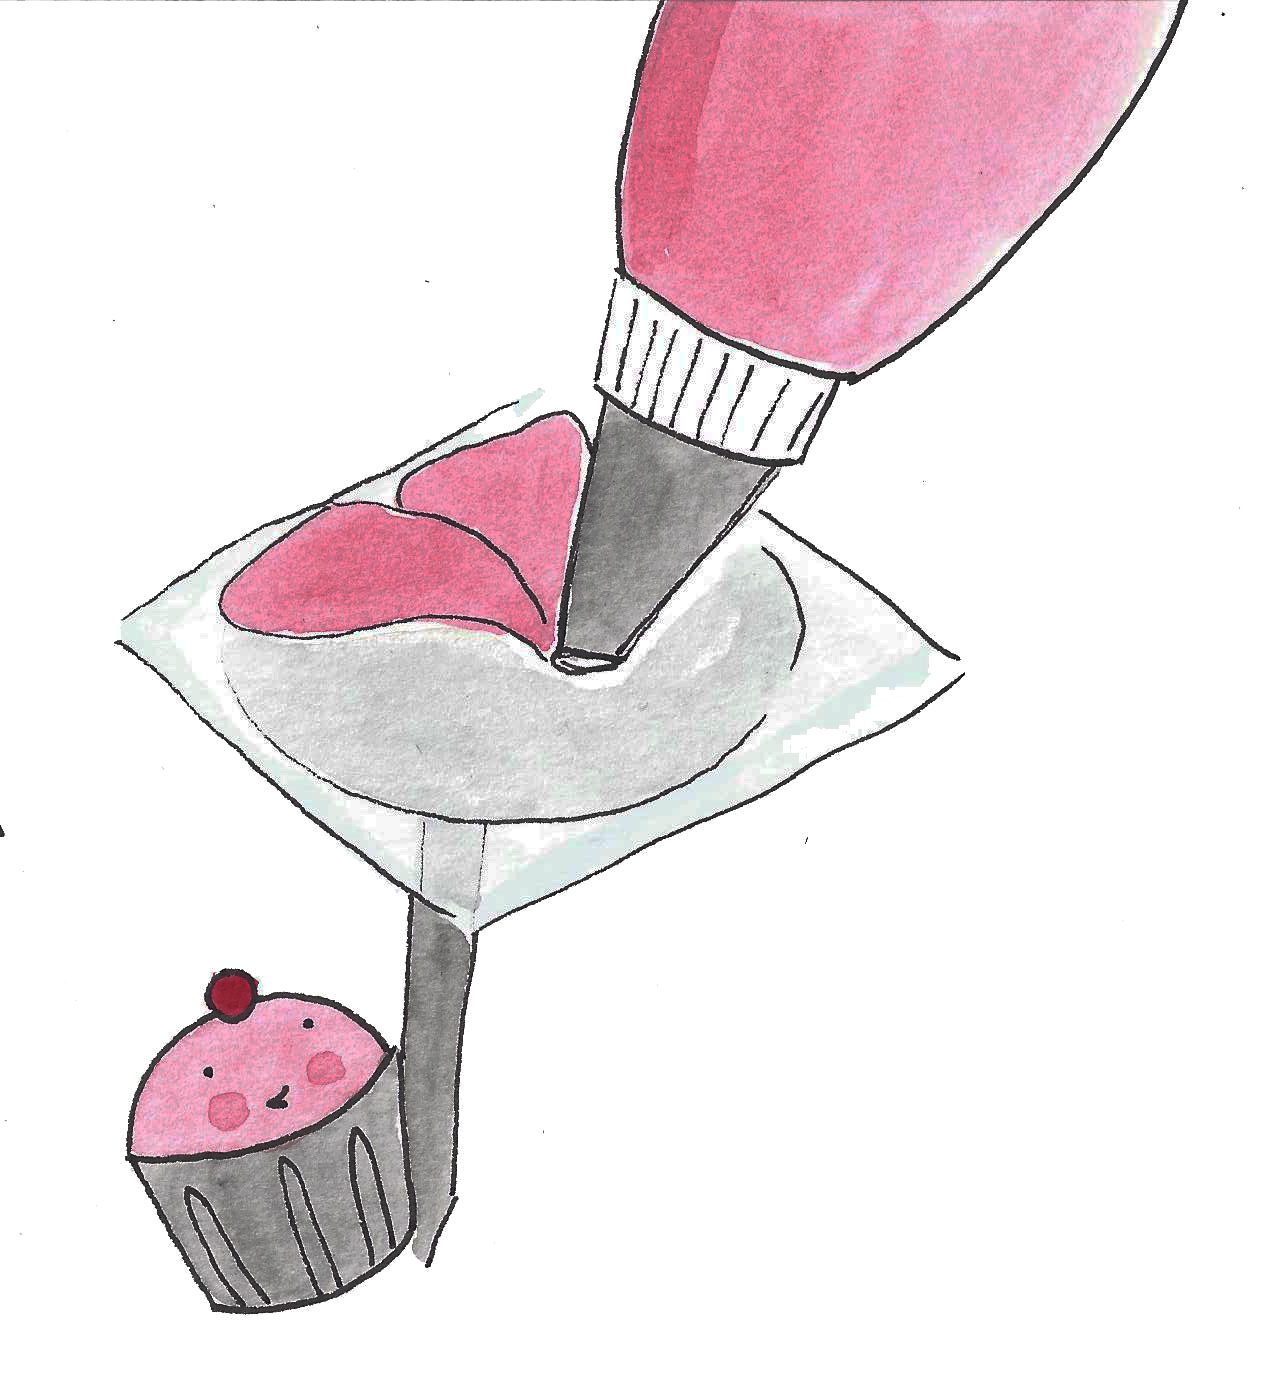
Position the rose tip on top of the parchment-topped nail, holding it almost like a pen, but with the widest end facing down and touching the nail.

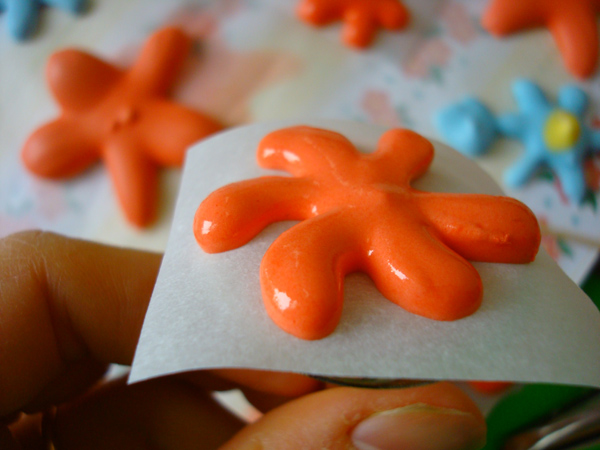
Begin to pipe out a small “petal” shape in a flat line, squeezing a little more intensely when you first begin to pipe and easing slightly as you pipe toward the center of the nail, so that the “petal” is wider on the outside than on the inside, just like a real flower. Rotate the nail and do the next petal so that the side lightly overlaps the previous petal. You’ll eventually get comfortable with this movement and be able to rotate the nail lightly as you go, concurrently rotating the flower nail very slightly, so that a small and gentle arc occurs in the extruded icing.
Continue creating petals until you’ve come back to the first petal, with each one narrowing toward the center of the flower nail. While it’s ideal to have them about the same size, remember that flowers are each unique and beautiful in nature, and in royal icing, too. As a note, on a humid day or if your icing seems a little soft, the petals may soften into one another. Don’t panic, as they might not retain the same detail, but will still be rather lovely!
Once you have all of the petals finished, it’s time to create a dot in the center of the flower. You can either use the same color icing from the piping bag, or you can outfit another pastry bag with a round tip and another color of icing. Now, pipe a small, round dot in the center of the flower, where the petals have all come to meet. If washing an entire other tip seems like way too much work, if you’re really careful, you could also spoon or brush a small amount of icing in the center, too.
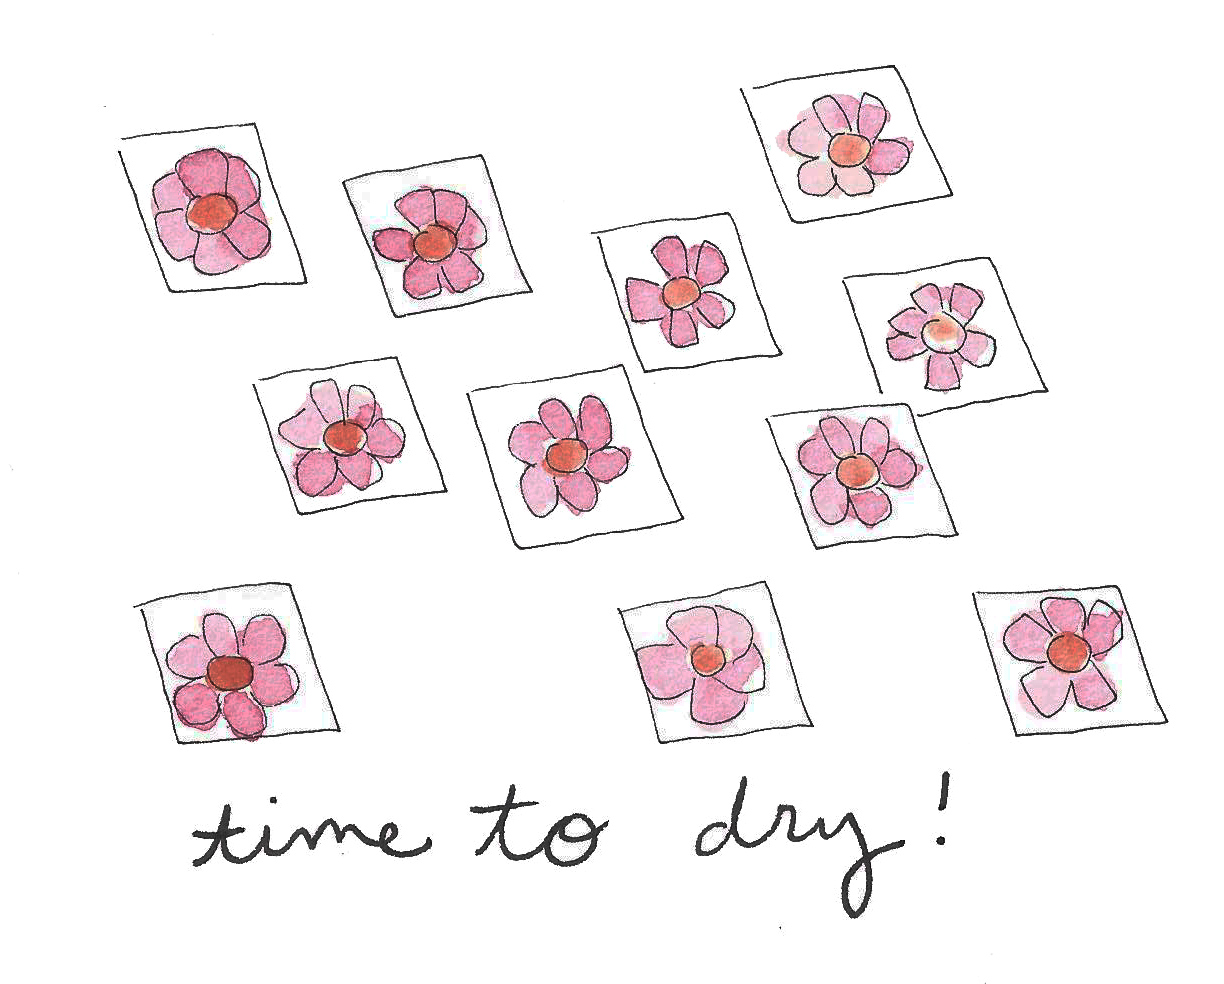
Totally sweet: your flower is complete! Carefully slide the paper off of the nail, transferring it to a flat surface to harden.
Continue to repeat this process until you’re finished with the royal icing–you could be looking at over 100 flowers, depending on the size you’ve decided to make them.
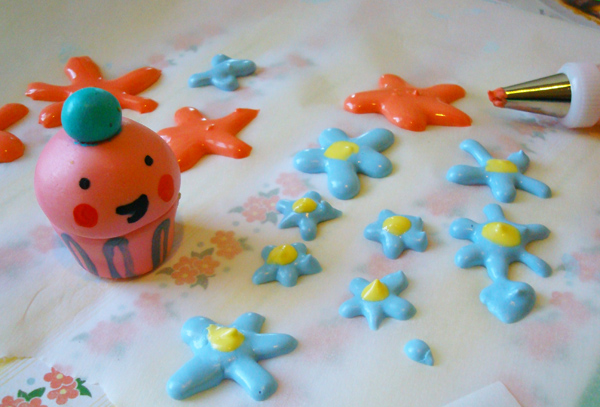
As a note, if you prefer a more free-form flower, it’s easy to simply pipe the flowers using a round tip, directly on parchment paper. They will look a little more cartoon-like, but that may be just fine depending on the project.
While the outside will start to harden fairly immediately, the inside and bottom of the frosting might not be fully “set” for several hours (overnight is probably best).
Once completely hard, these flowers will be very easy to remove by hand or using a spatula. If you’re not using them right away, store them in single layers in airtight containers and they will keep for a year, if not indefinitely!
Learn how to pipe a collection of more 15 different types of flowers with royal icing and buttercream in The Wilton Method: Piped Flowers class, taught by Beth Somers.
Share tips, start a discussion or ask one of our experts or other students a question.
No Responses to “How to Make Royal Icing Flowers”