
We put a lot of time and effort into getting our looms beautifully warped because we know that this is crucial to a good weaving experience. It can be a wee bit annoying, then, to find that you need to change what is on the loom before a warp is finished!
However, there are several reasons you might want to do this. When there’s a deadline coming up — a special event that calls for a handwoven gift or a show you want to enter — you might need to suspend one project and switch to another. Or, when your plans are simply not working the way you intended, you might need some time to rethink.
The good news is that only a few simple steps are needed to take your current warp off the loom and save it for later.
Step 1: To cut off or not to cut off?
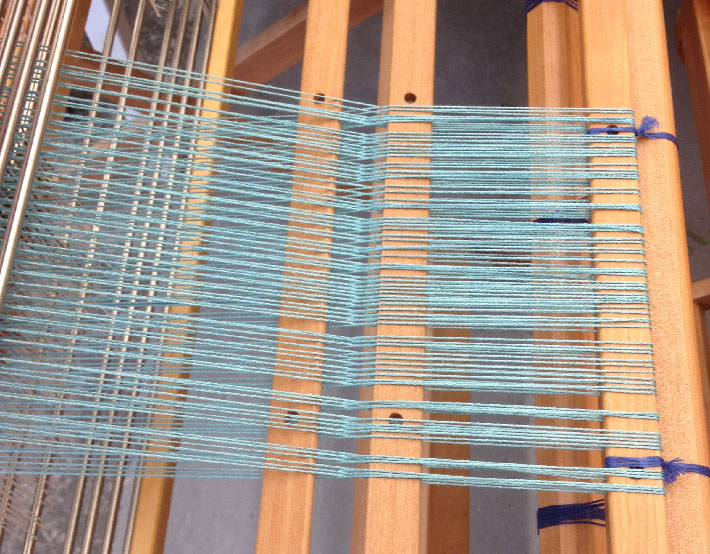
If you have woven a piece already but haven’t cut it off, then the easiest thing to do is to leave it attached while you prepare the warp. Just keep advancing the warp and winding it onto the cloth beam around your completed weaving. It helps if you use some packing to separate the layers as you would on the warp beam. Stop when the back apron rod is sitting on top of the back beam, as shown below.
If you have cut off the woven part already, then you can always tie the warp on again. I’d recommend this if you have more than 3 yards unwoven, though there is no need to be quite as particular about the tension as you would be if you were tying it on to weave! Then advance the warp as described above.
If there are 3 yards or fewer remaining, then I don’t usually re-tie. I simply advance the warp steadily, gently pulling on the unwoven yarn so that it comes smoothly through the heddles and reed. Stop when the back apron rod is sitting on top of the back beam. Then, taking the warp in large bundles, wrap the ends a few times around the breast beam to secure temporarily.
Step 2: Reinserting lease sticks
If you leave your lease sticks in while weaving, then you can skip this step. If, like me, you prefer to remove the lease sticks, then you will find that it is very simple to reinsert them.
If your threading includes the possibility of a plain weave shed, you should use that. If it doesn’t, use the nearest approximation. If this means alternating two-by-two instead of one-by-one, or a mix of these, don’t worry: it will be sufficient for your re-threading later on.
Open the shed one way and insert a lease stick behind the heddles.
Change to the opposite shed and insert the second lease stick in front of the first.
You will be able to see the cross taking shape between the lease sticks. If you have accidentally missed any warp ends, you will be able to see them floating over the top or underneath the cross, so take this opportunity to make the correction.
Fasten the lease sticks together as usual.
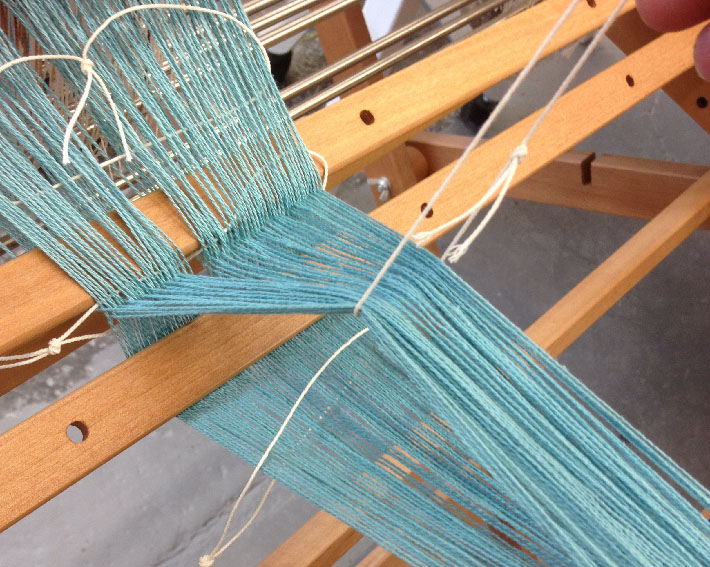
Step 3: Securing the cross
If your warp is narrow, you can treat it as a single bout. Otherwise, divide it into sections and push each section a little way from its neighbor(s) so that you can clearly see where each end belongs. Then, taking each bout in turn, secure the four arms of the cross: I simply use a length of string tied with an overhand knot for each.
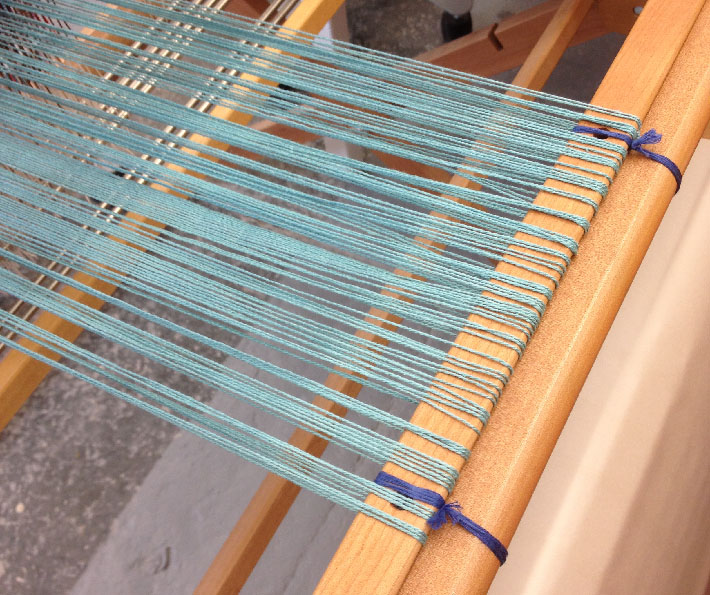
Finally, tie a choke tie around each warp bout just in front of the back apron rod. If you warp your loom back to front, you will have loops around the apron rod, so it is sufficient to tie around the top half of the warp only. However, if you have cut ends knotted at the back, then tie a choke tie around the whole bout together.
Step 4: The great unwinding
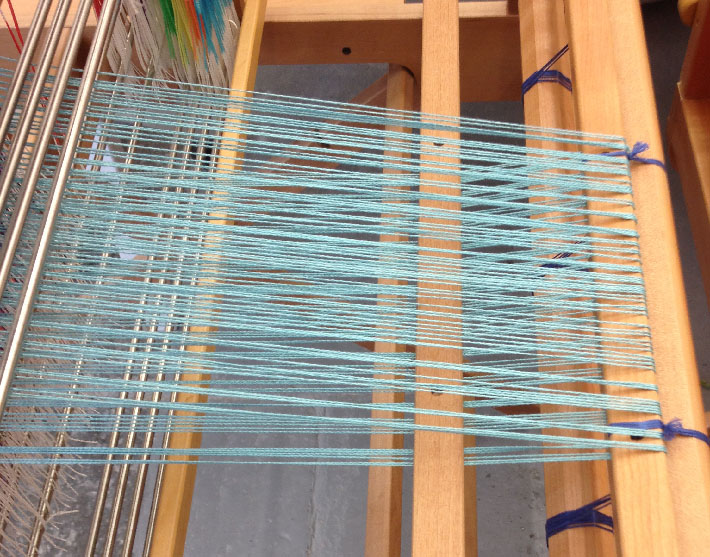
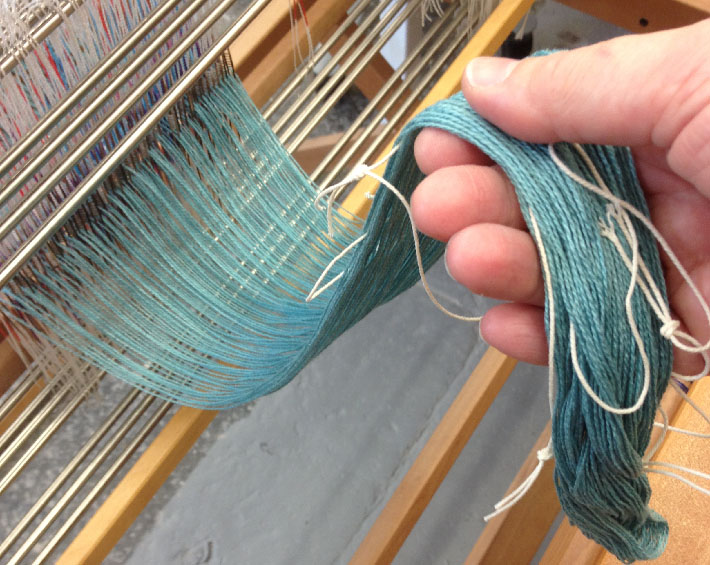
My preferred approach to the last step is to remove the apron rod and lease sticks and gradually pull the warp bouts back through the reed and heddles by hand. I stop every yard or so and add another choke tie just behind the heddles.
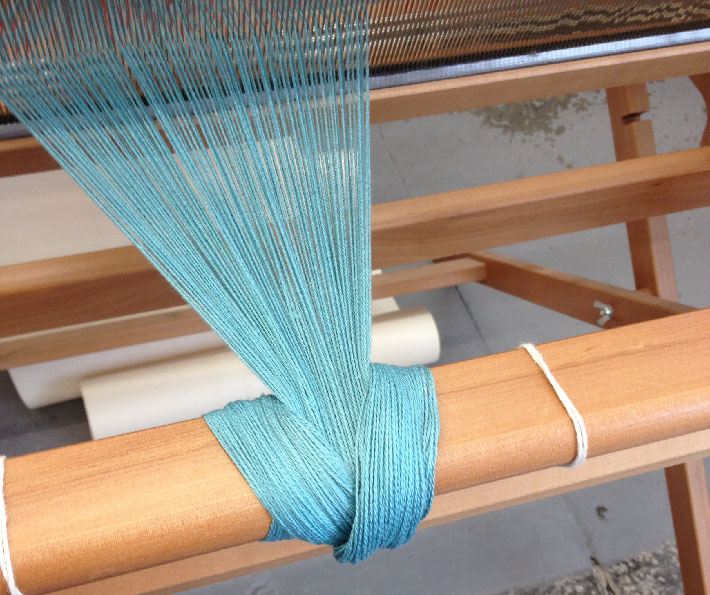
Another option, which you may find easier if there is a lot of warp left, is to wind the warp back onto the warp beam until the front apron rod (or previously woven cloth) prevents you from going any farther. Once you have untied or cut off the warp at the front, you can pull the last of the unwoven yarn free of the heddles and gradually unwind it from the back, adding choke ties as you go.
Neatly stow your warp in a safe place until you are ready to come back to it. Don’t forget where you put it!
Share tips, start a discussion or ask one of our experts or other students a question.
No Responses to “Save Your Warp for Later: 4 Simple Steps”