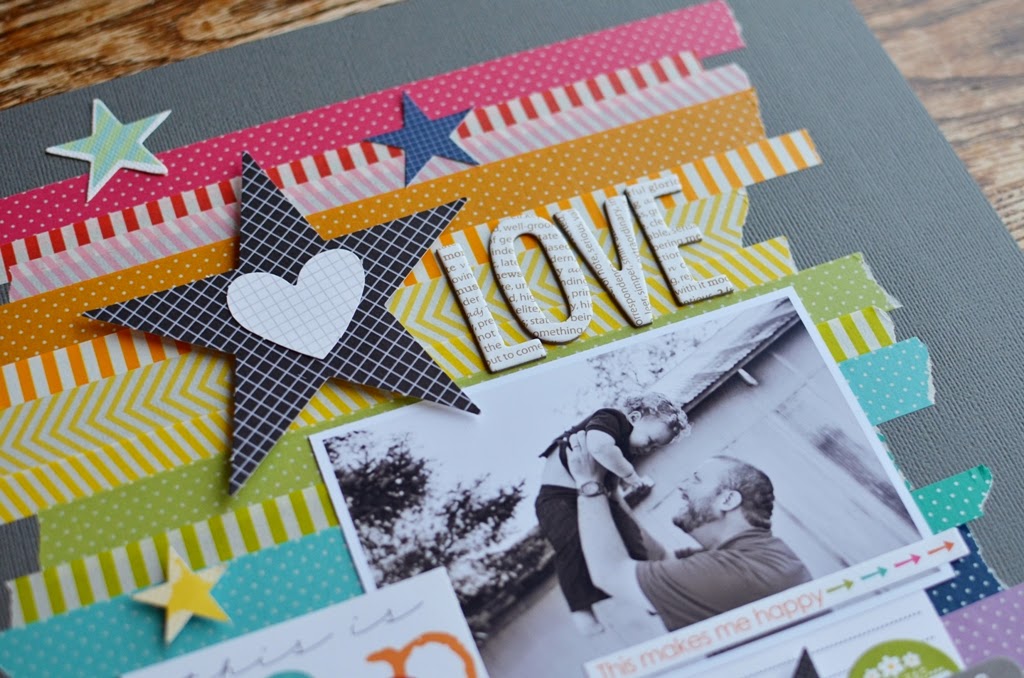
Photo via Jennifer Chapin, designed for the Bella Blvd blog
Are you a paper crafter with an endless supply of washi tape, but have no idea how to use it? Look no further! Read on to discover six ways you can put this gorgeous tape to good use on your scrapbook pages. Whether you are a traditional scrapbooker or prefer pocket-style layouts, these ideas for scrapbooking with washi tape will help you will use up that stash in no time…only to make room for more, of course!
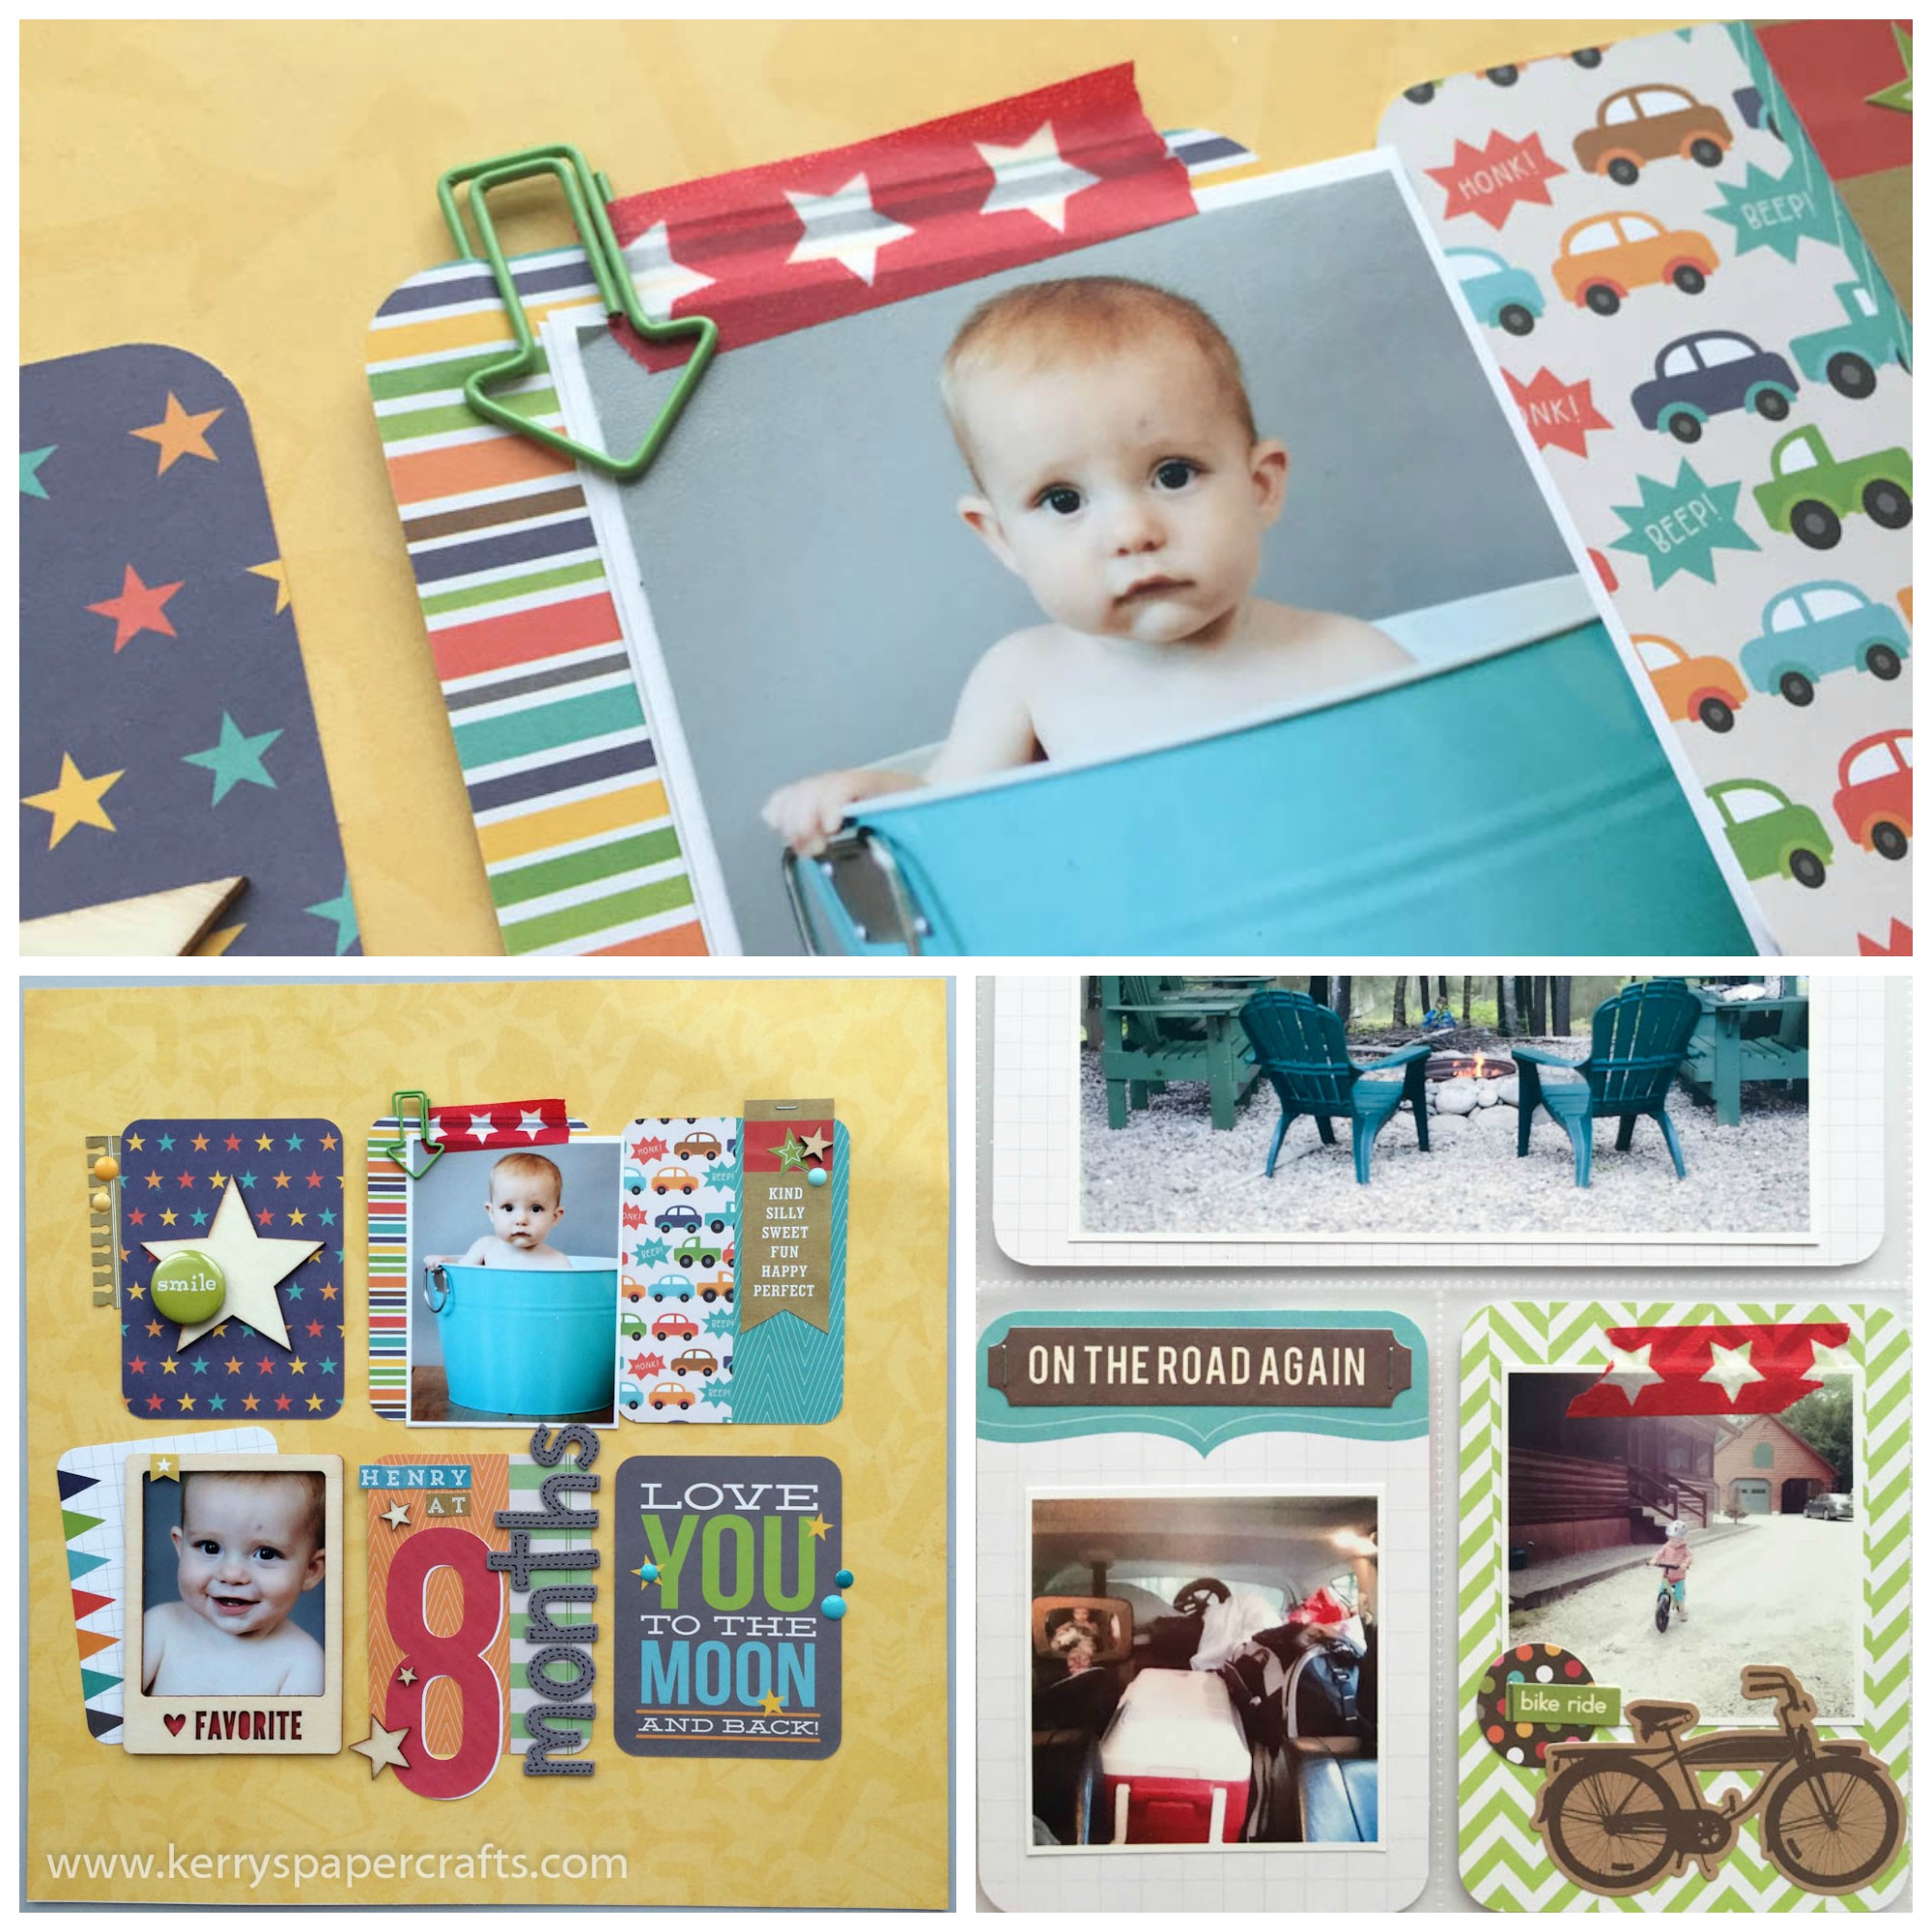
Idea #1: Tape photos to your layout
The simplest and perhaps most obvious way to use washi in scrapbooking is to tape photos to your page. Washi tape can be perfect for adding just the right pop of color to your layout. (We advise also adhering your photo with proper adhesive to ensure it stays secure on your page.) This technique is especially handy for pocket scrapbookers who may be looking to keep embellishments and bulk to a minimum.
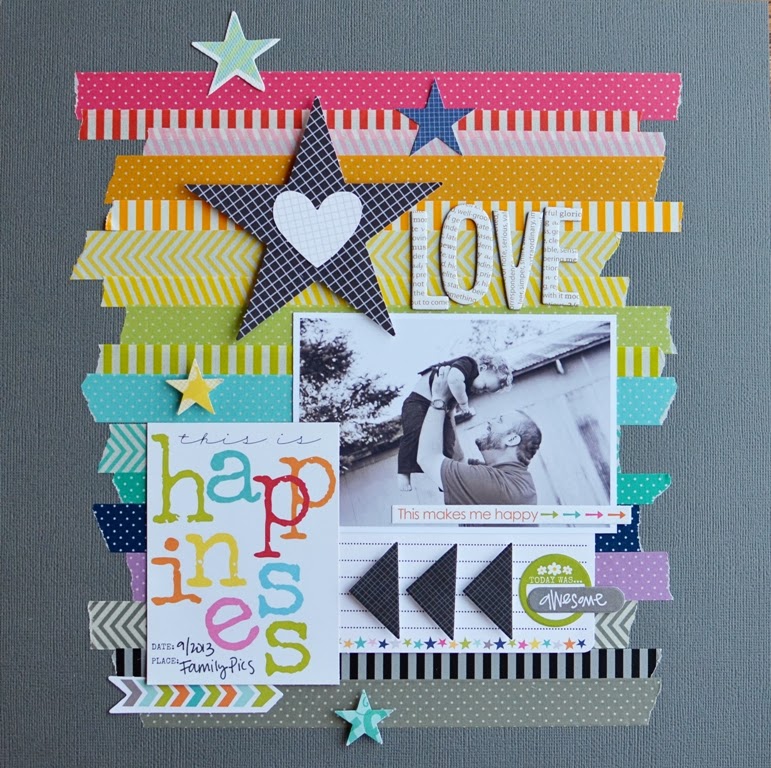
Photo via Jennifer Chapin, designed for the Bella Blvd blog
Idea #2: Create a striped background
You can dress up any plain piece of cardstock simply by lining up stripes of washi tape across the page. In the project above, Jennifer created a whimsical background by tearing the edges of washi and using a variety of widths. This is SUPER simple and a wonderful way to make a dent in that large stash of washi tape you may have sitting around!
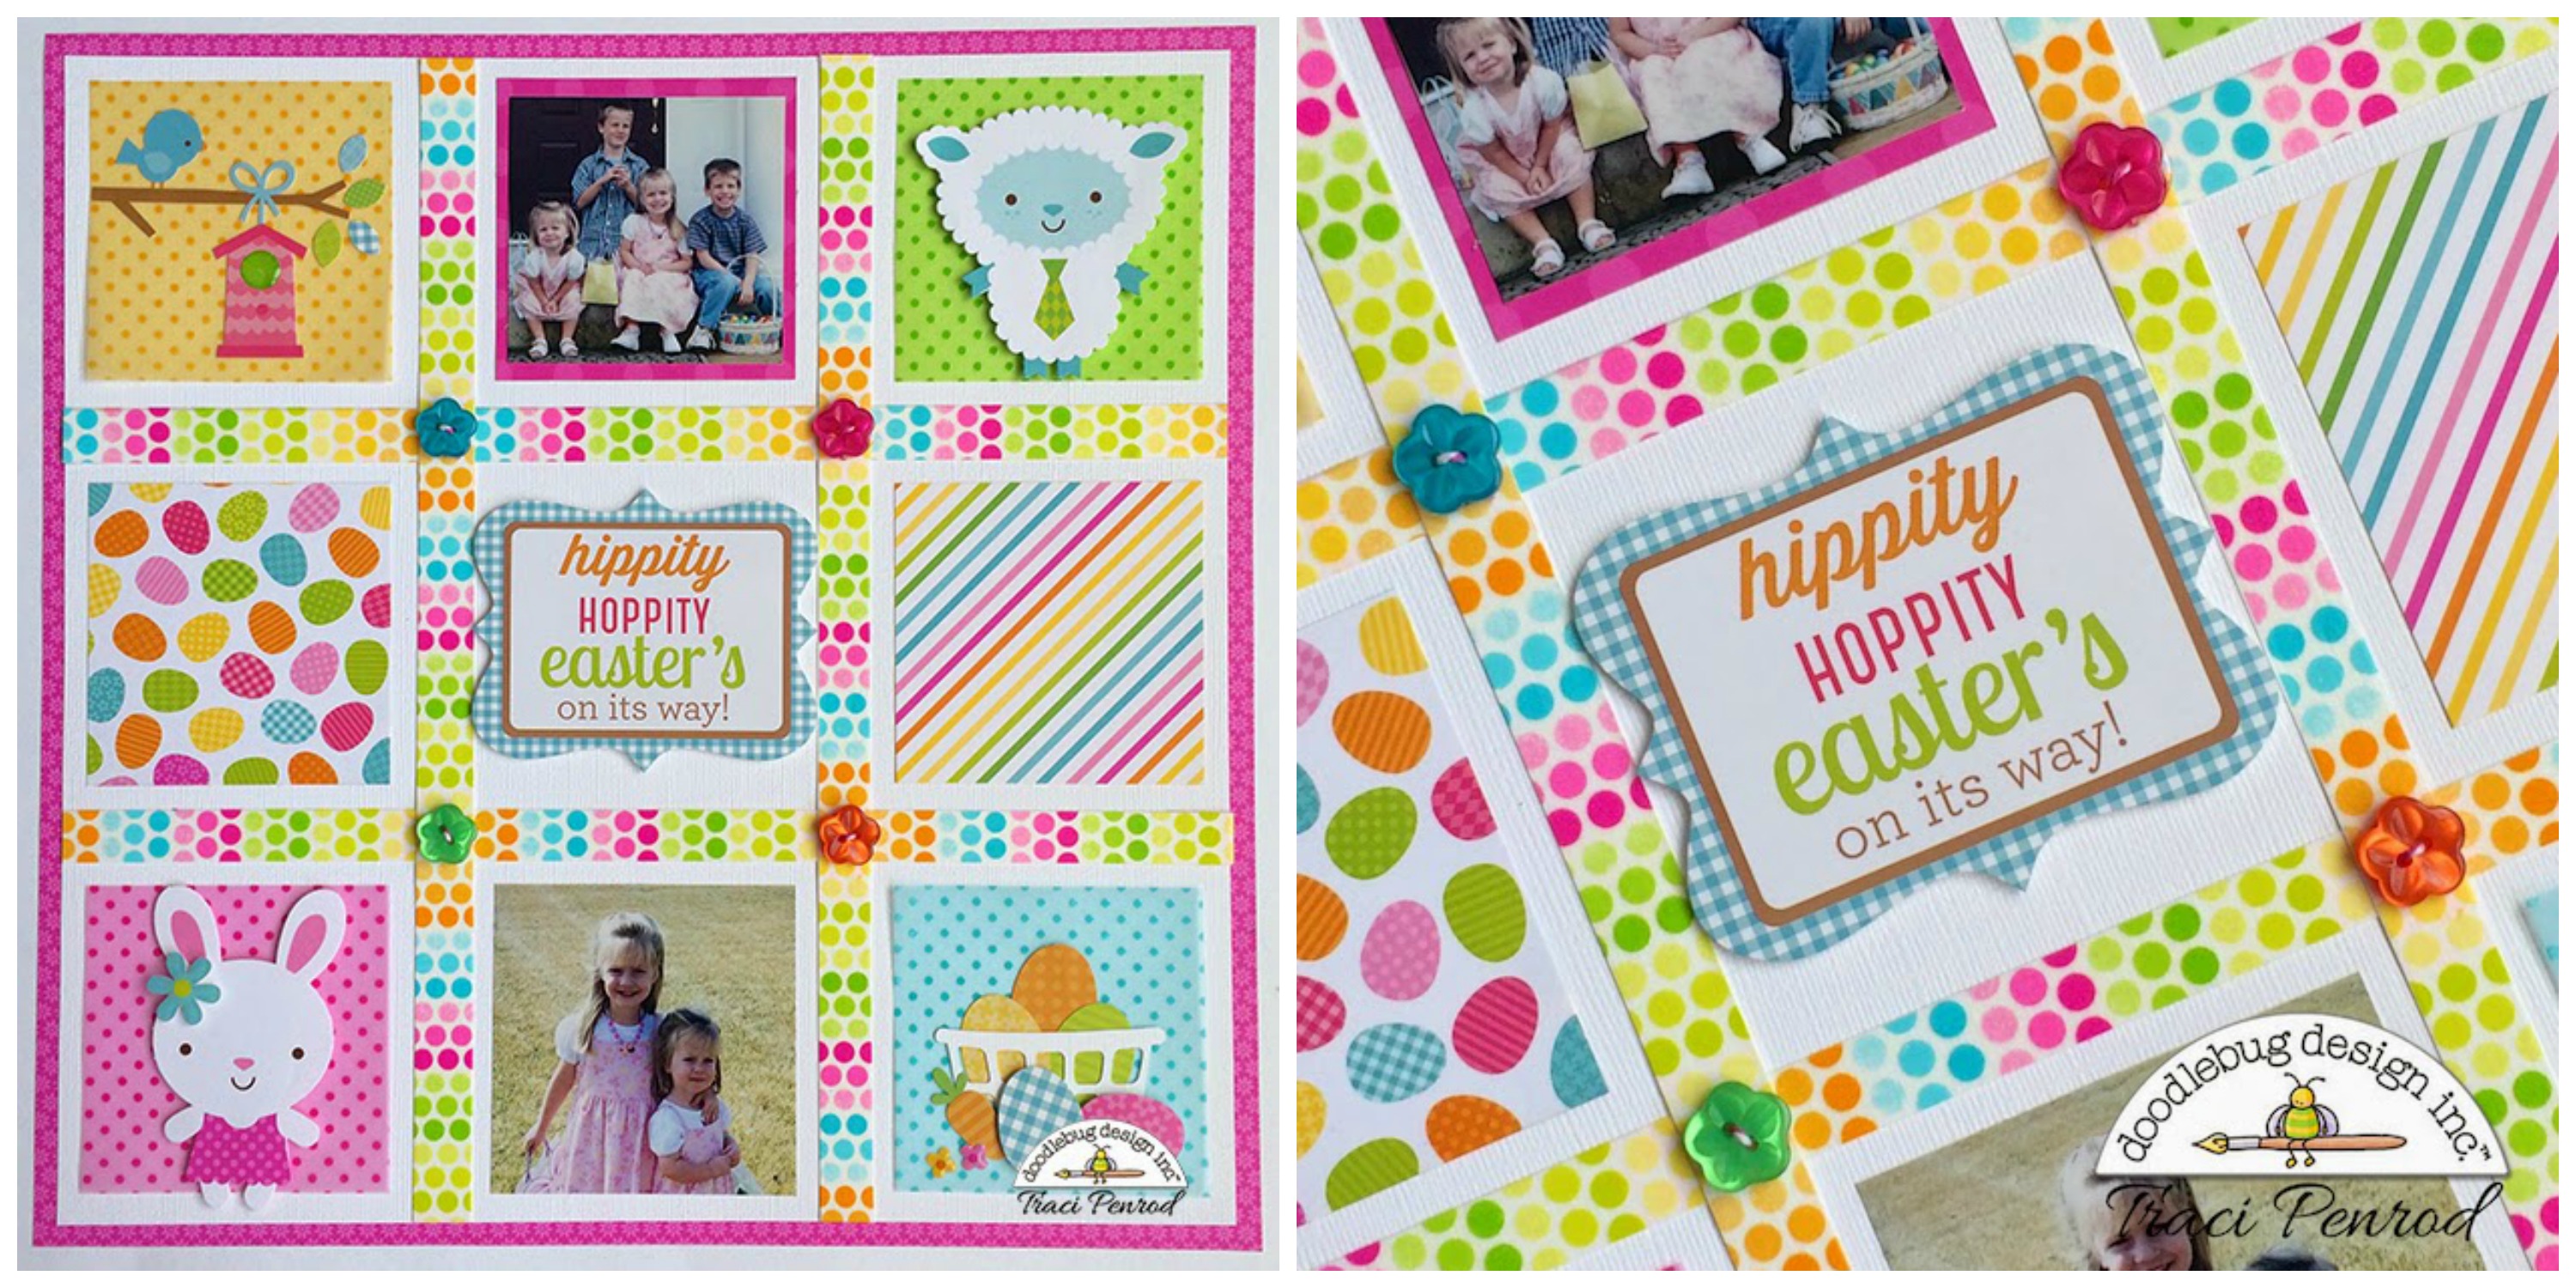 Photo via Artsy Albums
Idea #3: Create a grid pattern
Using a grid to arrange your photos is very on trend right now. Why not use washi tape to create your own grid? This amazing example by Traci of Artsy Albums shows a colorful and eye-catching grid using colorful washi tape. Although her layout is quite colorful, she stuck with the same washi tape for the entire grid, making it pleasing to the eye.
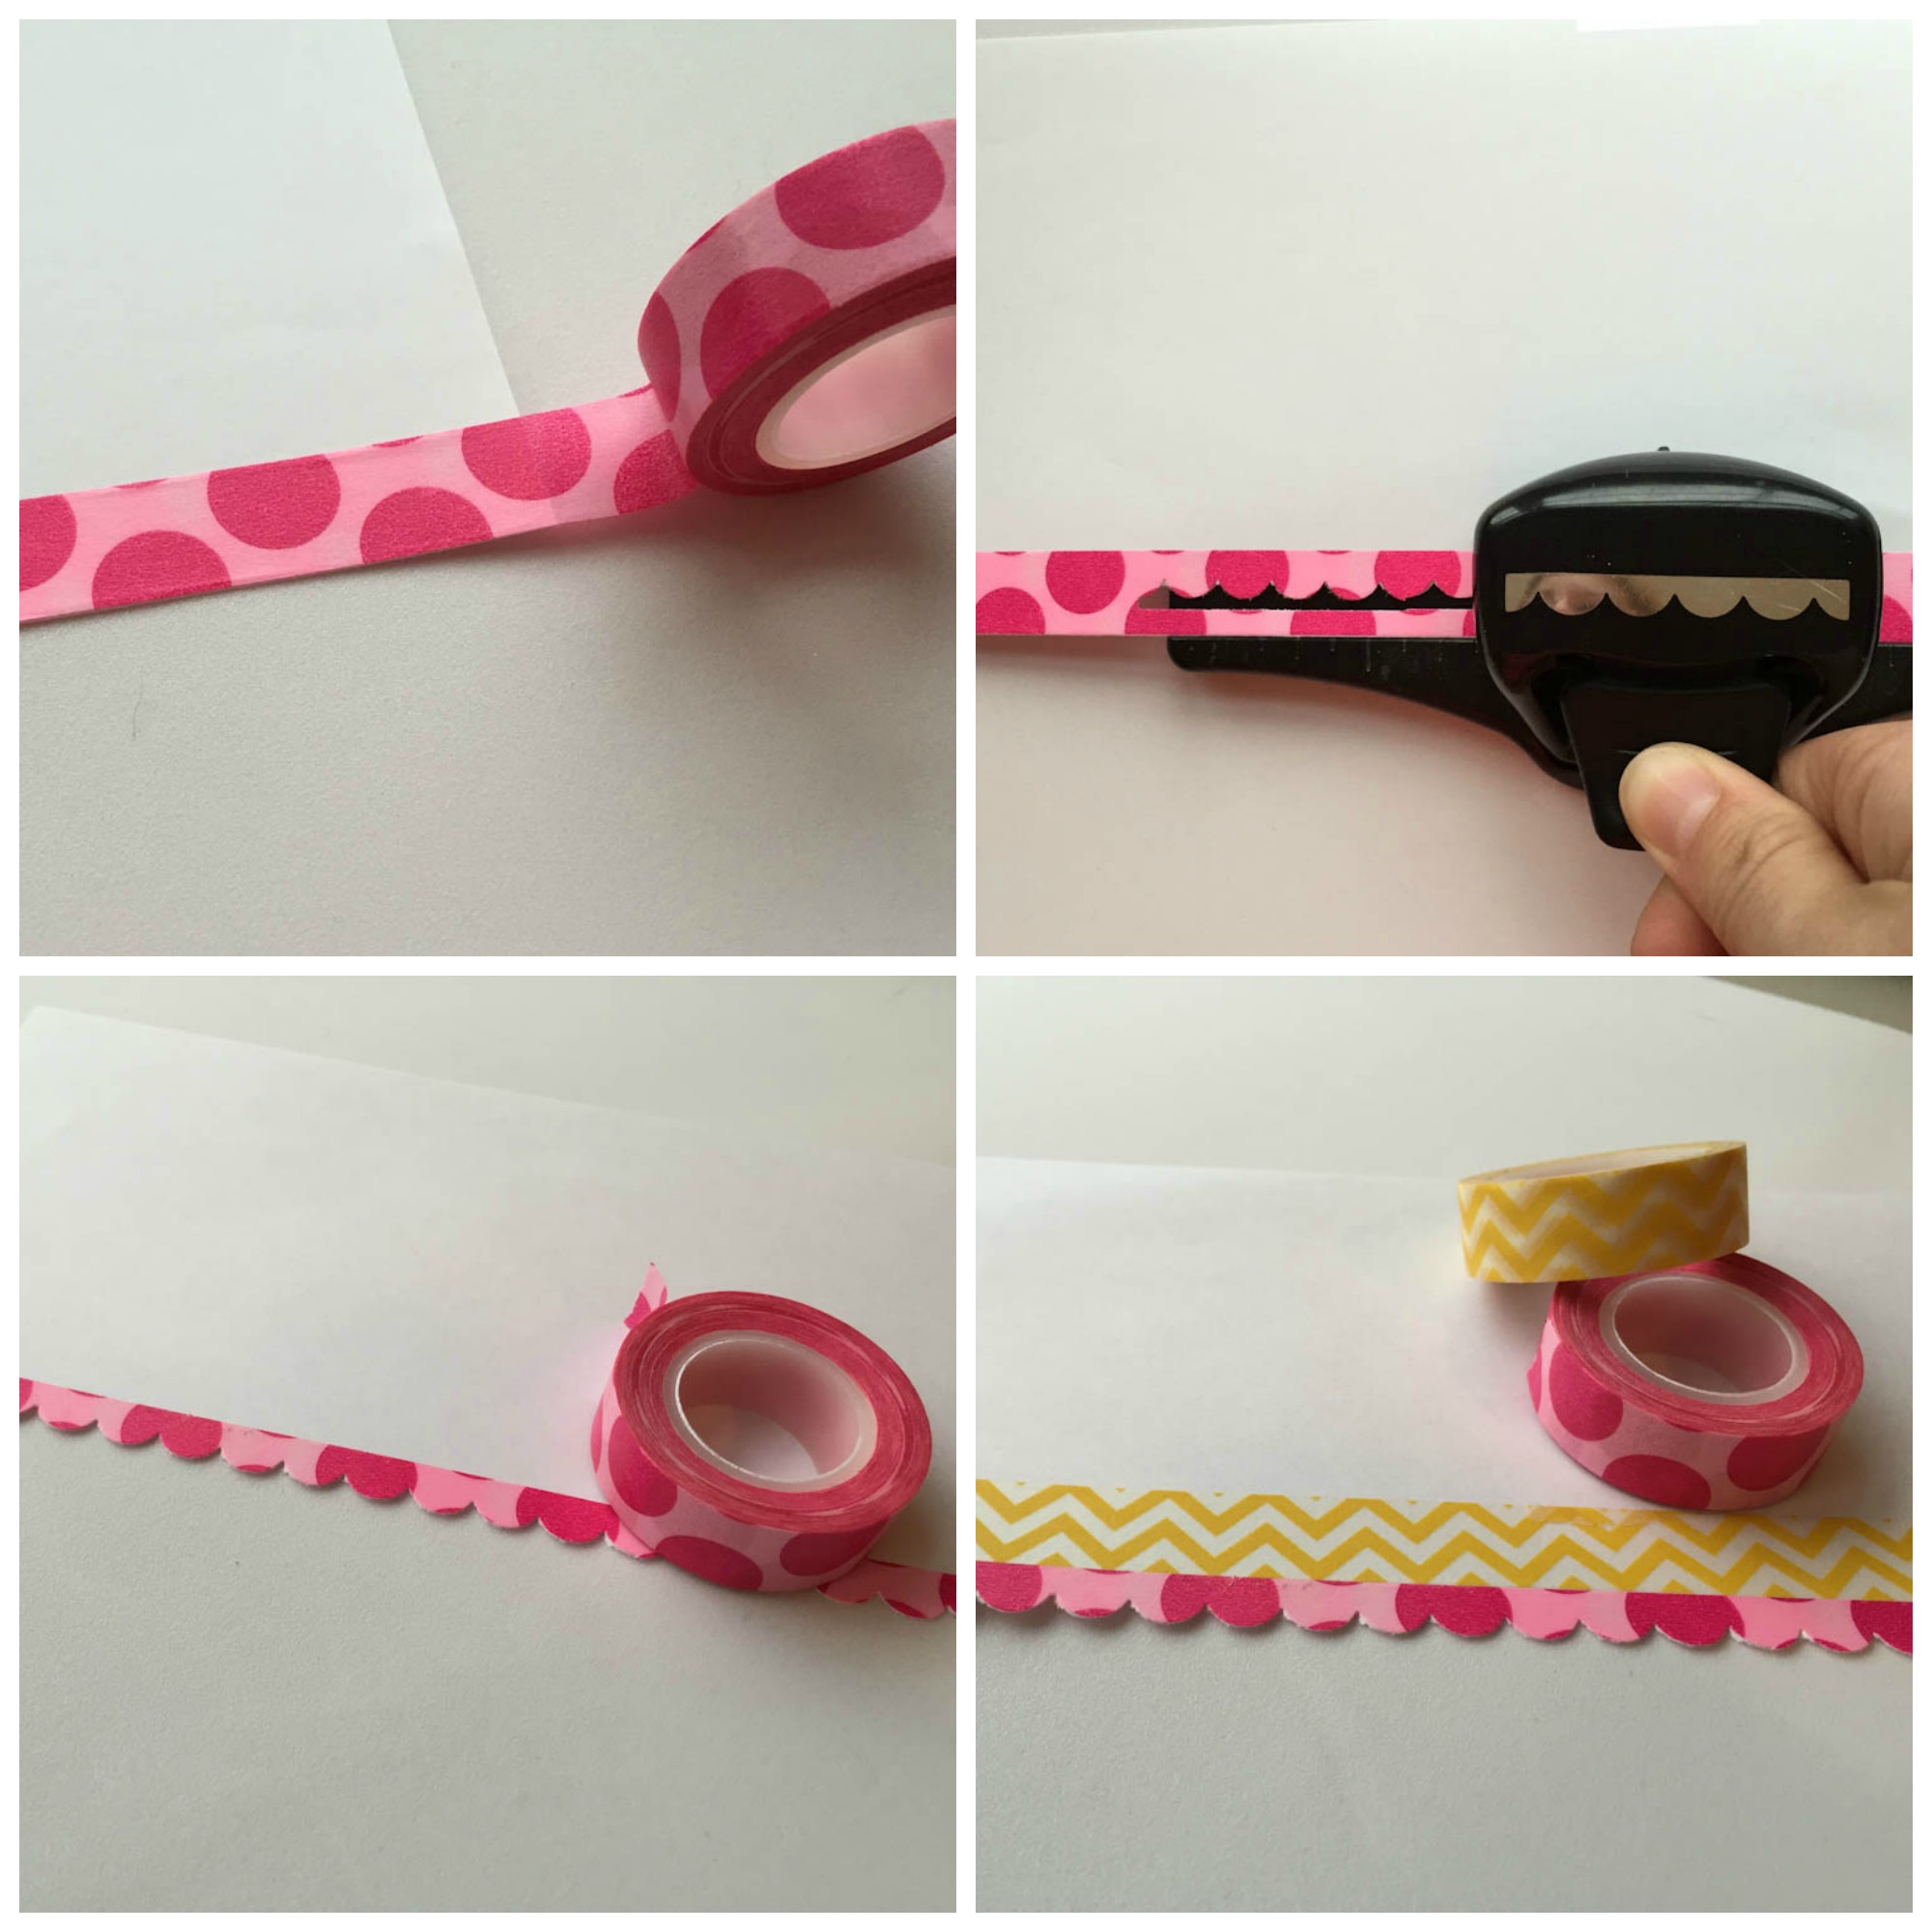
Idea #4: Design a custom punched border
Did you know that you can punch through washi tape? Simply run your washi along the edge of cardstock or patterned paper. Use a border punch and line up against the edge to create a gorgeous, custom punched border. You can further customize your border by adding a coordinating piece of washi directly above your punched edge.
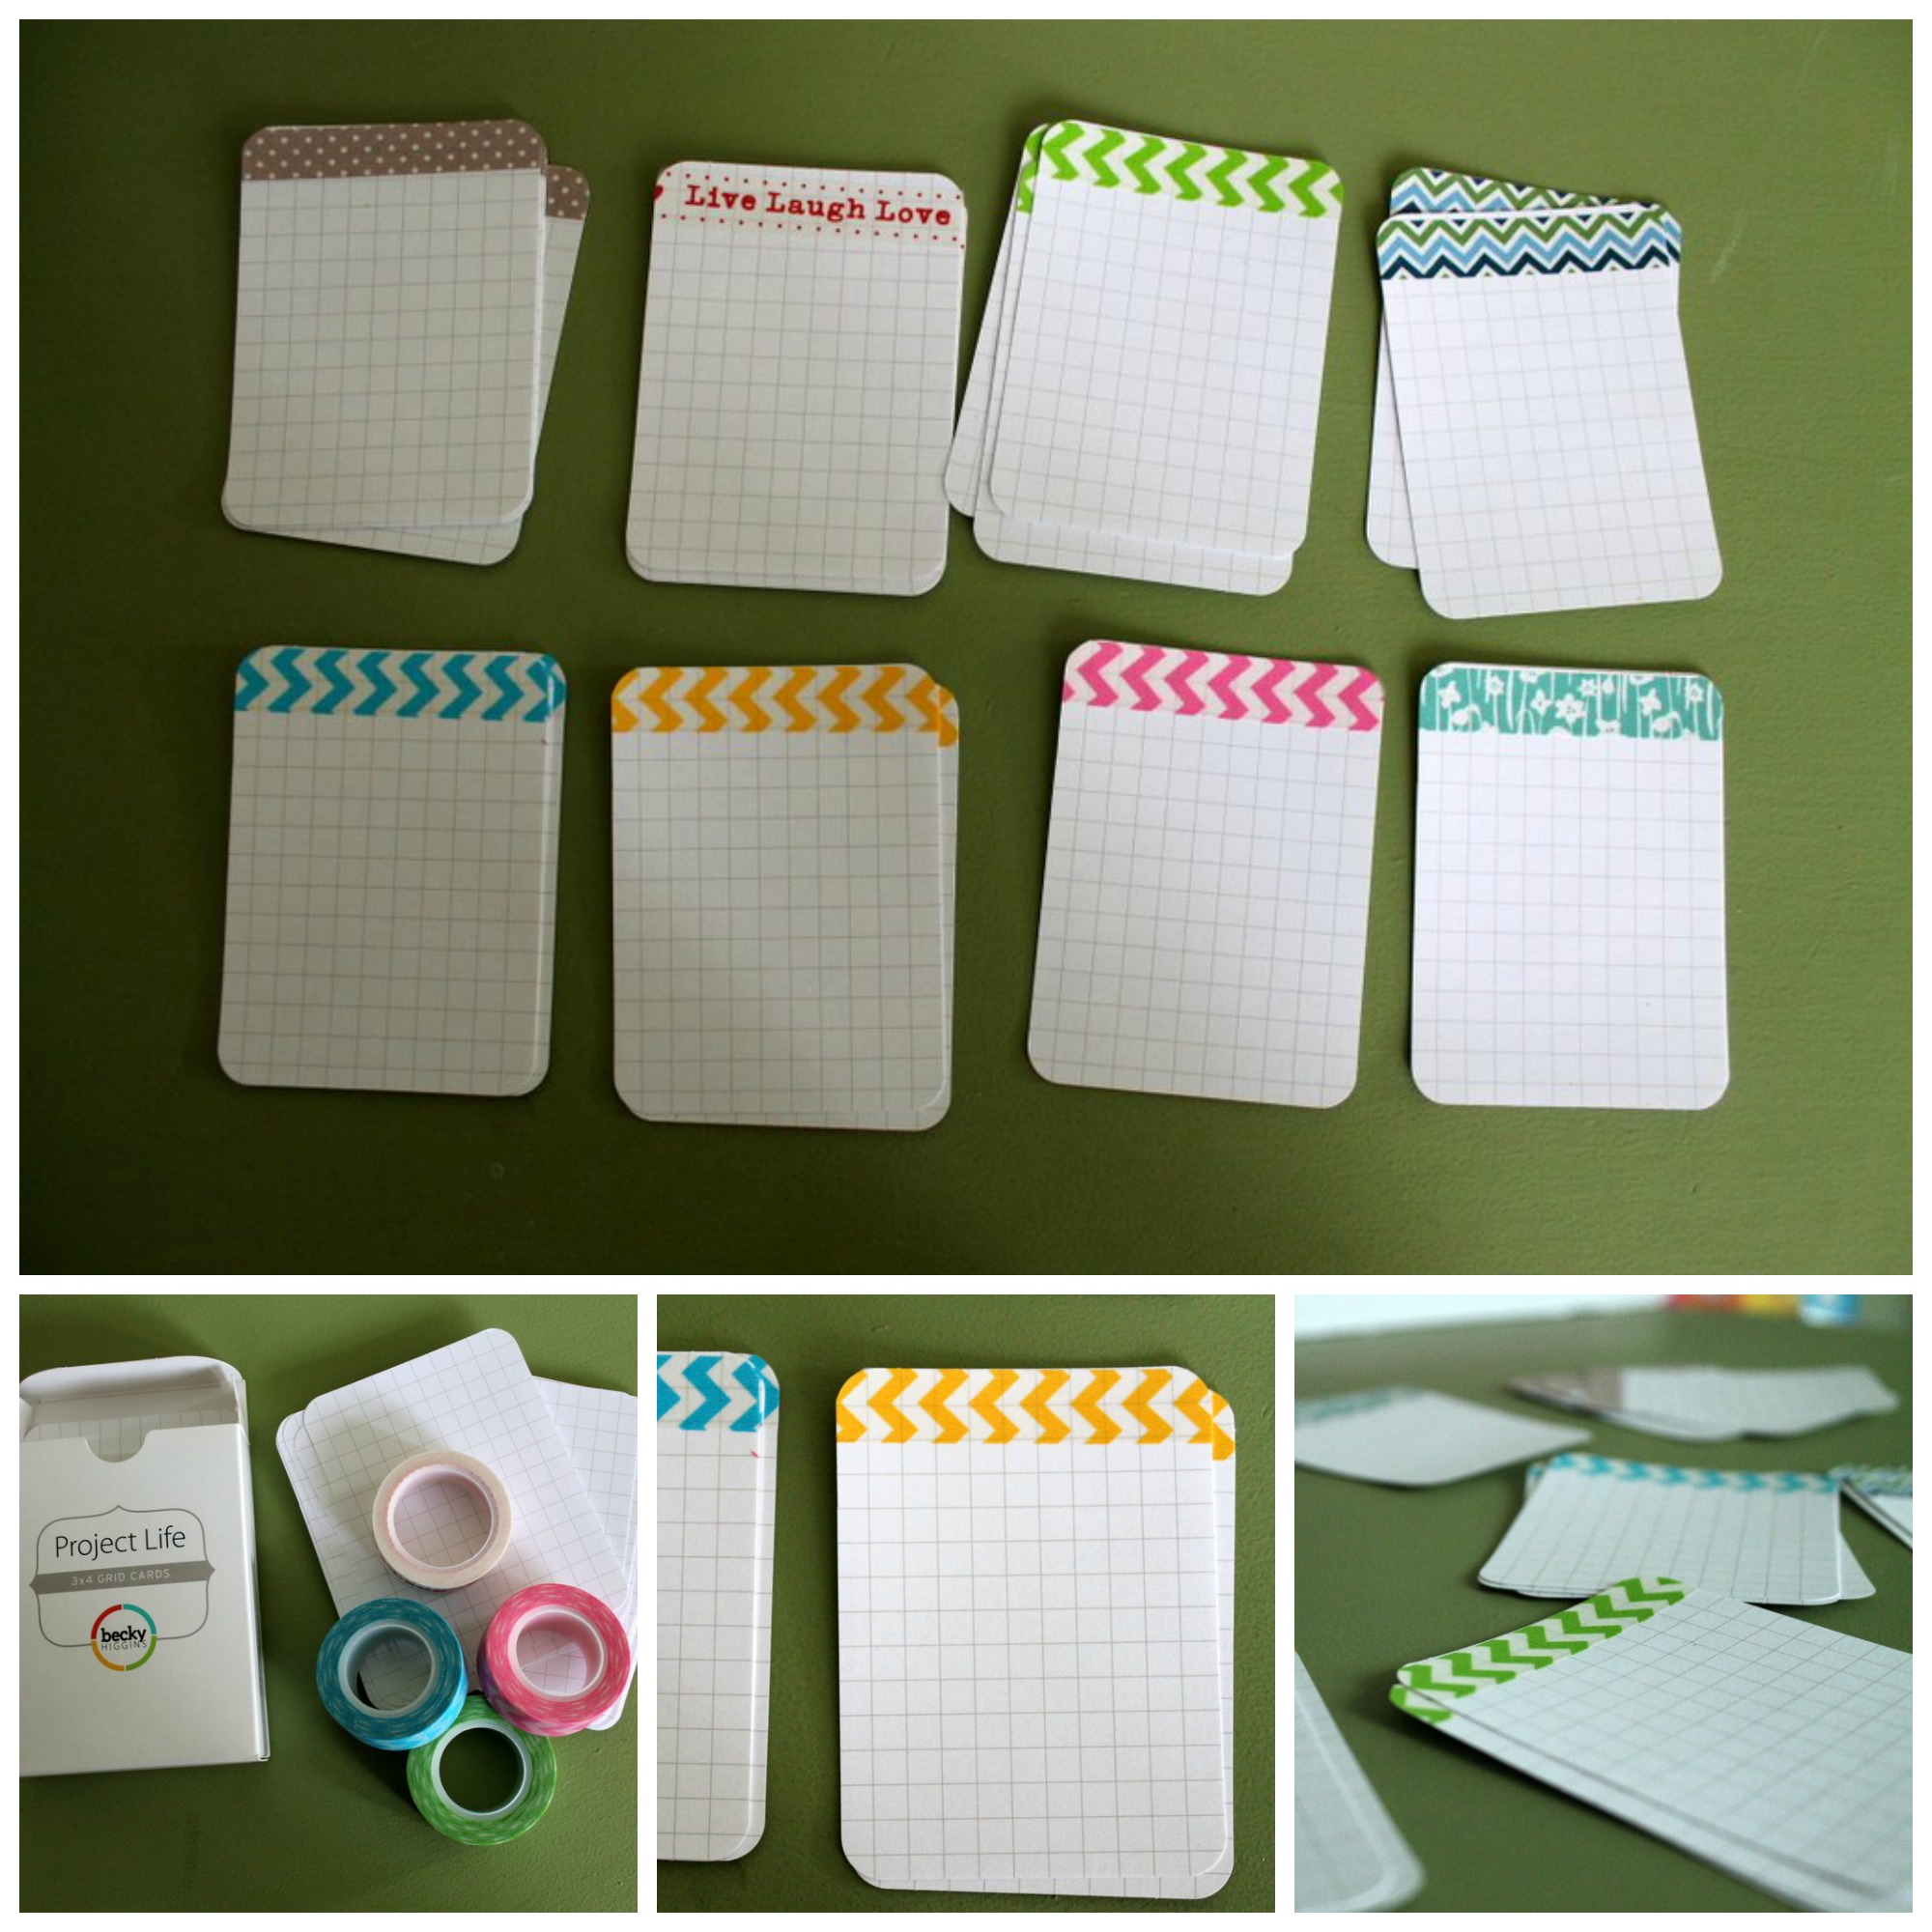 Photo via The 123 Blog
Idea #5: Dress up your pocket journaling cards
Dress up some plain pocket scrapbooking cards by adding some colorful washi tape! These cards can be used for journaling or filler pages in your pocket layouts. Try creating a subtle border, or cover the entire card with washi. You can even use a corner rounder punch to round corners on your washi, matching them up with the rounded edges of your Project Life cards.
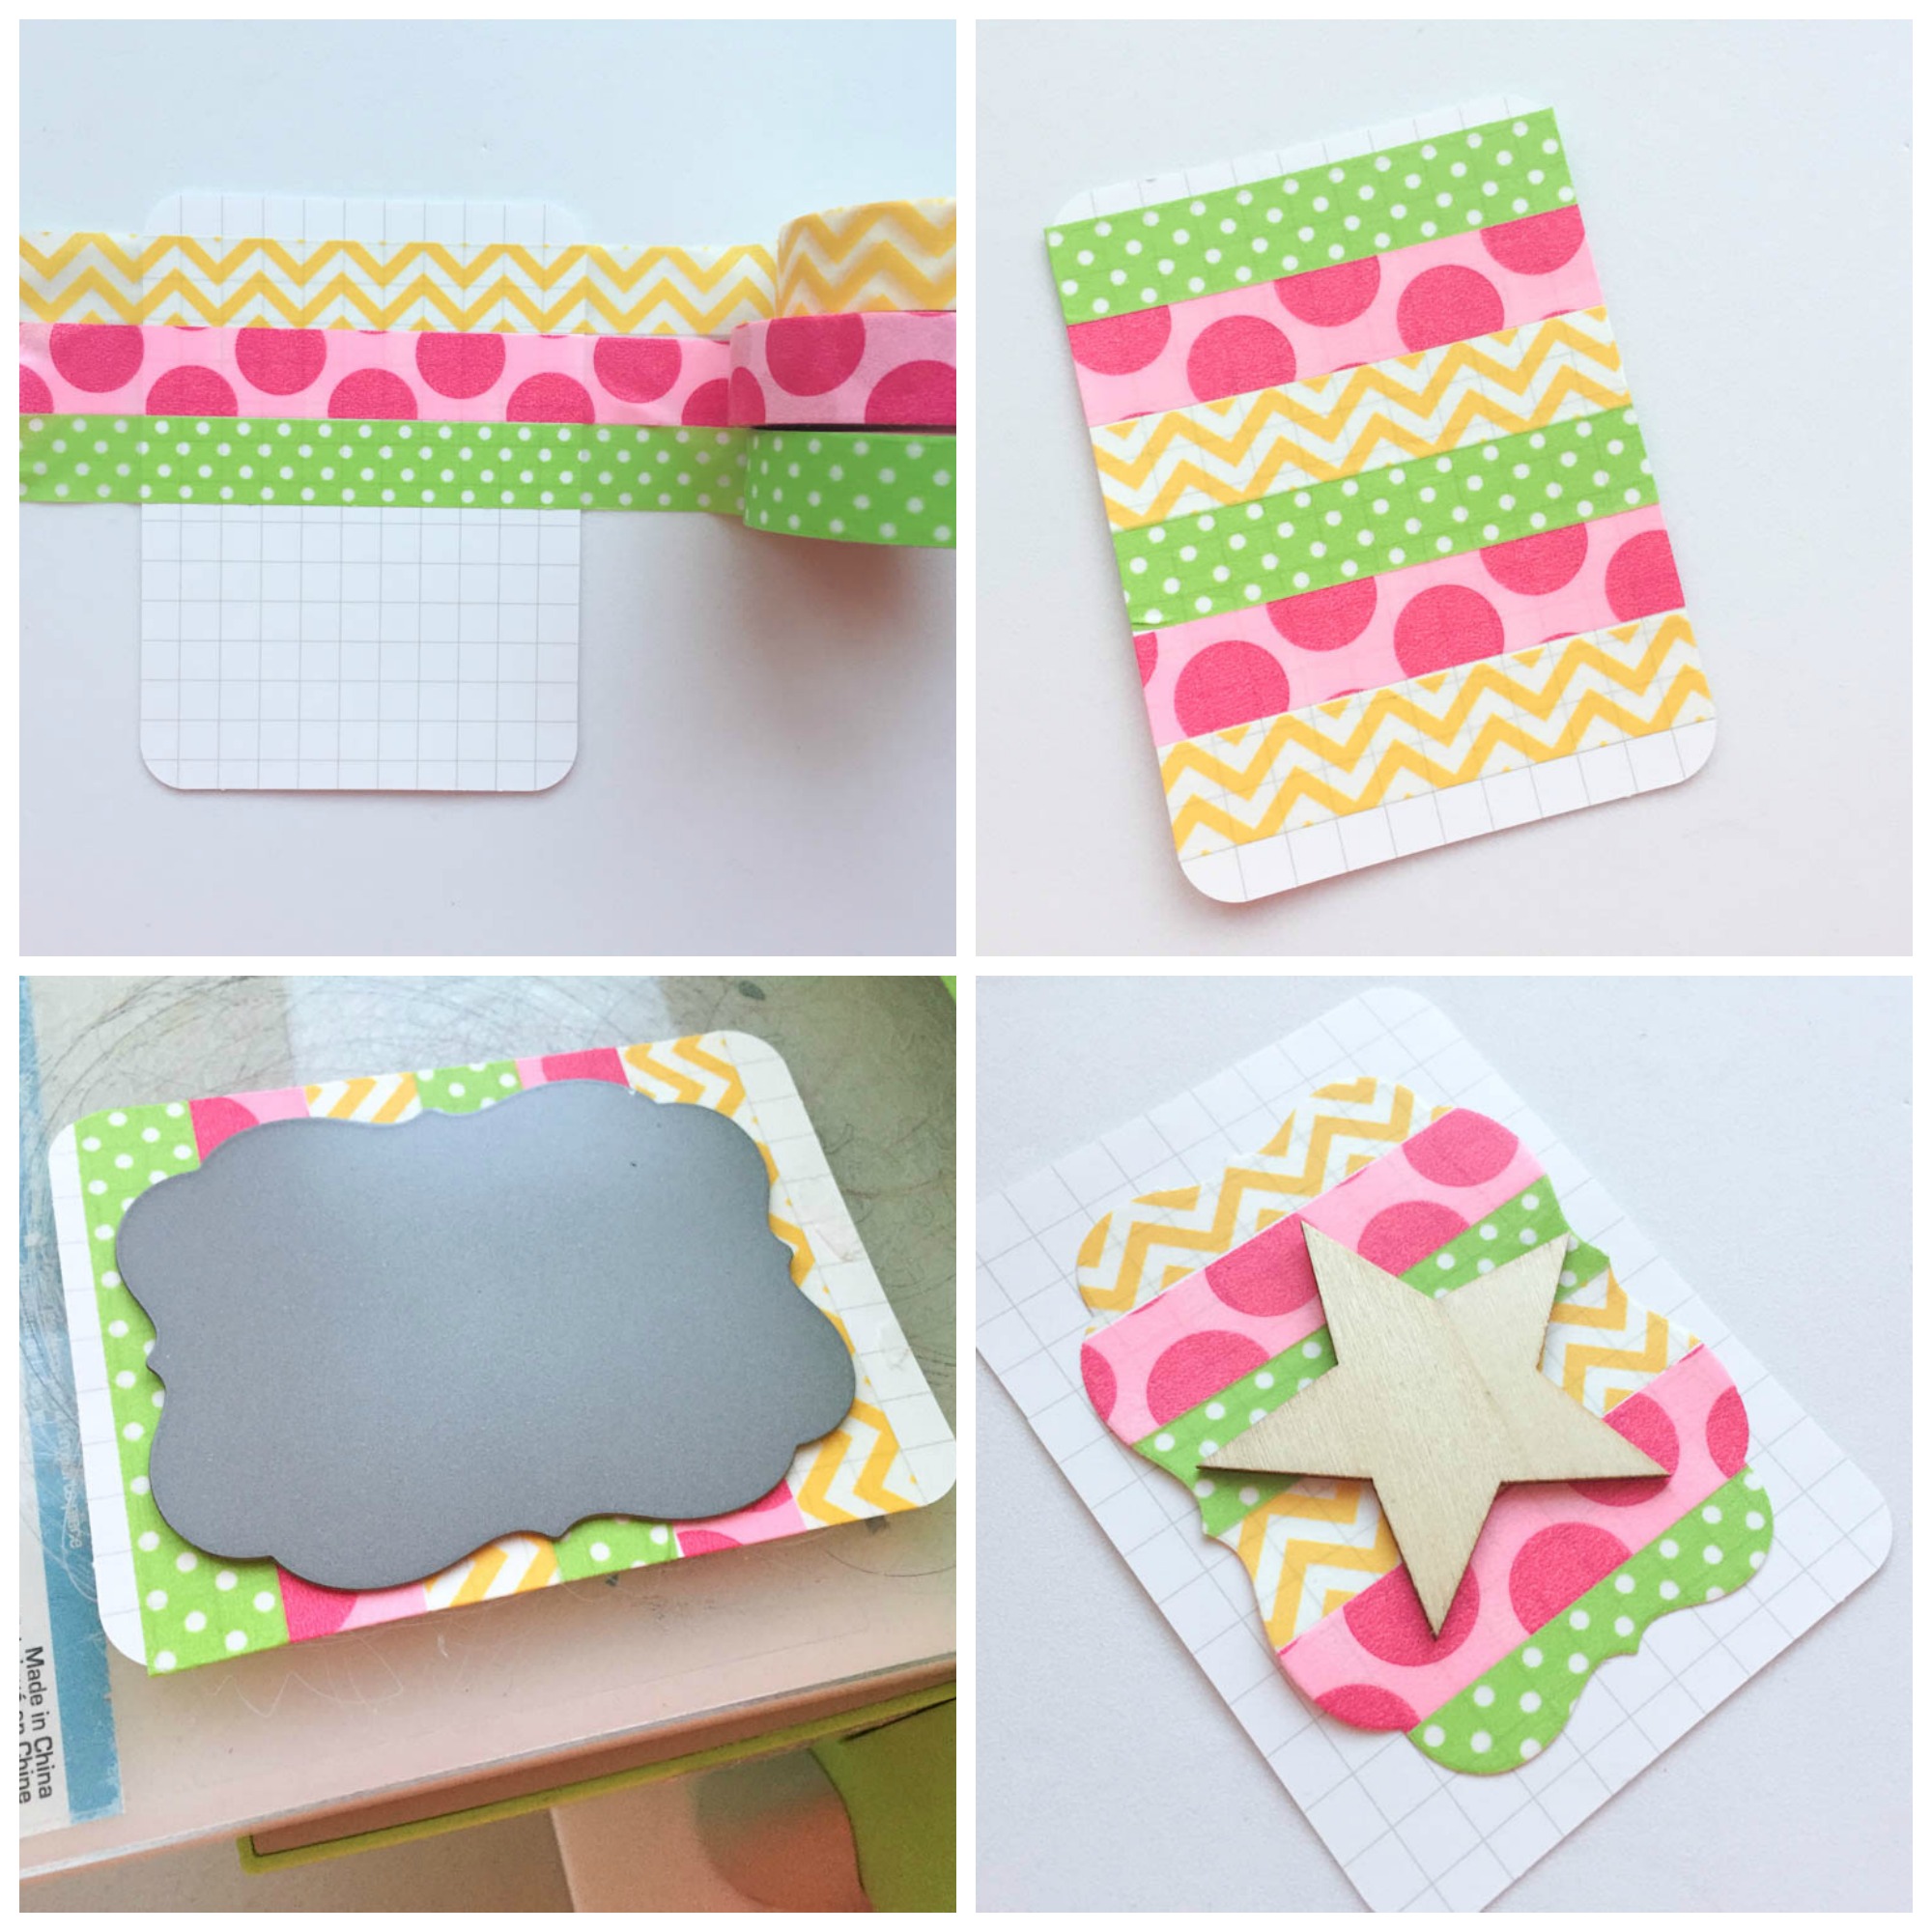
Idea #6: Customize your die cuts
Washi is fun to use with die cuts, too! Try covering a pocket card or a 3″ x 4″ piece of cardstock entirely with washi tape. Choose your desired wafer thin or steel rule die and run the cardstock through your manual die-cutting machine. You will be left with a gorgeous custom die cut that you can use as an embellishment on any type of layout.

Share tips, start a discussion or ask one of our experts or other students a question.
No Responses to “6 Fun Ideas for Scrapbooking With Washi Tape”