
 Photos via Whole Circle Studio
Here are a few strategies to help you decide what scraps to pull.
1. Use the scraps you have left over from the quilt you’re making the binding for.
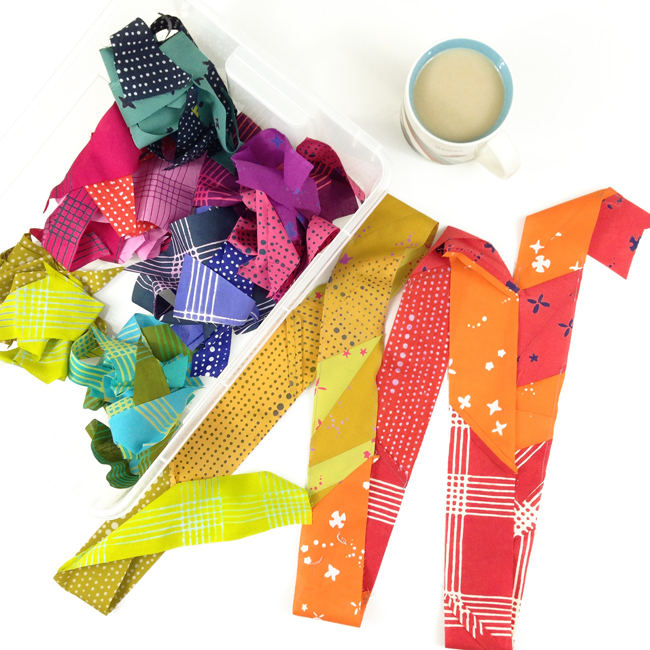
If the fabric is used in your quilt top, consider using it for your binding. You want scraps that are at least the width of the binding you’re making and at least 2½” long. Keep in mind, the longer your scraps, the fewer scraps you’ll need (and the less time it will take to piece your binding).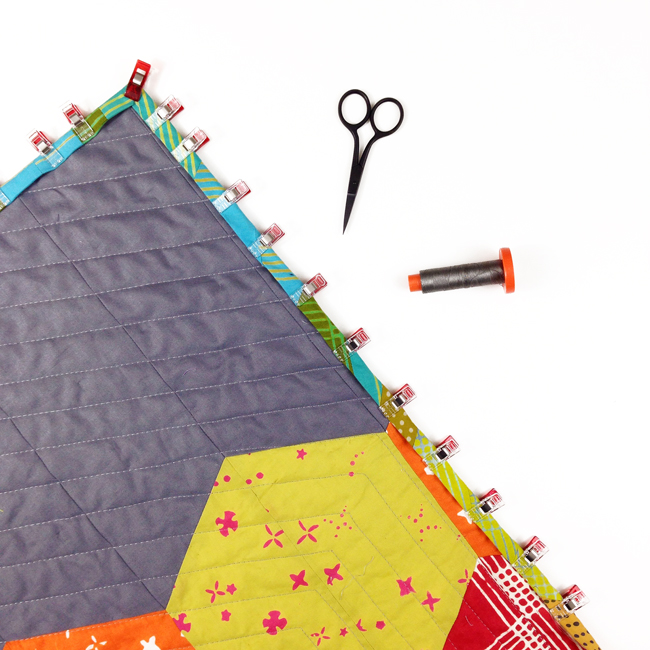 I recently made a version of my Shutter Snap quilt using Chroma by Alison Glass for Andover Fabrics. After making the quilt, I had lots of small scraps measuring approximately 3″ wide and 2½” to 10″ long that I couldn’t bear to throw away.
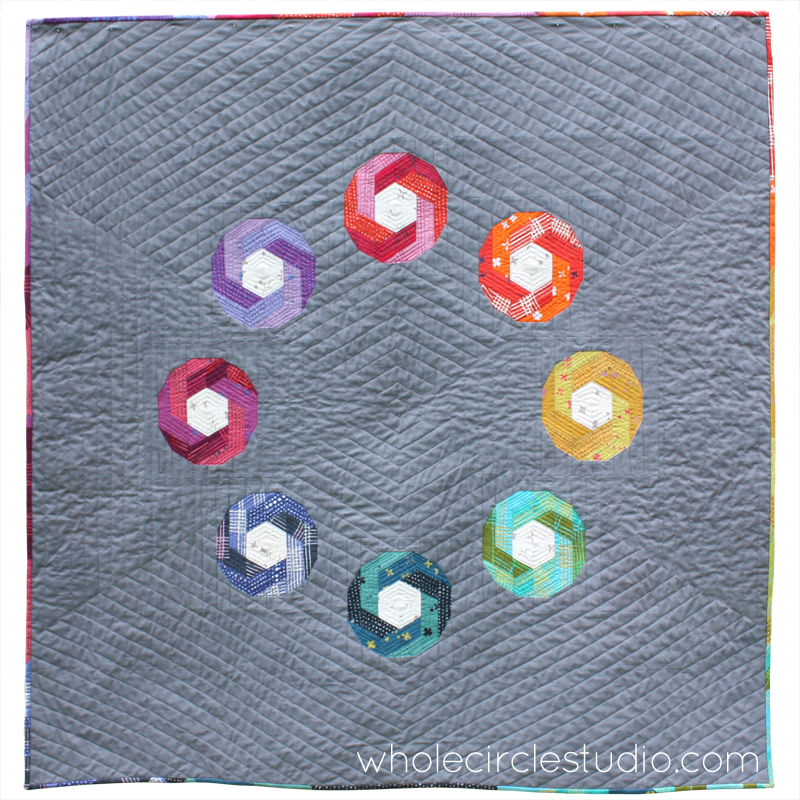
I decided to piece the scraps together to make a binding. As an added detail, I arranged the colors in the binding strips so that they would be near where those colors appear in the quilt blocks. You can see the finished quilt below:
I recently made a version of my Shutter Snap quilt using Chroma by Alison Glass for Andover Fabrics. After making the quilt, I had lots of small scraps measuring approximately 3″ wide and 2½” to 10″ long that I couldn’t bear to throw away.
I decided to piece the scraps together to make a binding. As an added detail, I arranged the colors in the binding strips so that they would be near where those colors appear in the quilt blocks. You can see the finished quilt below:
2. Take inspiration from the general color scheme of your quilt.
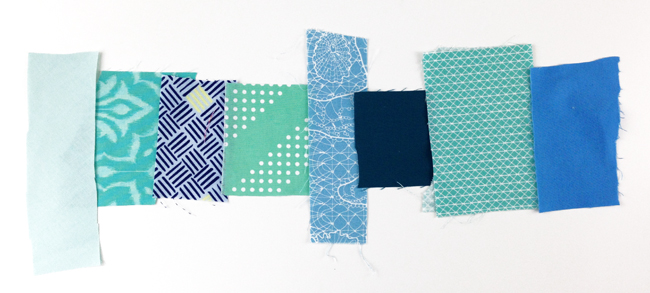
Is there a prominent color or color spectrum in your quilt? If so, pull those colors out from your scrap stash. Place them on the perimeter of your quilt and see how they look with the overall design. Take photos of the arrangements that you’re auditioning and then try different options and arrangements with some of the same scraps. You can then go back through the photos and decide which options you like best.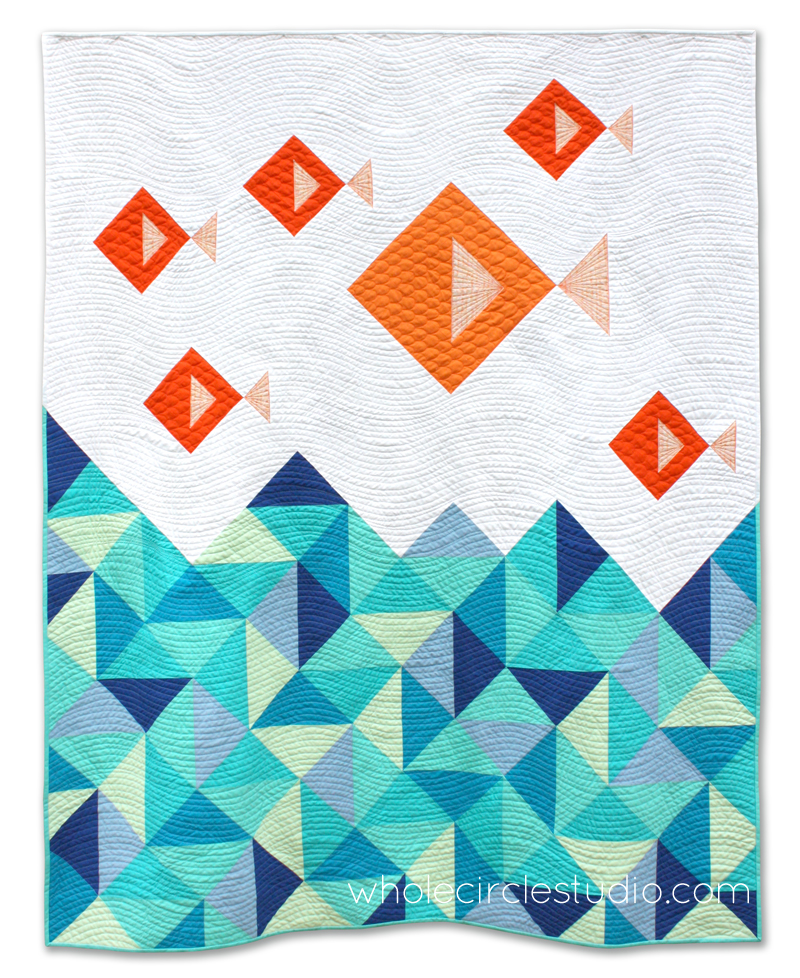 For example, if I wanted a scrappy binding on my Little Fishies quilt (the one above), I might begin pulling blues from my stash. If I select prints for my binding, I typically like to use small or medium scale prints, like these:
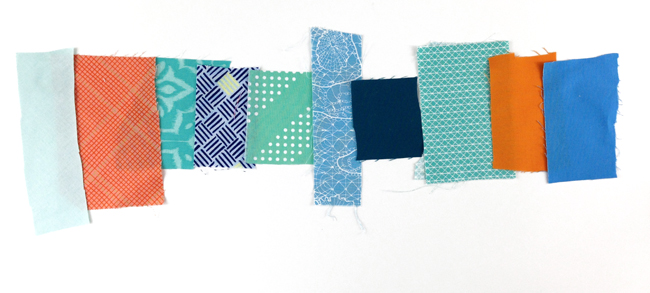
 I also might look at other colors in the quilt. Here I did a quick color study to see what the binding might look like if I added in swatches of orange fabric from my stash to pick up on the colors and prints I used for the fish.
 Experiment! If you have a quilt with lots of colors and contrast in your quilt top, large-scale prints may work well with your overall quilt design.
3. Use leftover binding from previous quilts
Hang on to those binding scraps from quilts — they’re pre-cut and pressed and perfect to use for a scrappy binding! I like to store all of my extra binding in its own container. When I’m in the mood to make a scrappy binding, I can just pull pieces and join them.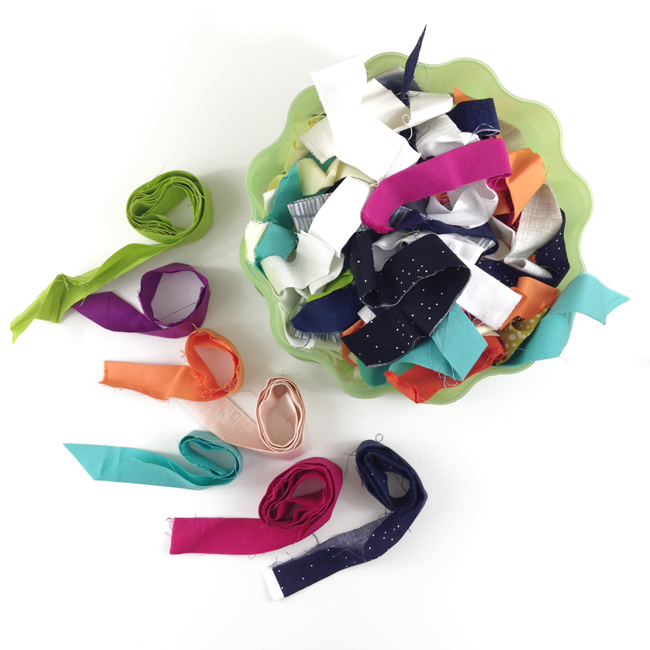
When you’ve got your scraps organized, what’s next?
Joining the scraps
There are two options for sewing your scraps together — this depends on the size of the scraps:- If you have strips that measure at least 6″ long, you can join them on the diagonal.
- If your pieces are smaller than 6″ long, you’ll want to join them end to end, as you won’t have enough fabric to join on the diagonal.
 Keep joining your scraps until your binding is the length of the perimeter of your quilt plus 18″. I regularly measure the length of my binding as I sew my scraps together.
Scrappy bindings are fun and are a great way to use up your scraps! Don’t be afraid to play with you fabric placement. The great thing about using scraps is if you don’t like sections, you can cut them out and replace with other scraps.
Keep joining your scraps until your binding is the length of the perimeter of your quilt plus 18″. I regularly measure the length of my binding as I sew my scraps together.
Scrappy bindings are fun and are a great way to use up your scraps! Don’t be afraid to play with you fabric placement. The great thing about using scraps is if you don’t like sections, you can cut them out and replace with other scraps.
Share tips, start a discussion or ask one of our experts or other students a question.
No Responses to “Make It Scrappy: Use Up Your Stash to Make Binding!”