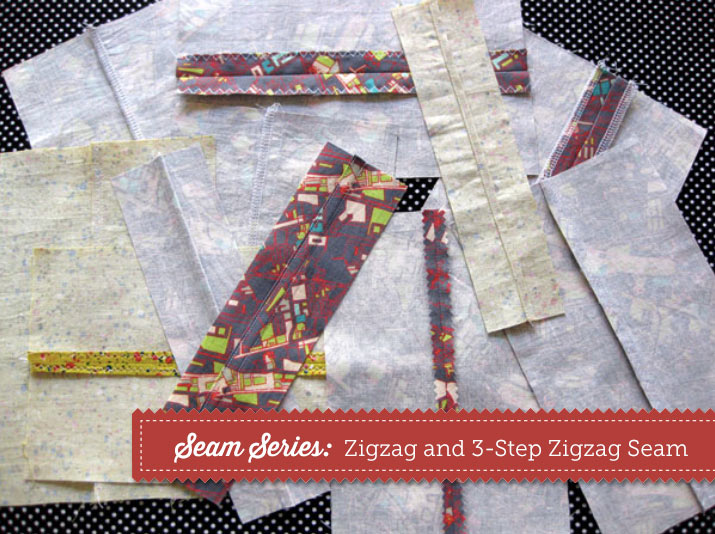
One of the easiest ways to finish the edges of the seam allowance inside your project is with the humble zigzag stitch. It is like a serger stitch in that you can “wrap” the threads around the edge of the fabric, keeping them locked in place and preventing them from fraying. It’s not exactly a couture move, but it is efficient and effective!
In addition to a regular zigzag stitch, many machines come with a 3-step zigzag, or multi-step zigzag. Unlike a regular zigzag stitch, which is one stitch from point to point, a 3-step zigzag is three stitches from point to point. Sometimes on thinner fabrics, a regular zigzag can bunch up the fabric, but a 3-step zigzag stitch is flatter since it’s like a straight stitch from point to point, and keeps the fabric from bunching up.
Each of these stitches can be done in two main ways for the purpose of finishing the seam. Let’s learn what they are!
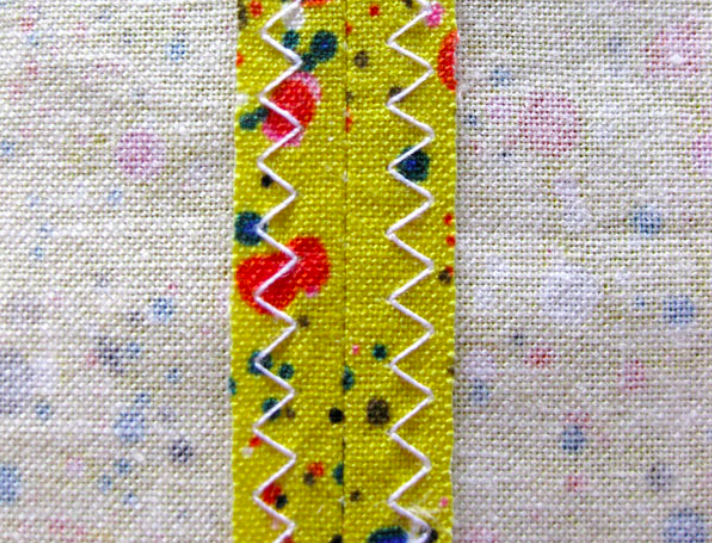
First, both regular zigzag and 3-step zigzag stitches can be used for finishing the raw edges of the fabric individually. For the regular zigzag, pictured above, it is simply done by stitching on the seam allowance, on either side of the seam line, and trimming off the excess fabric on the seam allowance up to the stitching. The stitching can be done anywhere on the seam allowance you like.
For the 3-step zigzag, pictured below, this is usually done on the actual edge of the seam allowance. Simply insert the seam allowance into the machine at the 1/8″ seam allowance mark on the machine. Set the width to 5 or 5.5 and the length to about 1.5 for a stitch like mine below. The threads will lock in the edges of the fabric, keeping them in place during washing and wearing.
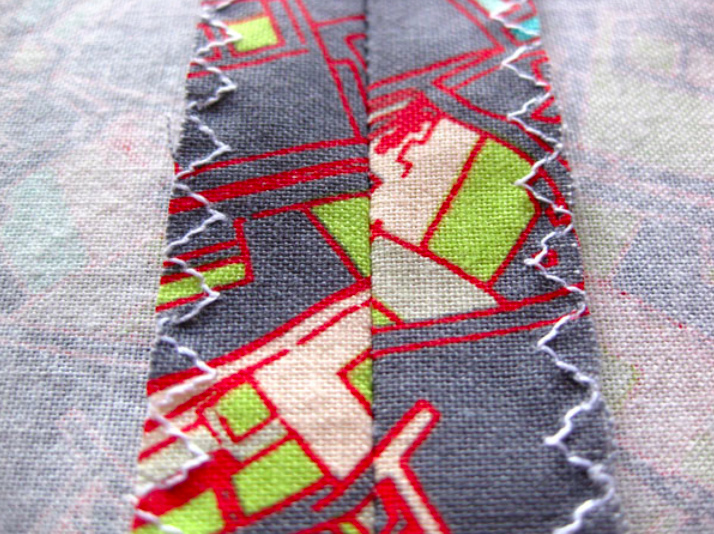
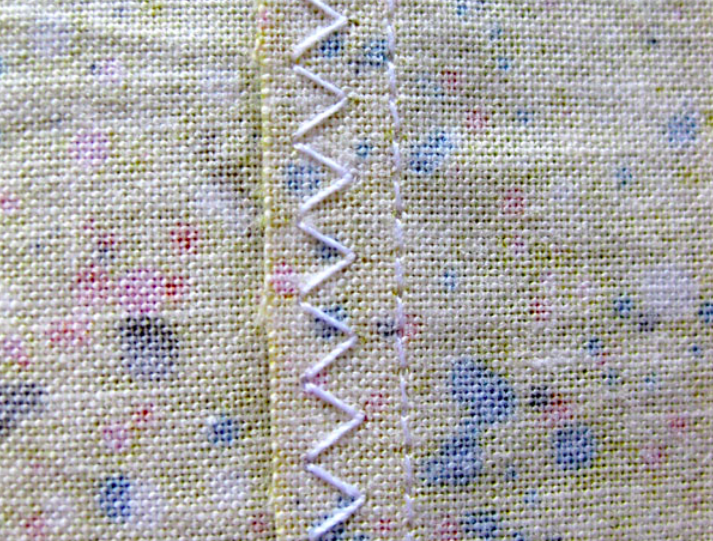
Another way to handle the 3-step and zigzag finishing is to sew the seam allowances together. With either stitch type, sew the layers of the fabric at any point you desire on the seam allowance, then trim off the excess afterwards. Below is the 3-step zigzag with the seam allowances sewn together.
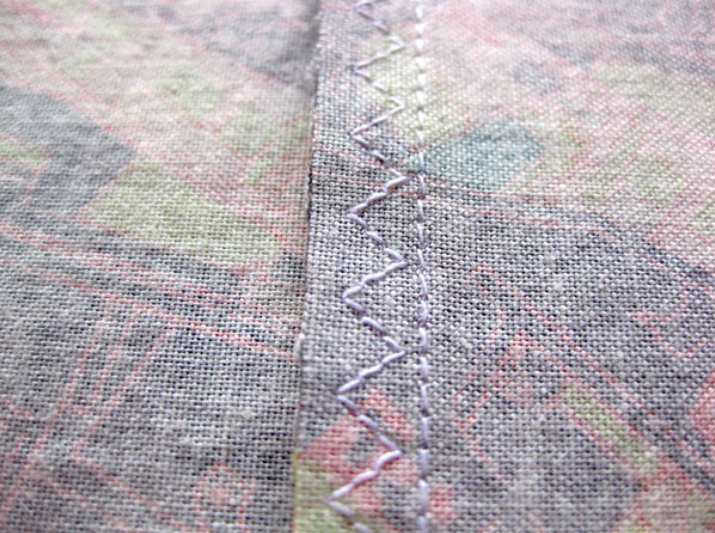
To do this method with a regular zigzag stitch, pictured below, treat it the same as with the 3-step zigzag, and simply sew all the layers of the fabric together. I find this to be a great finish on sleeves, where there isn’t much room for fancy finishing and where trimming the seam down is desirable.
These are the most common seam finishing choices for the home sewist, so odds are good you’ve tried one or maybe two of these. I find that many of my students have never tried the 3-step or multi-step zigzag stitch, so give that a go on your next project!
In case you missed them, explore all sorts of other seaming options including: how to sew flat fell seams, french seams, and self-bound seams.

Share tips, start a discussion or ask one of our experts or other students a question.
No Responses to “Seam Series: Zigzag and 3-Step Zigzag Seam Finishing”