
Attention to the details when sewing or quilting, no matter how small, are what give a handmade project a professional, artfully crafted look. Sloppy details like unfinished seams, dimples at the dart points, or unintended tucks in a set-in sleeve are dead giveaways that something is homemade. Paying that extra bit of attention to get the details right is what makes sewing that much more rewarding, an an awareness of details is one of the important sewing skills that every sewer should have.
Perfectly sewn cross seems are one of those details. Generally, they appear in less conspicuous locations, like under the arm where the side seams and underarm seams of sleeves intersect. No one really sees them unless you raise your arm, but it’s one of those seam techniques that regardless of where located, should be done correctly.
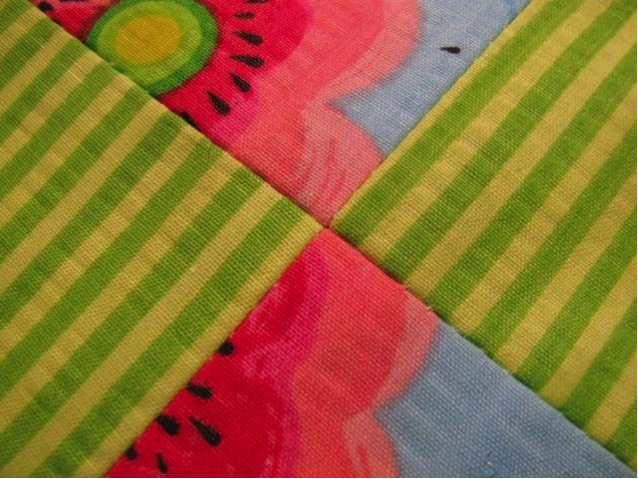
Sewing a cross seam is a relatively common occurrence when garment sewing. It is a standard practice when making quilts and sometimes they can even be the focal point of a project. Getting intersecting seams to match up perfectly is not hard. Some careful pinning and just a little patience is all it takes to get them to align perfectly.
Follow this quick and easy tutorial for sewing a cross seam.
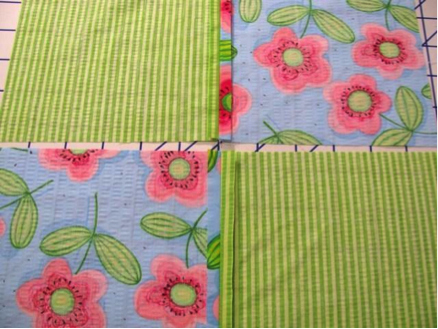
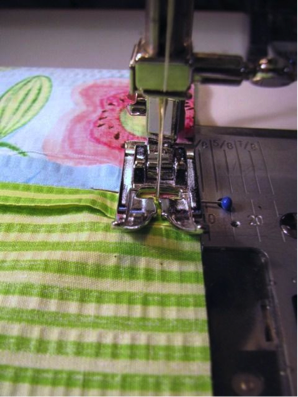
Note: Generally, the task starts with two finished seams that will be joined together, like in the underarm example and the photo above. Not always, of course, but it is a typical practice, especially in both garment sewing and quilt making.

Step 1:
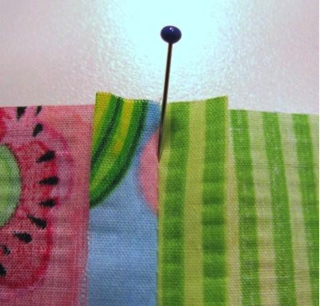
Begin by aligning the sewn seam lines of each piece. This is a visual thing. Line up the seam lines as closely as possible. Then, pin precisely into one of the seam lines and go through the joining seam line.
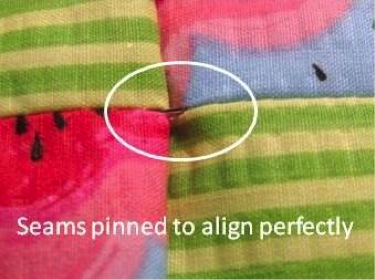
Finish pinning the seams together by going through both seam lines again. This will align and secure the seams perfectly. A quick peek of the pinned seam will reveal whether the seams are aligned perfectly.
Step 2:
The next step is to “bookend” the seams. What I mean by that is to place a pin in the seam allowances that flank the seam line. This prevents the seam from shifting out of alignment and ensures the seam allowances won’t turn, or flip, when stitching.
Step 3:
Lastly, when sewing the final seam to seal the intersecting seams, don’t remove the pin inserted through the intersecting seam lines. Sew slowly so you don’t break a needle. This is your final insurance to prevent the seams from shifting out of alignment. Easy peasy, done!
Learn more advanced seam techniques in designer Katrina Walker’s Decorative Seams: Techniques and Finishes Craftsy class. She demonstrates a wealth of couture-inspired seaming techniques, including topstitched seams, embellished seams, decorative inset seams and decorative panels, that will elevate your simple handmade garments to standout attire.
Share tips, start a discussion or ask one of our experts or other students a question.
No Responses to “Seam Techniques: How to Sew a Perfect a Cross Seam”