
Of the many sewing techniques that are possible with a serger, rolled hem edges are definitely one of the most popular. Most sergers offer a two-thread or a three-thread rolled edge — you will need to check your serger manual to see what is possible for your machine.

Craftsy member Cristy-aerybeth used rolled hem ruffles on this adorable Valentine’s outfit
Two-thread rolled edges are perfect for delicate fabrics because only a minimal amount of thread is added to the garment. Lightweight organdy, batiste or silk chiffon are all examples of fabrics that need the light touch of only two threads. Consider using a rolled hem edge to finish sleeve or shirt hems on georgette blouses, or it is a perfect stitch to use on ruffles or flounce edges. A two-thread rolled hem is also lovely on lingerie items like slips and camis, too.
My favorite use for the three-thread rolled hem is for making cotton dinner napkins. This stitch provides a little sturdier edge finish than a two-thread rolled edge, which is more appropriate for firmer woven cottons. You can whip up a set of pretty napkins to take as a hostess gift in under an hour, and it is a gift that is sure to please.
A quick tutorial for serging a rolled hem on napkins
Step 1:
Thread your serger according to your manufacturer’s directions for a three-thread rolled edge.
Step 2:
Cut pre-washed quilting cotton or linen in squares. Sizes can vary from 16″ to 20″ or more. (I love 20″ square napkins!)
Step 3:
Test your rolled hem edge on a scrap of fabric and adjust cutting width or stitch length as needed to get the desired result. Both of these settings should be as small as possible, or close to it for a nice rolled edge.
Step 4:
Place your napkin right-side up under the serger, and stitch along one side for the full length of the fabric.
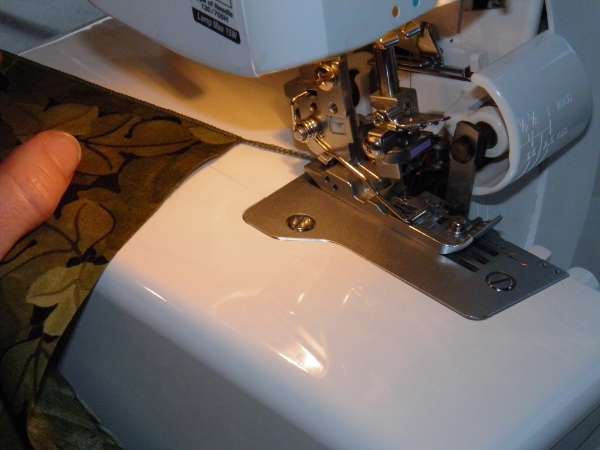
First side of rolled hem edge completed
Step 5:
Turn your napkin and stitch along the second side. Continue until all four sides have been hemmed.
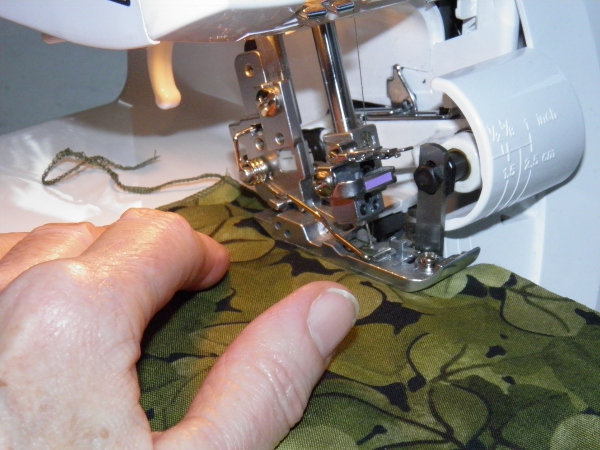
Beginning of the second side of rolled hem
Step 6:
Dab Fray Check on each corner, and clip all serger chains off the completed napkin.
Now that was super easy, wasn’t it? Be sure to check out Amy Alan’s Beginner Serging class for lots more ideas on how to get the most from your serger.
Share tips, start a discussion or ask one of our experts or other students a question.
No Responses to “Serging Techniques: Fast and Easy Rolled Hems”