
Often quilters are a little nervous of quilt designs with blocks set on point, but setting quilt blocks on point is not as difficult as it might appear.
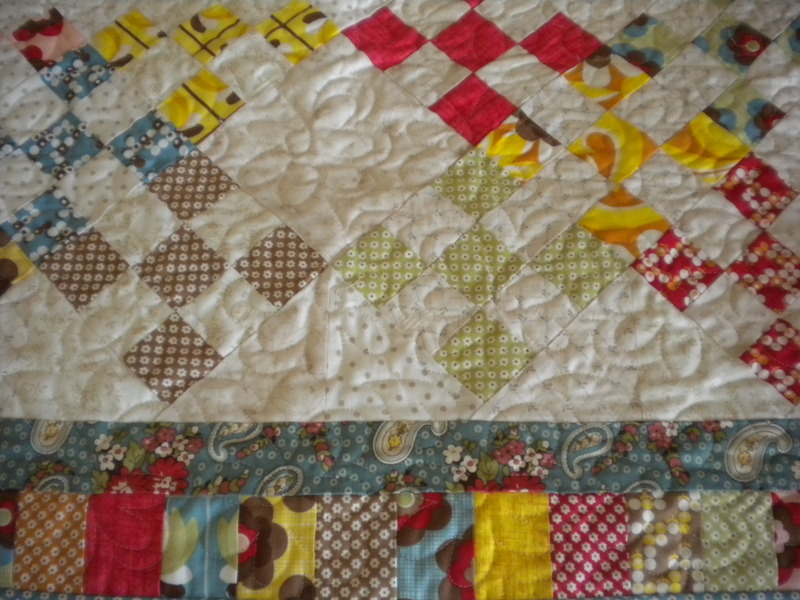
On-point quilt block settings are quilt block settings in which the blocks are oriented diagonally instead of being set in a straight row setting. They are ideal for many block designs and can give an entirely different look to blocks traditionally set straight.
Setting quilt blocks on point does involve cutting side setting triangles and corner setting triangles, which will have bias edges, so care will need to be taken when handling these bias pieces so there is no stretching or distortion of the edges.
There are formulas to use to determine the size of setting pieces.
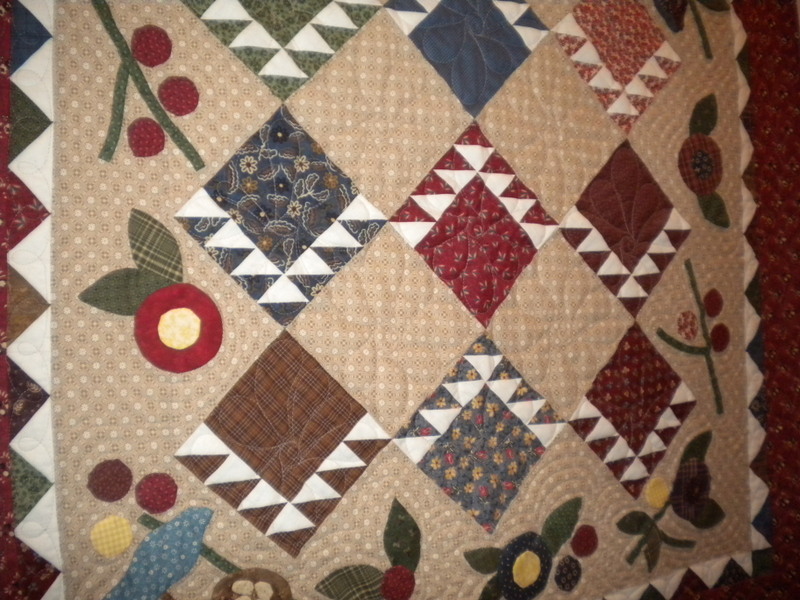
On-point quilt block settings will require side setting and corner setting triangles which are sometimes referred to as filler triangles.
These triangles are cut from square blocks. The side setting triangles are cut from squares that are cut twice diagonally so that each square is used to create four side triangles.
To figure out how big to cut the square to form your side setting triangles, take the measurement of your finished block size, multiply by 1.414, and then add 1.25 inches for seam allowances. You will then want to round this measurement up to the nearest 1/8 inch.
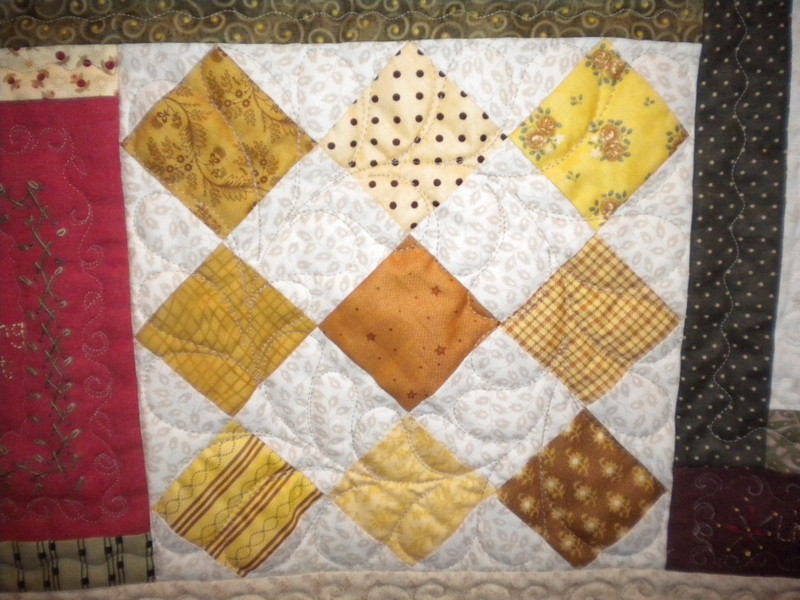
When sewing side setting triangles to quilt blocks, you will match the right angle of the triangle with the side/bottom edge of the block.
In order to have plenty of room, you might want to make the squares 1/2” to 1” larger than the measurement you come up with after using the formula above. This way, your triangles will be on the large side, and you can trim them after you have completed your quilt top.
The corner triangles are also cut from a square piece of fabric, however, corner triangles are cut from squares cut diagonally once.
One square will make two corner triangles.
There is a different formula to use when figuring out the square size to cut for corner triangles: Divide the finished block size by 1.414, add 7/8” for seam allowances, and then round up to the nearest 1/8” inch. Again, these squares may initially be cut larger to allow room for error. After the quilt top is assembled the corner triangles can be trimmed to the correct size.
Corner triangle blocks are added last, after all the side setting triangles have been added and you have sewn the rows together.
To add the corner triangle block, first find the center of the corner triangle by folding the corner triangle in half to find the center. Finger press or pin this mark and then line up the center of the corner triangle with the center of the corner block you are adding it to.
Want to learn a bit more about setting quilt blocks on point? For further tips and calculations, check out our blog post, On Point Quilting.
Come back to the Bluprint Blog tomorrow for a look at basket blocks!
Share tips, start a discussion or ask one of our experts or other students a question.
No Responses to “Setting Quilt Blocks on Point”