
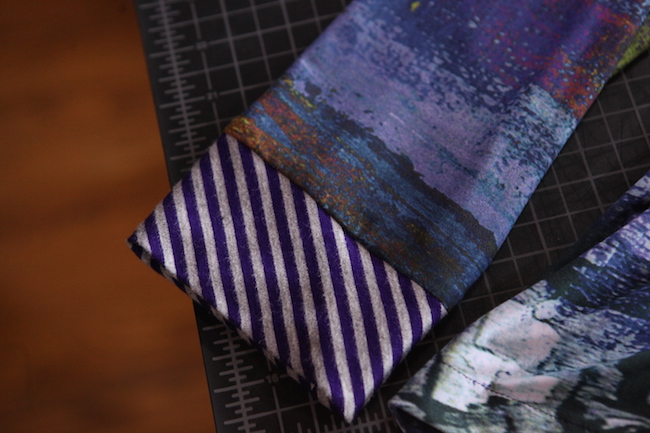
How many items have you sewn that are nearly complete except for that pesky hem? Hems can be a bit tricky to do, especially on fussy fabrics or bias cuts. Here are a few tips to achieving even hems on all your garments!
1. Plan ahead
Use the shorten or lengthen lines that are typically marked on most patterns. Even if you don’t make a muslin you can pin-fit the tissue paper pattern and hold it up to see if the hem lengths are in the right zone. Adjusting before you cut will save you a lot of time!
2. Use the horizontal balance line
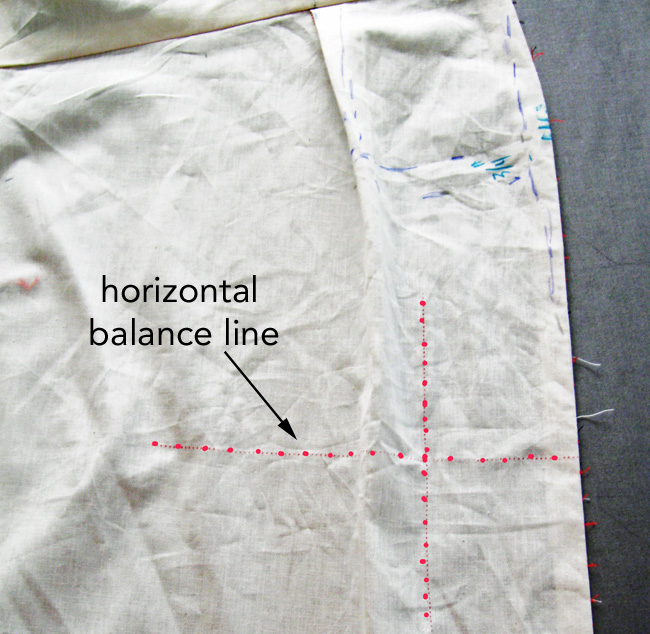
We all pay attention to the grainline on our patterns, but have you taken note of the horizontal balance line? This is perpendicular to the grain line and should stay at the same level and parallel to the floor the whole way around your body.
If you make a muslin, it’s a good idea to mark this on the fabric. Seeing where this line tilts up or down can indicate where you need more or less length on your garment. Adjusting this ensures that your hem stays even, making hemming much easier. It could be that only one side of your garment tilts up or down, but adjusting this will put that hem back to level.
3. Alter your hem depth
Sometimes you might not be sure about the garment length — we reserve the right to change our minds between a knee-length, midi, tea-length or maxi-length as we sew. Using a 1″ to 3″ seam allowance gives you lots of wiggle room, it’s easy to deal with and it makes pinning an accurate and even hem less of a chore than a very deep hem allowance that will only be cut off later.
4. Take asymmetry into account
Everyone has a bit of asymmetry in their body — perhaps a high shoulder, a tilt in your spine or one hip lower than the other. These differences make themselves known in our hemlines.
Get to know your body map and plan for that in your sewing. If you have one pant leg that’s always a bit too short, plan your hem accordingly. Adding more to that pant leg or pinning the two pant legs at different lengths will allow them to fall evenly.
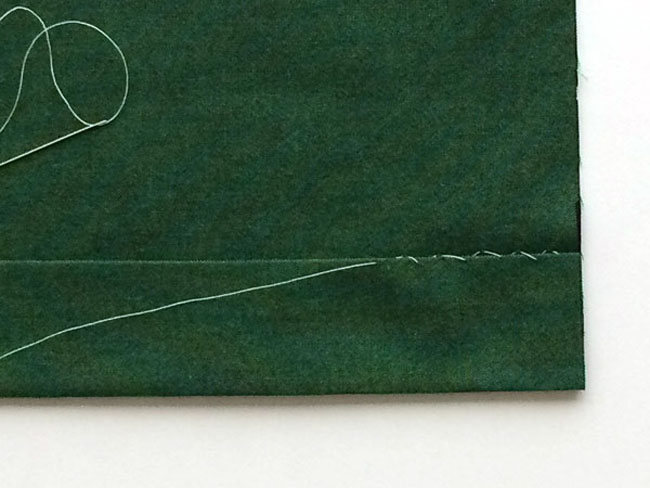
5. Sew seams accurately
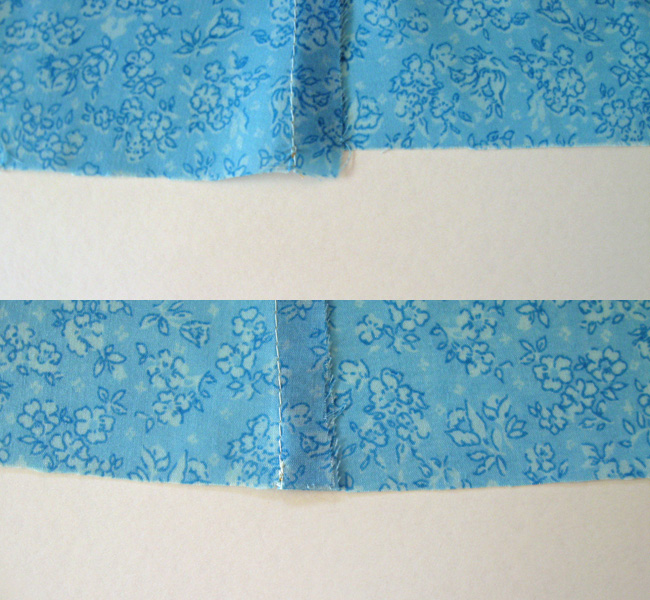
When it comes time to hem, if the seams of your garment are not sewn accurately, you may have differences in the edge as shown above. Take time to sew the seams accurately so you don’t introduce unevenness at the hem edge.
6. Enlist a friend
Pinning up your own hem can be a challenge. Who hasn’t spent some time pinning, checking in the mirror and repeating until you get it just right? And seeing the back is nearly impossible!
Have a hem session with a sewing friend! You can measure and pin the hems on each other’s garments and make quick work of this task. (Or if you must, bribe your partner or children to lend an eye.)
7. Use a yardstick
If you must mark the hem by yourself, you’ll need a yardstick and a mirror.
To hem a dress or skirt, pin the hem allowance up at the point that you think will be right. Then, holding the yardstick straight up and down, note which inch mark corresponds to the desired hem length. Move the yardstick around your body, keeping it straight, and compare the garment hem to that specific inch mark on the yardstick. It will be apparent where the hem dips down or is too high.
Then, make some adjustments with your pinning and check again (you may need to take it off). Check both sides and the back in the mirror. You could even take a picture to double check the back. Usually, I find if I get the sides and part of the back at the same level relative to the floor, then I can connect those across the center back.
Don’t stress over tiny differences — our clothes move with us and no one will be able to see if your hem is 1/8″ off.
Share tips, start a discussion or ask one of our experts or other students a question.
No Responses to “7 Must-Know Tips for Sewing Even Hems”