The vast sea of elastics available on the market can be intimidating to the home sewer. Fold-over elastic, or FOE, is just one of many options for finishing the openings to clothing made of knit fabrics. More than just a practical way to bind the edges of your garments, fold-over elastic can make a bold and fun statement because it comes in so many different colors, patterns and widths.
The following post includes tips for sewing fold-over elastic.
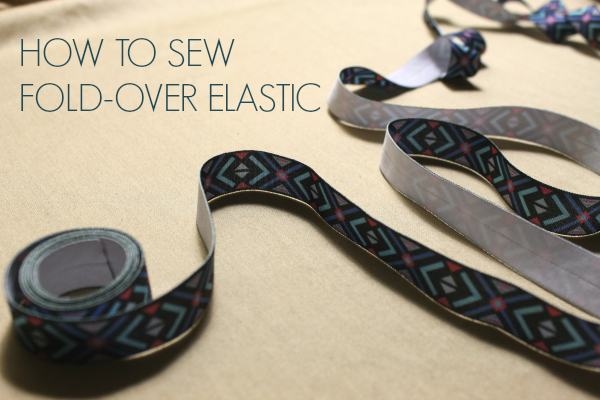
What is fold-over elastic?
Fold-over elastic is most often used to finish the edges of stretchy garments such as undergarments, swimwear, pajamas, baby clothes and cloth diapers. Due to its stability and wide variety of colors, many people also use it as headbands for infants and children. One side of the elastic is plush for comfort against the skin, and the other side is often more decorative. Fold-over elastic features an indentation down the middle, which helps evenly fold the elastic in half when sewn on as a binding.
No serger? No problem! Learn how to sew cute knitwear at home: hooded sweatshirts, scoop-neck t-shirts, yoga pants, dresses & more in the online sewing class Sewing With Knits!
Some tips for sewing with fold-over elastic include:
1. Choose the width and finish of fold-over elastic that is most appropriate for your project. Common widths of FOE include 1/2″, 5/8″, 1″ and 1-1/2″. If you plan to use fold-over elastic as an edge binding, remember that you will folding that width in half, which may lose the effect of a cute print.
Delicate lingerie tends to look better with narrower FOE, especially if the main fabric is lightweight. Wider elastic is better for cloth diapers or the waistbands of lounge wear, as it is more sturdy. If you will be using the FOE as binding, avoid FOE decorated with glitter as it may feel scratchy against the skin.
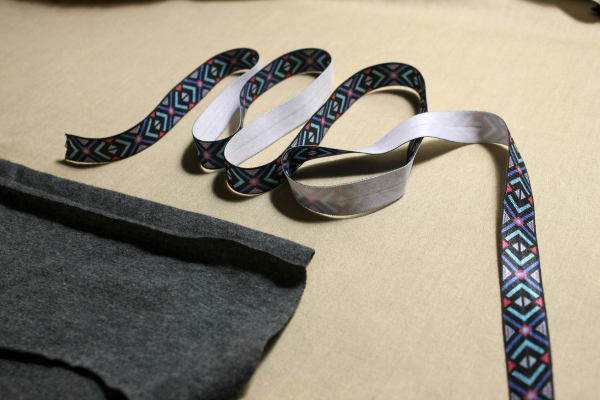
2. If the pattern you’re using does not direct you to use FOE, you may need to eliminate the seam allowances on the edges of your garment. FOE is sewn directly on the raw edge so the fabric is not sewn over or hemmed. Check your pattern to see if seam allowances are already included and if you actually need them.
3. Sew fold-over elastic in the flat, such as on legholes before the side seams are sewn. This makes it easier to control and stretch, especially on smaller garments.
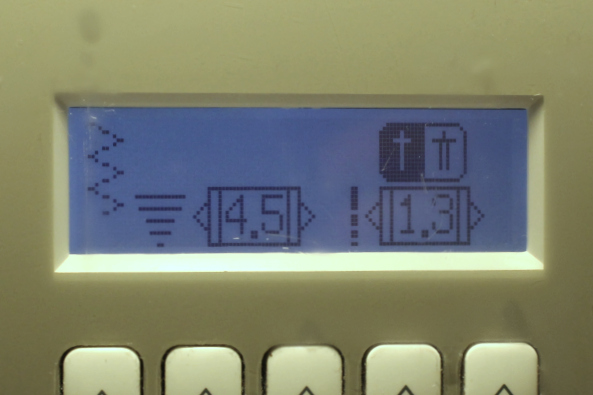
4. You want to make sure the elastic stretches with your garment. Use a three-step zigzag or regular zigzag stitch to sew the FOE to your fabric. A three-step zigzag helps eliminate tunneling of the elastic. I personally prefer a wider zigzag stitch but you may prefer a narrower stitch if you don’t want to obscure the print on your FOE. Practice first to determine the type of stitch you like.
5. It is possible to attach FOE binding in one step by sandwiching the fabric edge, but it can be tricky to keep the fabric abutted to the center of the FOE. For simplicity, first keep the FOE open and sew the fabric to the half of the FOE that will be on the inside of the garment.
This means the right side of your fabric will be facing up, and will be laying on top of your FOE that has its wrong side up. See the photo below for clarification:
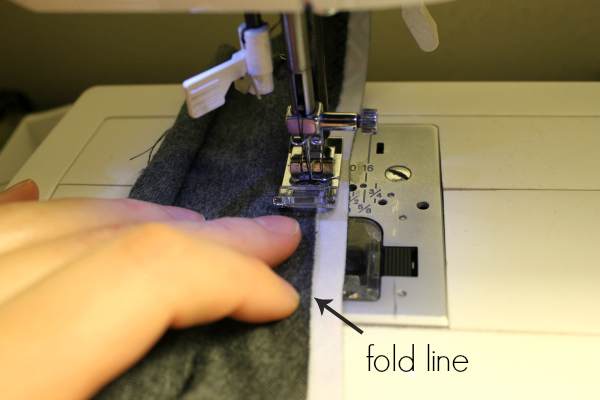
After one side is sewn, fold the elastic over to toward the right side of your fabric. Pin or clip in place if necessary, or else you can incrementally fold and pinch the elastic in place with your fingers as you sew.
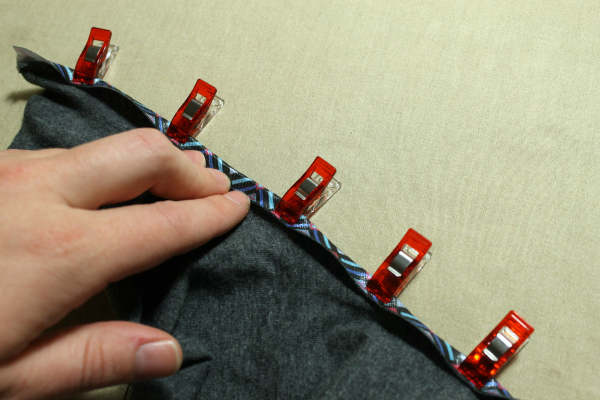
6. As you’re sewing, make sure you stop with the needle down. That way you can adjust or stretch the FOE without accidentally pulling it out from under the foot.
7. Don’t be afraid to press your fold-over elastic with an iron. Use a low heat to help shape your FOE before applying it to curves. A good press after it is applied can help eliminate any waviness and force it to lay flat.
8. If you attached the FOE in the flat, when you go to sew your side seams, pin and baste the seam first to ensure the elastic edges align across the seam. If you use a serger on the seams, trim the tails to 1/2″ and use a small zigzag stitch to secure the tails to the seam so it won’t unravel. Press the seam to the back of the garment and tack in place with a straight stitch or small zigzag.
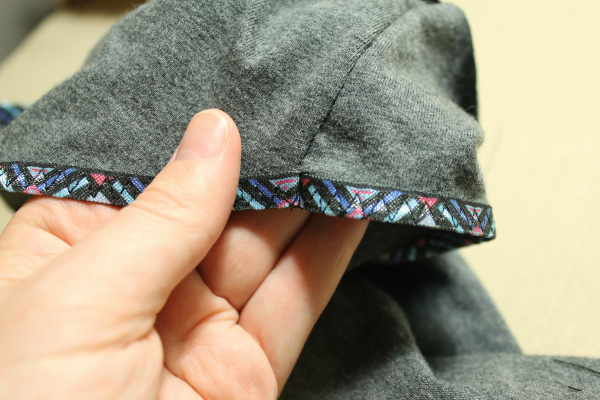
Enjoy your new beautifully trimmed stretchy garment!

Is there a specific name for elastic as flat as FOE but without the fold? Every time I go looking for flat elastic I always end up with FOE but I am after its non-folding cousin for underwear edging without even the minimal bulk of the fold-over variety.