While sewing is a skill you can continuously work to perfect over your lifetime, there are a few sewing fundamentals you should understand at the very beginning. These basic skills will save you a lot of frustration as you learn how to operate your machine and expand your sewing repertoire.
Basic Supplies:
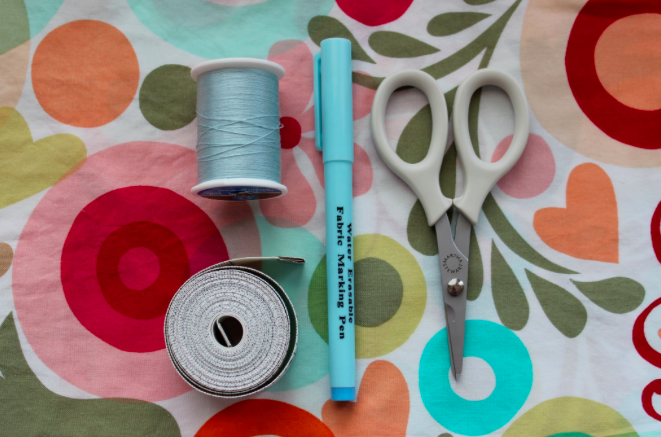
When you begin sewing, you’ll need at least the following on hand: sharp scissors, straight pins and an iron. I recommend starting with cotton fabric because it’s the easiest to work with (it doesn’t slip or unravel easily).
Get to Know Your Machine:
Sewing is a lot less frustrating when you know the parts of your machine. Bluprint has a FREE mini-class that covers exactly this topic: Sewing Machine 911.
Winding a Bobbin and Threading Your Machine:
To get started sewing, you’ll need to know how to wind a bobbin and thread your machine. This is a little different for every machine, so you’ll want to consult your sewing machine manual. Winding a bobbin is pretty simple once you have your machine set up to do so (note: bobbins do come in different sizes, so make sure you are using the correct size for your machine). Threading your sewing machine is slightly more complicated; fortunately, most modern machines have threading guides directly on the machine itself. They’re even numbered, so you probably won’t have to drag the manual out each time you need to re-thread your machine.
Testing Your Machine Settings:
This is a habit you should develop early on in your sewing adventures. Always, always test your machine settings on a scrap of fabric (preferably the same fabric you are about to sew on) before sewing away on your project. The reason for this is simple: machine settings can get changed accidentally, and thread, needle and fabric are all variables that can affect the way your machine behaves. It’s much less frustrating to have a tangled mess of thread on a scrap of fabric that you can throw away than to have to try to pick out the mess with a seam ripper on your project. At best, it’s a surefire way to kill your sewing mojo, and at worst, you could end up ripping a hole in your fabric. So always test first and save yourself the potential headache. (And if you do have a tangled mess of thread, it’s a good indication that you need to adjust your sewing machine’s tension setting.)
Back-tacking and Sewing a 5/8″ Seam:
You will always back-tack at the beginning and end of a seam (unless you are sewing a basting stitch). This effectively knots the thread so that the row of stitching does not come undone. Your sewing machine likely has a reverse button that makes this possible. You also need to know how to sew seams of a particular width. This is very important when sewing from a pattern and slightly less important when you are sewing based on your own measurements (as in, you can make the seam width whatever you want). Not following the seam width listed in the pattern will result in an unsuccessful project– it’ll either be larger or smaller than it should be, and if you’re sewing a garment it probably won’t fit. The needle plate on your machine has lines indicating various measurements, so if you know you need to sew a 5/8″ seam, you would line up the raw edge of your fabric with the 5/8″ mark. If you need to sew a very narrow seam and are looking for ¼” mark, you can line up the edge of your fabric with the edge of the presser foot.
Determining Grain:
Being able to determine the grain of the fabric is very important when sewing, particularly when you are sewing garments. The lengthwise grain on fabric runs parallel to the selvedge (the selvedge is the tidy edge where you’re likely to find the name of the fabric designer and the fabric line on cotton fabric). The crosswise grain runs the other way, parallel to the edge where the fabric was cut coming off of the bolt. Usually, when sewing garments from a pattern, you will be cutting pattern pieces on the lengthwise grain. Occasionally, you will be directed to cut a piece “on the bias.” The bias runs diagonal to the lengthwise and crosswise grain, at a 45-degree angle. When cut this way, woven fabric has quite a bit of stretch to it, which is why you don’t want to cut pattern pieces this way unless directed to. A piece of fabric cut on the bias will hang very differently from one that was not. To learn more about sewing on the bias check out the online Bluprint class Sewing on the Bias with Sandra Betzina.
Finishing Seams:
While finishing seams is sometimes the last thing you want to do (after all, no one will see them when you’re wearing the garment!), it’s extremely important. Not only will it give your garments a professional looking finish on the inside, but it will preserve all of your hard work. Finishing the seam keeps the fabric from unraveling and, ultimately, the seam from falling apart. There are many different ways to finish seams, and your choice of finish will be influenced by the type of fabric and the type of garment. By far the easiest way is to use pinking shears, but this won’t always be appropriate, so you’ll also want to learn how to sew a French seam, how to sew a self-bound seam, how to finish a seam with a serger, and how to sew a zigzag seam. Properly finishing your seams will ensure you are able to wear your handmade garment many, many times.
Once you’ve mastered the sewing fundamentals, don’t forget about all of the great online sewing classes Bluprint offers to help expand your sewing skills.

How do you mend a knitted thermal underwater
Looks great! #FarrahNaykaAshline