
If you are one of those sewists who gets anxious at the thought of sewing a dress shirt with plackets and cuffs, you can breathe a sigh of relief — it is not rocket-science! By using simple cardboard templates and measuring and sewing carefully, you can turn out plackets that rival the best of RTW.

Photo via Craftsy instructor Pam Howard
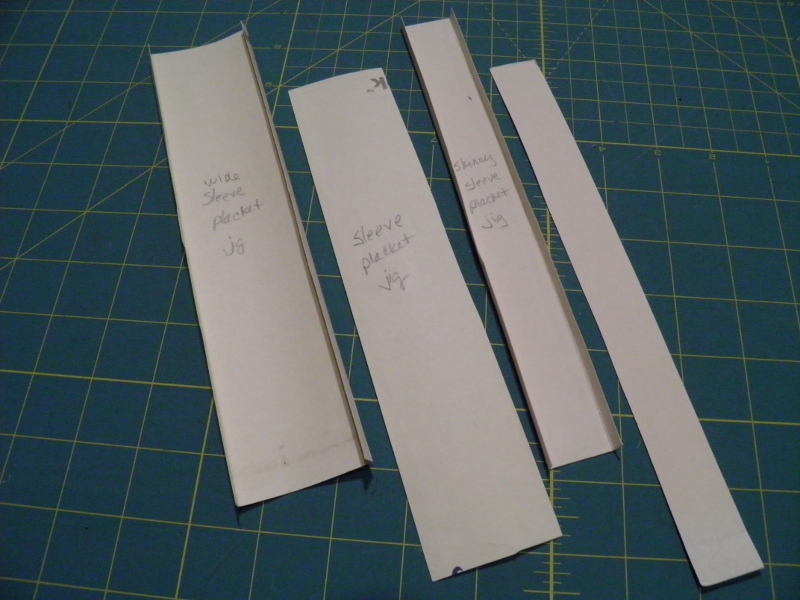
Here’s how to make cardboard templates to help make sewing plackets.
If you really want to create consistently accurate shirt plackets, take the time to make these simple cardboard “jigs” or templates. You will be amazed at how helpful they are.
Step 1:
For the wide placket, draw a rectangle 2 ½” by 9″ on an old manila file folder and cut out with paper scissors. Draw a line ¼” from each of the long edges, and score with a point turner.
Step 2:
Draw a second rectangle 2″ by 9″. This rectangle should fit exactly inside the larger, scored rectangle you made in Step 1.
Step 3:
For the “skinny” placket, repeat Steps 1 and 2, making this second “scored” template 1 ½”by 9″ and the smaller template 1″ by 9″.
Now that your templates are made, follow these steps.
Step 1:
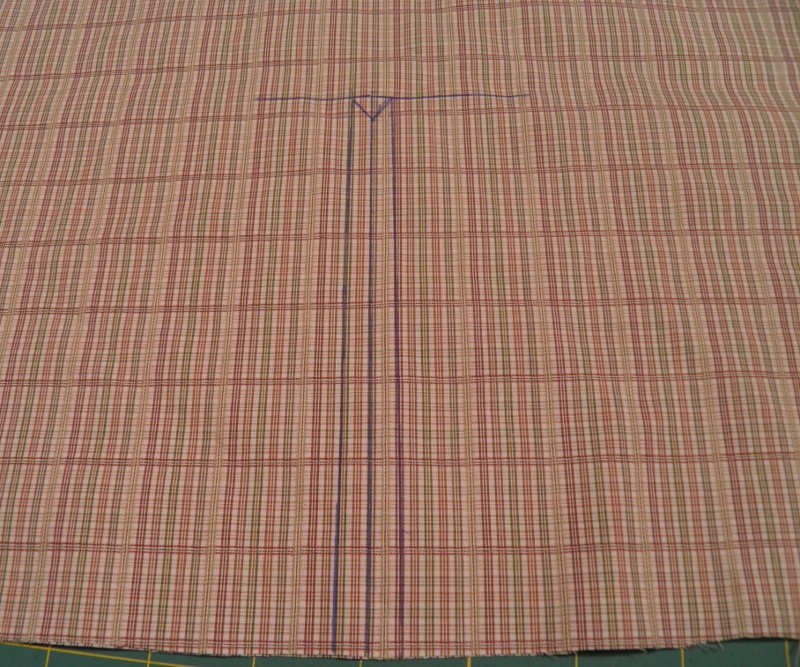
Mark a line 6 ½” long for the cutting line for the shirt plackets.
Step 2:
Draw a line ¼” on either side of the cutting line. These will be the stitching lines for both plackets. Also draw a horizontal line at the top that extends well beyond the stitching lines.
Step 3:
Cut up center cutting line, angling at a 45-degree angle to each corner. This creates a small triangle at the top.
Step 4:
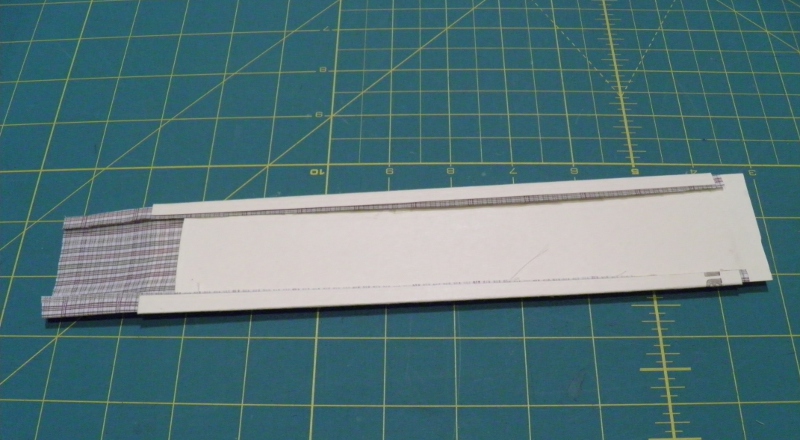
Cut a strip of shirt fabric 2 ½” by 9″ for the wider placket. Place inside the wider cardboard template and press. Remove the fabric from the template and press in half to form a placket 1″ wide.
Step 5:
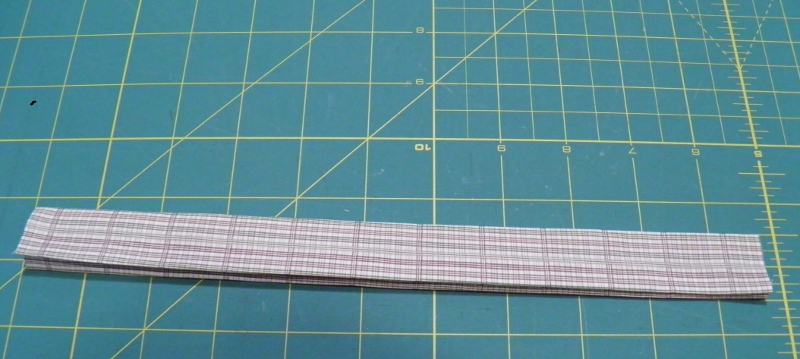
Cut a strip of shirt fabric 1 ½” by 7″ for the “skinny” placket. Place inside the smaller cardboard template and press. Remove the fabric from the template and press in half to form a placket ½” wide.
Step 6:
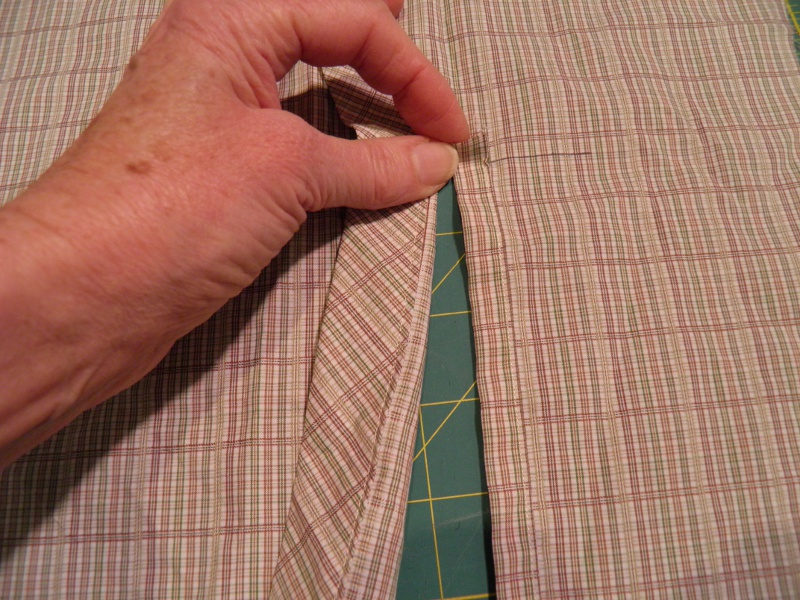
Slip cut the edge of the sleeve (back side) into the folded skinny placket, just meeting the stitching line you drew in Step 2 above. Edgestitch up to the horizontal line on the sleeve, leaving the triangle free.
Step 7:
Fold the triangle against the back of the skinny placket and stitch the triangle to the underside of placket at the horizontal line you drew in Step 2 above. Trim the skinny placket to ¼”.
Step 8:
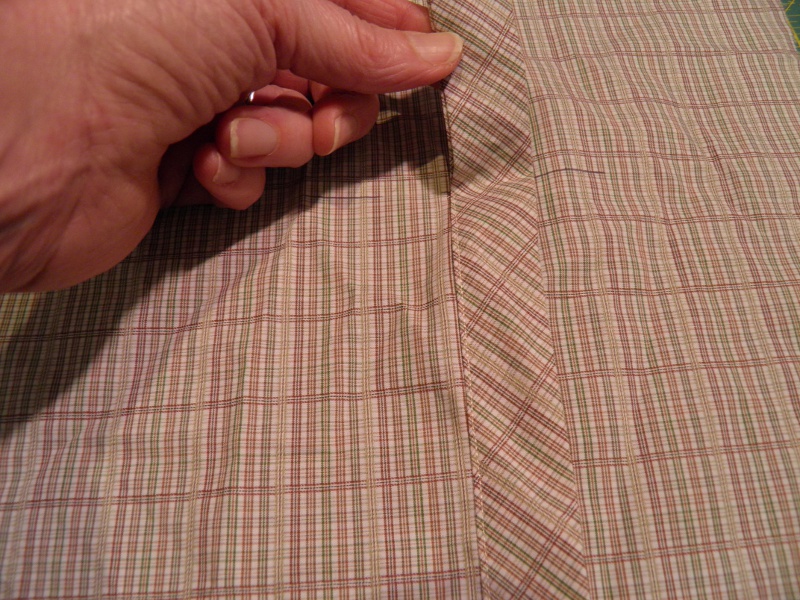
Slip the wide placket onto the cutting line on the sleeve front side, and again edgestitch up to the horizontal line.

Step 9:
Approximately 1″ above the horizontal line, fold the placket to the underside at a 45-degree angle and press. Repeat on the other side, forming a perfect triangle at the top of the wide placket. Trim any excess fabric away on the underside.
Step 10:
Complete the stitching around the triangle end of the wide placket, keeping the skinny placket underneath and catching it in the final stitching.
Learn the secrets of creating crisp, tailored, timeless shirts with professional details, including collars, pleats, cuffs, and yes, plackets, in Pam Howard’s The Classic Tailored Shirt class!
You might also enjoy our tips for sewing a perfect collar.
Come back to the Craftsy blog tomorrow for Free Pattern Friday!
Share tips, start a discussion or ask one of our experts or other students a question.
No Responses to “Sewing Plackets That Look Oh So Professional”