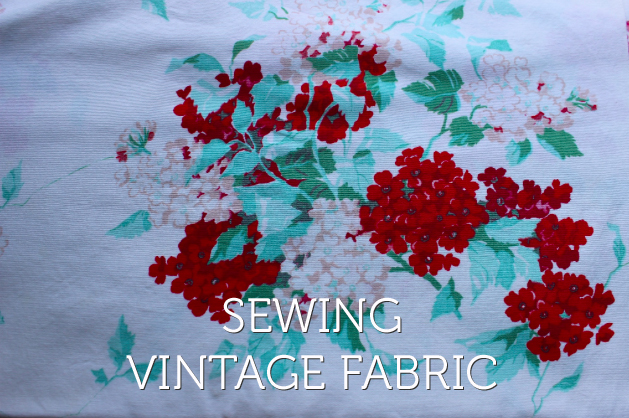
Vintage fabric can add a lot of personality to your sewing projects. Plus, it’s fun to search for (and pretty much a guarantee no one can make a copy). Or maybe you really want to throw-back to particular decade and combine a vintage pattern with vintage fabric.

Here are a few of my favorite sewing vintage fabric tips:
1. Where to find vintage fabric: I know I’m guilty of purchasing fabric with a project in mind and then just never getting around to actually cutting into it. This isn’t a 21st century phenomenon! There will always be vintage fabric to be found, whether it’s deadstock from a store or it’s been sitting in someone’s sewing room for 30 years. I won’t be surprised if some of my own stash is old enough to be deemed “vintage” someday.
Beyond poking through the closets of your older, crafty relatives, thrift stores and estate sales are your best bets for purchasing vintage fabric. You might have some luck at garage sales, too. Wherever you find it, be sure to inspect the fabric for holes and stains. Neither are deal-breakers, necessarily, but you’ll want to stay away from moth-eaten wool or large stains in the center of the fabric.
2. Identifying fabric content: Once you’ve found a great piece of vintage fabric, you’ll probably want to determine the fabric content before you decide what you’re going to do with it and how you are going to care for the fabric. If you are an experienced sewist and have worked with many different fabric types, you’ll be able to make an educated guess just by looking at the fabric and touching it. If you’re not sure, you can execute a burn test to determine the type of fiber (while being extremely careful, of course!).
3. Cleaning vintage fabric: Before you start pawing through your pattern stash, you’ll want to give your fabric a good cleaning. Vintage fabric can disintegrate, and it’s better to find out now than after you’ve spent 10 hours crafting it into the perfect party dress. Treat the fabric the same as you would modern fabric of the same fiber content, though you might want to err on the side of being gentle just to be safe. If you have a few yards of cotton, pop it into the washing machine with your regular detergent (though you might want to choose the delicate cycle); if you have a few yards of velvet, you should probably head to your dry cleaner.
When in doubt, handwashing is a safe bet. If your fabric is stained, discolored or smells musty (or worse), you can try soaking it for a day or two in OxiClean. Letting the fabric air-dry outside (preferably hung on a clothesline), will also help get odors out.
4. Cutting vintage fabric: Once your fabric is clean and dry and you have a pattern selected, it’s time to get cutting. This process might require a bit more thinking and creativity than when you are working with modern fabric. If your fabric still has some imperfections (small holes or discolorations), you can take some liberties with the cutting layout in an attempt to work around them (it’s helpful if you have more yardage than you actually need for the pattern). Just be mindful of cutting pieces in the right direction. You might decide that these flaws don’t bother you, but if you can’t cut around them, you can attempt to hide small stains in the seams or behind details such as pockets.
Have you worked with vintage fabric before? Do you have any sewing vintage fabric tips?

Share tips, start a discussion or ask one of our experts or other students a question.
No Responses to “Add Vintage Flair: Sewing Vintage Fabric Tips”