
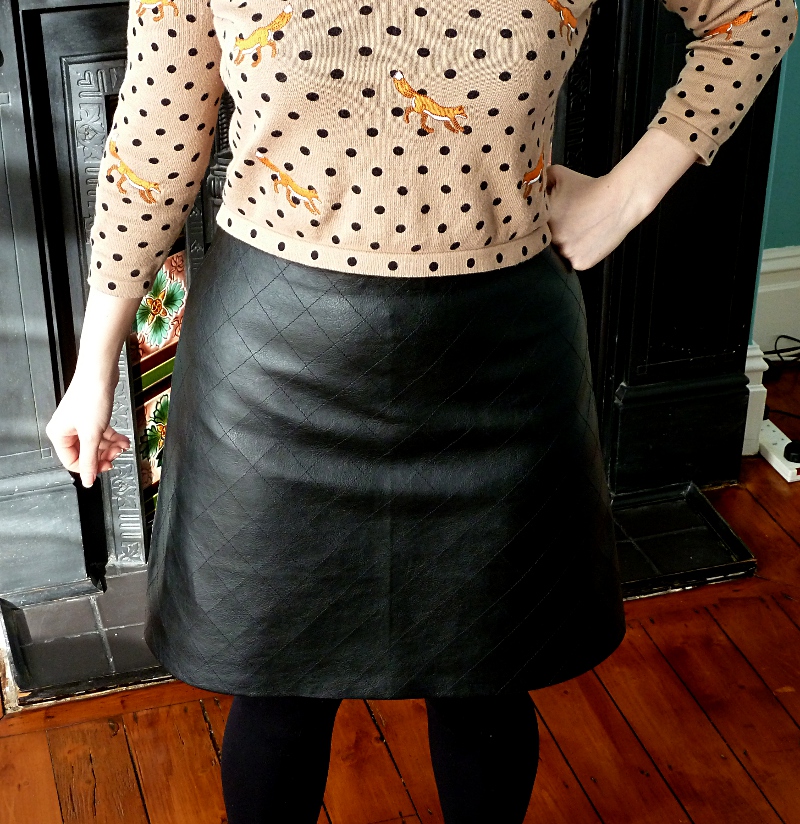
Sewing with faux leather needn’t be scary. As I found out during the recent sewing of my faux quilted leather skirt, apart from a few simple rules, it’s actually quite straightforward and very enjoyable. The other benefit, of course, is that faux leather is very affordable, especially in comparison to real leather, and can produce equally edgy results. To help you gain the confidence to have a go, I’m sharing three tips on how to sew and finish faux leather seams.
If you’re looking for advice on sewing real leather, see our post “9 Tips for Sewing Leather”, which discusses seams and more.
Here’s how to sew faux leather seams!
Before sharing my three seam finishing tips, let’s go over some simple rules to follow when sewing with faux leather:
- Faux leather is much denser than other woven fabrics, so you’ll need to use a suitable needle for best results and to avoid damage to your sewing machine. A leather needle should be perfect for the job.
- If you’re struggling to get even stitches, try slightly increasing your stitch length. Just remember that all machines differ, so it’s best to practice on scraps of your fabric until you’re happy with the result.
- Turn the heat on your iron down, and always use a pressing cloth to avoid damaging or melting your fabric. I used a scrap of poly-cotton from my stash, which did the job well.
- Pinning faux leather will leave permanent perforations, so bulldog clips are a good alternative. Don’t get your bulldog clips confused with binder clips though, as the latter aren’t flat-edged and will leave indentations on your fabric.
- If sewing a garment, instead of say an accessory or decoration, you can pin within your seam allowances so that any perforations stay hidden on the inside.
If you follow the simple rules above, sewing with faux leather should be a total breeze, especially because it doesn’t fray! With this in mind, here are three tips for finishing your seams.

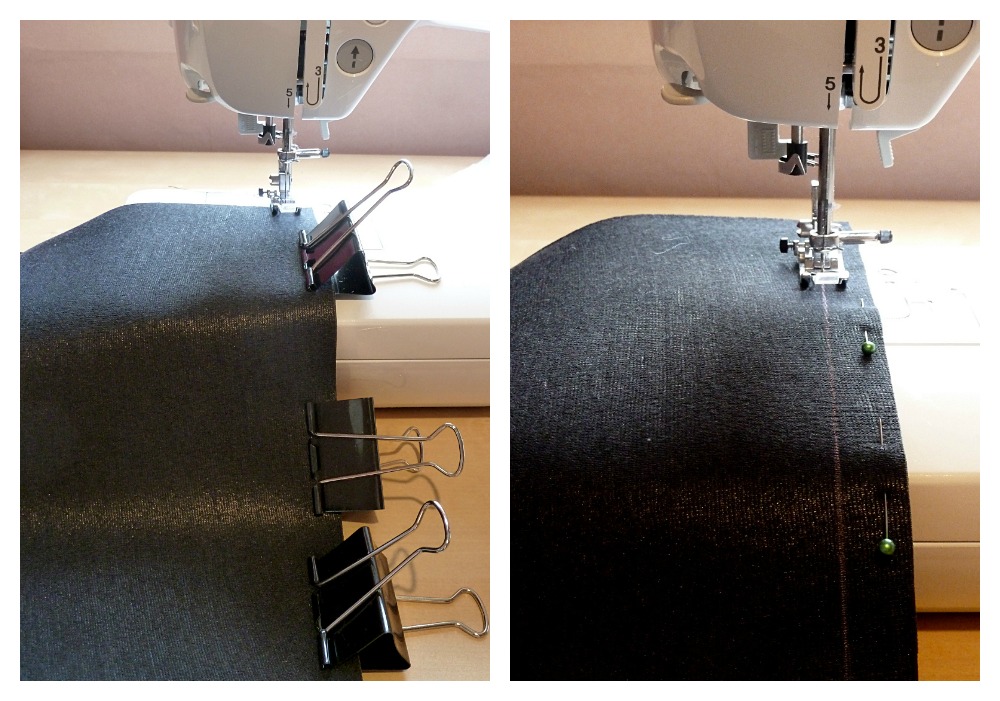
1. Flat stitch
Faux leather seams can be flat stitched open from the right side of the fabric, resulting in neat seams, as well as a quirky design feature. Just press your seams open and stitching evenly on either side of the seam line, along the right side of your fabric. The excess seam allowance can then be trimmed on the wrong side to reduce bulk.
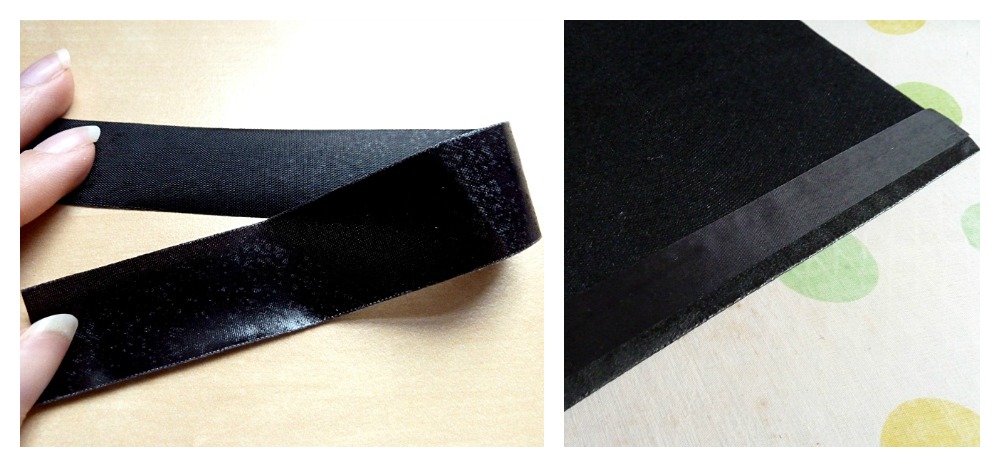
2. Hemming tape
Hemming tape can be used to finish both seams and hems. Apply it with the shinier, stickier side down. Once evenly in place, press on a medium heat for about 15 seconds. Make sure you read the instructions though, as brands may differ. And, don’t forget to protect your fabric with a pressing cloth.
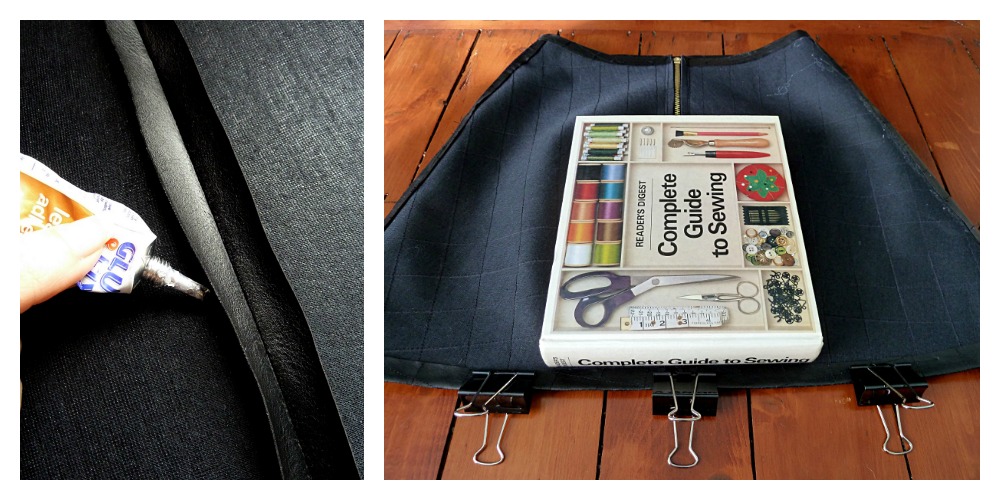
3. Leather glue
Surprisingly, leather glue turned out to be my favorite way of finishing faux leather seams. I finished my skirt this way, and I’m pleased to report that it has even survived a couple of machine washes!
Press your seams open and your hem up, apply the glue liberally, allow a couple of minutes for it to go “tacky,” and then press with something heavy for a good 10-15 minutes. A big book and some bulldog clips came in handy indeed. So simple, yet so effective!
Looking for more tailoring tips? Try the Craftsy class Tailoring Ready-to-Wear with couture sewing expert Angela Wolf to learn the techniques you need to create a custom tailored wardrobe!
Share tips, start a discussion or ask one of our experts or other students a question.
No Responses to “Rock and Roll Style: How to Sew Faux Leather Seams”