
Shaving foam marbling is one of my favorite paper project ideas. Typically it’s used to create a colorful marbled background using inexpensive shaving cream and reinkers. In these tutorials, I’ll show you how to create two cards using shaving foam: one with a marbled background and one with a pattern of roses.

Shaving foam marbling tutorials
Some notes on supplies:
This technique can be quite messy so I recommend having a roll of paper towels and a trash bag handy. If you don’t want your fingers stained, you may also want to use gloves. I did not use gloves, but I did use tweezers to lift my card stock from the cream.
The shaving cream can be very inexpensive but it does need to be cream (as opposed to gel). I used an icing spreader to spread the shaving cream but a Popsicle stick or palette knife will work just as well.
A craft sheet or plastic table cover is also helpful in protecting your work surface.
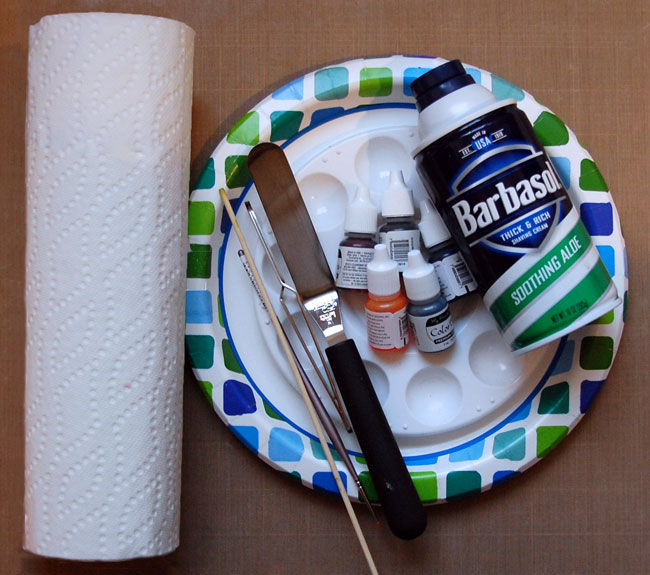
Supplies you’ll need:
- Shaving cream
- Reinkers (I used Lush Lagoon, Berrylicious, Lemon Chiffon, Bubblegum and Sour Apple dye reinkers by My Favorite Things)
- Card stock
- Palette
- Paper plates
- Paper towels
- Spreading tool
- Thin paint brush
- Bamboo skewer
- Tweezers
- Craft sheet or other protection for work surface
Tutorial #1: How to create a marbled (or water) background
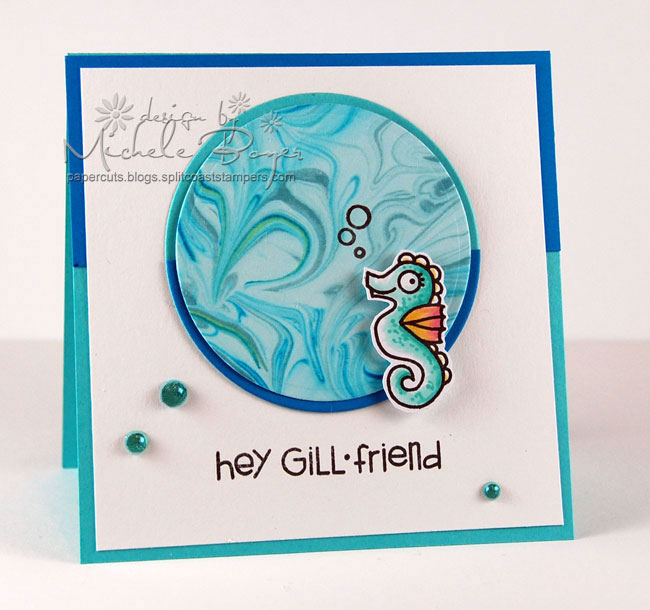
For my first cardmaking tutorial, I used blues with a touch of yellow to create a swirly, watery background for my seahorse.

Step 1:
Apply shaving cream to paper plate and smooth with palette knife.
Step 2:
Add drops of reinker randomly over cream.
Step 3:
Using the back end of a thin paint brush, begin to swirl reinker into cream. Be careful not to over-mix or you will end up with a plate of one color.
Step 4:
Lay card stock into foam, pressing gently over entire surface.
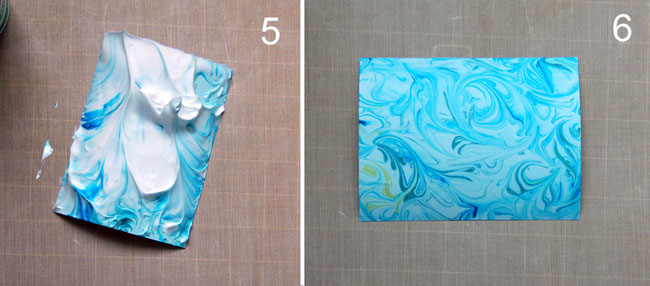
Step 5:
Gently lift card stock from cream.
Step 6:
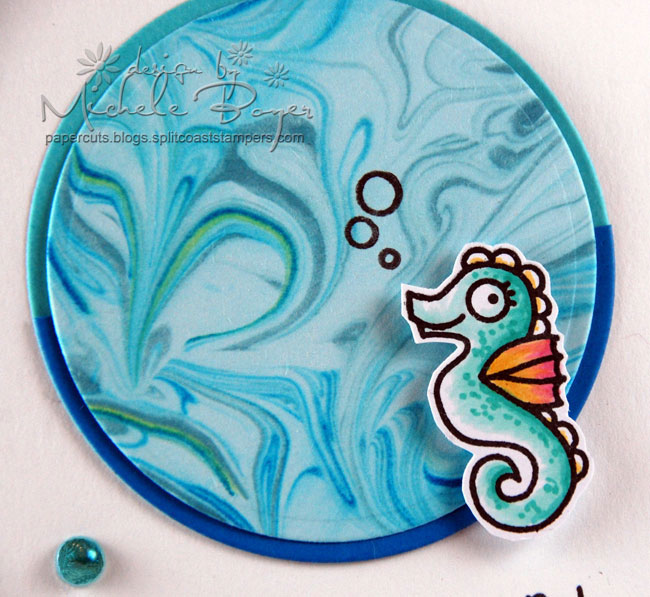
Using a paper towel, wipe cream from card stock. Allow to dry. (To finish, I used Surf & Turf stamp set by Paper Smooches.)
Tutorial #2: How to create a rose patterned background
Next, I used reinkers and shaving cream to create the appearance of a patterned or stamped background.
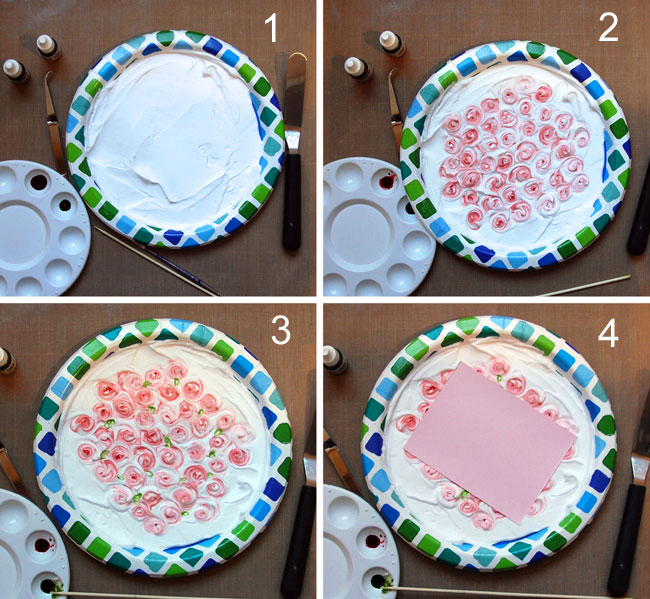
Step 1:
Add shaving cream to plate and smooth the surface with a palette knife. Add pink and green reinkers to palette.
Step 2:
Dip the back end of a thin paint brush into the pool of pink ink. Touch inked end to surface of foam and gently swirl to create a rose. Repeat to fill plate with flowers. Should a flower appear too dark, pick up some foam from around the edge of the plate using the back end of the paint brush and gently swirl the foam into the dark flower to lighten. Be careful not to over-mix.
Step 3:
Using the pointed end of a bamboo skewer, pick up green reinker from palette. “Draw” teardrop-shaped leaves randomly throughout the flower pattern. If necessary, return skewer to green ink pool to add more color.
Step 4:
Place card stock over foam and apply gentle pressure over surface.

Step 5:
Carefully remove card stock from cream.
Step 6:
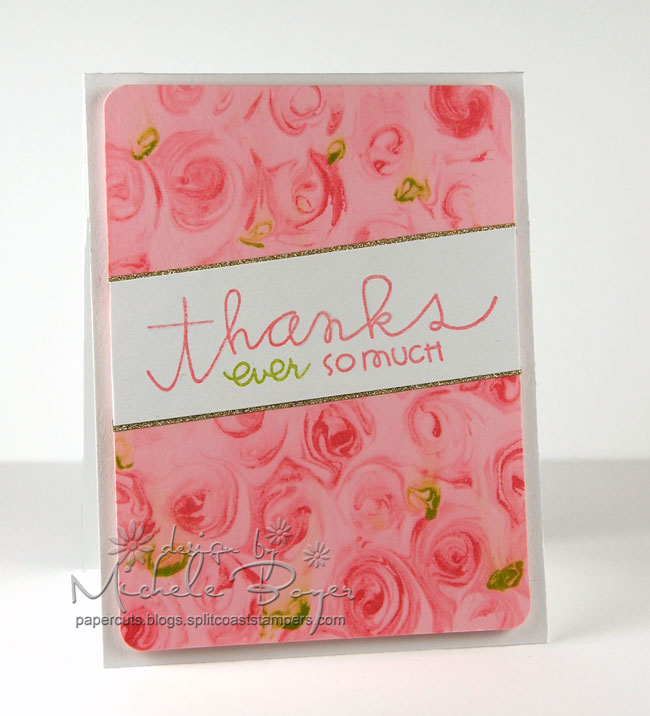
Using a paper towel, wipe cream from card stock and allow to dry. (To finish, I used Pretty Phrases stamp set by Paper Smooches.)
Note: When I wiped the foam from my card stock, I noticed a lighter area across the center. This most likely resulted in not applying enough pressure across that area when laying the card stock in the foam. So that I could still use the panel, I decided to add my sentiment across that portion of the pattern.

Share tips, start a discussion or ask one of our experts or other students a question.
No Responses to “Have You Tried the Shaving Foam Marbling Technique?”