
There’s a lot to love about handknit socks, but the best part is there’s no one way to do it. Take the heel, for example — you can knit a heel flap, an afterthought heel or a short row heel.
Short rows are a method of shaping. In the case of a sock heel, short rows utilize part of your knit rounds. Instead of working the entire round, you turn and work across the purl side — meaning you work short rows instead of full rounds. Those stitches in the center of the heel are worked more than the stitches on the edges, creating a cup shape that’s perfect for your heel.
When a sock pattern calls for short rows, they almost always mean the wrap and turn method, but that’s not your only option. Just as there are many ways to knit a sock heel, you’ve got choices when it comes to short rows, too. Pick which method works best for you.
Good to Know: Most sock patterns will write out specific instructions for the heel, but you’re the boss, so if you prefer a short row heel go ahead and sub it in whenever you want. (It’s perfect for adding a contrasting color.)
Short Row Heel
Level: Intermediate
Instructions
This general pattern is easy to memorize and is the same for whichever short row method you decide to use. We’ve written it out with the wrap and turn method in mind.
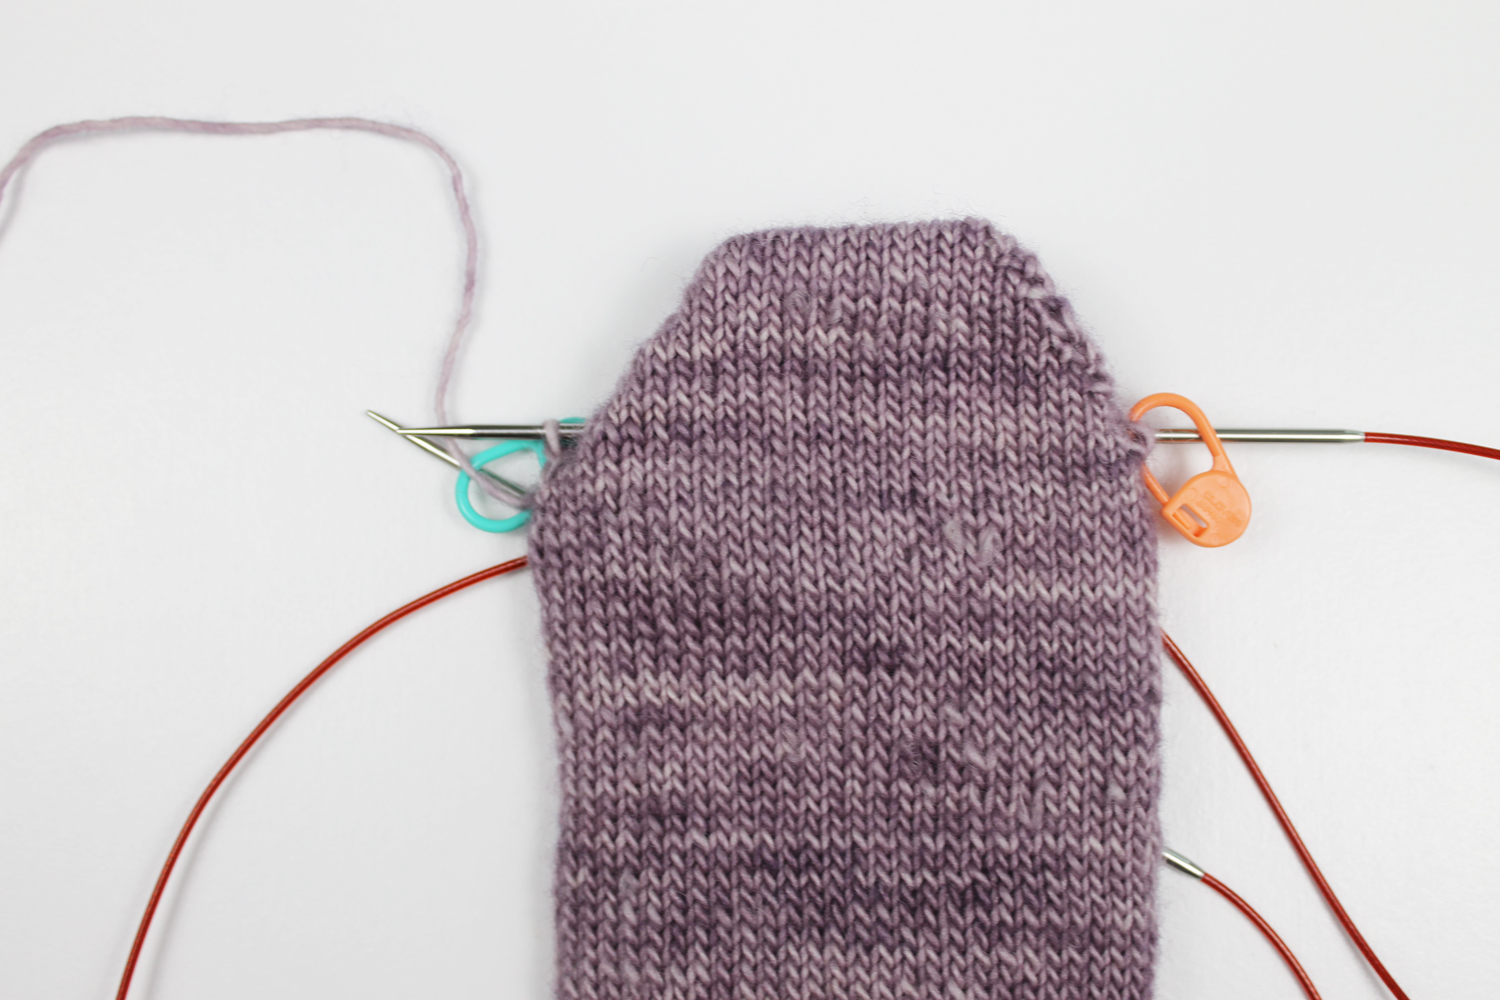
Pro Tip: The heel is worked over half of your sock stitches. Before you start, put your heel stitches on one needle and the rest on a flexible stitch holder.
Row 1: Knit to 1 stitch before the end of the heel, wrap and turn.
Row 2: Purl to 1 stitch before the end of the heel, wrap and turn.
Row 3: Knit to 2 stitches before the end of the heel, wrap and turn.
Row 4: Purl to 2 stitches before the end of the heel, wrap and turn.
Continue in this manner, working one less stitch at each end until you have about a third of your heel stitches left in the center. If your heel stitch number is not divisible by three, distribute them as such: one extra to the center or one extra to each side.
Once you have only a third unwrapped in the center, work back out:
Row 1: Knit to your first wrapped stitch, knit the wrap and stitch together, wrap and turn (you are wrapping the stitch after the one you just worked, so now this stitch has two wraps on it).
Row 2: Purl to your first wrapped stitch, purl the wrap and stitch together, wrap and turn.
Row 3: Knit to your next wrapped stitch, knit both wraps and the stitch together, wrap and turn.
Row 4: Purl to your next wrapped stitch, purl both wraps and the stitch together, wrap and turn.
Work as established until you have knit all the way across the stitches. You will be wrapping around the stitches a second time, so make sure to knit both wraps when you get to them.
If you’re working a different type of short row, just remember — work to one before the end both ways, then two, then three, and so on until a third are left in the center. Then work back out, picking up a stitch on each side until you have all your original heel stitches back on one needle. Then it’s onto the foot of your sock!
It sounds too hard!
Craftsy magic loop knitting socks pattern, instructions for the short row heel . After the gusset increases, row 1 knit until 2 sts remain w&t. Question, do I wrap both stitches or slip the last one, or??
Learning wrap and turn
I don’t understand the term wrap and turn. Can these directions be given in an alternative instruction please?