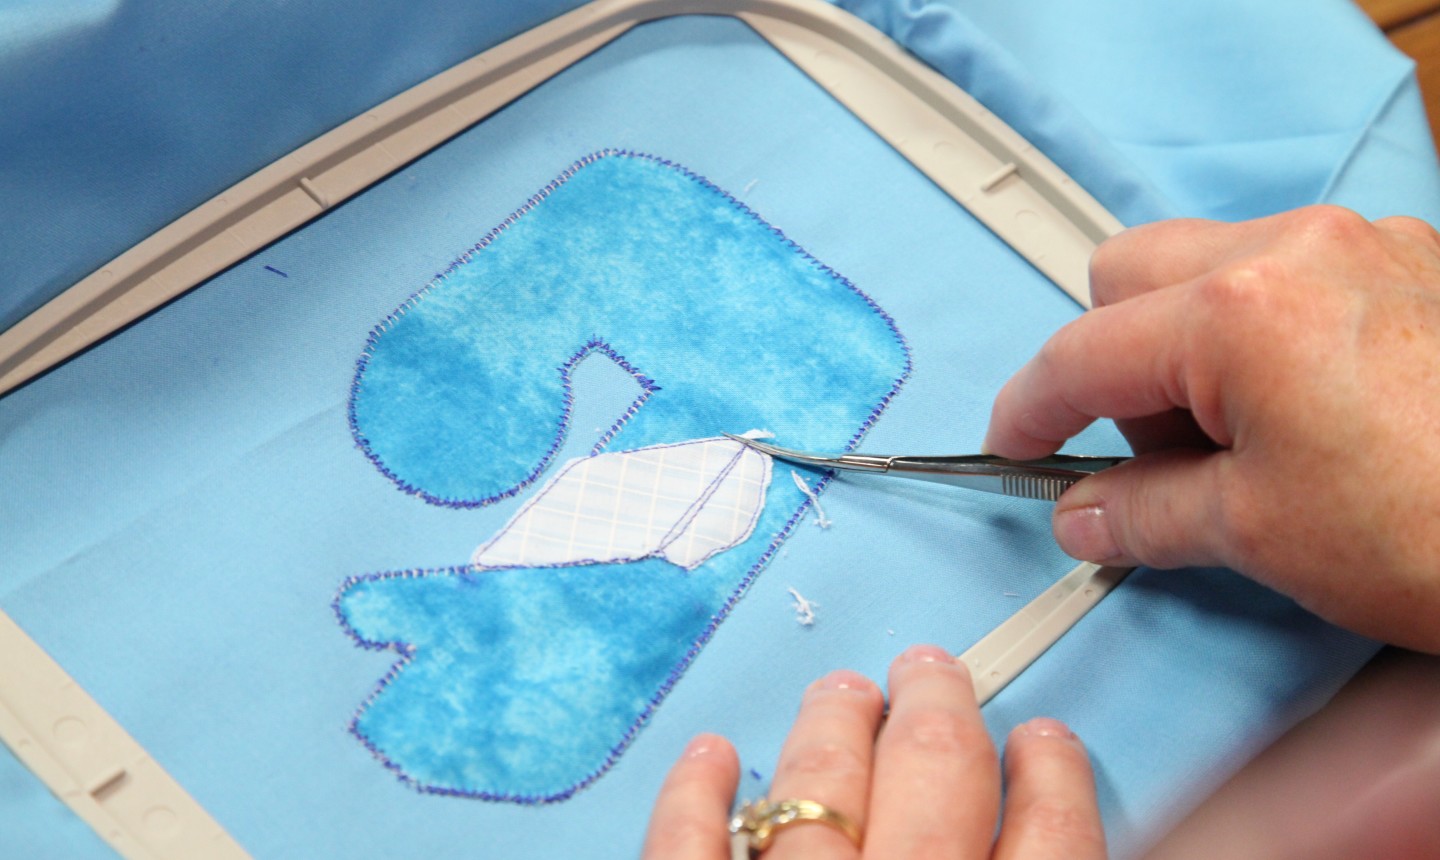
One of the most important (and overlooked) aspects about machine embroidery is often invisible to everyone but the person stitching. That’s right, we’re talking about the stabilizer. Because using the correct one makes all the difference between a beautiful piece and something that looks poorly made.
In machine embroidery, whether for quilts, home accessories or clothing, you want your item to be soft, durable and easily laundered. The stabilizer works as the foundation that determines success or failure. Essentially, it’s the base that supports your stitches. But if you use the wrong stabilizer, the design can become distorted with mismatched stitches, uneven outlines, puckers, gaps in your fills — you get the idea.
When selecting your stabilizer, you want to consider the type of embroidery design, the density and number of stitches, the background fabric and the type of thread being used. The easiest way to find the right one: know your options.
Good to Know: You can often find sample packs of stabilizers that include a single sheet in different types, as well as descriptions and recommendations for their use. These packs are a great place to start.
The Basic Stabilizer Categories
There are three popular types of stabilizers. Each comes in multiple weights, along with sticky, fusible and non-fusible options. You can also find specialty stabilizers if needed.
1. Tearaway
Tearaway is a paper-like stabilizer that comes in many different weights, from soft to crisp. This is a good option for redwork designs that are often worked on linens. Redwork projects are made by using outline stitches that are stitched over themselves multiple times, so tearaway stabilizers will prevent the stitches from pulling and puckering.
2. Cutaway
Cutaway stabilizer is typically a non-woven stabilizer, but there are also nylon mesh and other types of woven stabilizers that are used as cutaway stabilizers. Use this on toile-type embroidery.
3. Wash-Away
Wash-away stabilizers come in both mesh and a plastic form. As their name suggests, they wash away completely with water. Use this option when all traces of the stabilizer need to be removed, like when working with sheer fabrics.
Using More Than One Stabilizer
You might find that two or more different stabilizers used together work best for certain projects. For example, filled embroidery areas are units of solid stitching that have the most density, and therefore require the most stabilization. You may want to use two layers and/or types of stabilizer, rather than a single heavy stabilizer.
To find the stabilizer that works best for you, play around with different types and weights — it can be a trial-by-error game at first, but once you discover what you love it’s oh-so-worth it.

Is there a more in-depth class on stabilizers? I am having a difficult time choosing the right stabilizer, as well as successful hooping. I need help!