
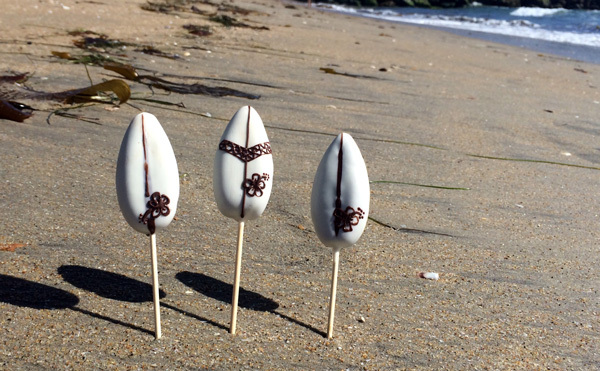
Whether you’ve ever experienced paddling out into the ocean or not, that small detail will not stop you from hanging ten and enjoying some surf any day of the year. These surfboard cake pops are great for all beach-themed occasions, from the casual beach barbecue, to a wedding or even a baby shower.
These surfboard cake pops will be wiped off your dessert table
Are you ready to shape, Brah?
Shaping these cake pop surfboards does not require a gnarly apprenticeship under a master shaper, but it is going to require one additional tool. In addition to our trusty cookie scoop, you’ll also need a small spoon. It is very important to make sturdy cake pop dough, not wet and not crumbly, (Need some extra help?
I will also be using skewers instead of regular lollipop sticks because I like the natural look of it with the surfboards better than the white sticks, but feel free to use the white sticks if you choose! With a serrated knife, I’ve cut 12-inch bamboo skewers in half.
Alright dudes, let’s get started!
You’ll need:
- Cake pop dough ready for shaping
- Cookie scoop
- Spoon
- Two colors of candy coating (I used white and brown)
- Ziplock bag
- Wax paper
- Bamboo skewers or lollipop sticks
- Styrofoam block
Step 1:
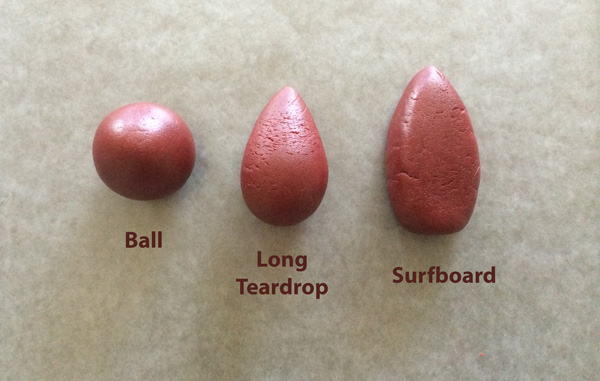
Place wax paper on your work surface. Portion your cake pop dough with a cookie scoop and roll into a ball to start. Form into a long tear drop then flatten carefully with the back of a spoon to create the shape of a surfboard.
Step 2:
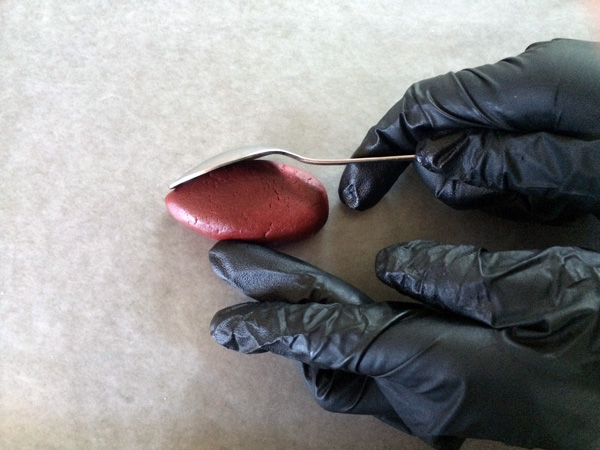
Use the spoon to help smooth out the edges and create a bevel along the edges.
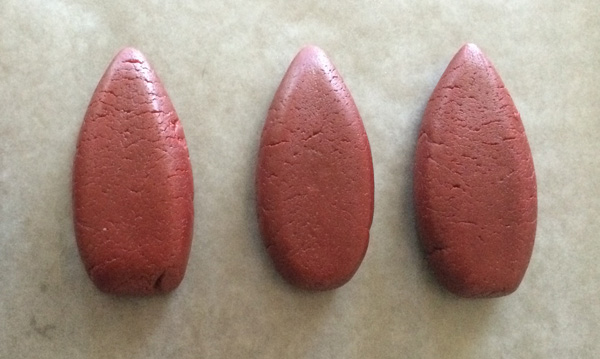
They should look like this. Refrigerate.
Step 3:
Gather you or sticks. Carefully melt one color of candy coating in a narrow plastic cup that will allow you to submerge the whole surfboard in one dip. Melt a handful of brown candy wafers in a ziplock bag.
Step 4:
I experimented with a new method of dipping these surfboards. You can try my new way, option 1, or option 2, which is ideal for beginners. Dip 1/3-inch of each stick into the candy coating and it insert into the bottom of the surfboard until it’s about an inch or so in. Do this for every cake pop before proceeding.
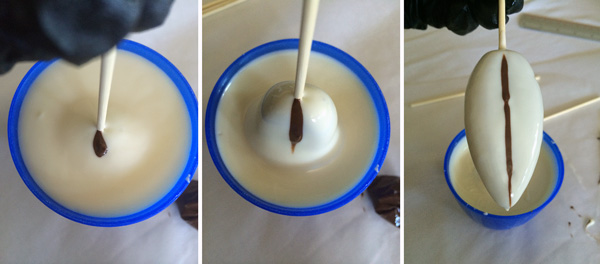
Option 1
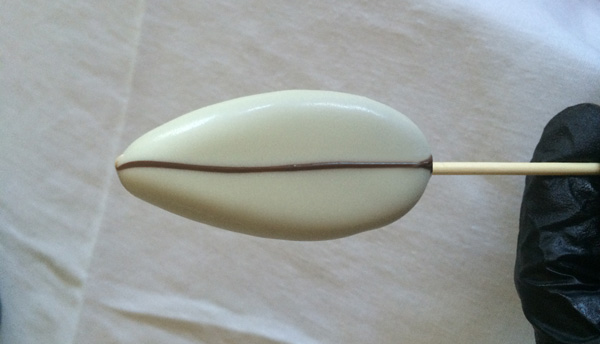
If you’re going for a classic, more vintage-looking surfboard, this new method is for you. Snip a corner of the ziplock bag containing the other color of candy coating, which in my case was brown. Dip the cake pop into the white candy coating, submerging the surfboard completely. Then add a little dollop of brown candy coating where the white candy coating meets the stick (you want to make sure it’s in the middle of the flat part of the surfboard) then pull the cake pop straight out. Keep the surfboard in the upside down position, move it in an up and down motion to shake off the excess and the brown coating will also travel down during this shaking process, creating an embedded straight line to the tip of the board. Place on the styrofoam block to dry completely.
Option 2
Dip the surfboard in the white coating and shake off excess. Place on the styrofoam block and dip the remaining cake pops. Then pipe a brown line down the middle of each surfboard. Place on styrofoam block and let dry completely.
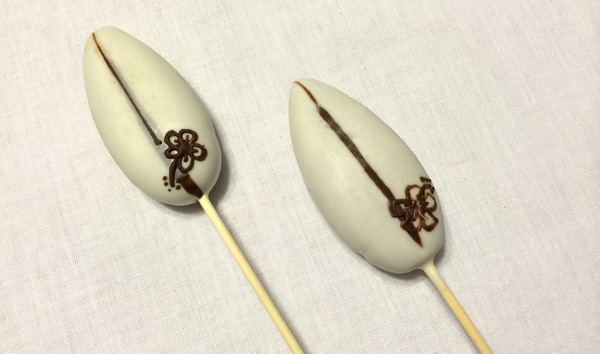
Step 5:
Use the remaining brown candy coating to decorate the surfboard with hibiscus, patterns or a message.
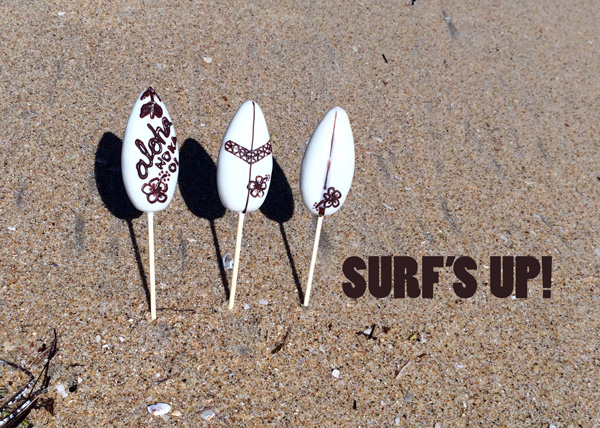
I hope you’re totally stoked and ready to shape some boards after reading through this tutorial!
Share tips, start a discussion or ask one of our experts or other students a question.
No Responses to “Surf's Up! Making Surfboard Cake Pops”