
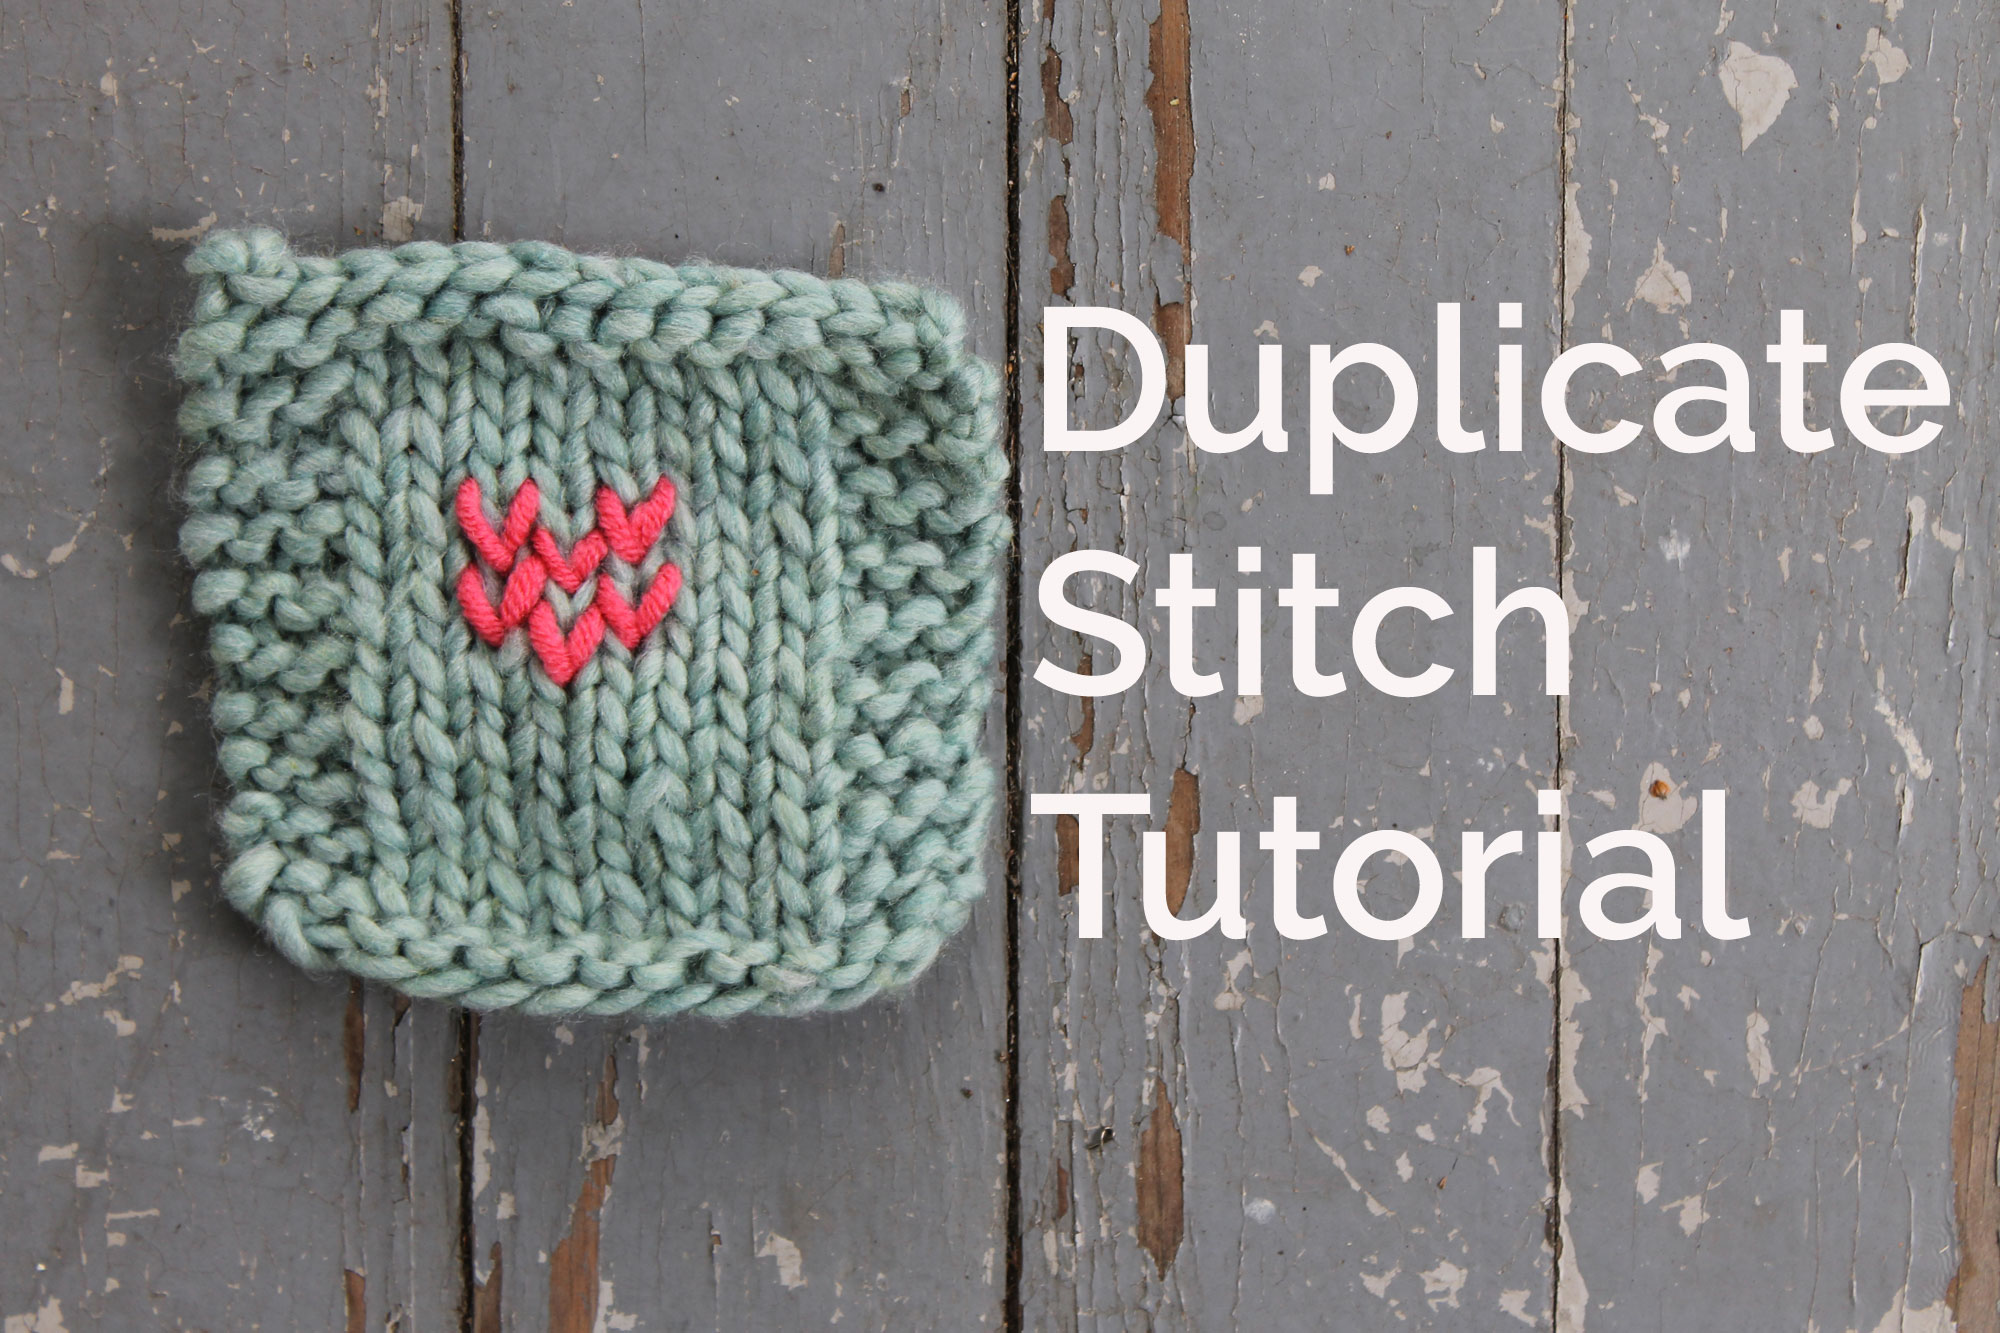
Learn how to knit the duplicate stitch — also known as Swiss darning — to add designs to your stockinette stitch.
A few weeks ago, I shared a project that used duplicate stitch to add a design to sock heels. If you think figuring out how to knit a duplicate stitch looks difficult, think again.
When you’re making a duplicate stitch, there’s no knitting involved; it’s actually more like sewing. If you can wield a yarn needle, then you can make a duplicate stitch. Duplicate stitch (also sometimes called Swiss darning) involves simply duplicating or stitching on top of the stockinette stitch that has already been knit. You’re just duplicating those little V’s.
Follow this step-by-step tutorial for Swiss darning to add any design to stockinette stitch, from hearts to stars and even monograms.
What you’ll need:
- Stockinette stitch knitted piece
- Scrap of yarn that’s the same weight as the knitted piece
- Yarn needle
- Scissors
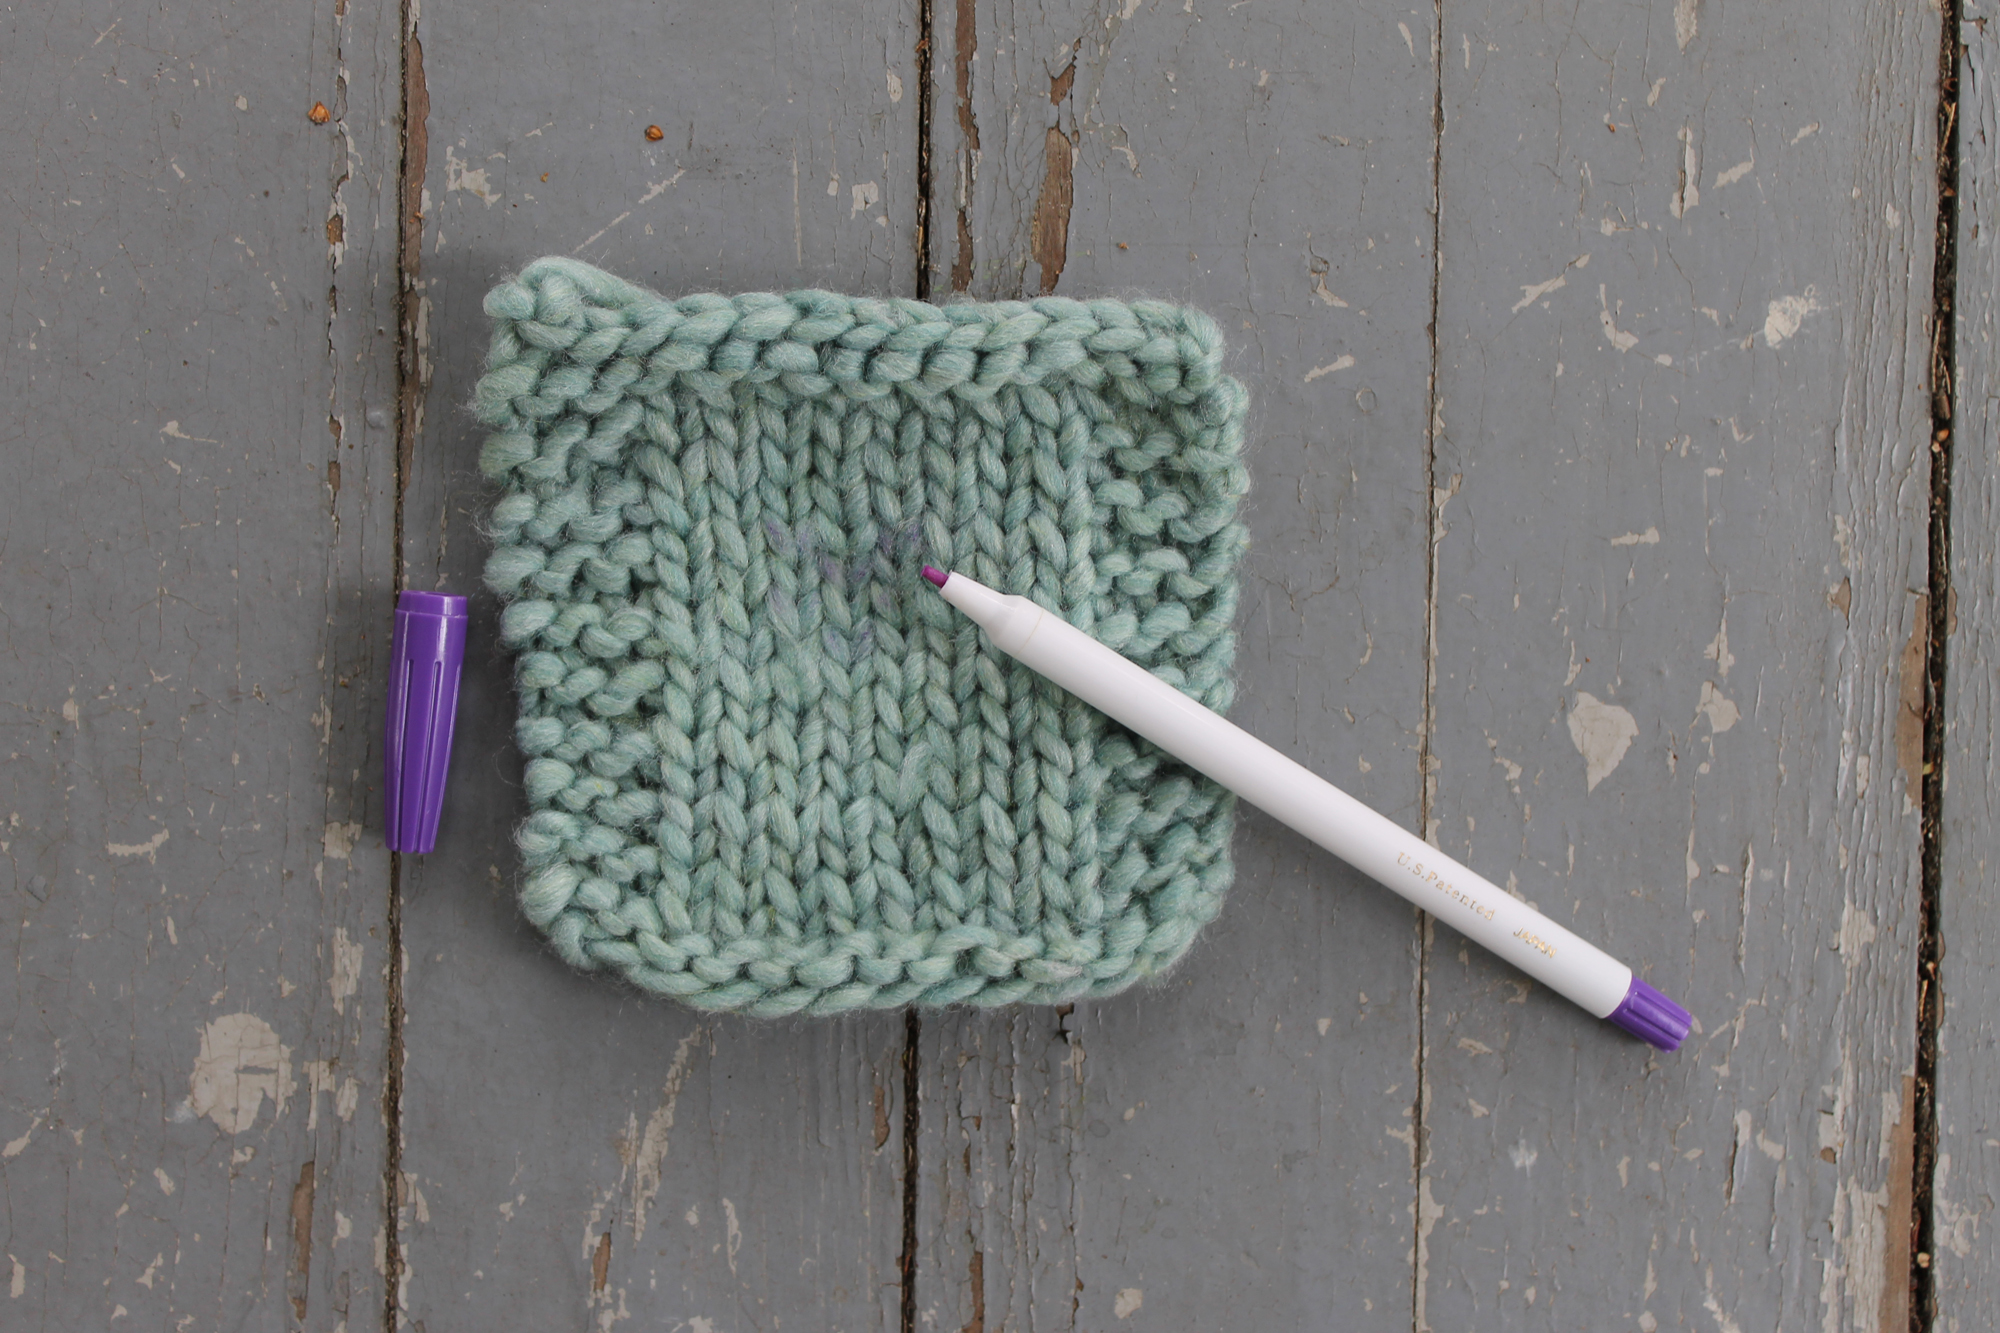
- Water-soluble fabric pen (optional)
Do you see how stockinette stitch is made up of lots of little V shapes? Those V shapes are going to be your guide for stitching the duplicate stitch.
Step 1:
If you’d like, use a water-soluble fabric pen to mark the stitches that you want to duplicate. Remember that each V is one duplicate stitch.
You can also design or follow a chart, as I did with my heart sock heels.
If you don’t have a fabric pen or want to skip this step, you can also just improvise as you stitch.
Step 2:
Thread the tapestry needle with a length of scrap yarn.
Tip: It’s best to use yarn that’s a similar weight to the knitted piece so that the yarn covers the stitch. For example, if your knitted piece is knit with bulky weight yarn and you use a fingering weight yarn for the duplicate stitch, that fingering weight yarn is not going to cover up the entire stitch. In fact, your duplicate stitch design may be practically invisible!
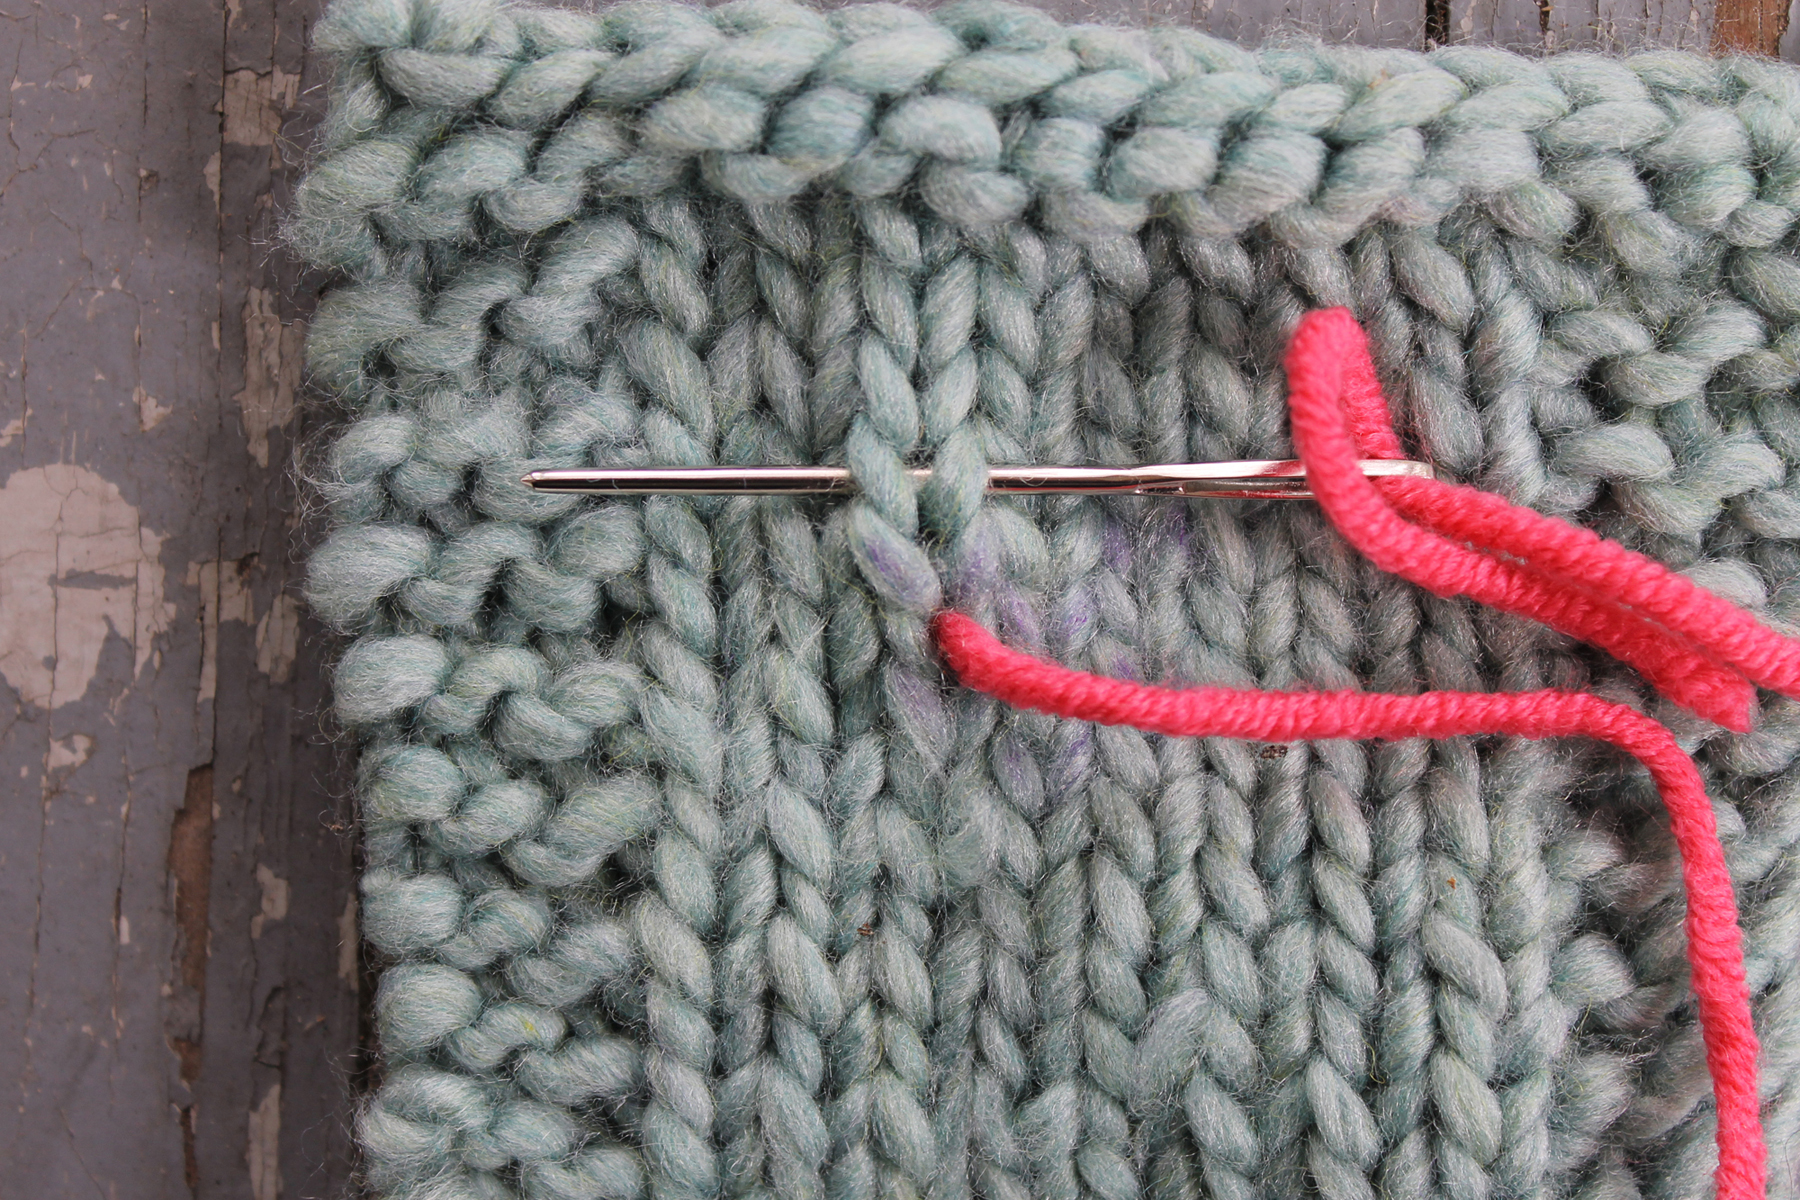
Step 3:
Bring the tapestry needle up through the bottom V of the first stitch you want to duplicate.
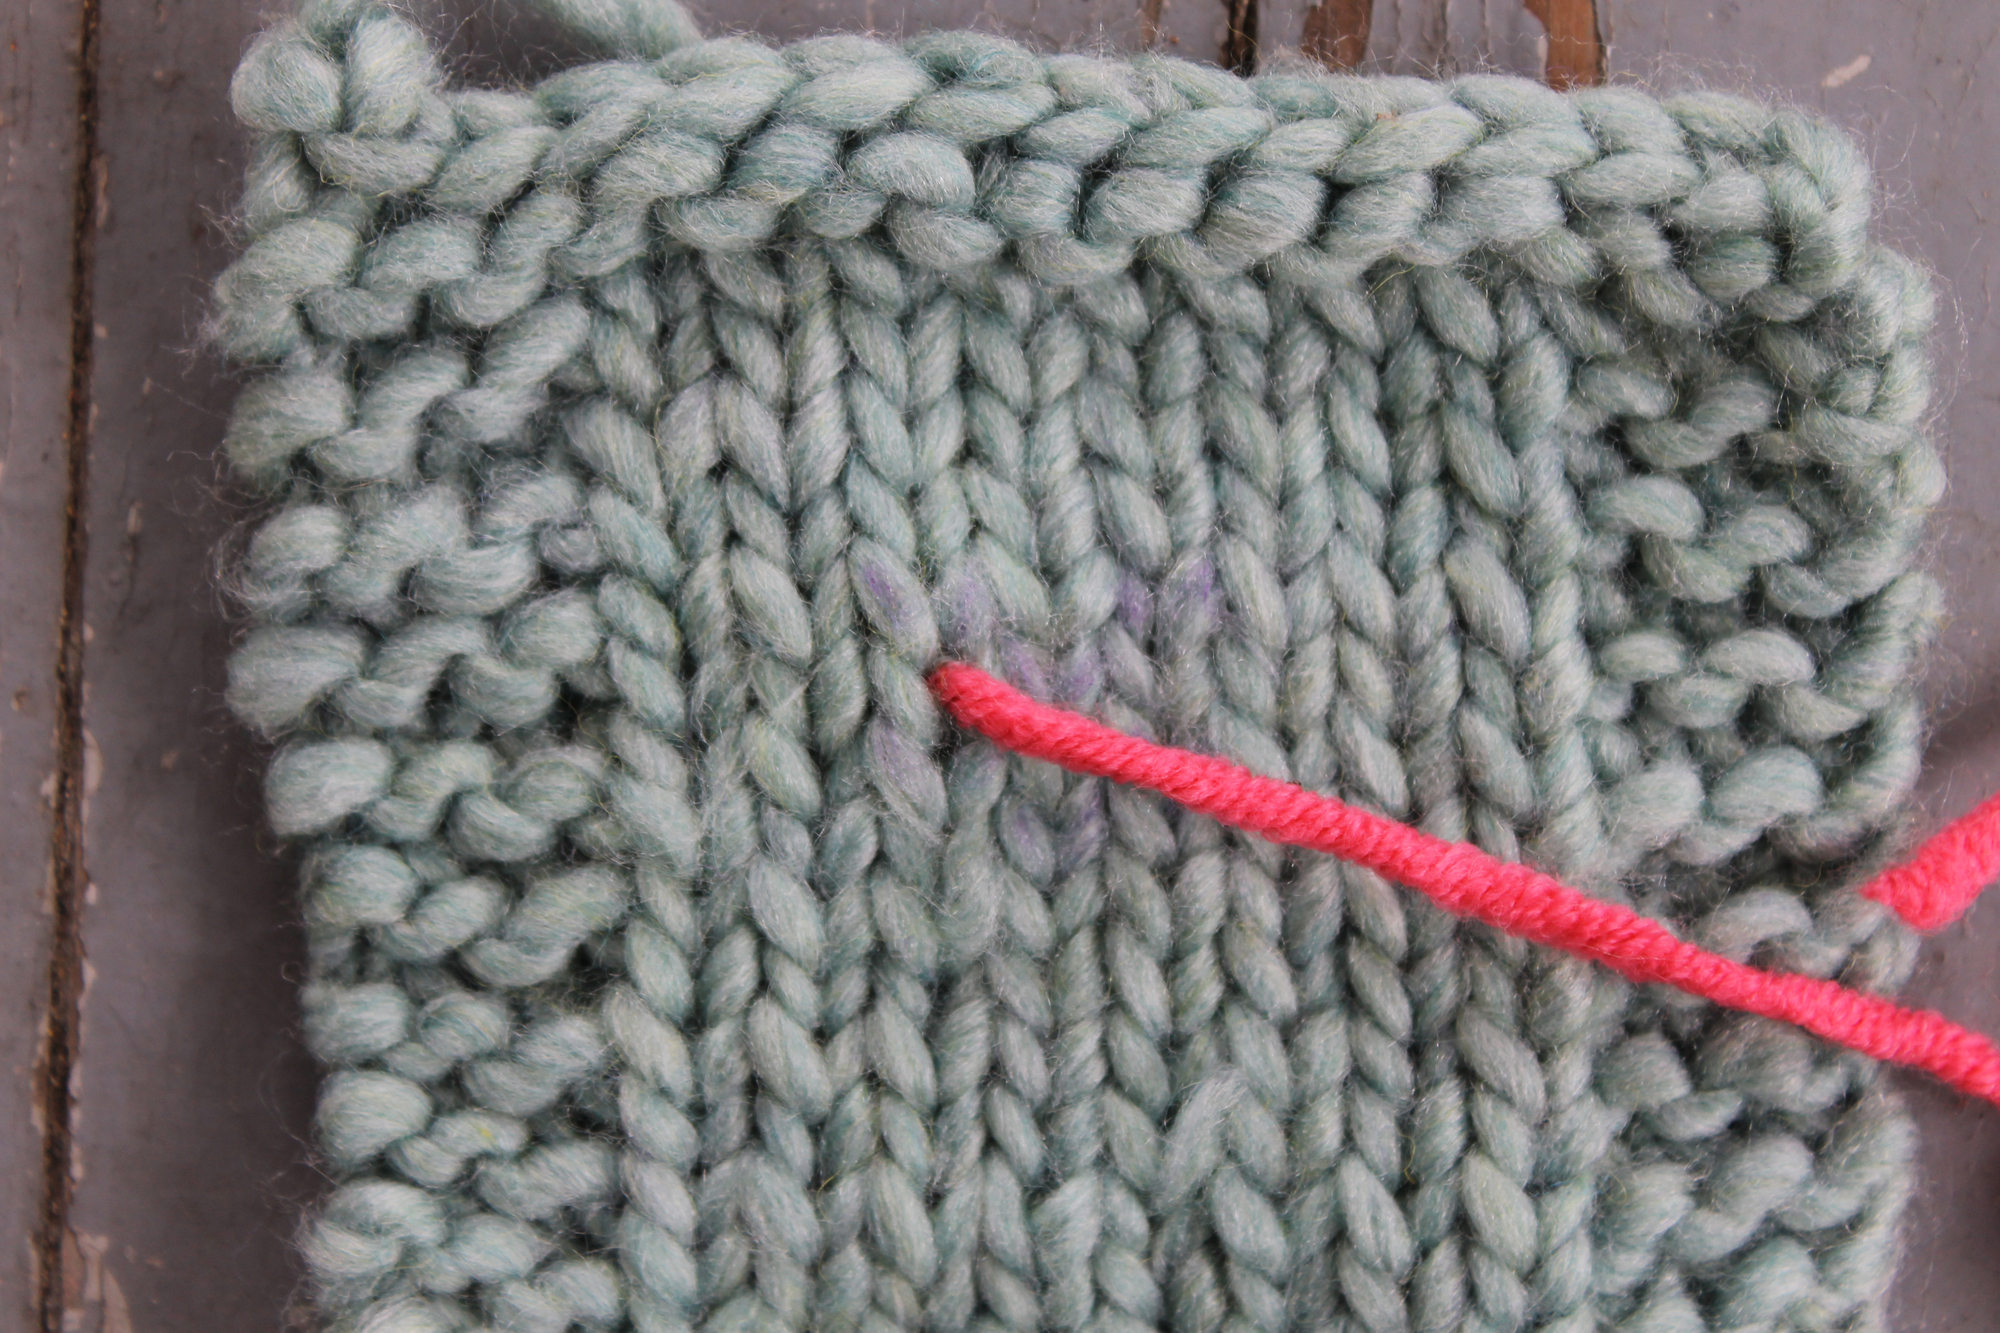
Make sure you leave a tail that’s about 1–2 inches on the back of the work to weave in later.
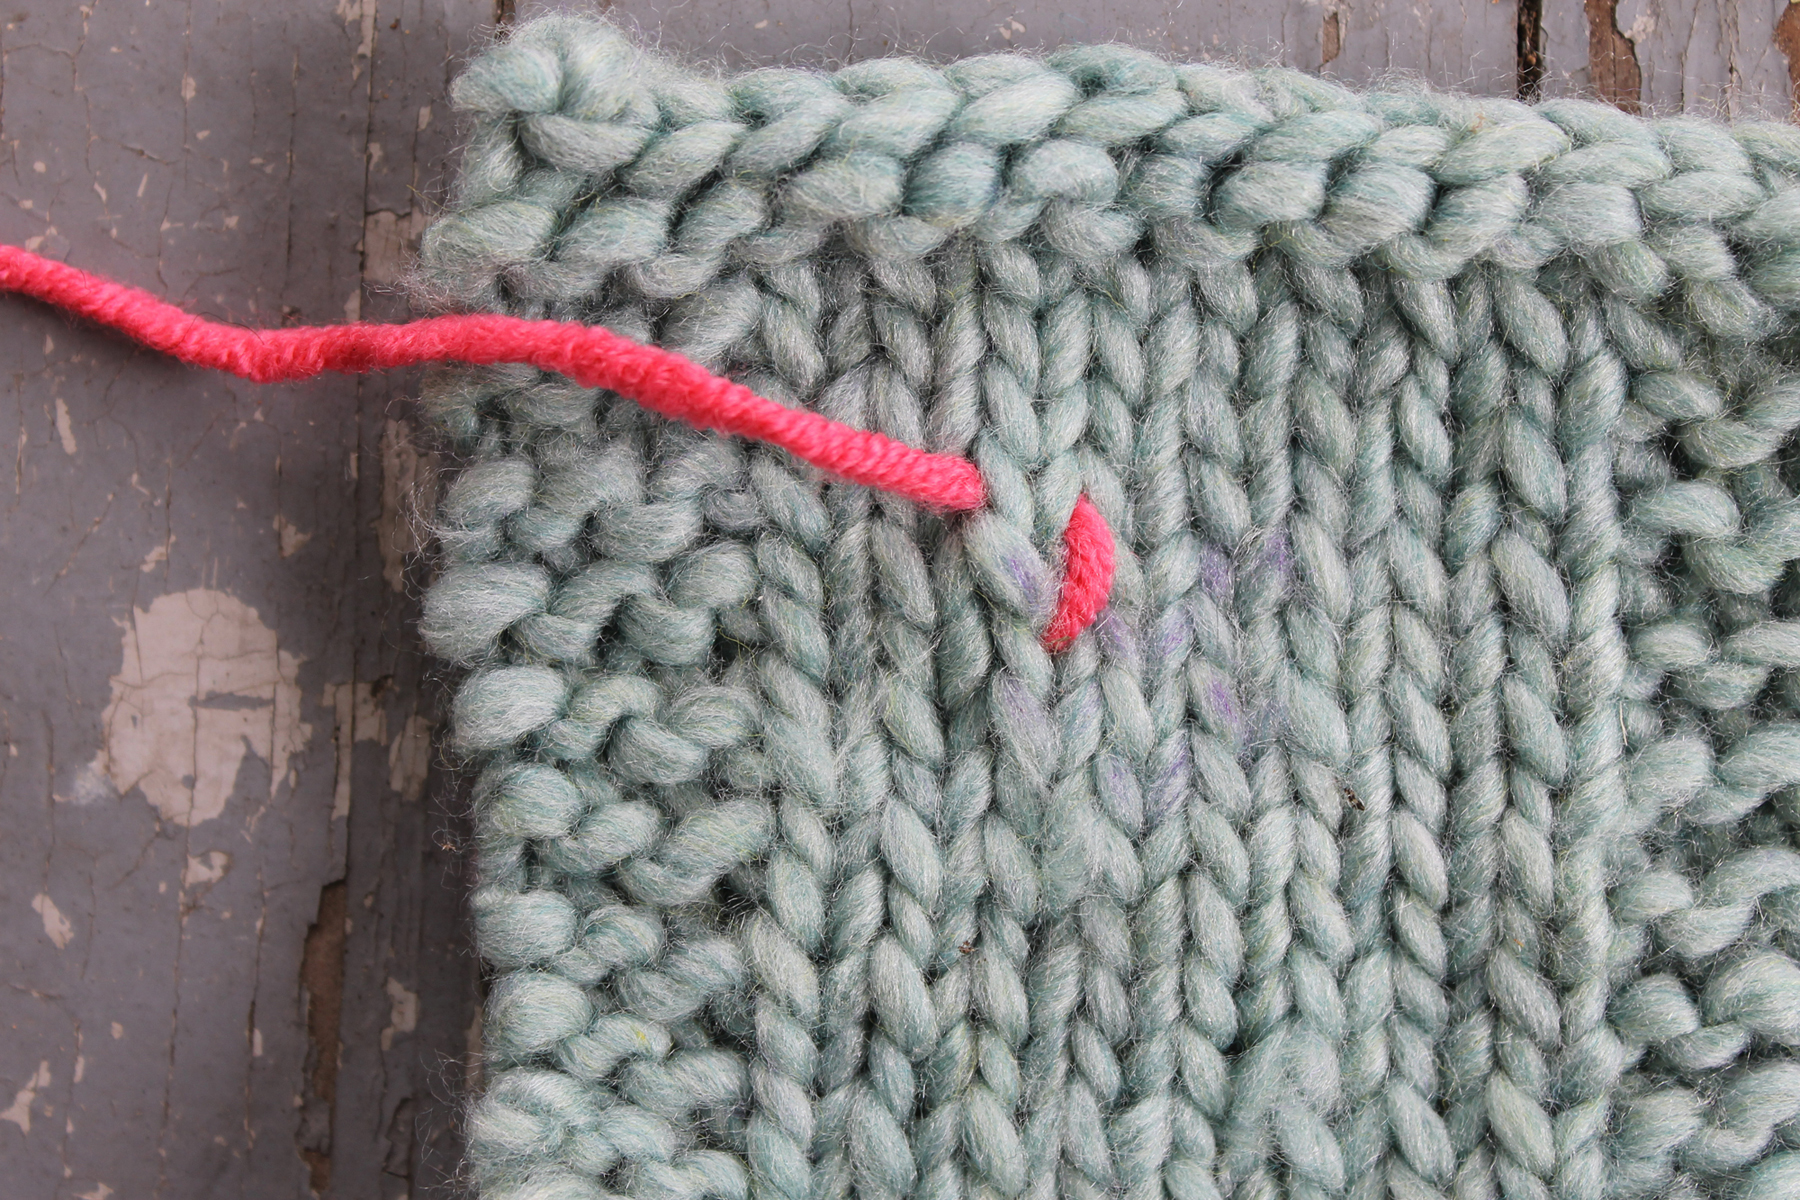
Step 4:
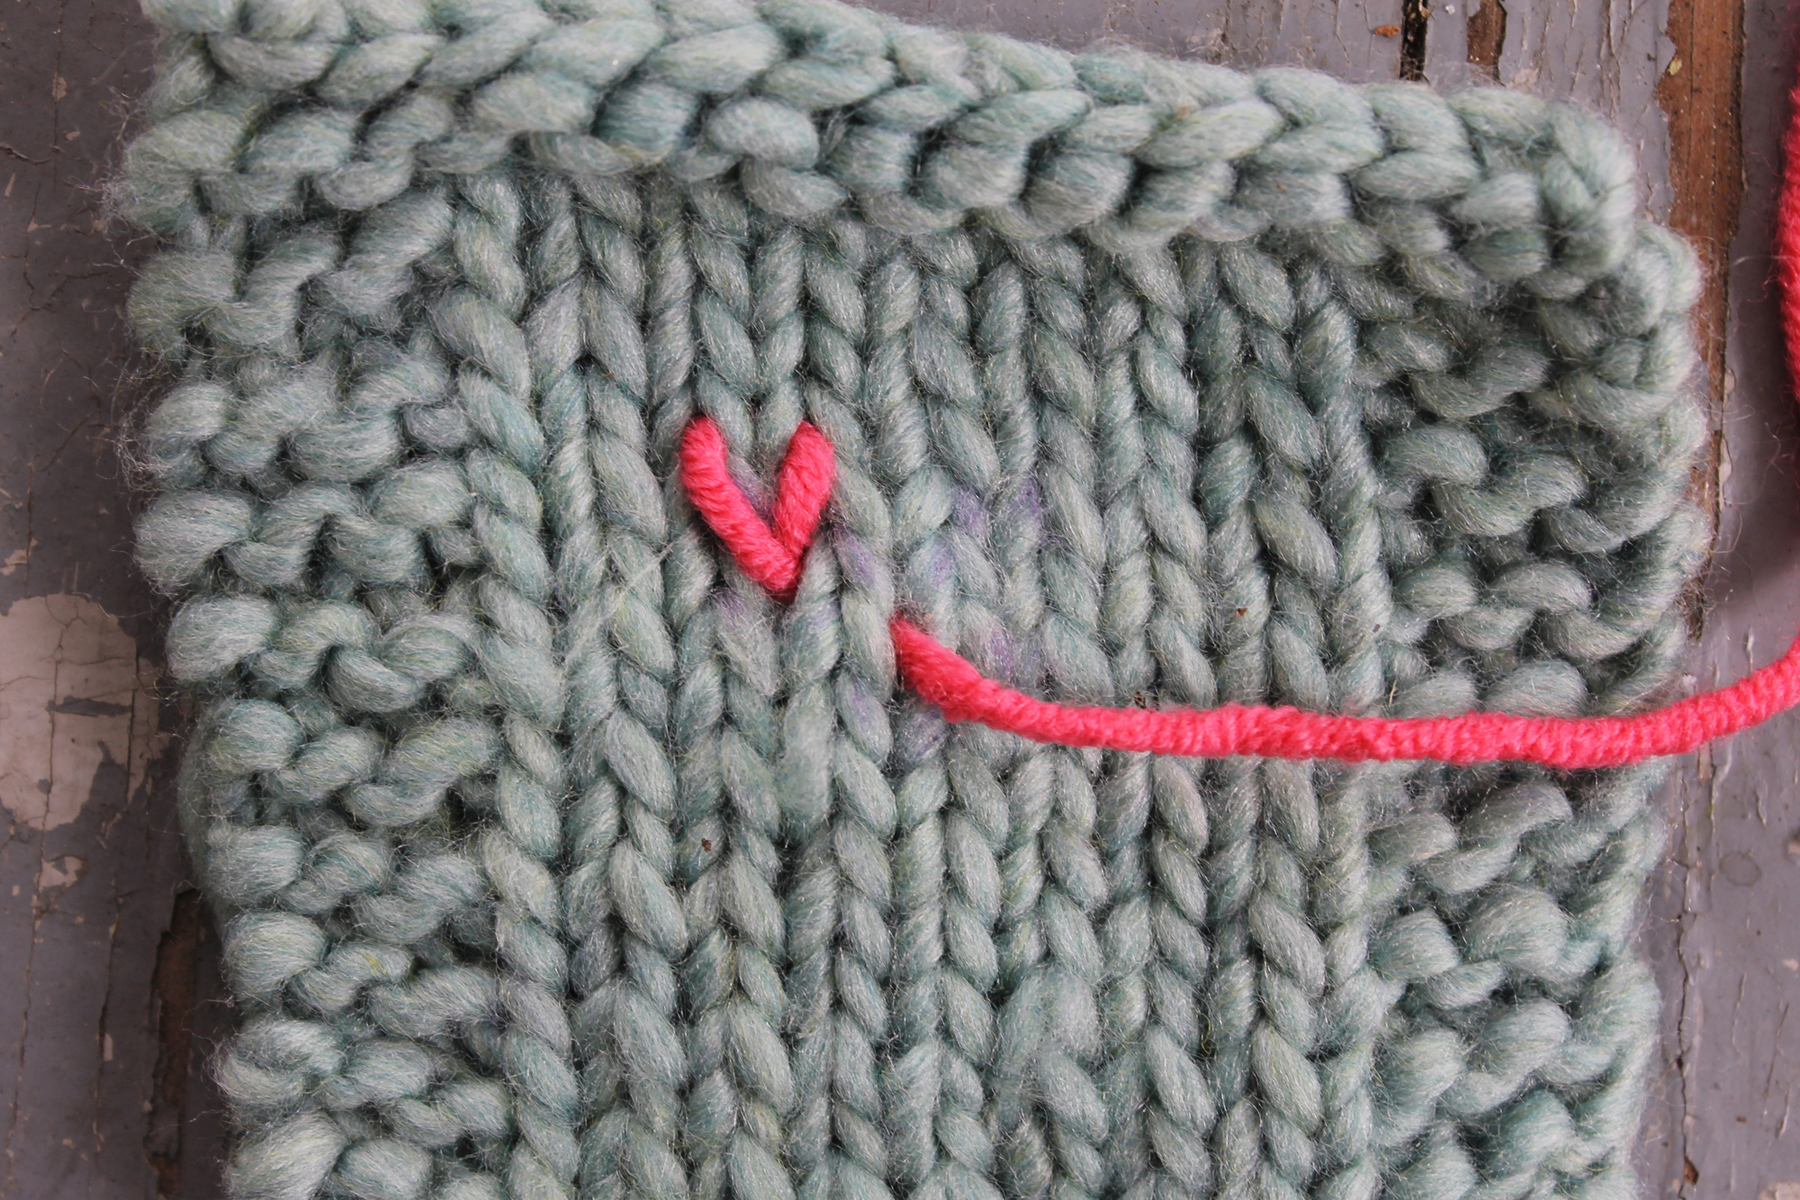
Flip the work back over so the right side is facing you. Insert the yarn needle across the V of the stitch above the stitch you are duplicating.
Step 5:
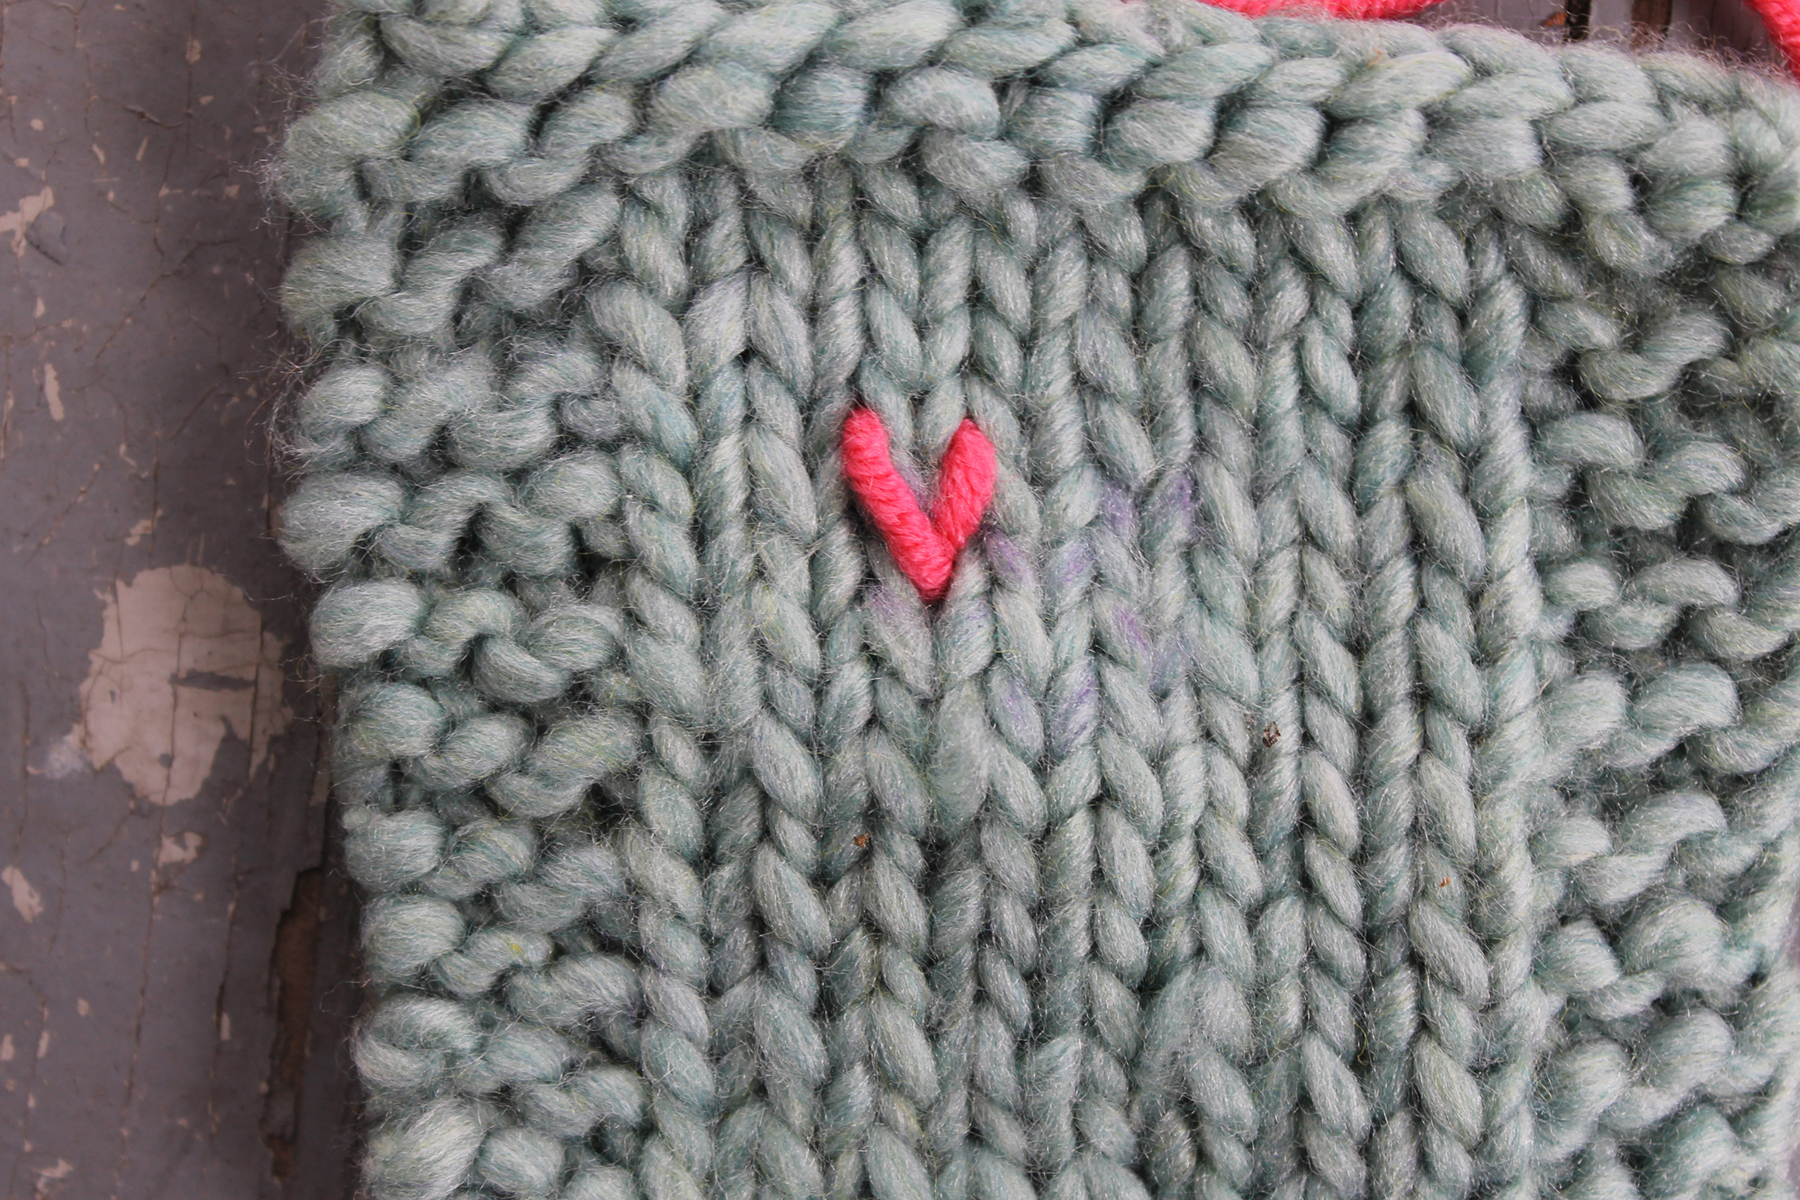
Pull that needle through. You’ll notice that the right side of the duplicate stitch is now complete.
Step 6:
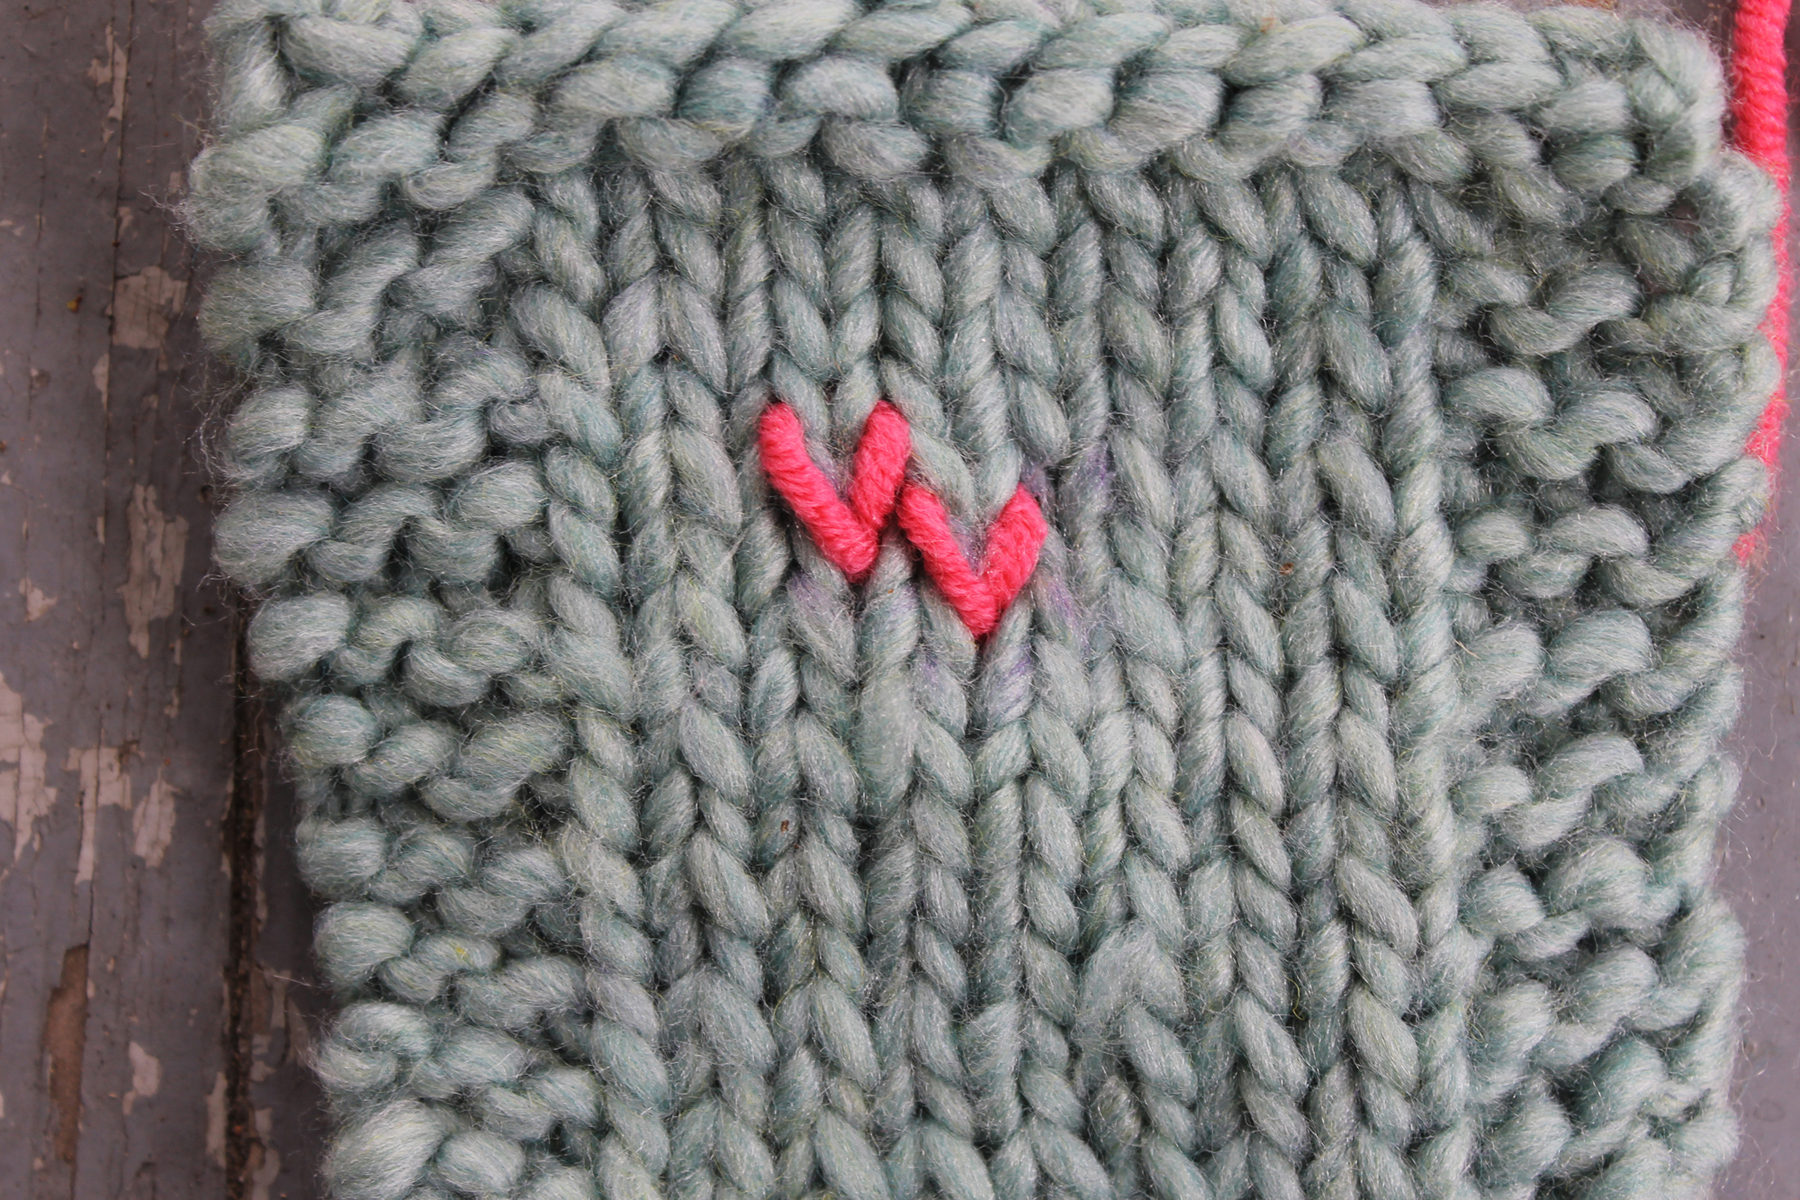
Let’s complete that left side now. Insert the needle into the bottom of the V where you began the duplicate stitch. It can go into the exact same spot where the stitch originated.
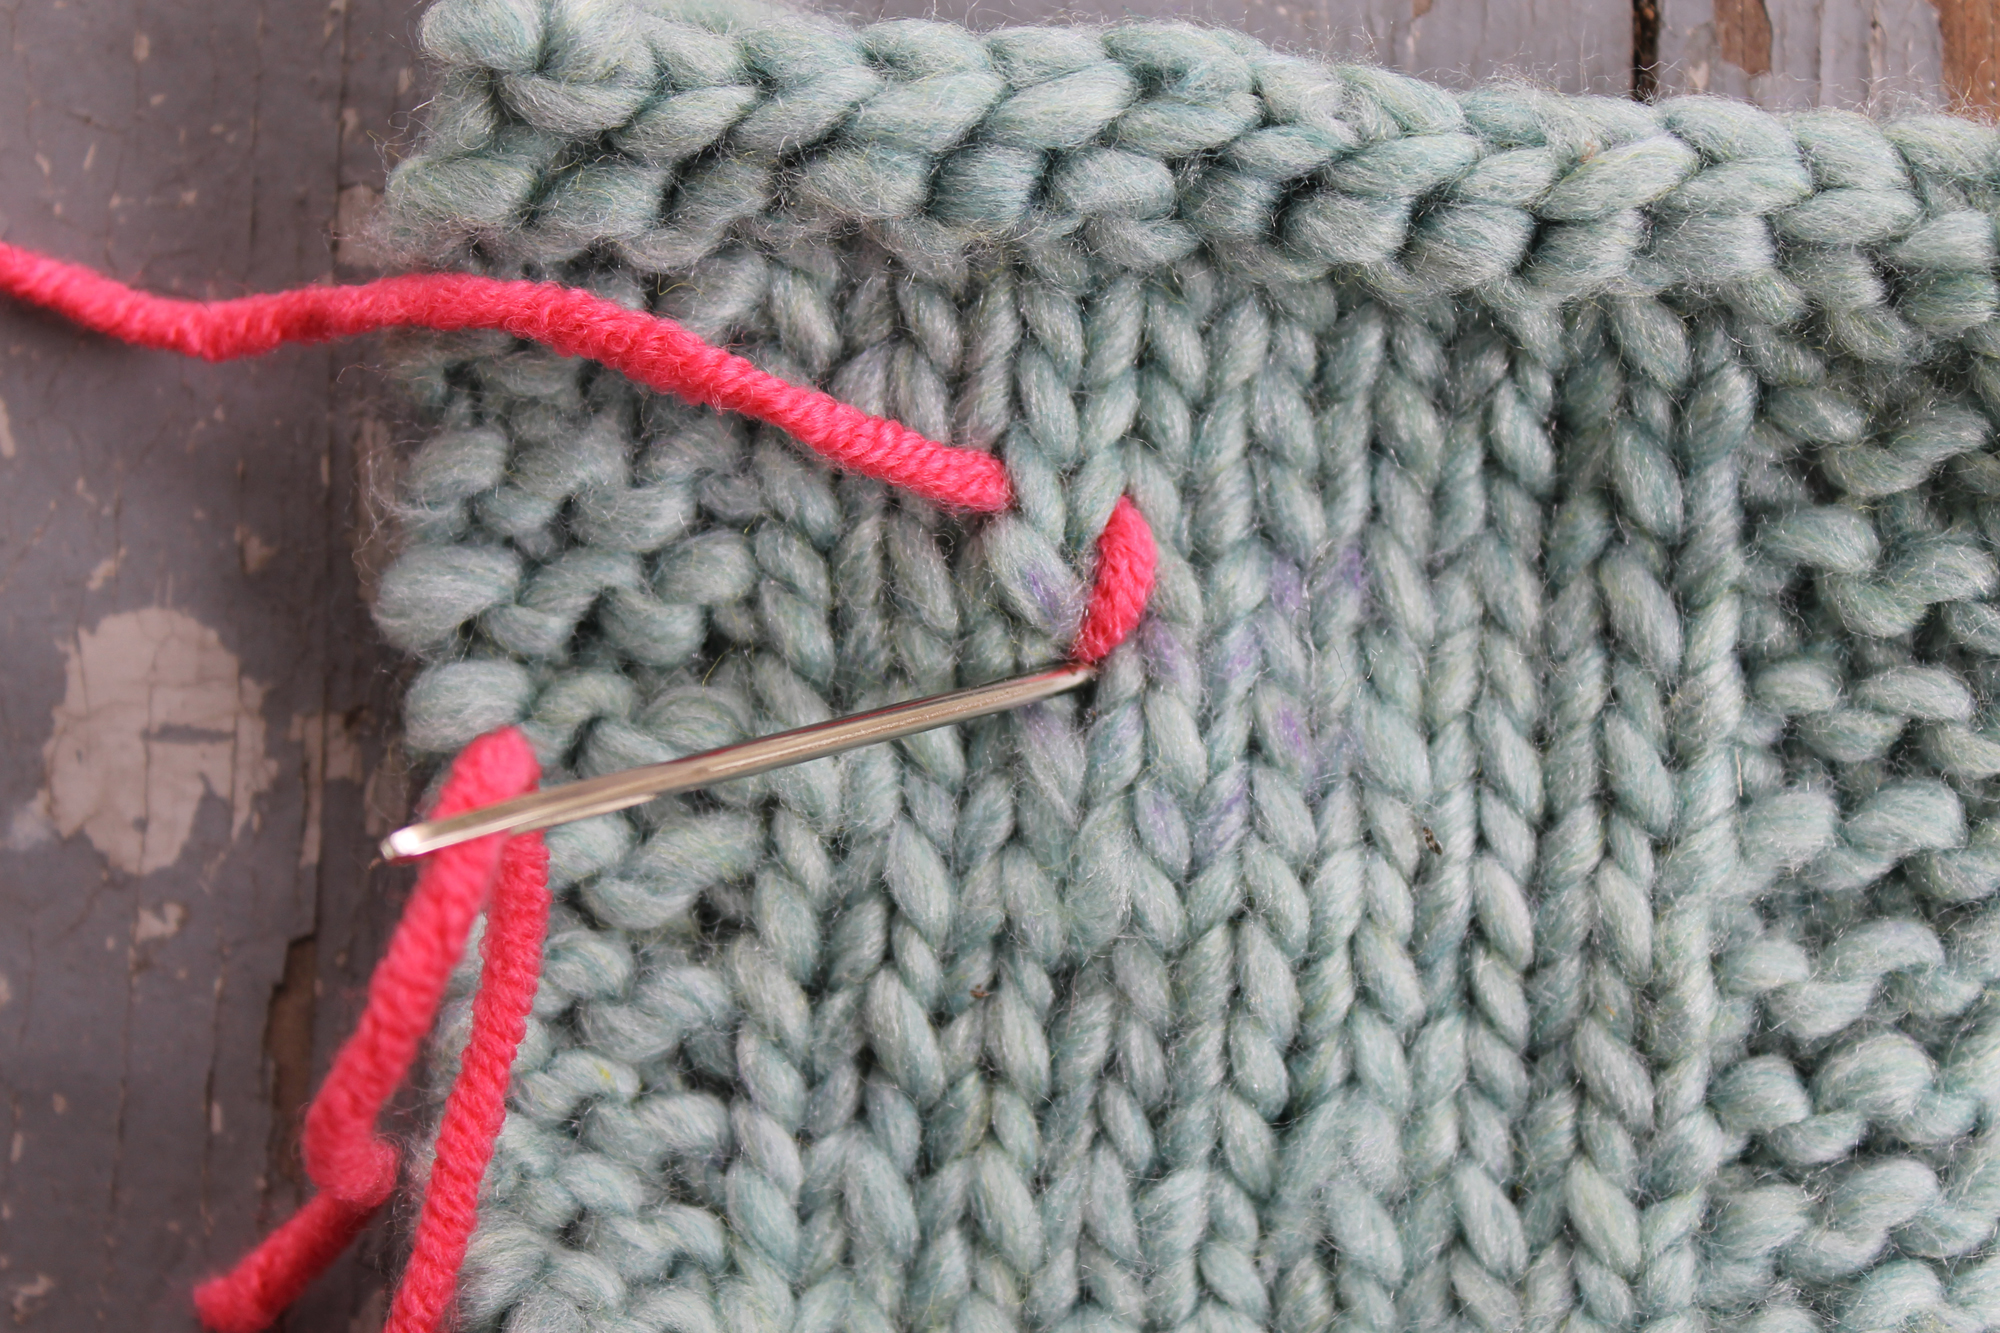
Pull it through, and you’ve just duplicated your first stitch!
Step 7:
To make the next duplicate stitch, bring the tapestry needle up at the bottom of the V of the next stitch you plan to duplicate. I find it easier to stitch back and forth across the piece, but you can also stitch up and down if that makes more sense to you.
Step 8:
Repeat these steps to create as many duplicate stitches as you’d like.
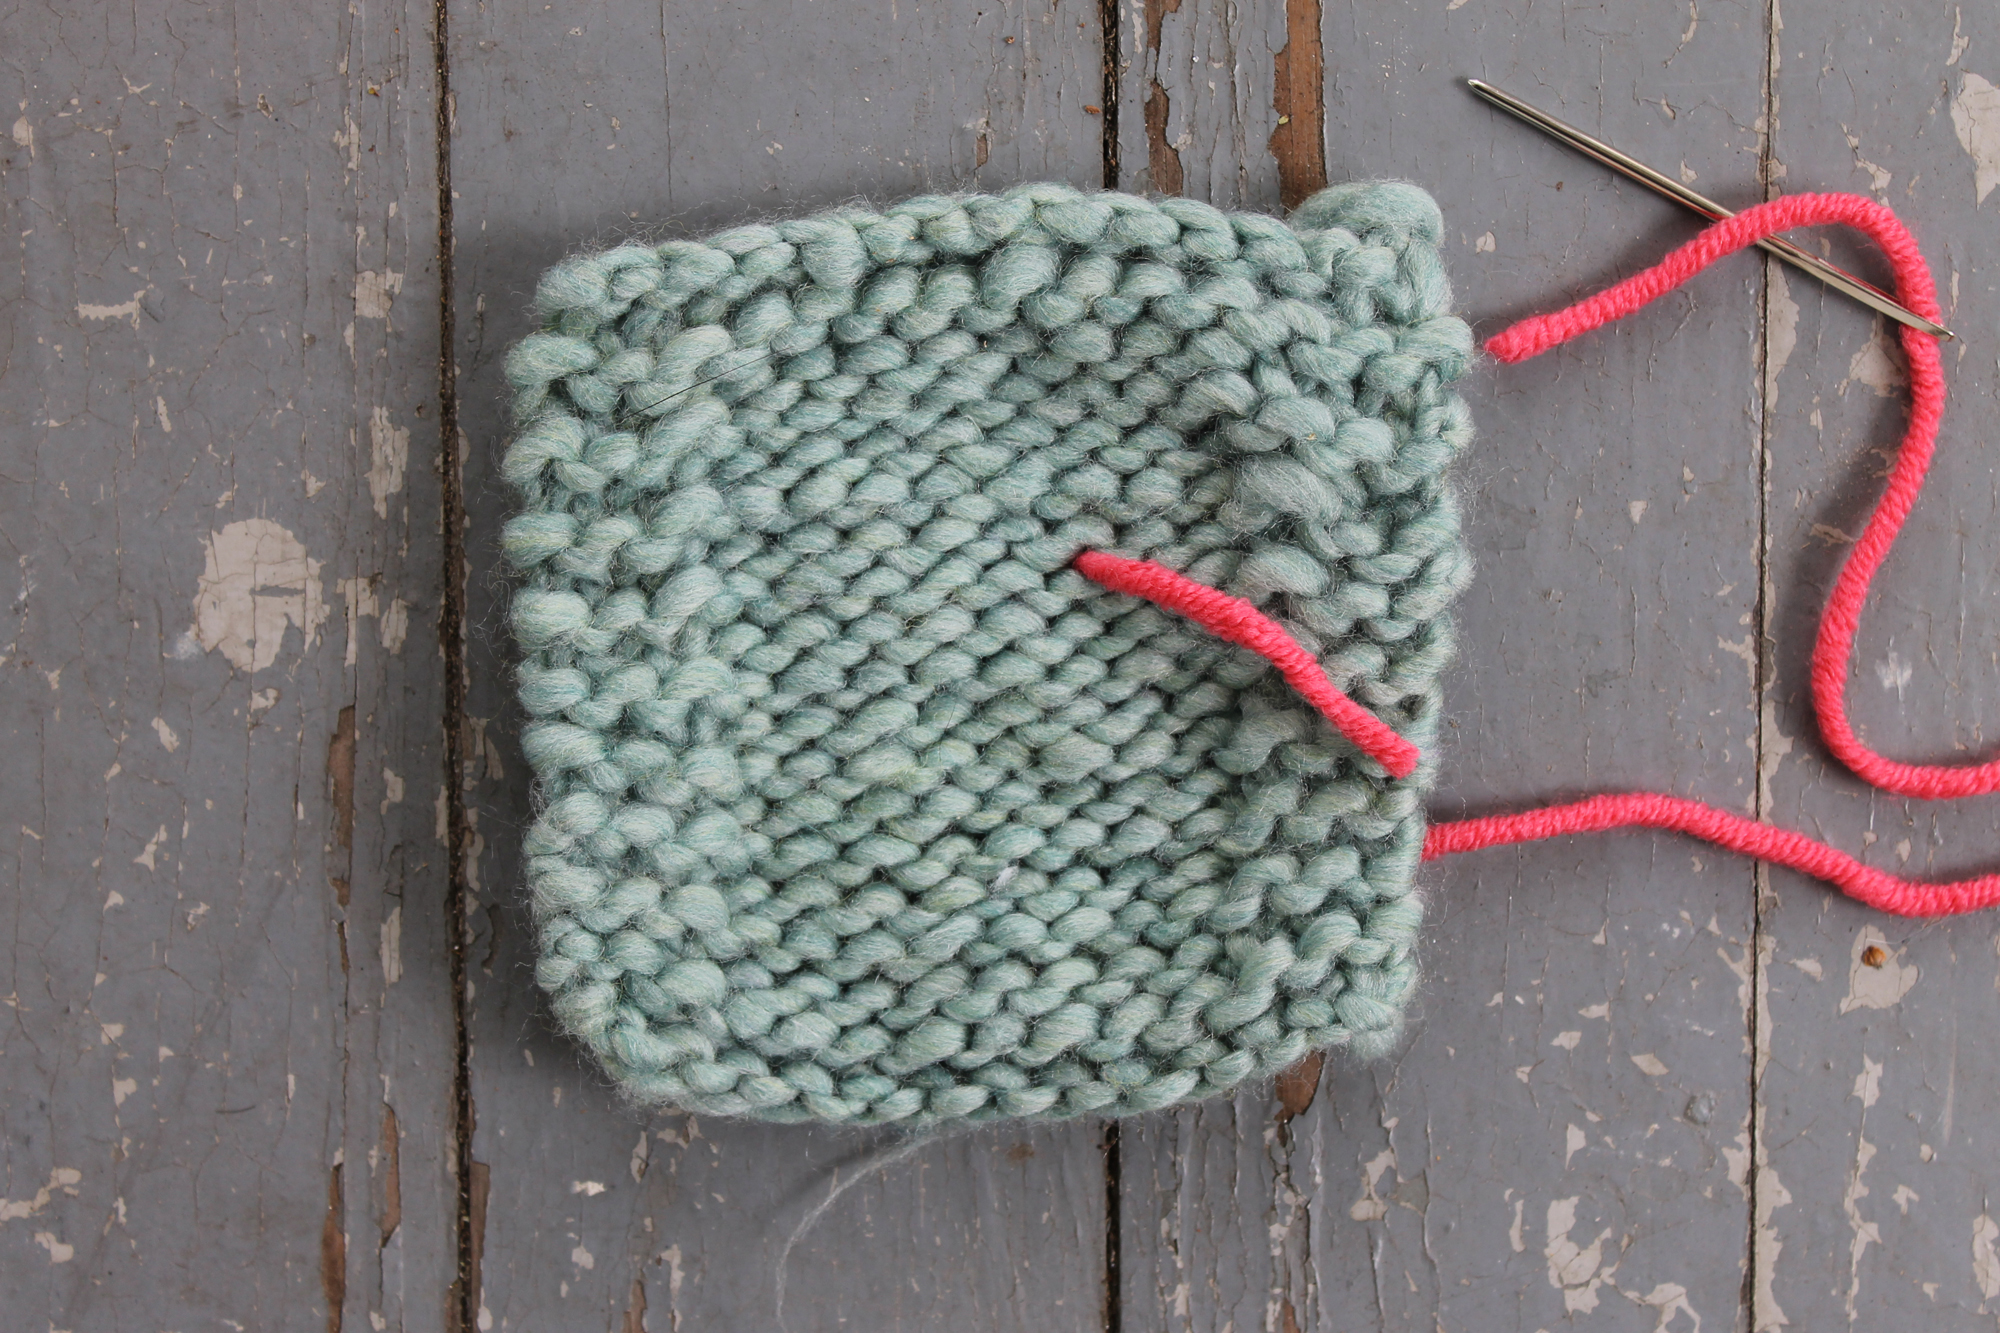
Step 10:
Once you’re finished, cut the yarn, leaving a 1–2-inch tail on the wrong side of the work. Use the yarn needle to weave in those two loose ends on the wrong side of the work.
What kind of design would you like to make with duplicate stitch?
Share tips, start a discussion or ask one of our experts or other students a question.
No Responses to “The Easy Technique to Add Custom Designs to Your Knits”