
Tapestry crochet is so eye-catching with its graphic designs and beautiful colorwork. It may seem complicated, but with these simple tips in hand, you’ll have no trouble creating striking designs.
Ready to try tapestry crochet? Don’t forget these tips!
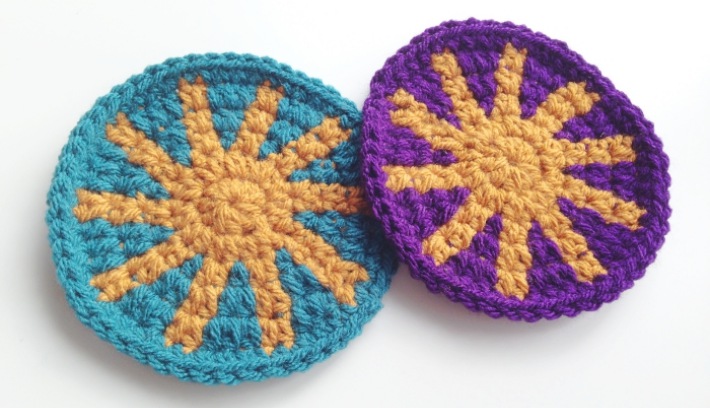
Image by Kathryn Senior
1. Start with a simple two-color crochet pattern
While you can make complex tapestry crochet designs with multiple colors, it’s much easier to learn the technique with just two colors. Try this free tapestry crochet coaster pattern and tutorial to practice the two-color technique in the round.
2. Use one yarn to crochet over the other.
Some tapestry crochet patterns tell you to start carrying your second strand of yarn right before you make a color change. While this does work and saves you a little yarn, the uneven stranding on the back of the work makes the fabric inconsistent in density.
Instead, you can work over the second strand of yarn as you stitch with the first strand, all the way across the row, whether there is a color change or not. This way, your tension is always even and your yarn is always accessible. And, if you want your work to be reversible (which is a nice trait of tapestry crochet), then this trick will hide the “floats” on the back of the work.
3. Change yarn colors in the middle of a stitch.
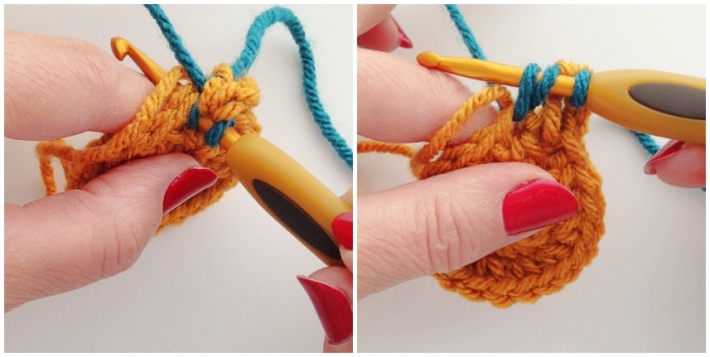
Image by Kathryn Senior
When it’s time to switch colors, you’ll work almost all of the first color. But instead of finishing the stitch as normal, you’ll do the last yarn over of the stitch in the second color.
If you don’t make the change in the middle of the stitch, the color patterning won’t look quite right, so as long as you remember that tip, you’ll remember how to work out that color change.
4. Begin each row the right way.
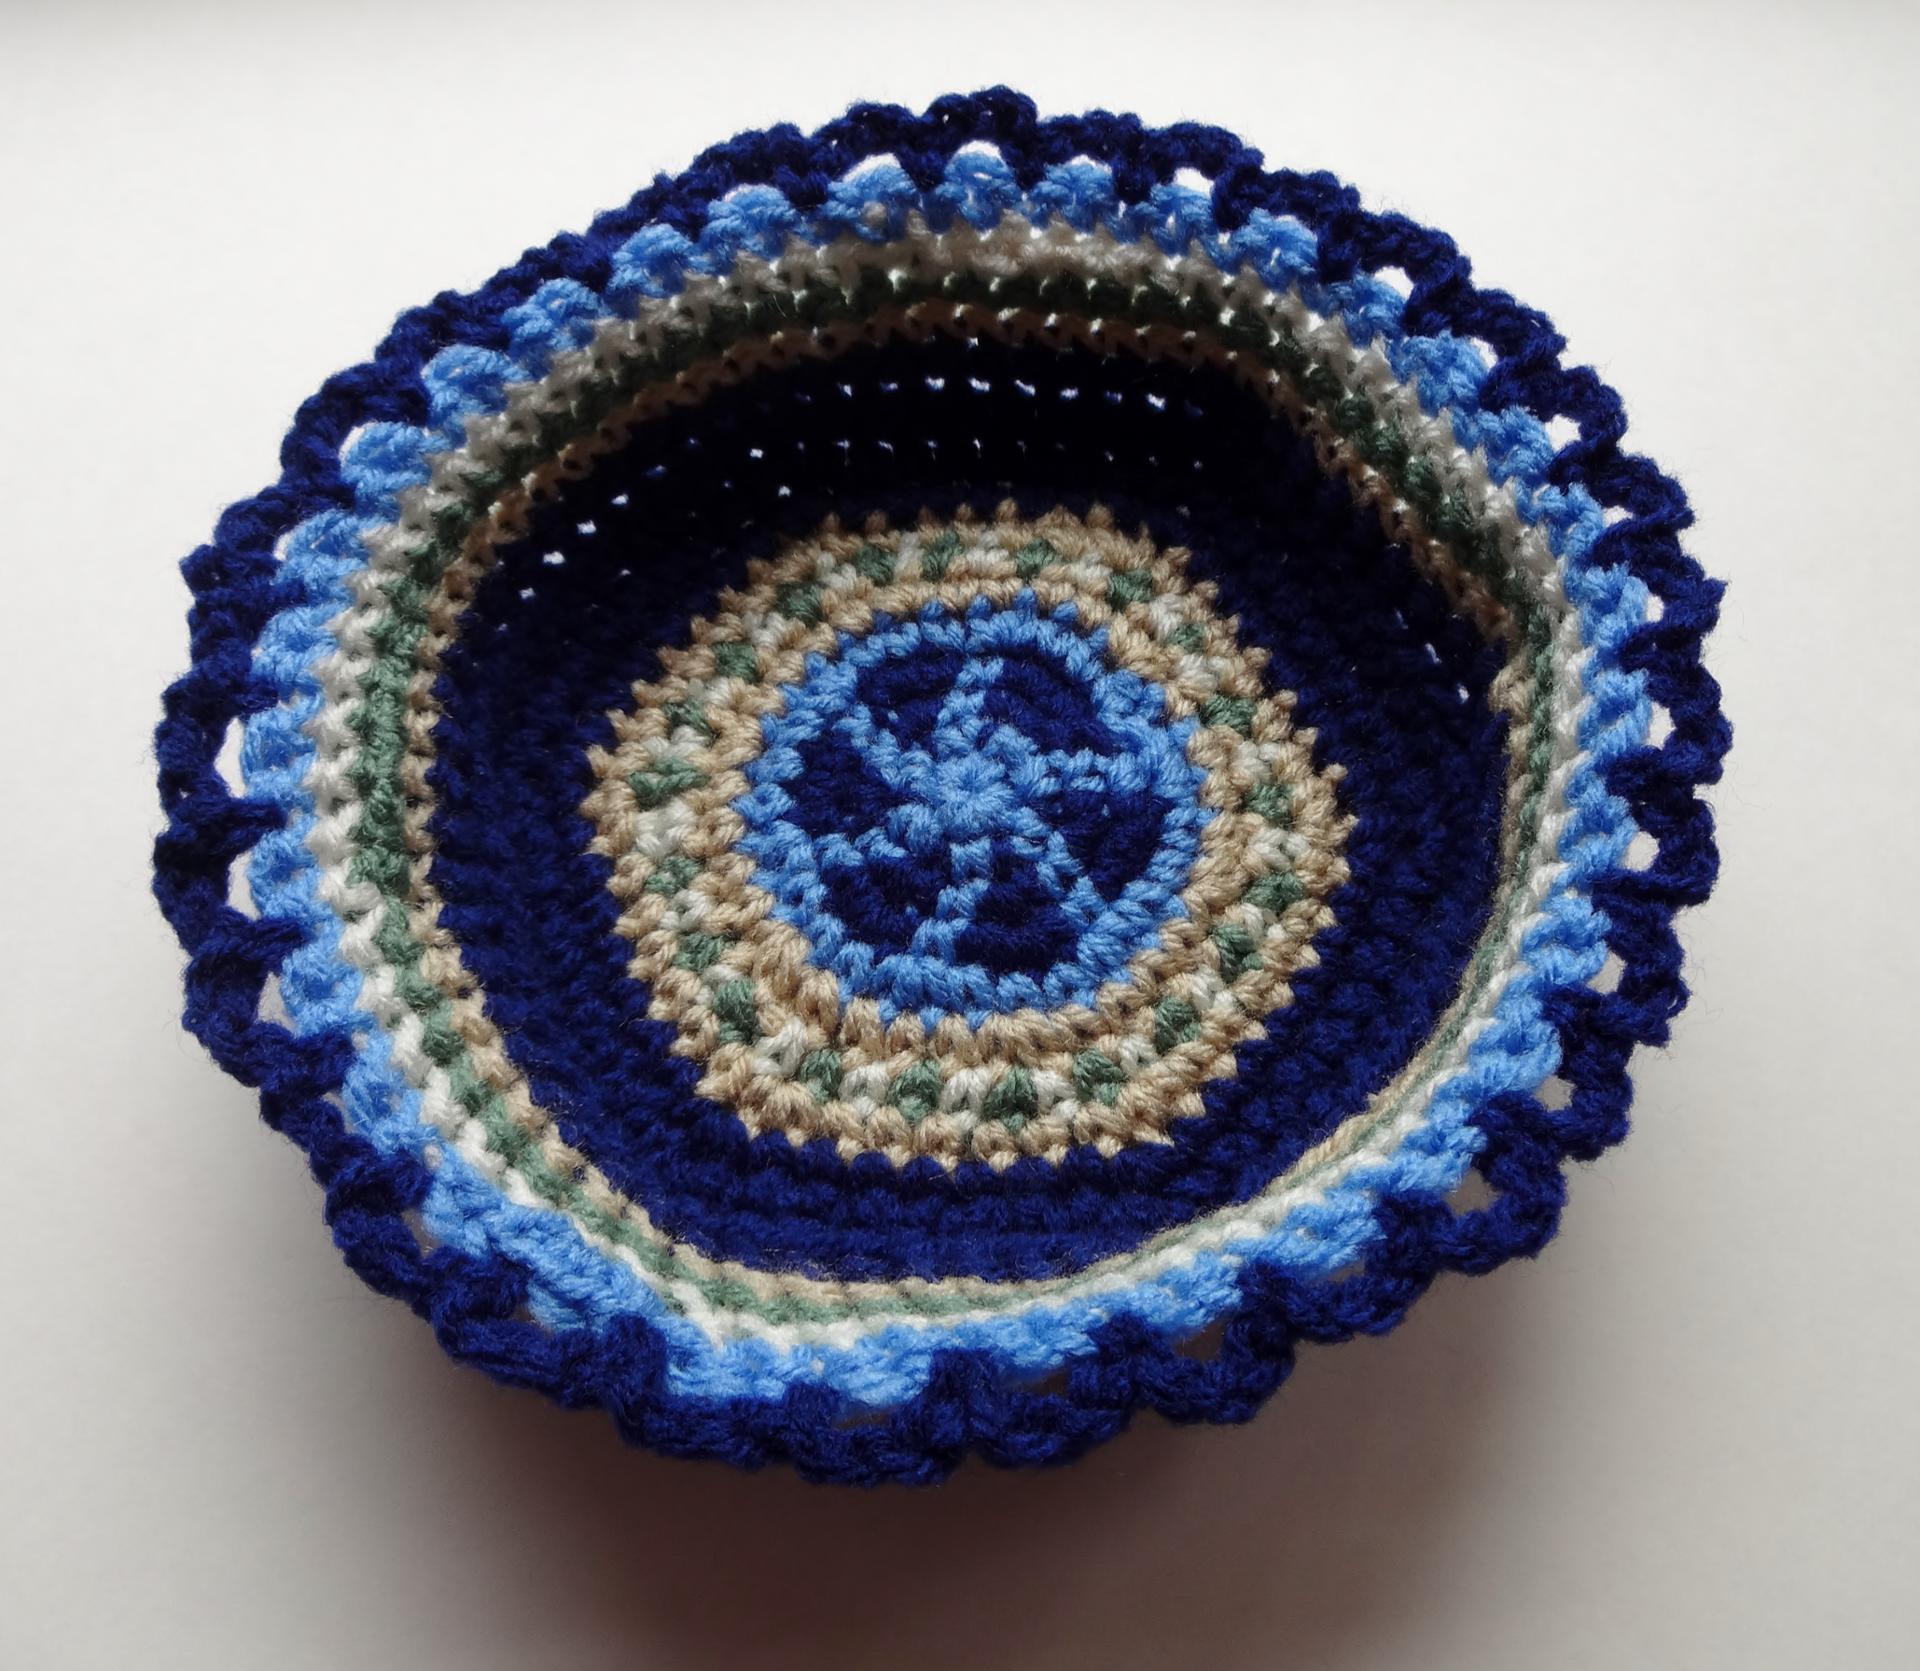
Tapestry Crochet basket pattern by Craftsy member Stitching Stone Design
The way you begin each row in tapestry crochet differs slightly depending if you’re on the right side or wrong side of the work.
- On the right side, hold the second yarn behind the work before you crochet over it with the first yarn.
- On the wrong side, hold the second yarn in front of your work before crocheting over it.
This ensures that the right side of the work is the neater, more polished side. While the image will look great on either side, you get the best finished look if you always begin the row the right way.
This generally is only an issue when working flat. When you’re working in rounds, you’re always working on the right side of the work. Additionally, if you’re ambidextrous, you can try crocheting only the right side: Work a row from right to left and then work the next row left to right.
5. Keep it tight!
Normally a loose tension won’t make a big difference in the finished pattern. However, in tapestry crochet, you really need to keep those stitches tight. Otherwise, the second strand of yarn will be visible through your stitches.
As you work each row, periodically pull gently on the background yarn to get it a bit tighter. That said, if you pull it too tight, your fabric might scrunch up a bit. You want to pull it taut, but not so much that the fabric crinkles. Over time you’ll learn the perfect tension for tapestry crochet.
6. Try a “yarn under” instead of a “yarn over.”
When you yarn over, your hook goes under the yarn strand and you grab the yarn from underneath. But you can also use a “yarn under,” in which you put the hook over the yarn and grab the yarn from above it. This has a subtly different effect in tapestry crochet. Check out this explanation for how this technique can create sharper color transitions and a more upright design.
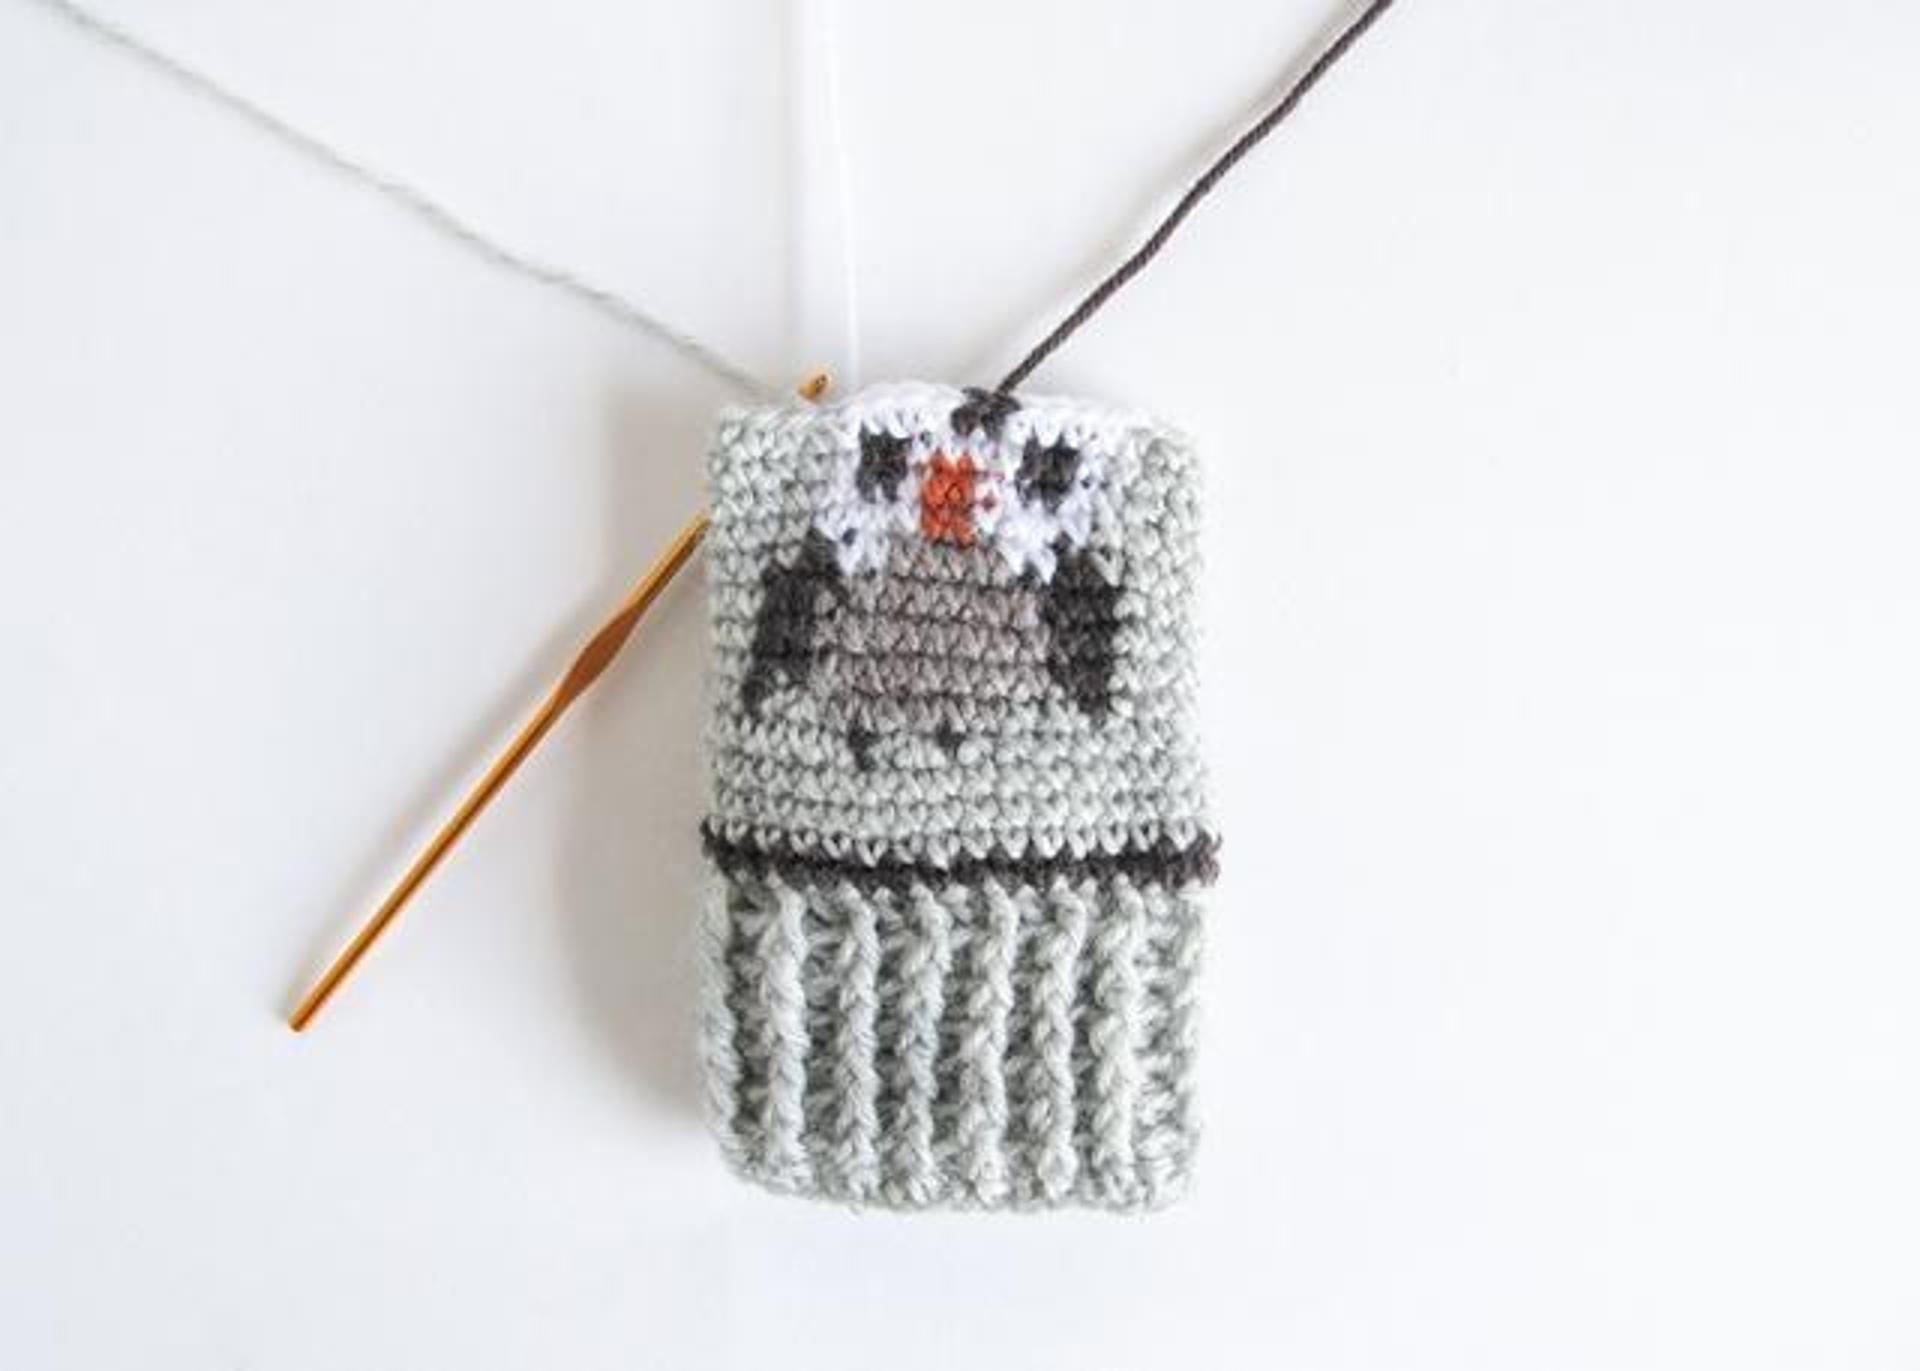
Owl Fair Isle Mitts crochet pattern image by Craftsy member LTBlogged
7. Keep your yarn separate.
When you work with multiple strands of yarn, the yarns can get tangled. To avoid a mess of “yarn barf,” keep each skein of yarn. For example, when working with two colors, always keep one color to the left and one color to the right:
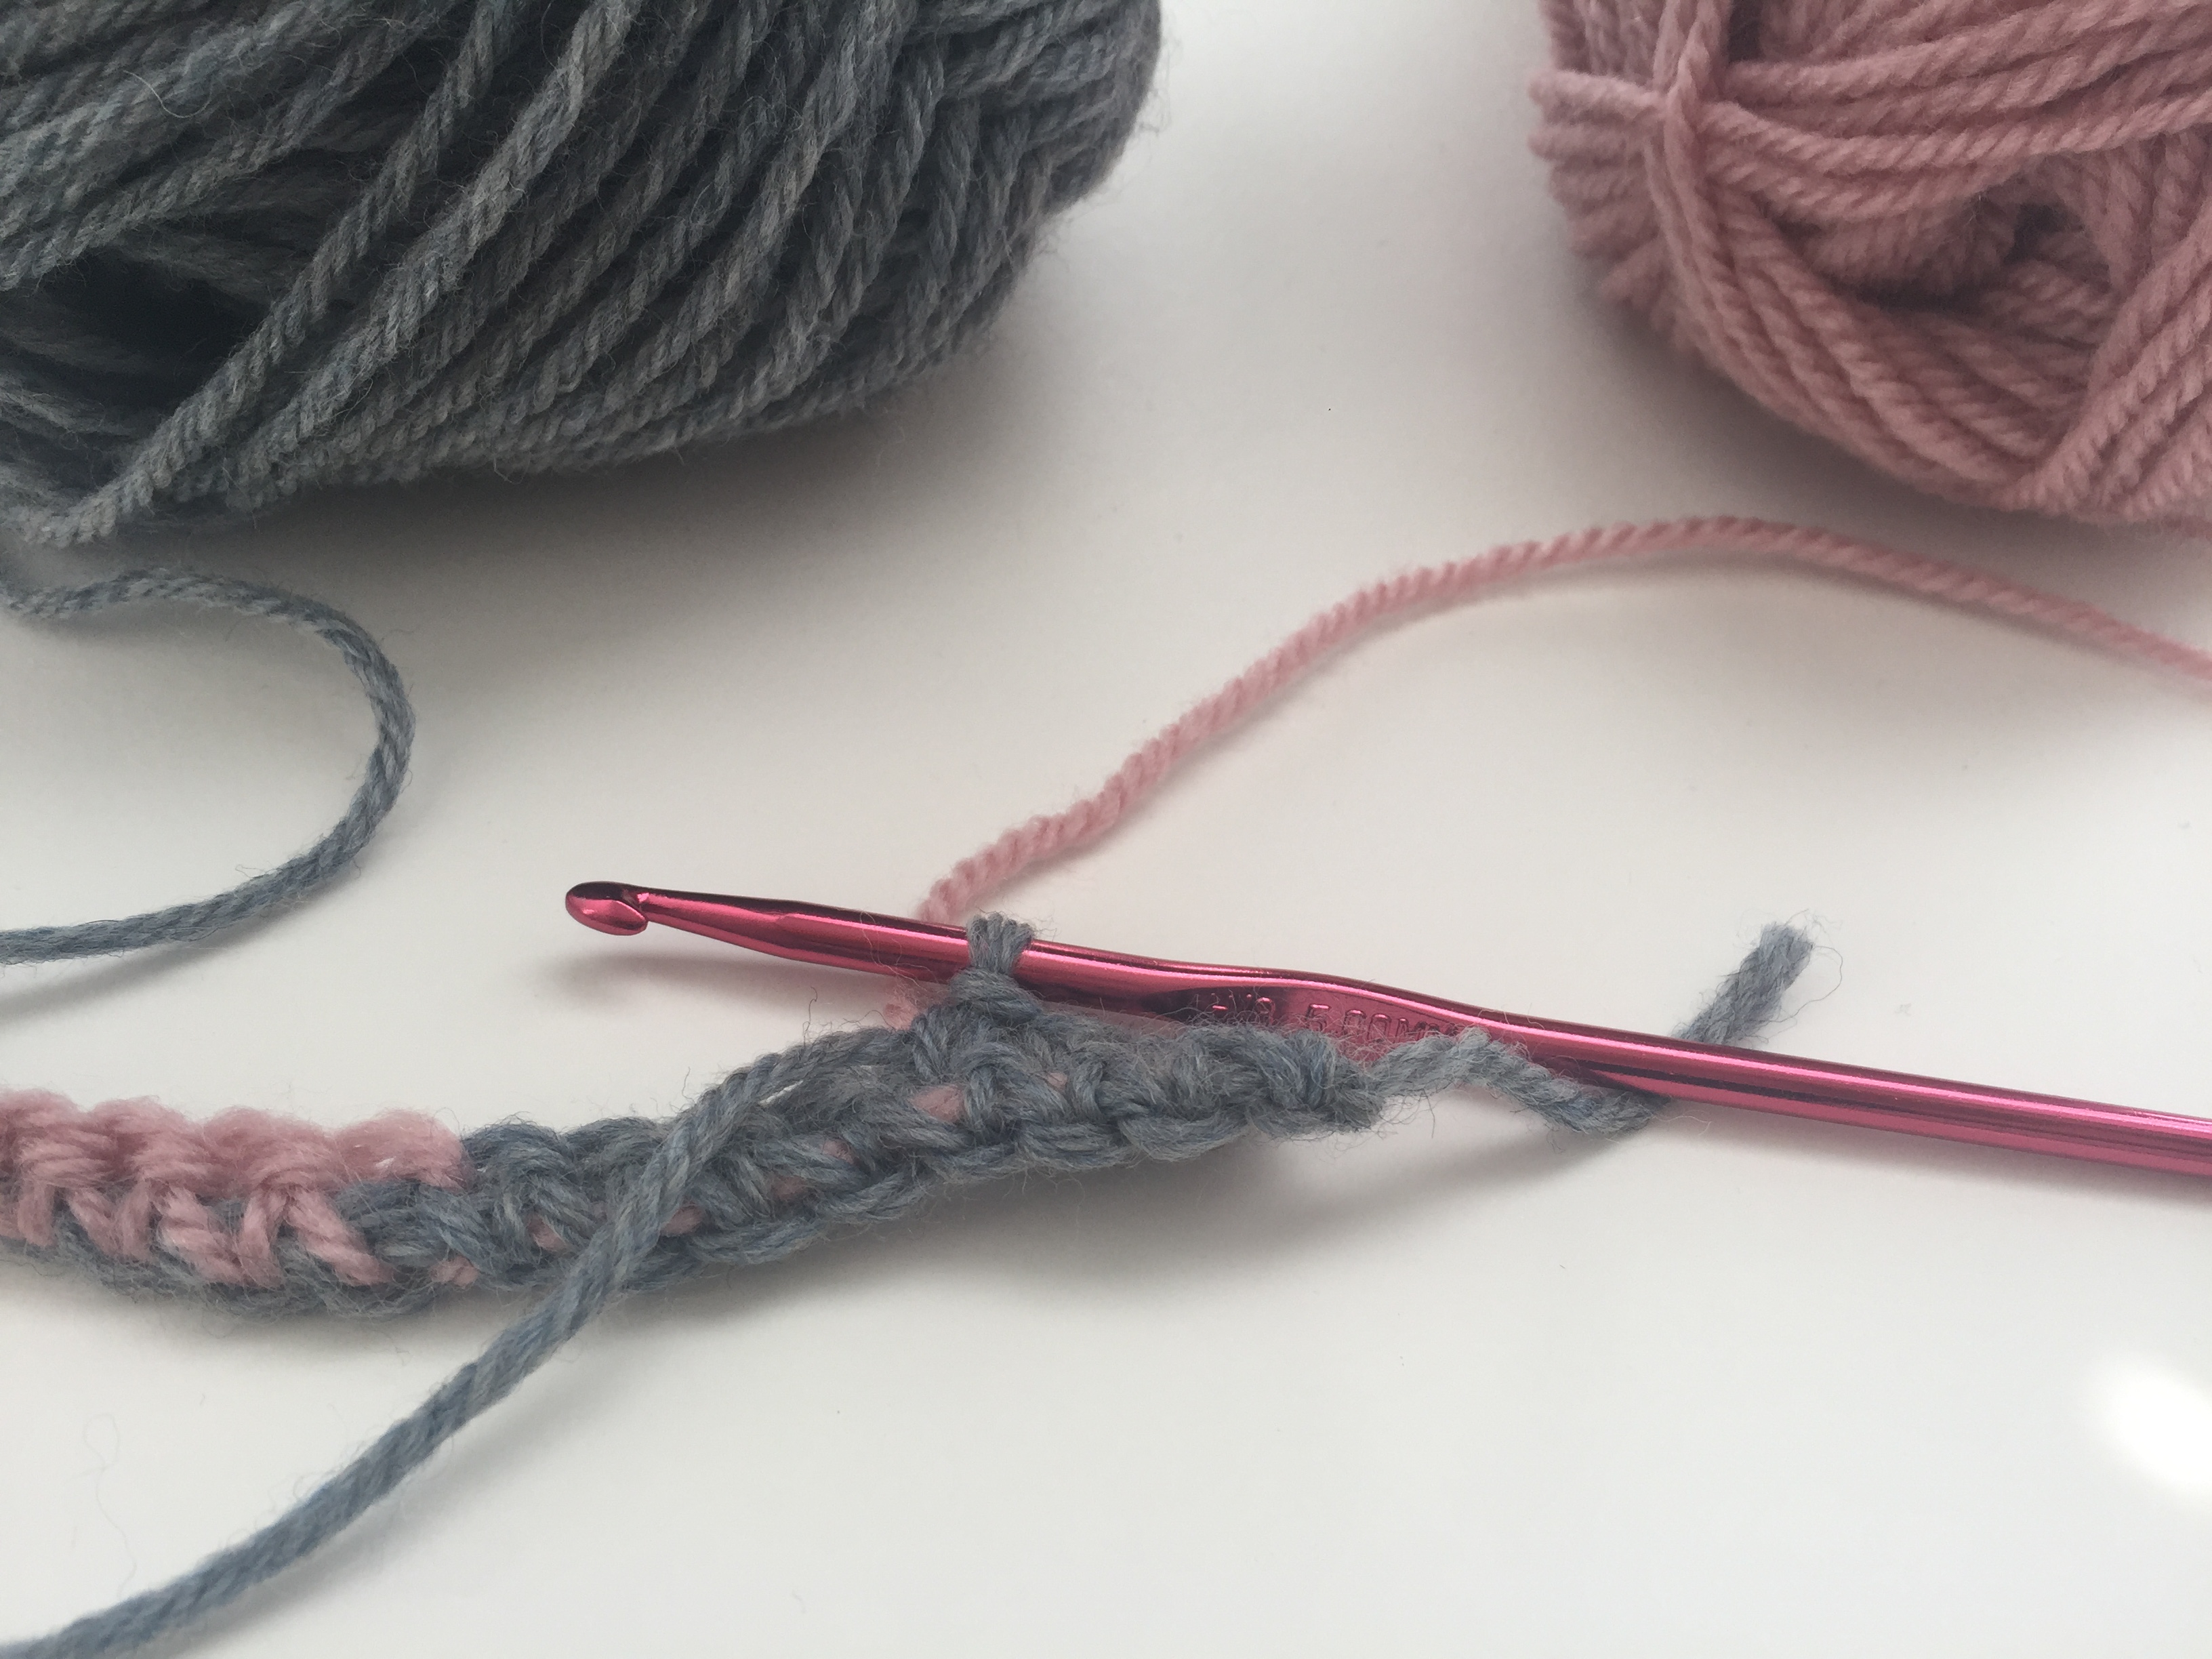
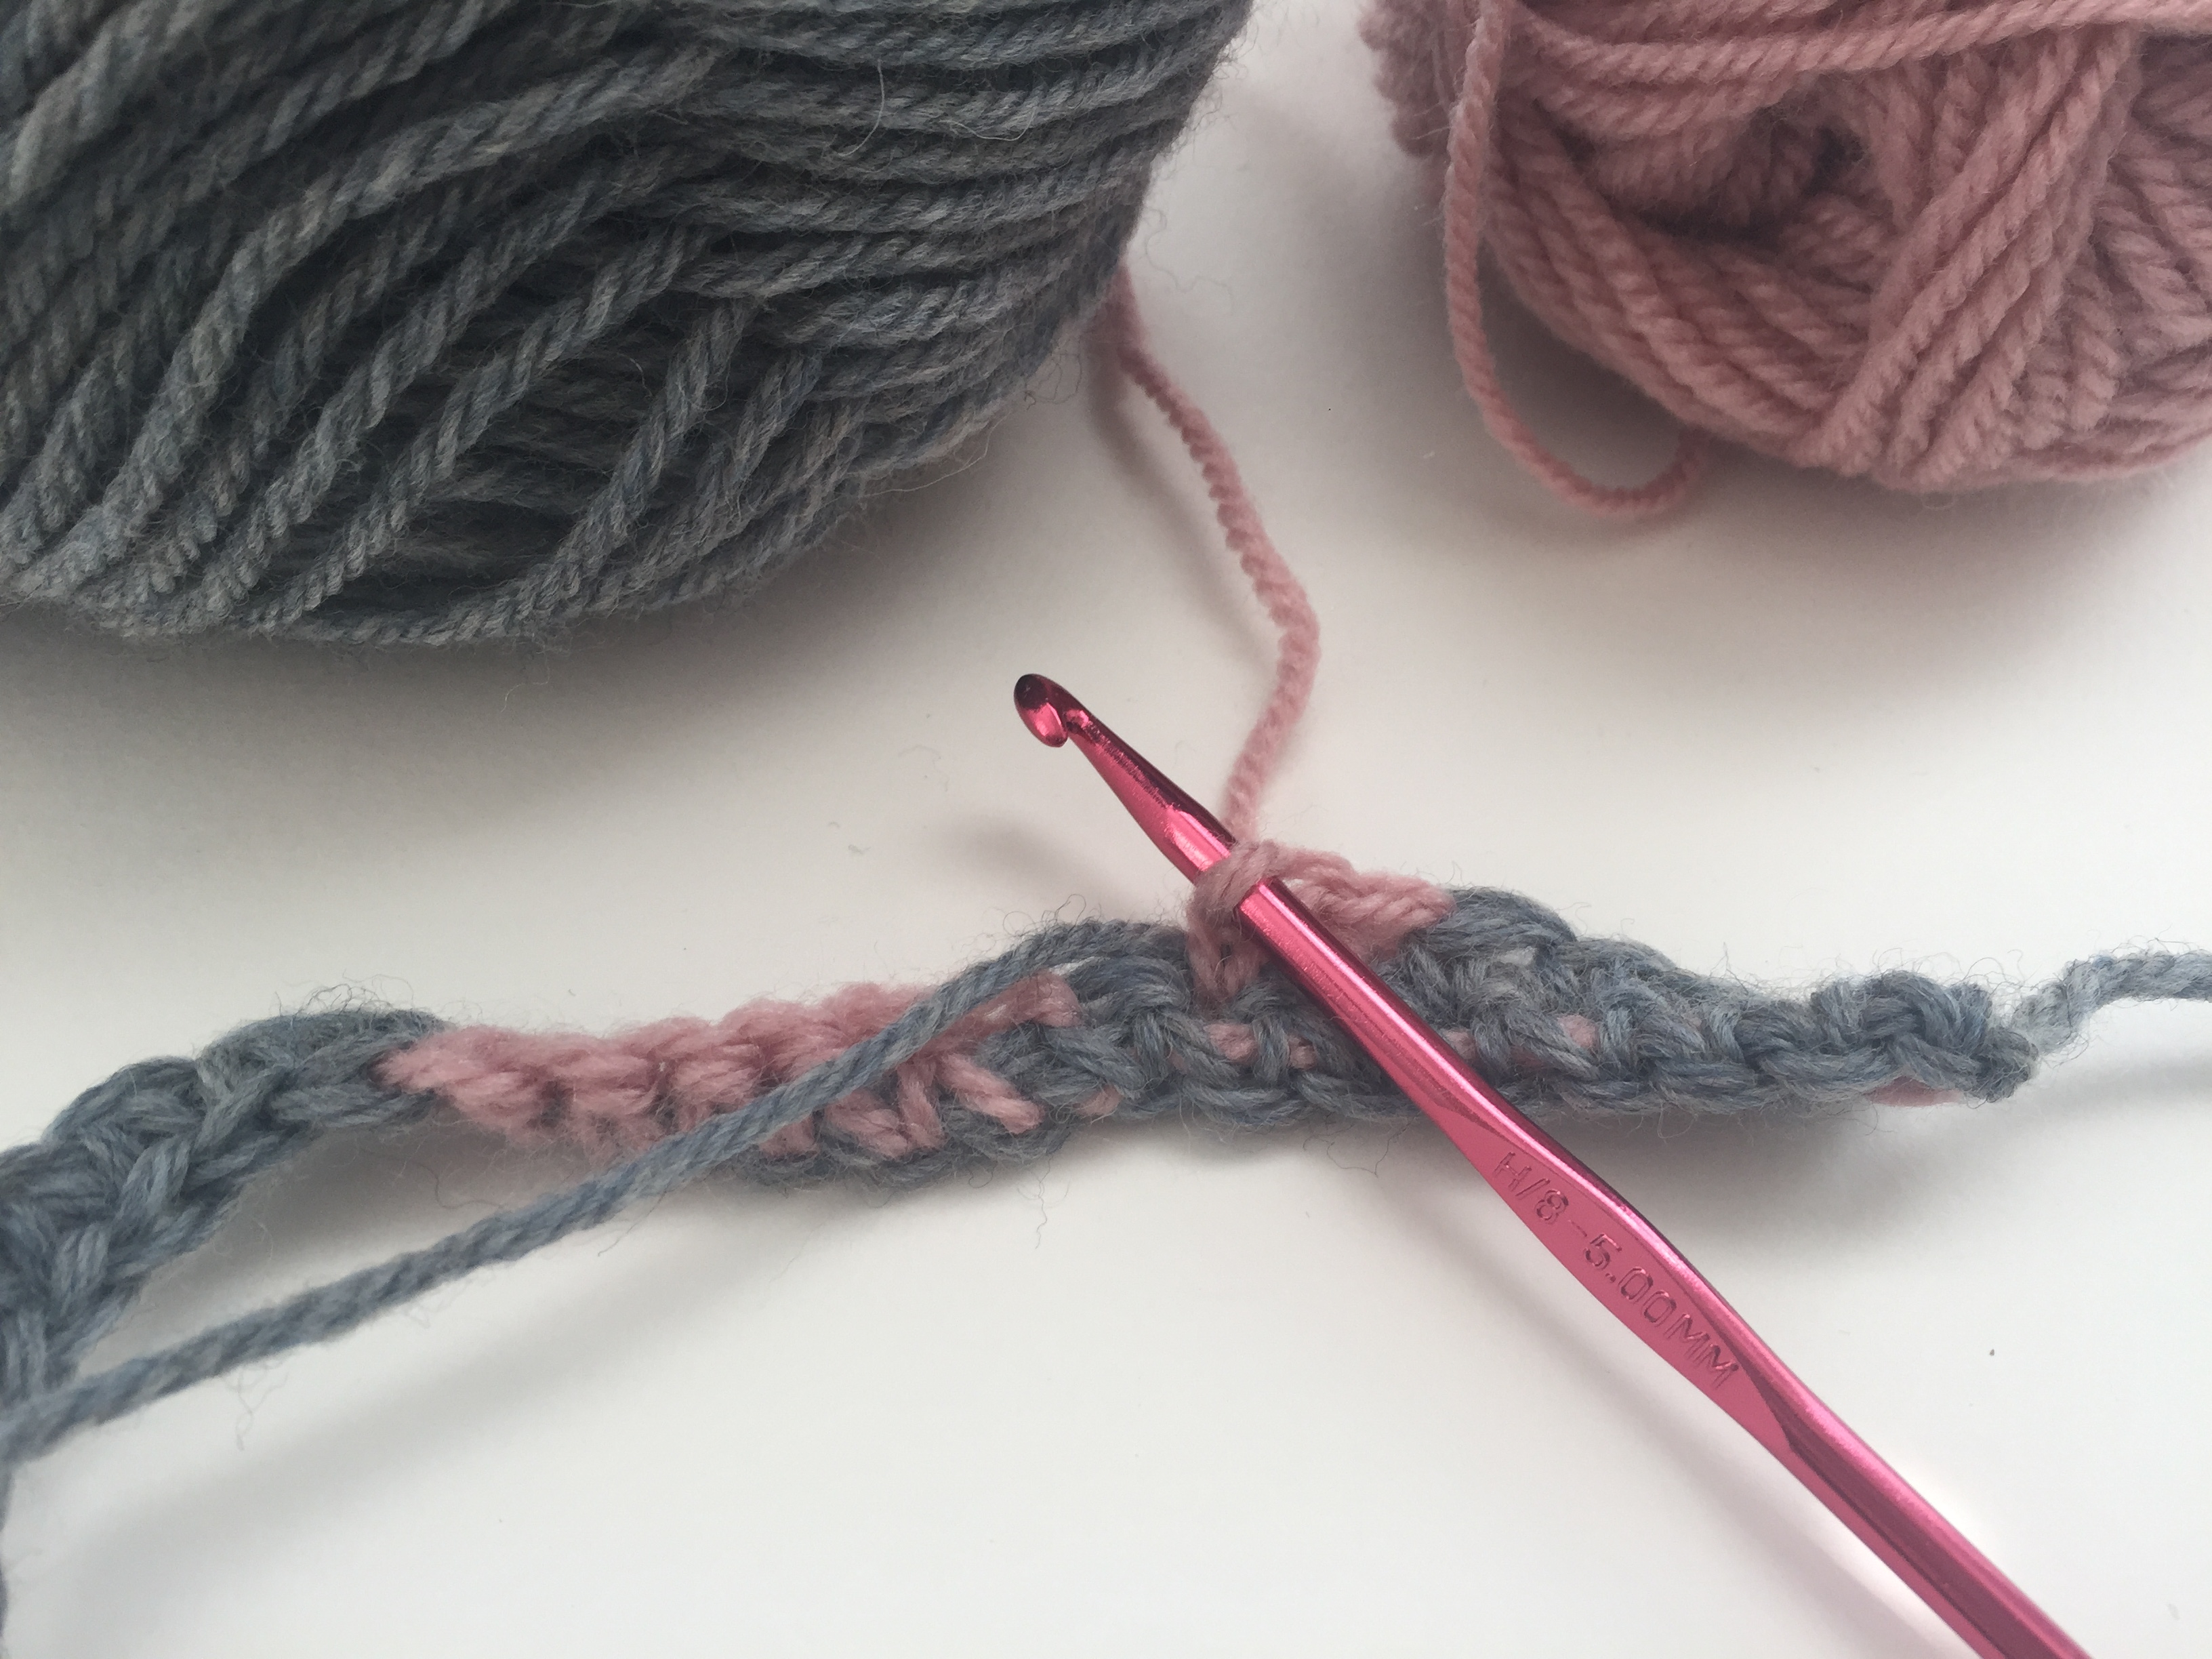
Images by Kathryn Vercillo of Crochet Concupiscence
When changing colors, always pulled forward the color on the left, and always pull backward the color on the right. You can see in the two photos above that the gray is always in front and the pink is always in back, regardless of which one is the color being used to crochet and which one is being crocheted over.
(By the way, Bluprint instructor Karen Whooley has a great guide to this in class Fair Isle Crochet: Demystifying Colorwork.)
8. Mark off rows on your chart as you go.
Tapestry crochet patterns usually have graphs or charts, in addition to or instead of a written pattern. One square equals one stitch, with odd rows worked right-to-left and even rows worked left-to-right (vice versa if you’re a left-handed crocheter).
As you work up the graph, it’s a big help to mark off each row so that you don’t repeat rows. You can make a checkmark next to the finished row, highlight it when you’ve finished it, or use a second piece of paper or sticky note to cover up the rows you’ve already worked.
9. Try inventing your own crochet pattern.
Tapestry crochet is a great niche for testing out your own skills as a pattern designer! Start with a piece of graph paper and two different colors of crayons or colored pencils. Use the two colors to color in the blocks and make a design you like. Take your finished image and use it just like any other tapestry crochet chart.
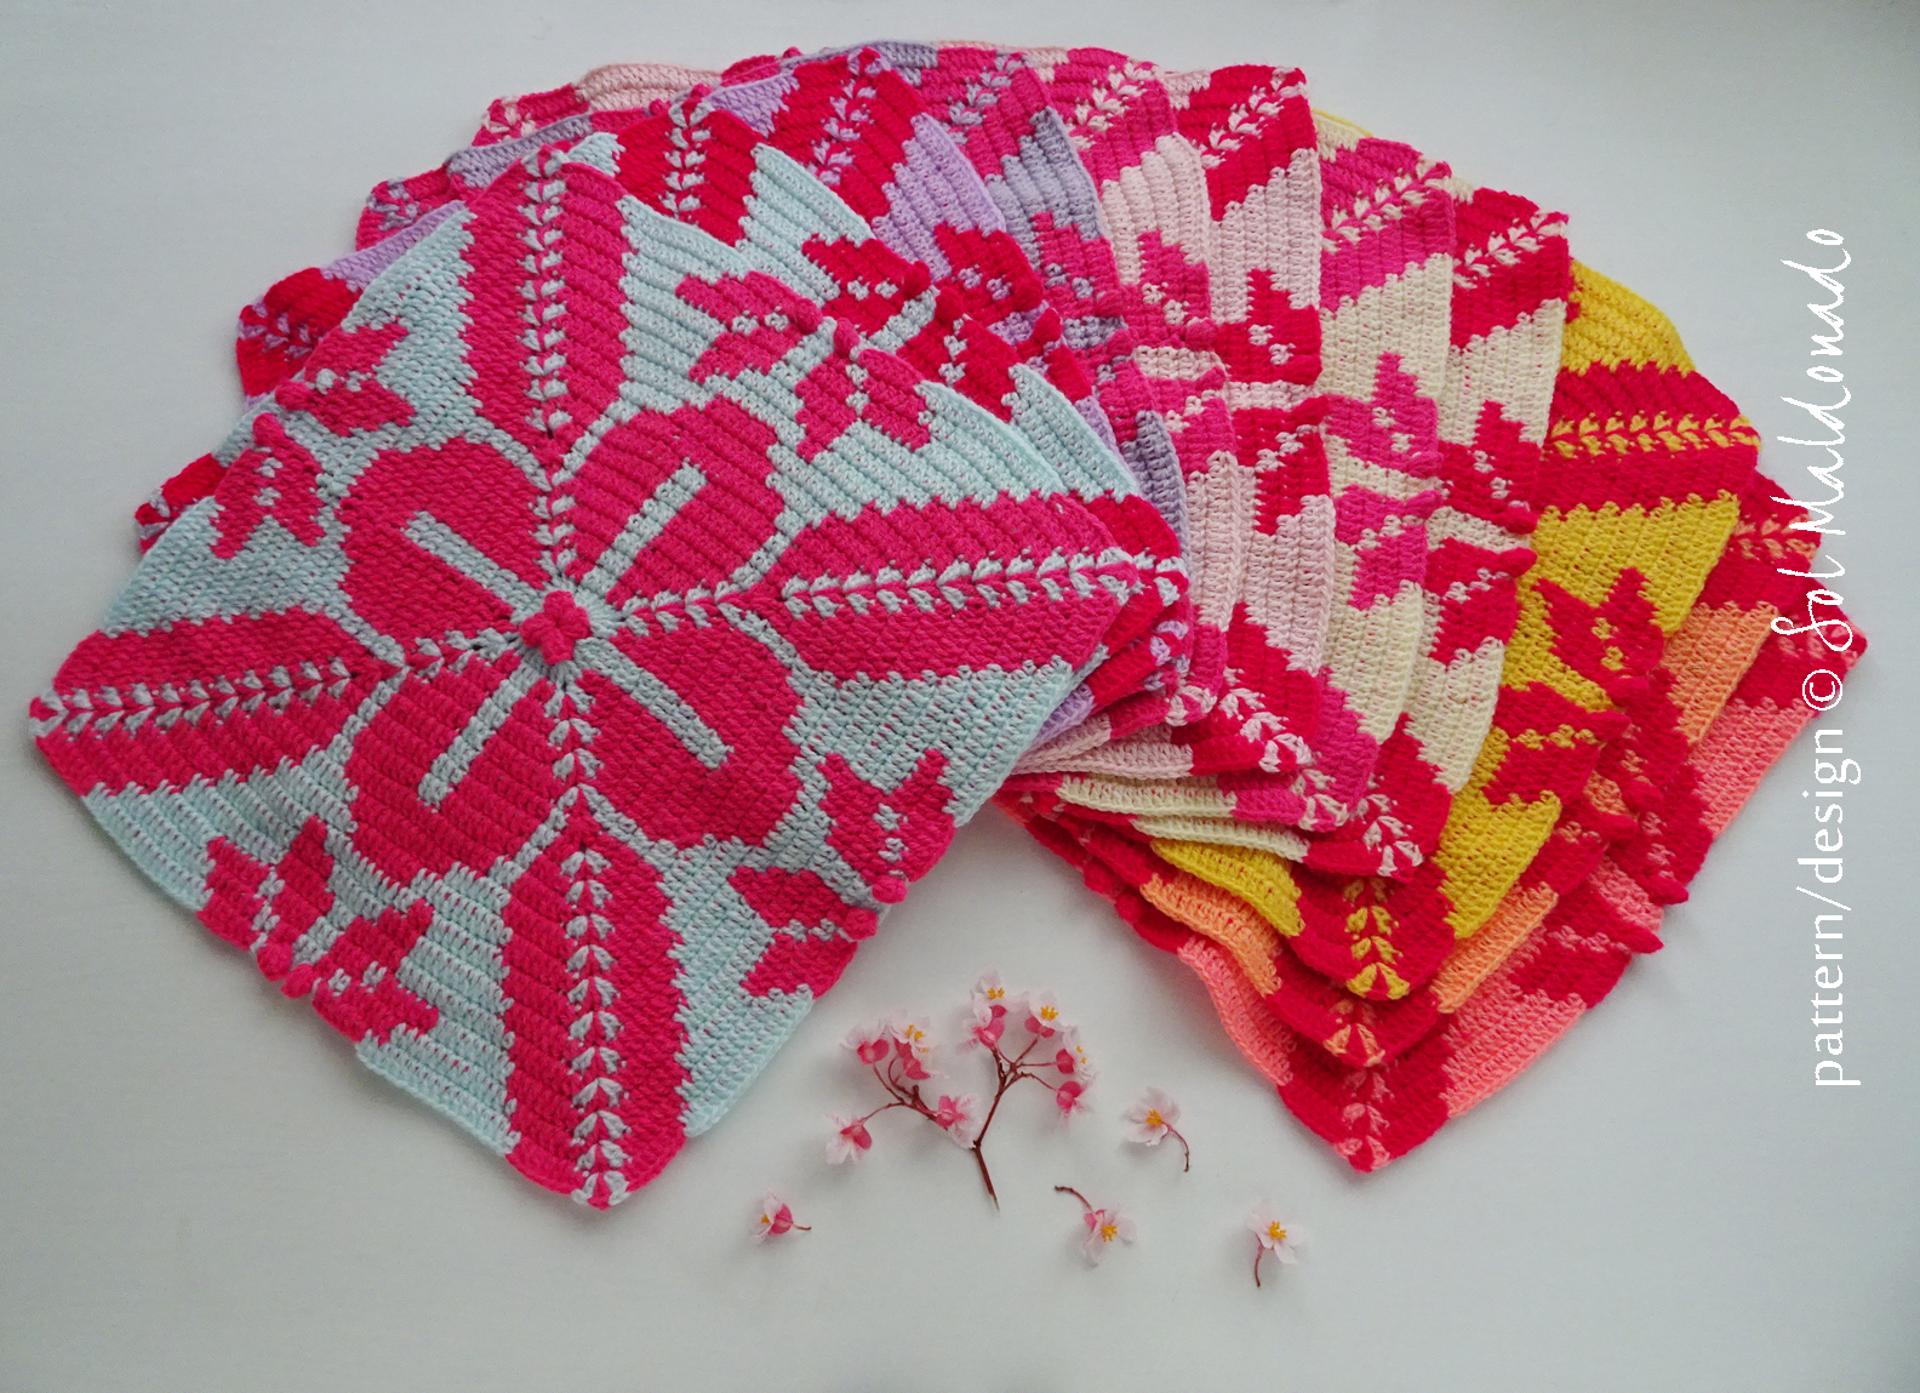
Aloha Tapestry Crochet Pattern Craftsy member bySol
10. Try felting your tapestry crochet
Tapestry crochet is a great niche for felting yarn because it creates such beautiful geometric patterns. However, you should know that the way that you build tapestry crochet fabric means that it does not felt evenly. It will shrink horizontally more than it does vertically. If you want to try felting in tapestry crochet, try it with a pattern specifically designed to be felted.
Share tips, start a discussion or ask one of our experts or other students a question.
Already a member? Sign in
No Responses to “10 Quick Tips for Better Tapestry Crochet”