
There are some fine quality texturing hammers available for purchase, but my favorite way to add texture to metal is true to the DIY-er in me: using tools readily available on the jeweler’s bench and around the home. I’ve accumulated a few tools that I love to use for texture on metals. I’ll show you how I use them to create unique pieces for jewelry designing.
Free for you!
Learn how to shape, secure and finish metal jewelry using a micro torch in the completely FREE mini-class Micro Torch Basics. Sign up today for expert instruction on how to craft a stack ring set and a beautiful band ring you’ll love to wear and gift.
Tools for texturing metal
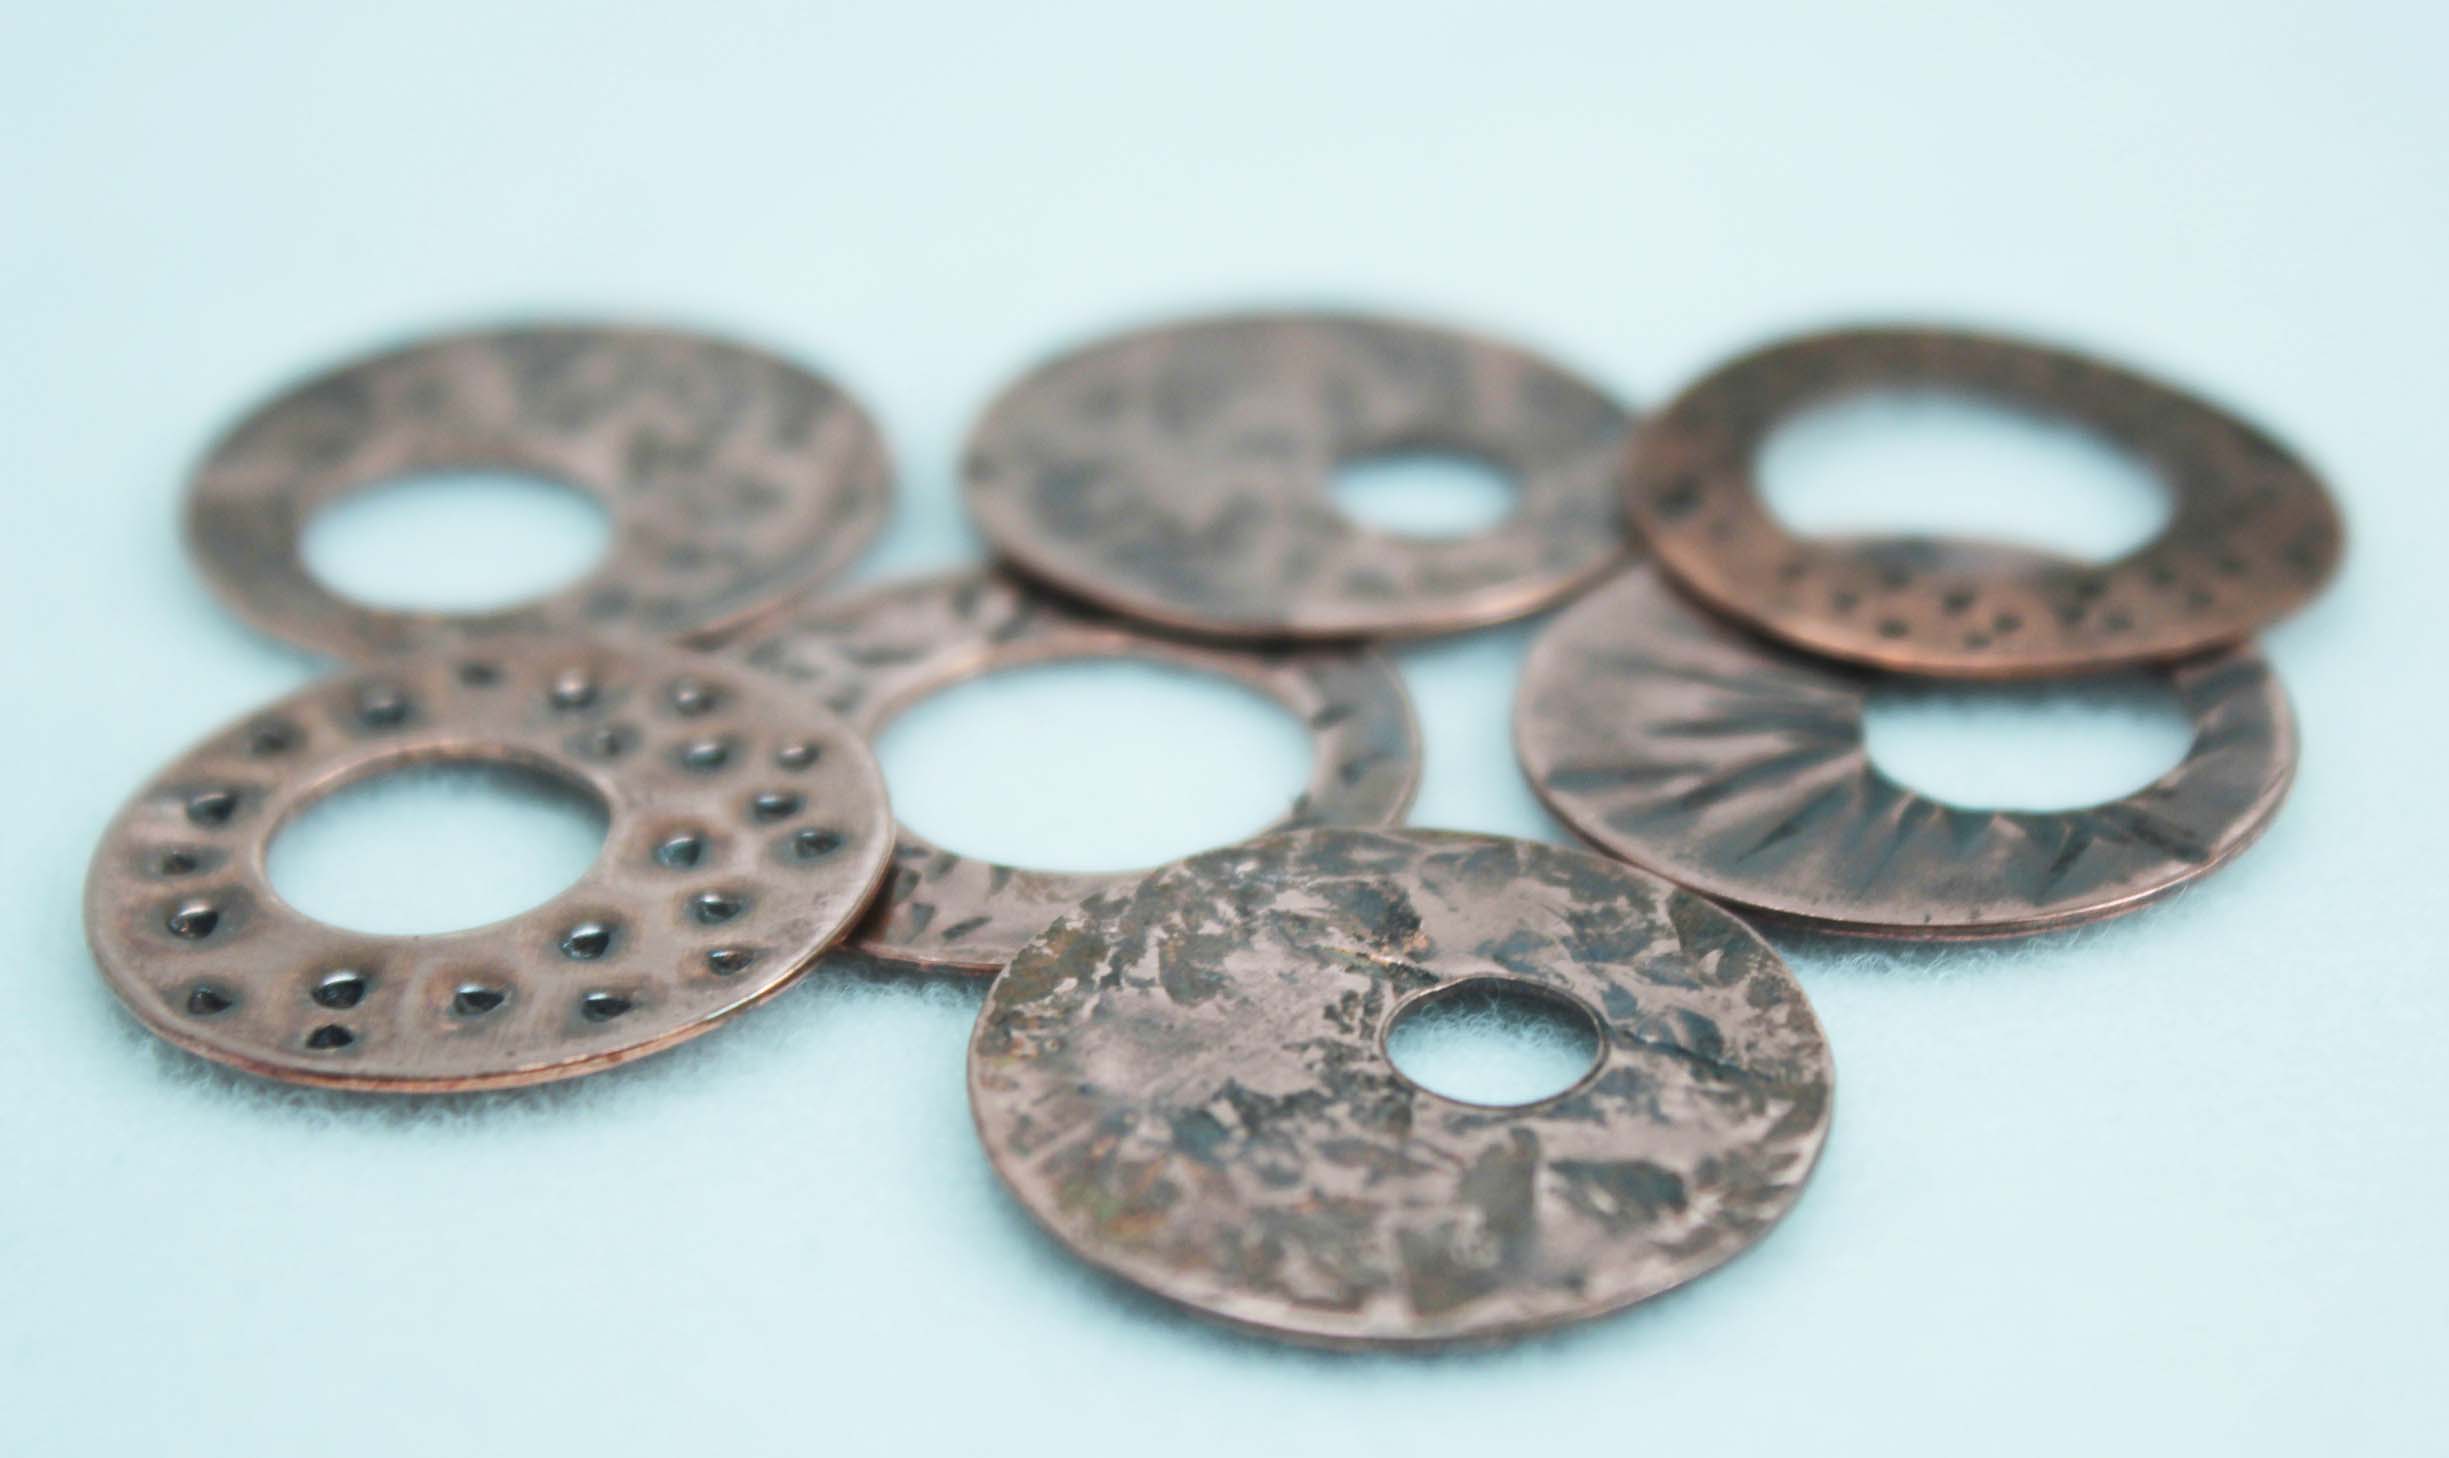
Sterling silver, silver-filled metal and copper are materials suitable for adding texture. Copper, a soft, inexpensive metal, works particularly well.
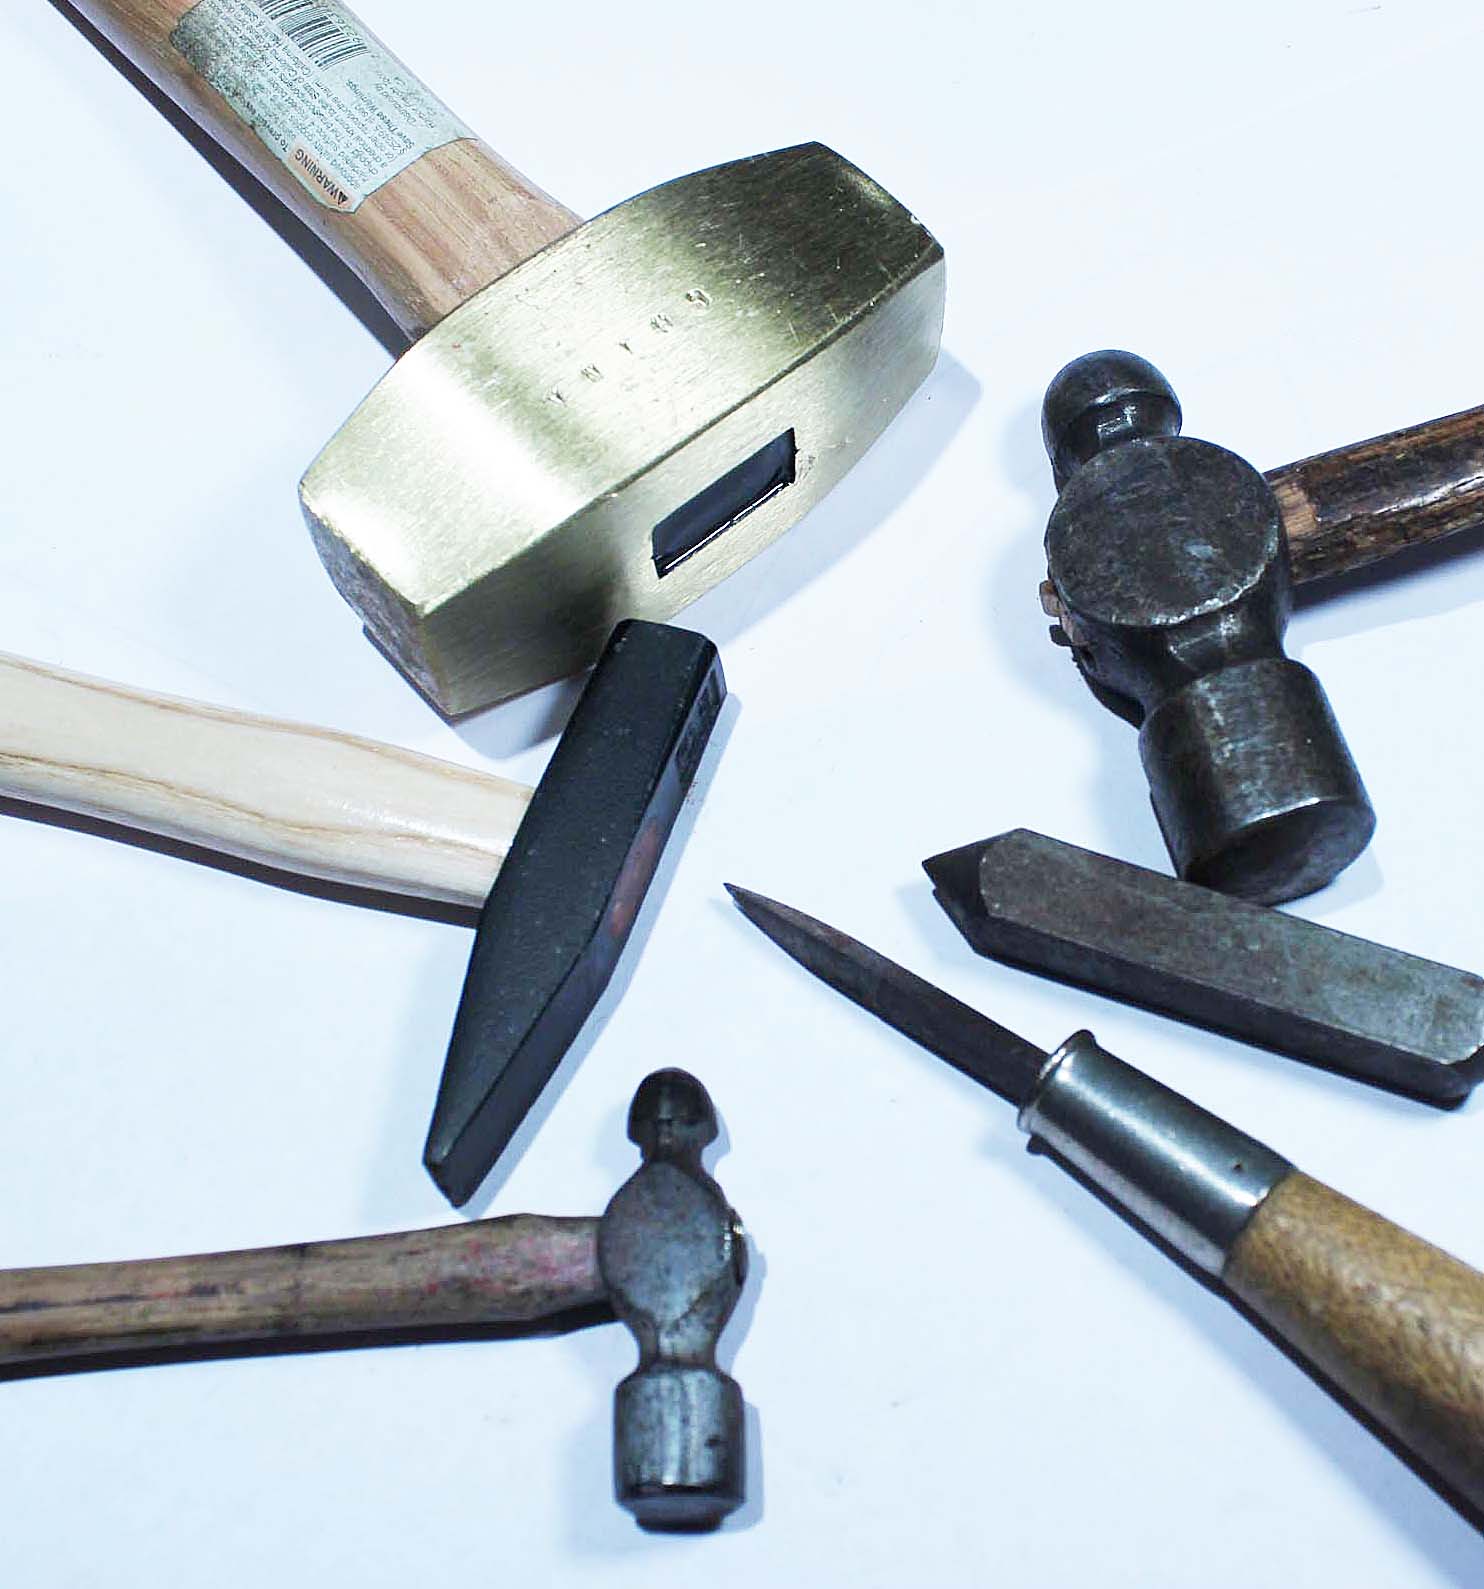
Ball peen hammer
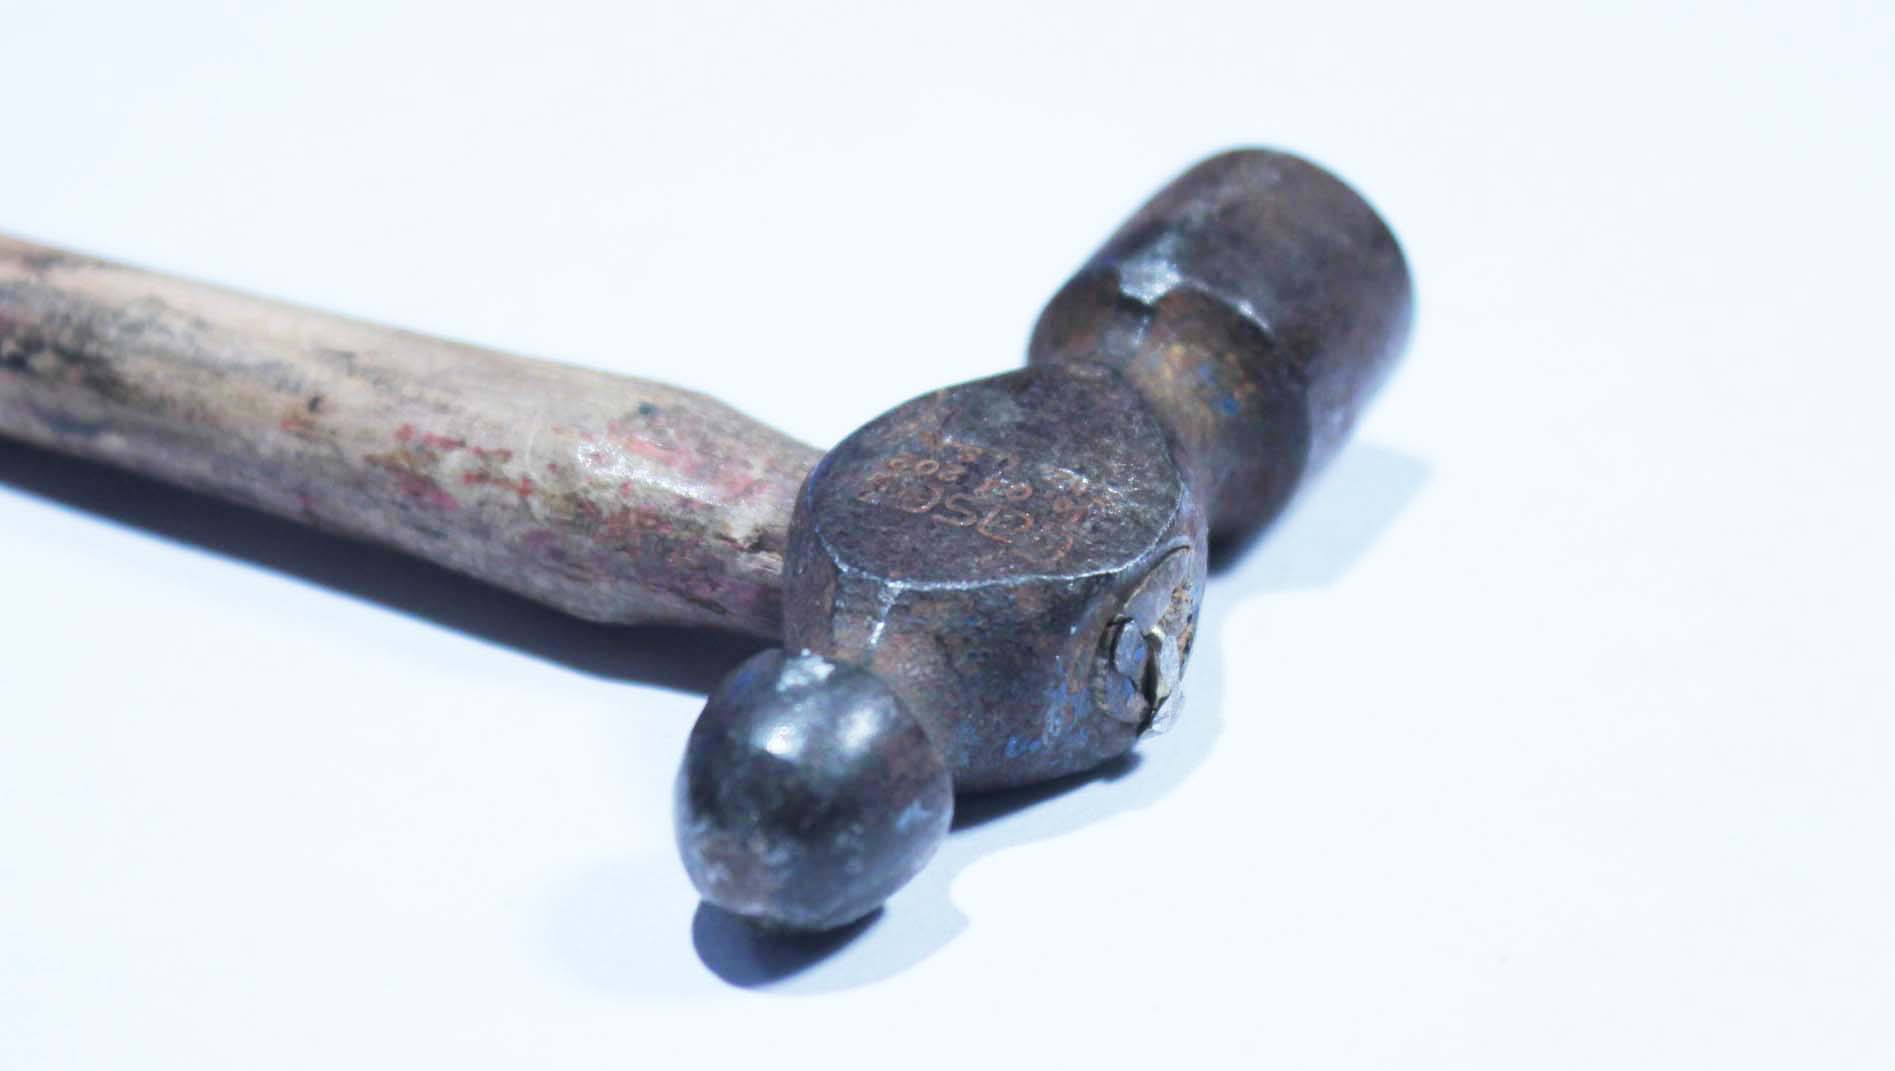
I have a few different sized ball peen hammers on the workbench. You’ll be pleasantly surprised at the different textures achieved simply by changing the size of the hammer being used.
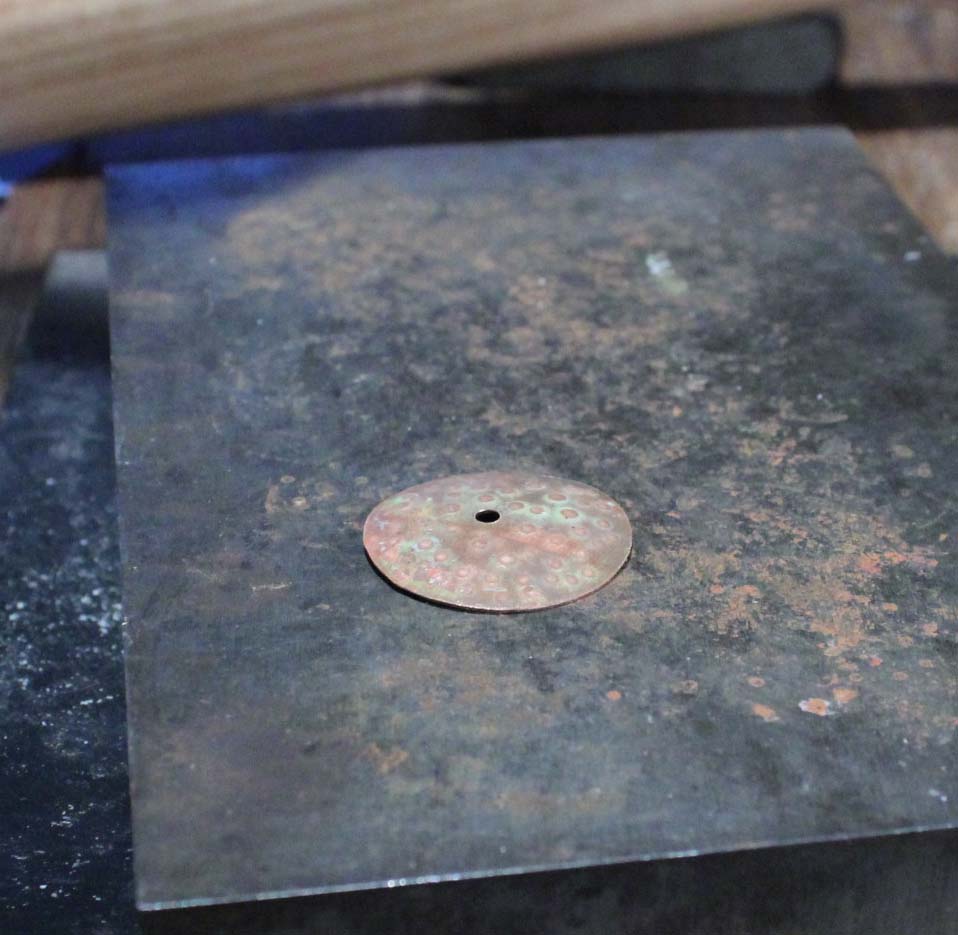
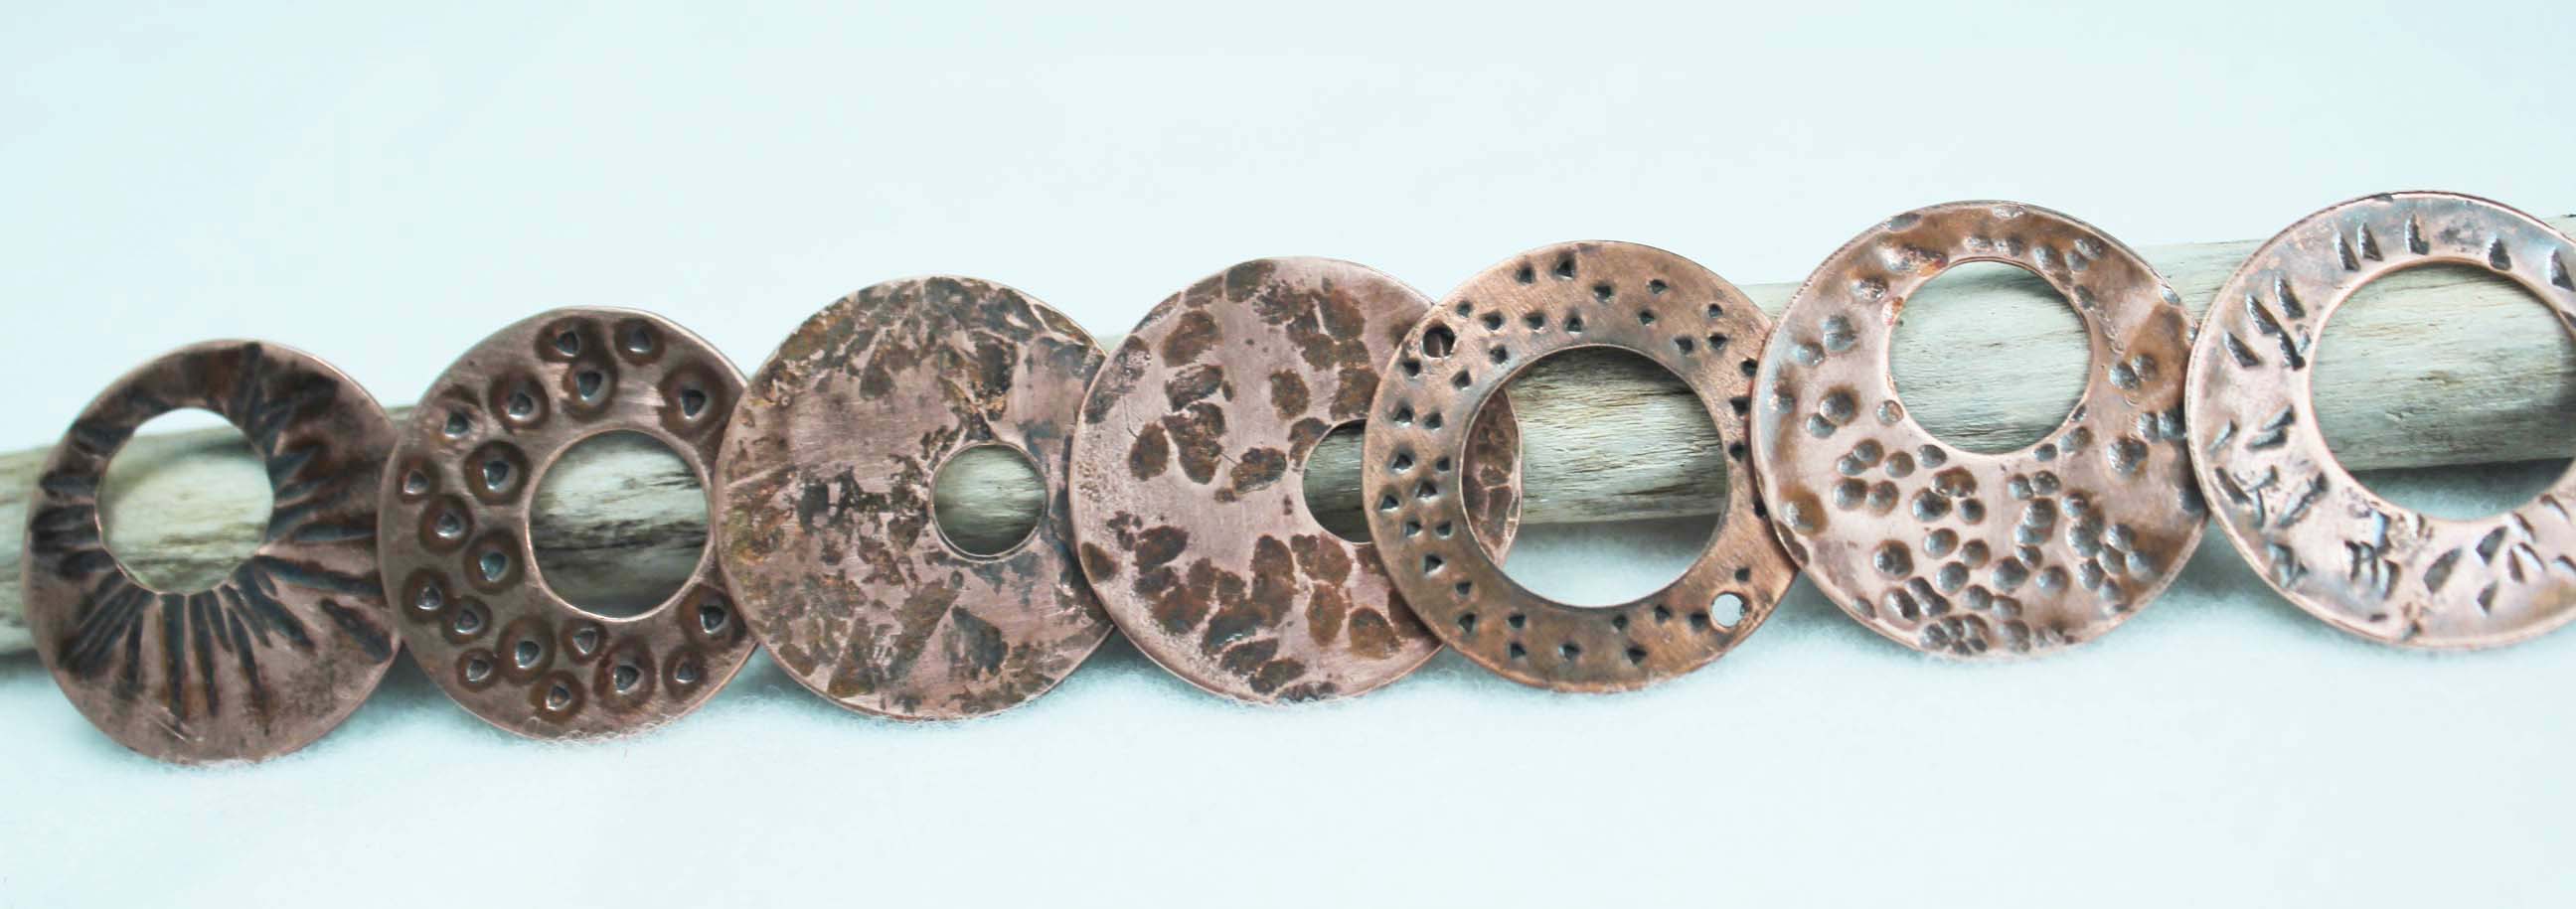
This disc was textured using a very small ball peen hammer.
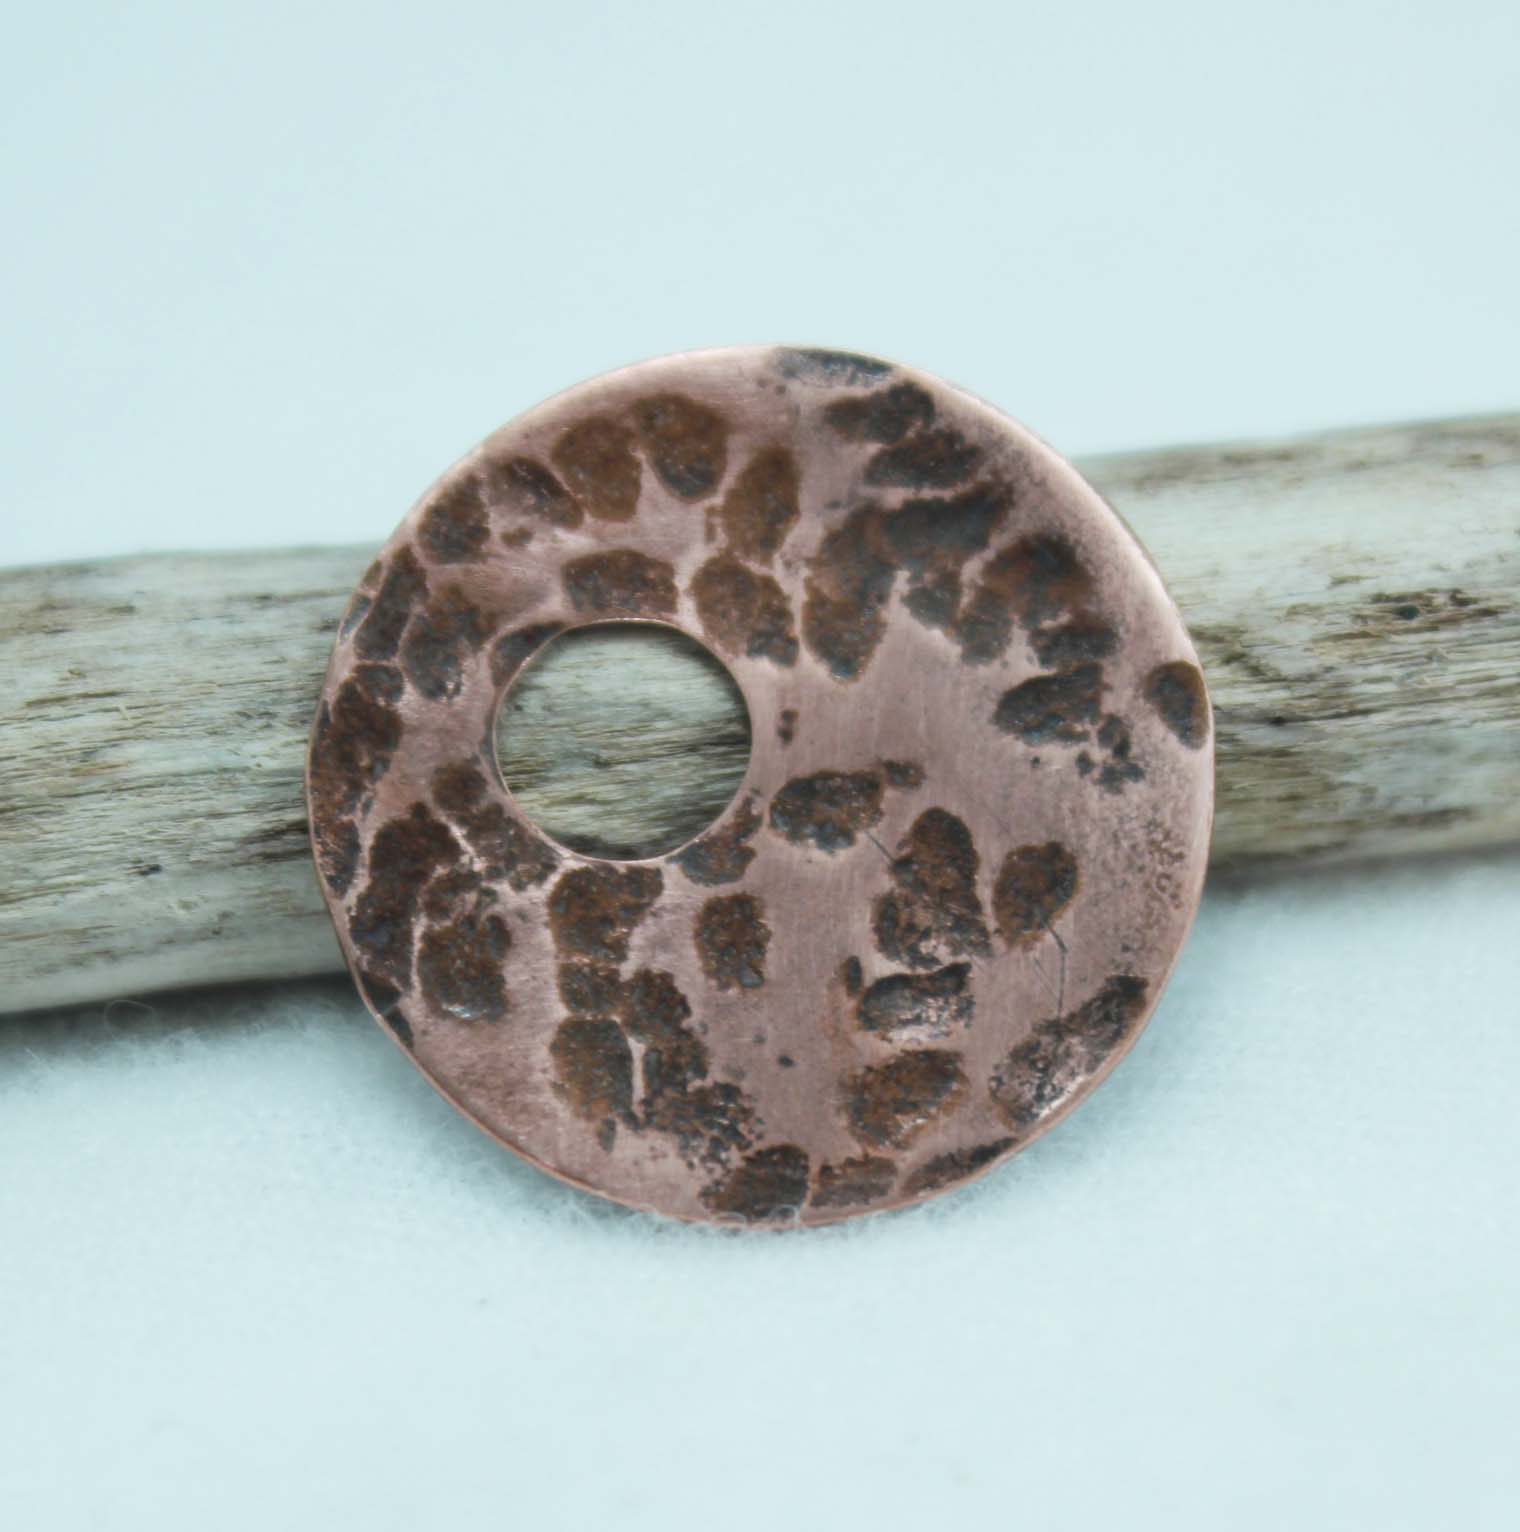
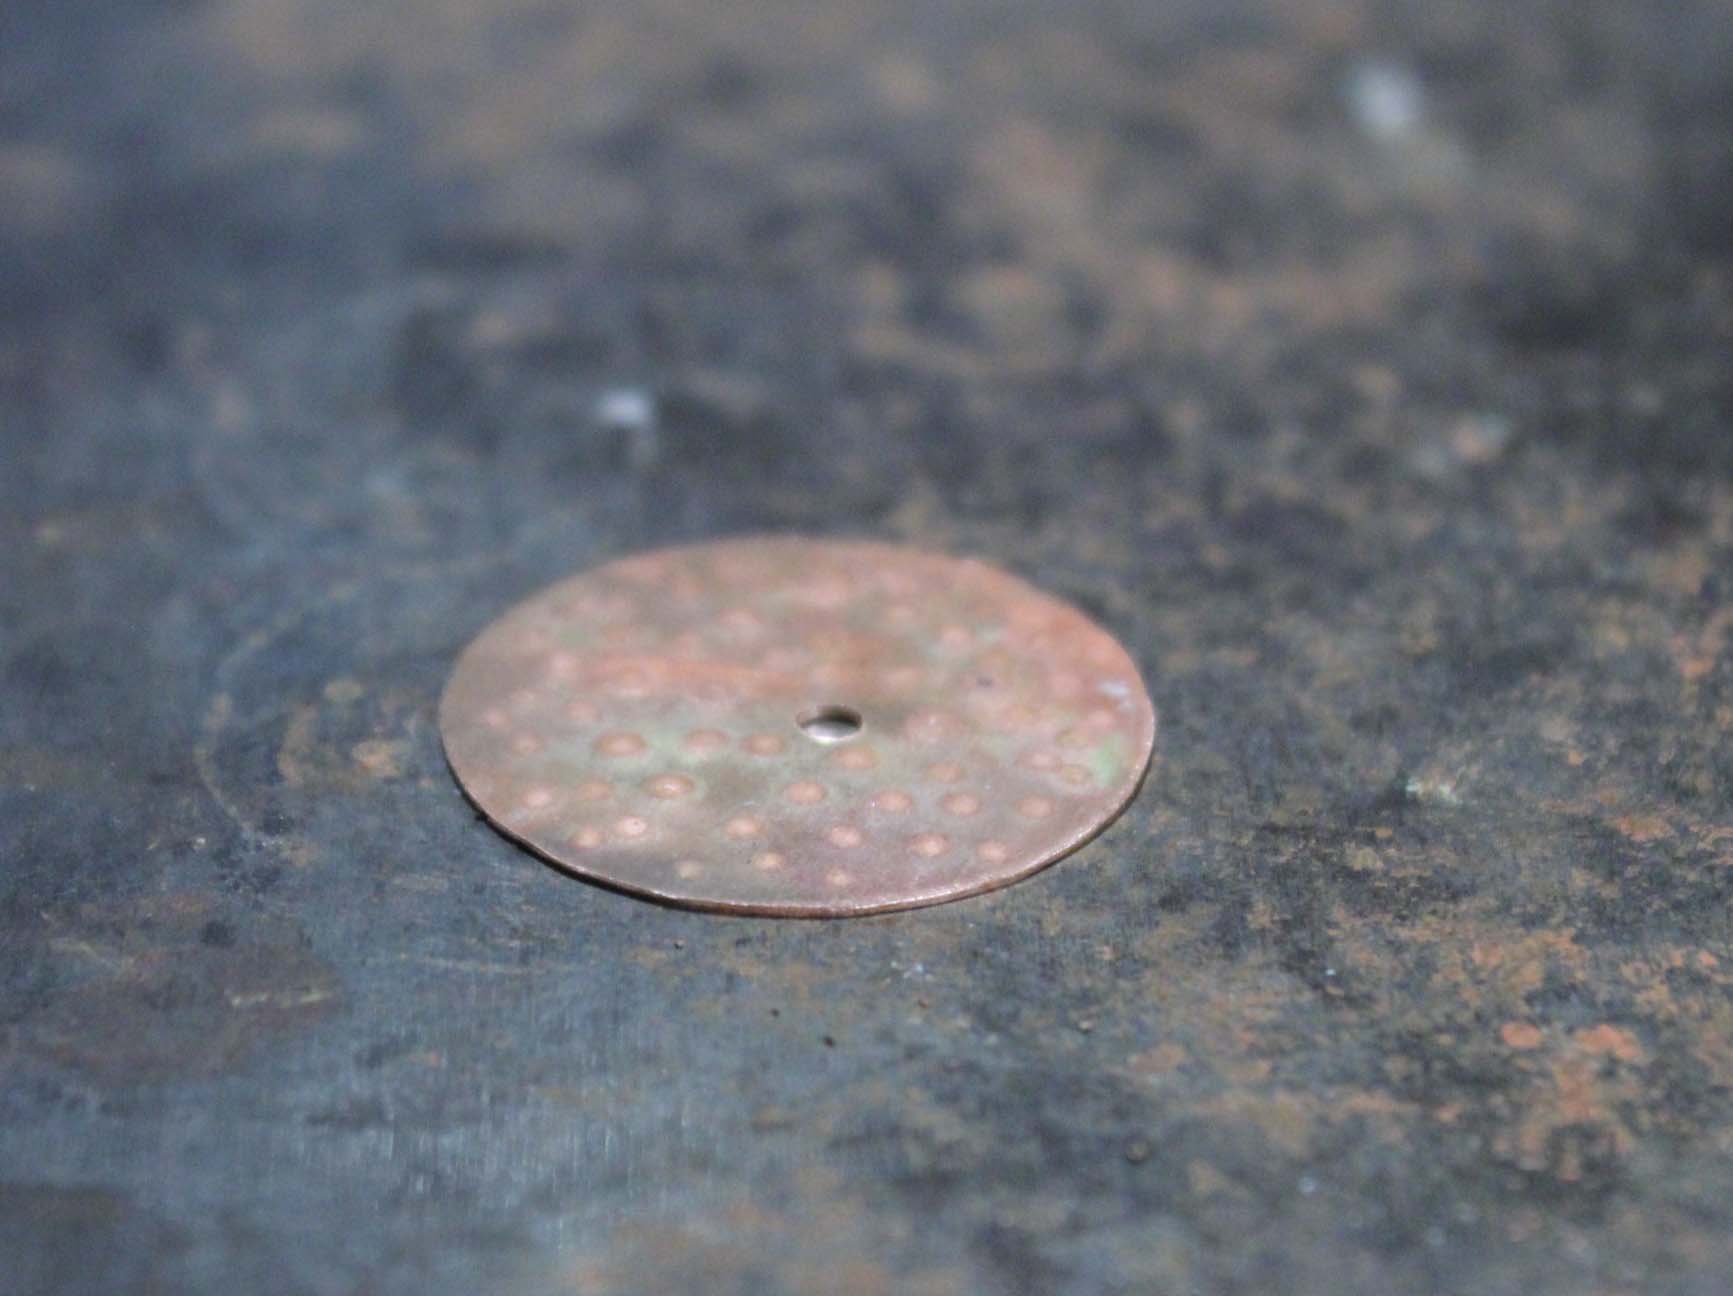
The above disc was textured using a larger ball peen hammer. See how a a completely different look is achieved by using a different size hammer?
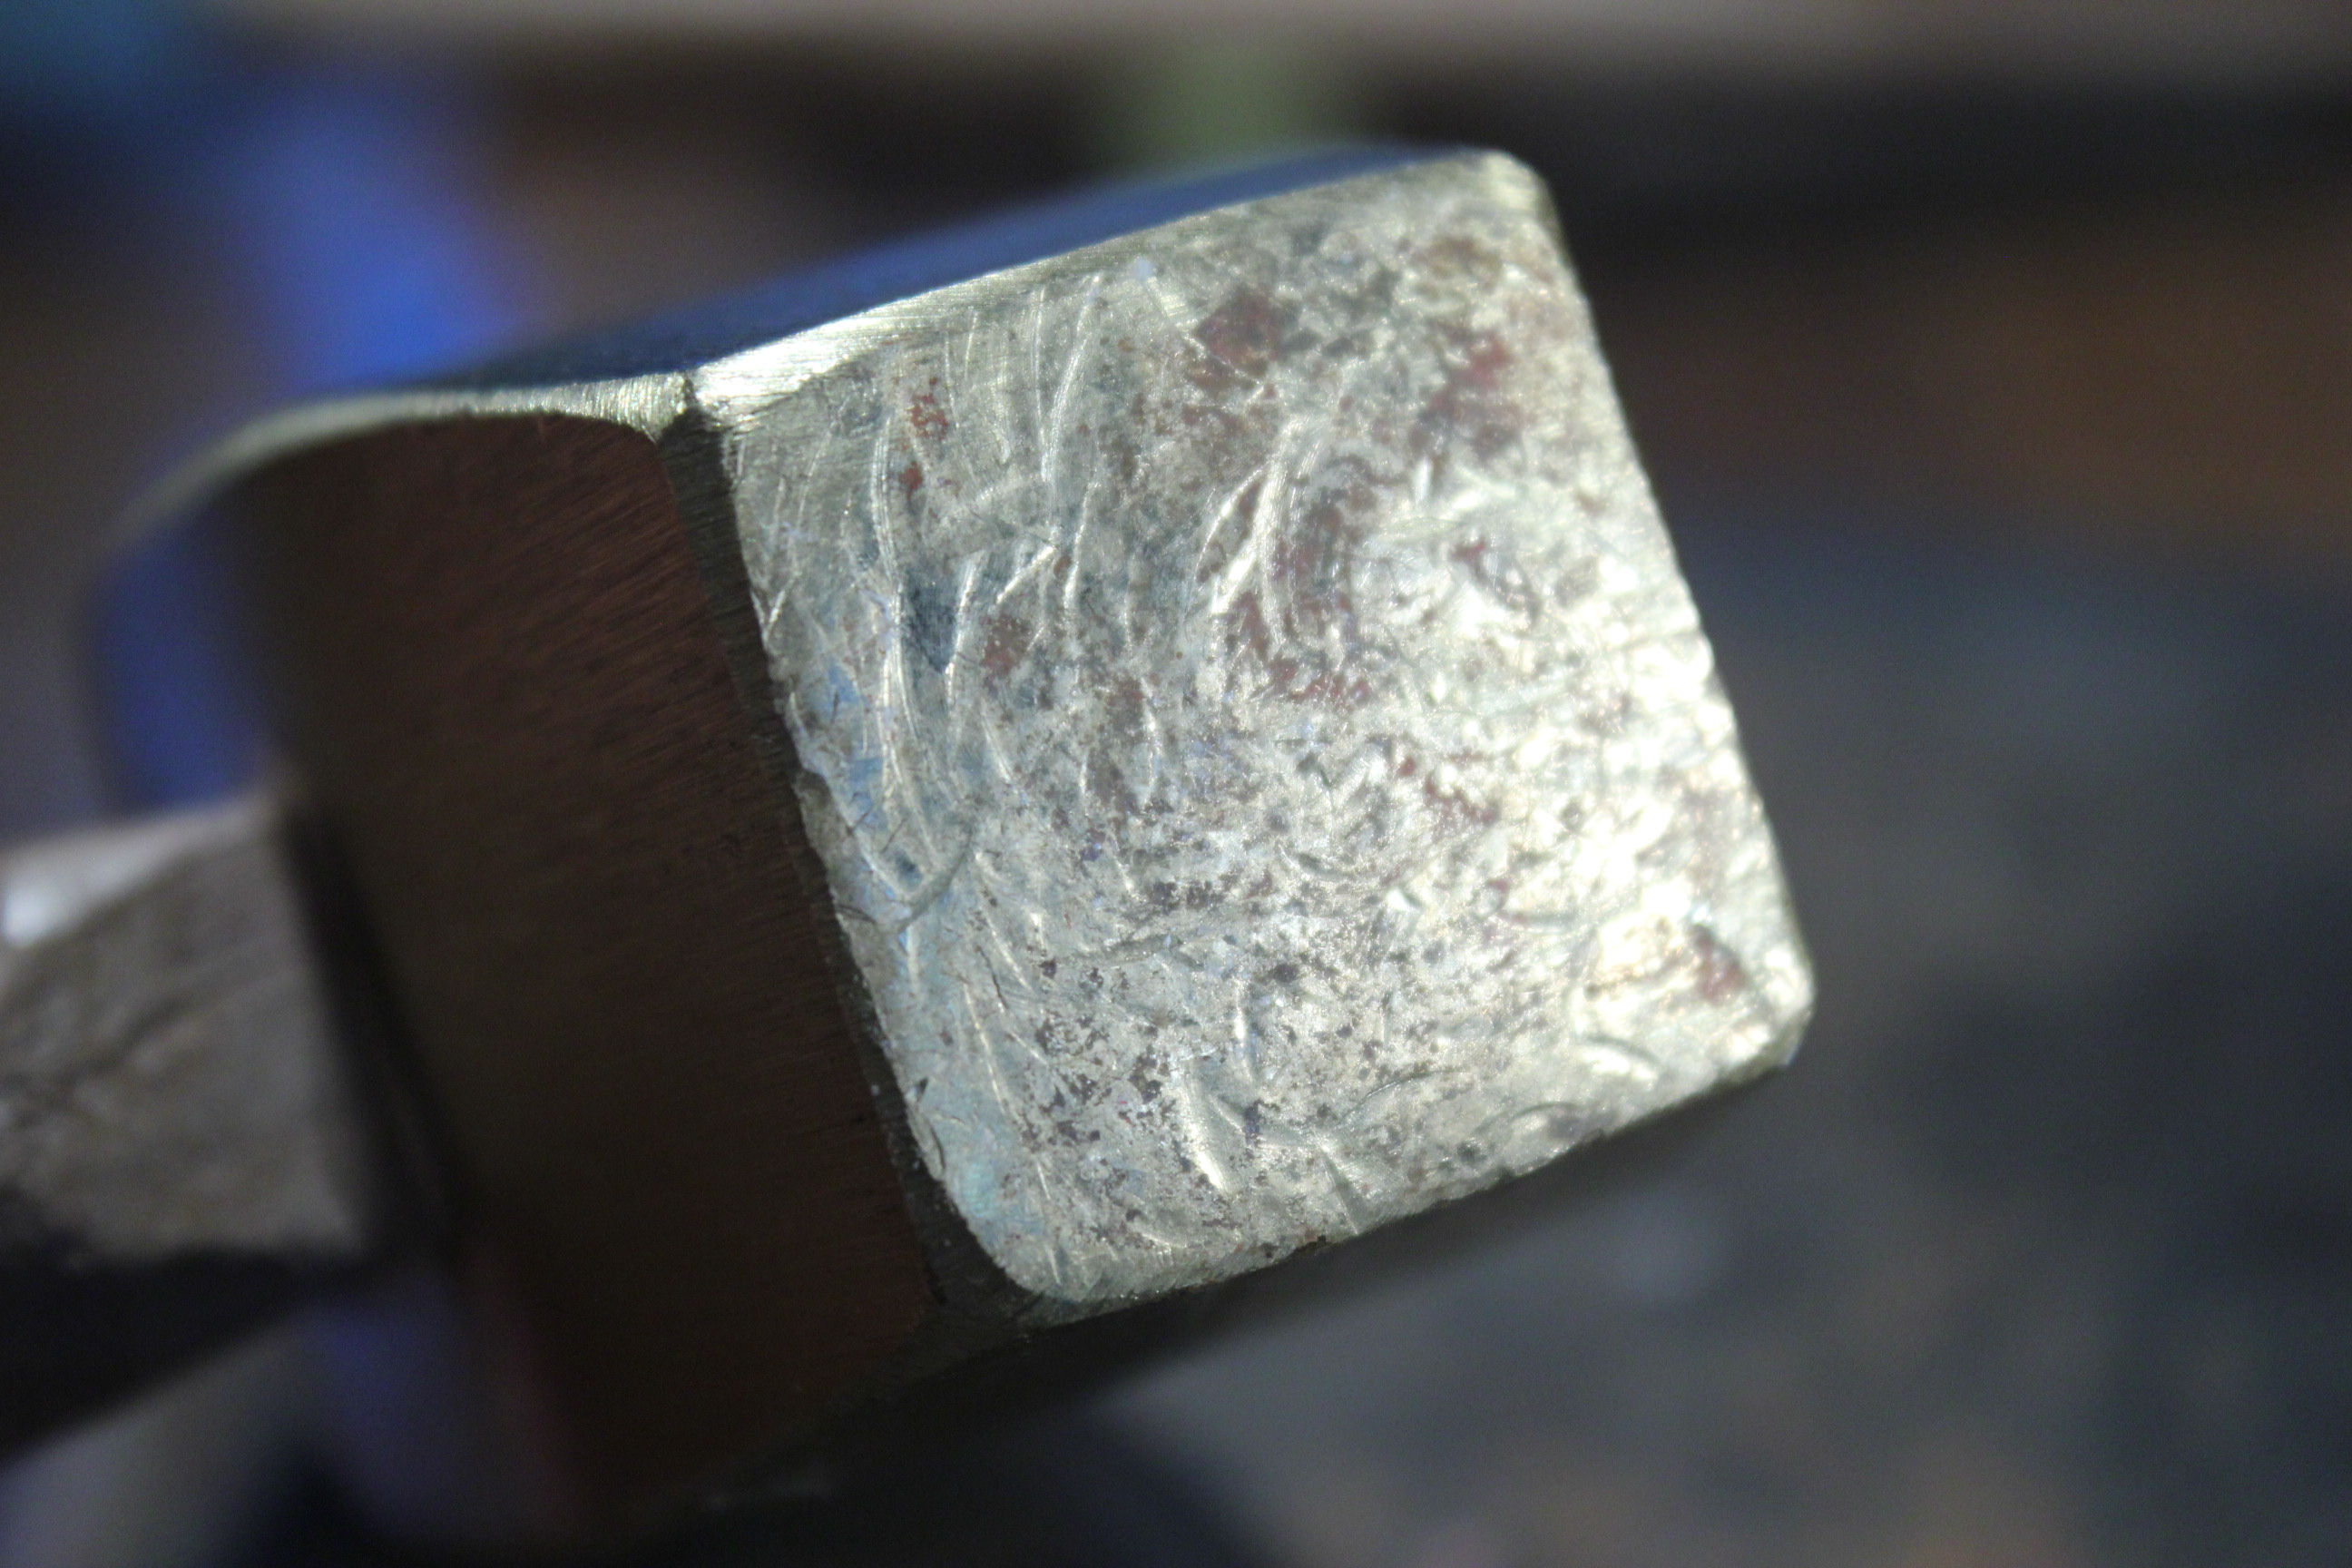
Riveting hammer
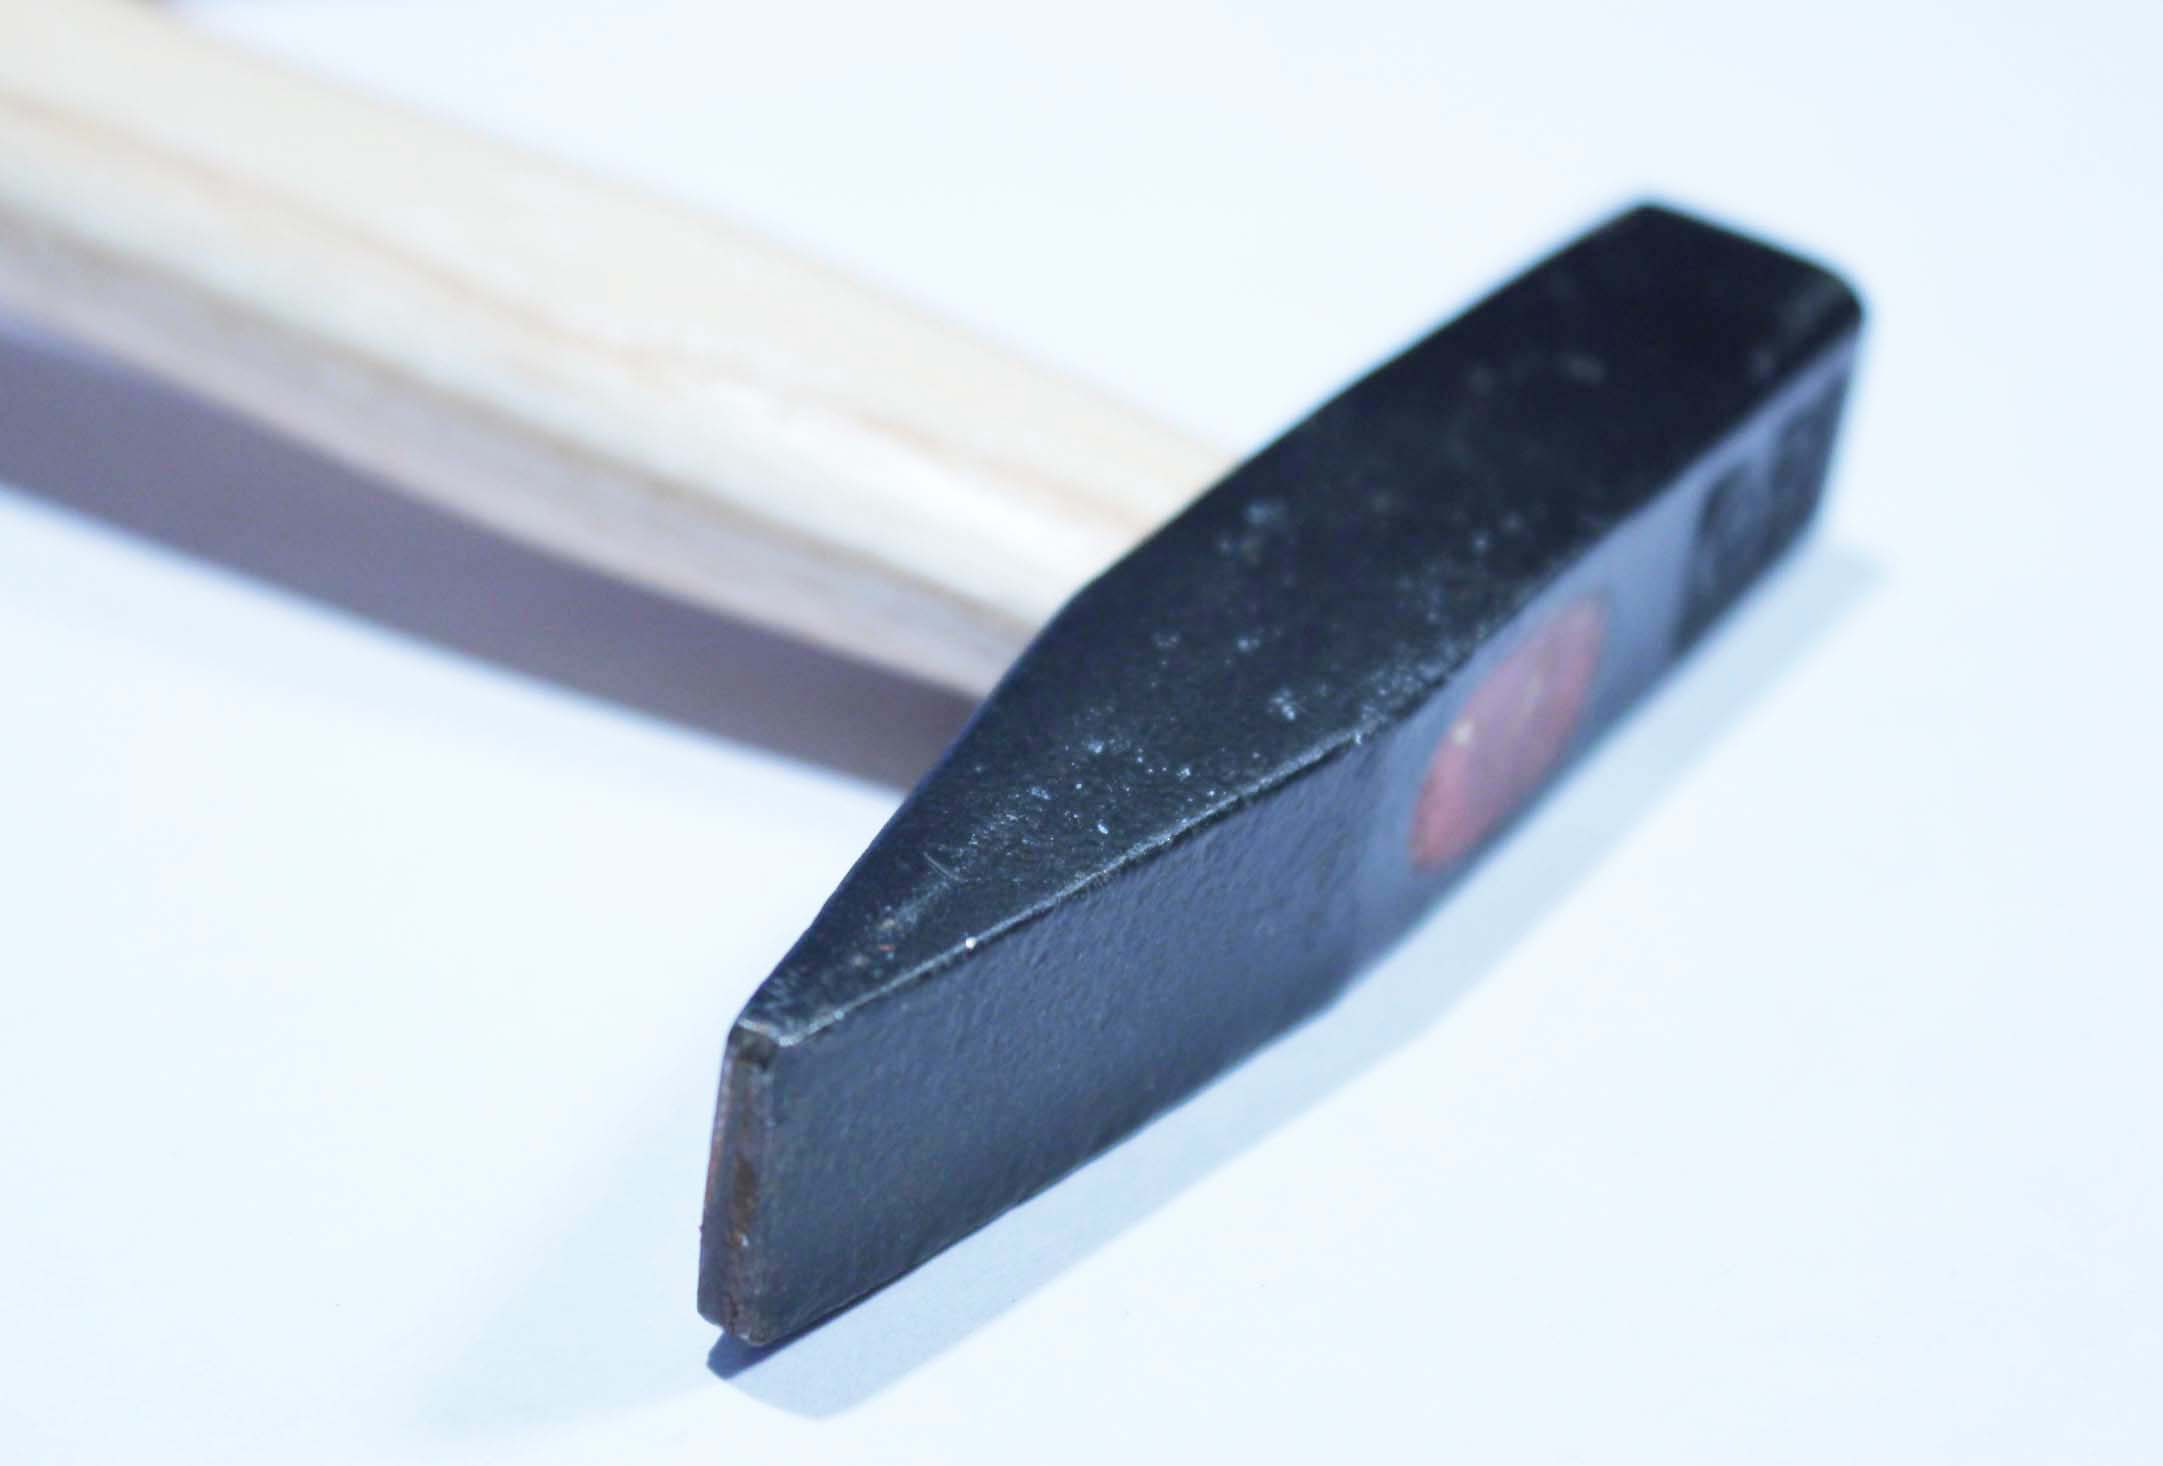
Both ends of a riveting hammer can be used for texturing metal. The square end can be used flat, or angle it to use the corner of the square. A variety of textures can be achieved by using just one tool.
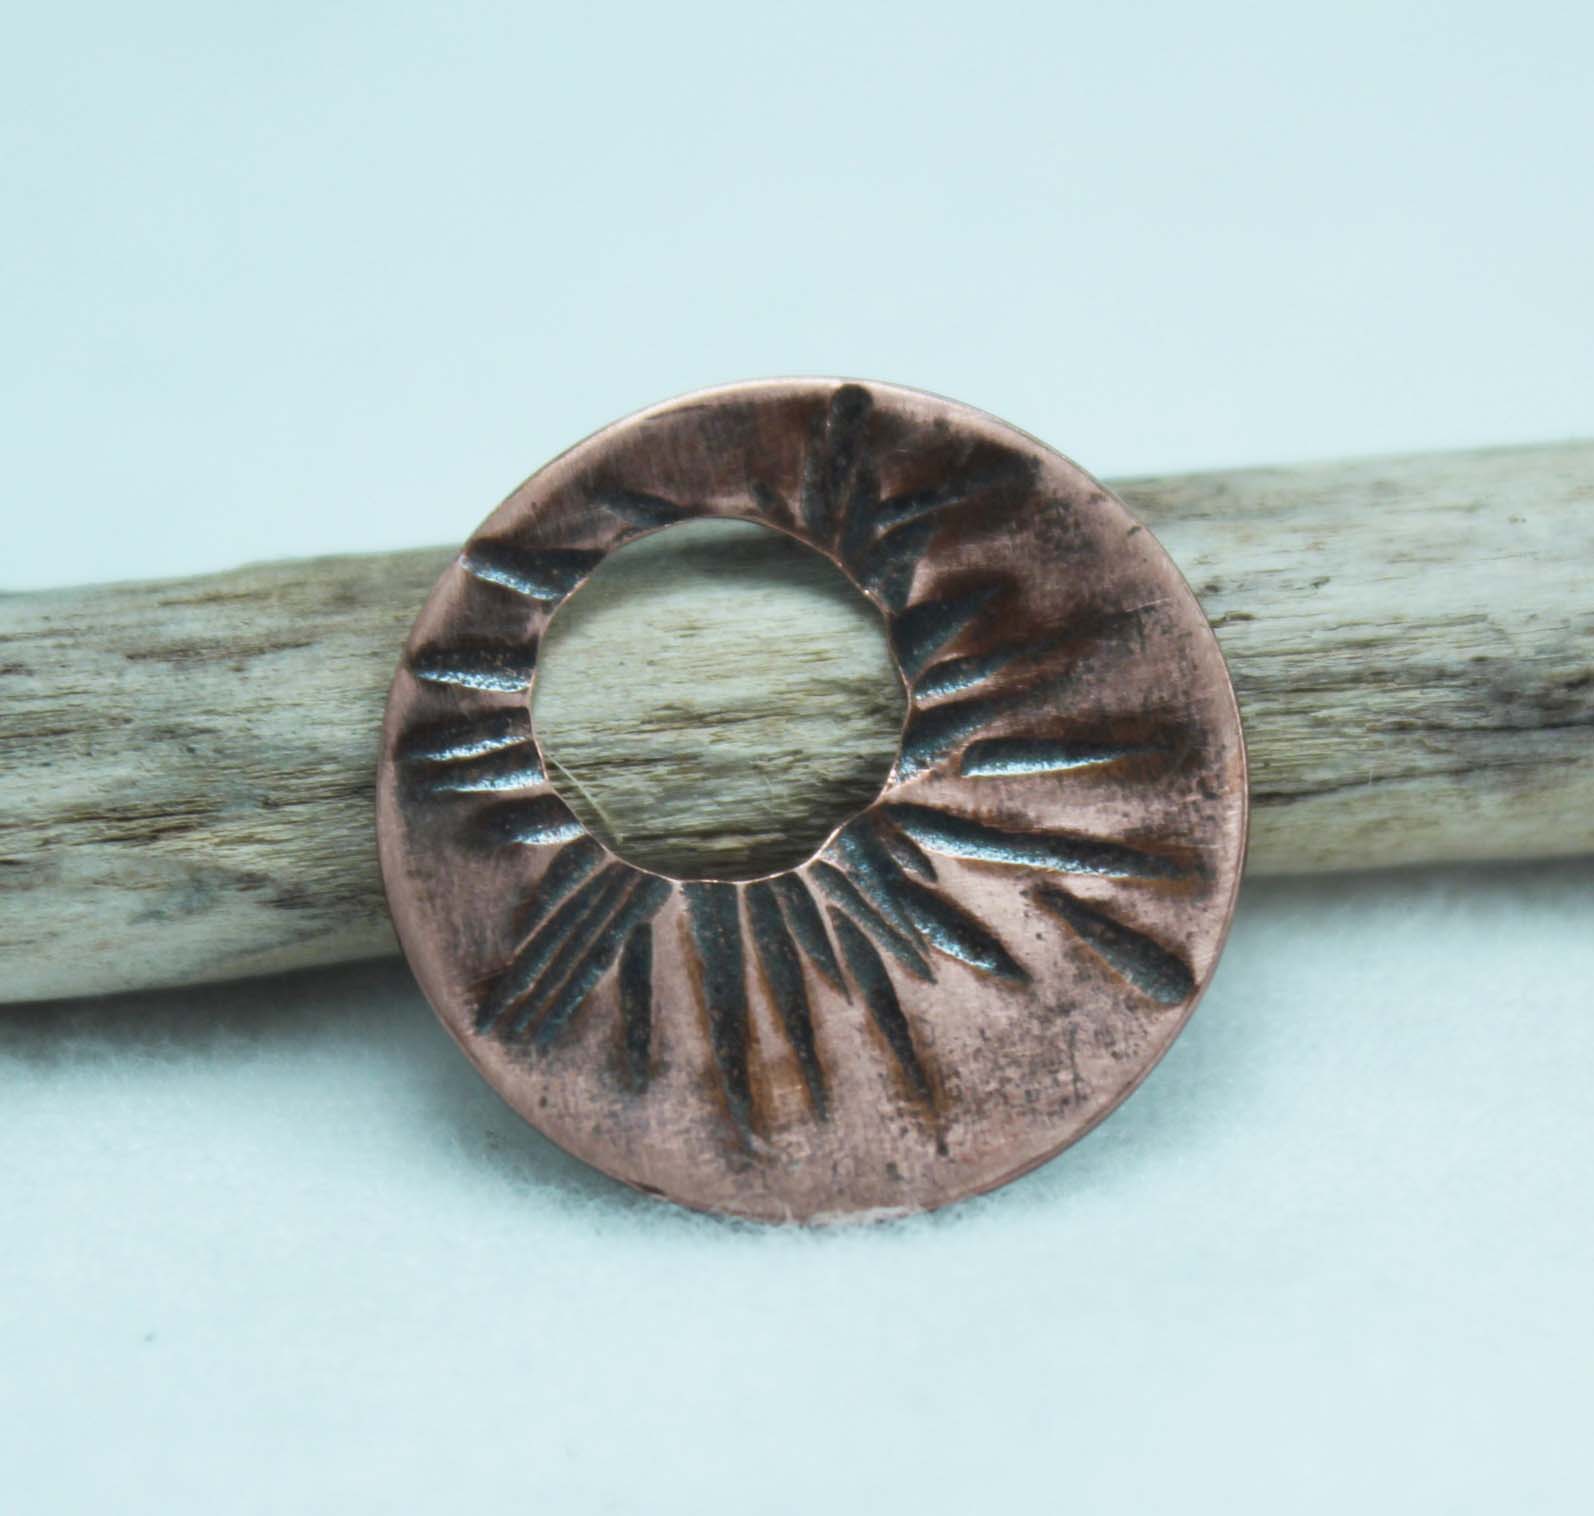
This piece has been textured using the chiseled end of the riveting hammer.
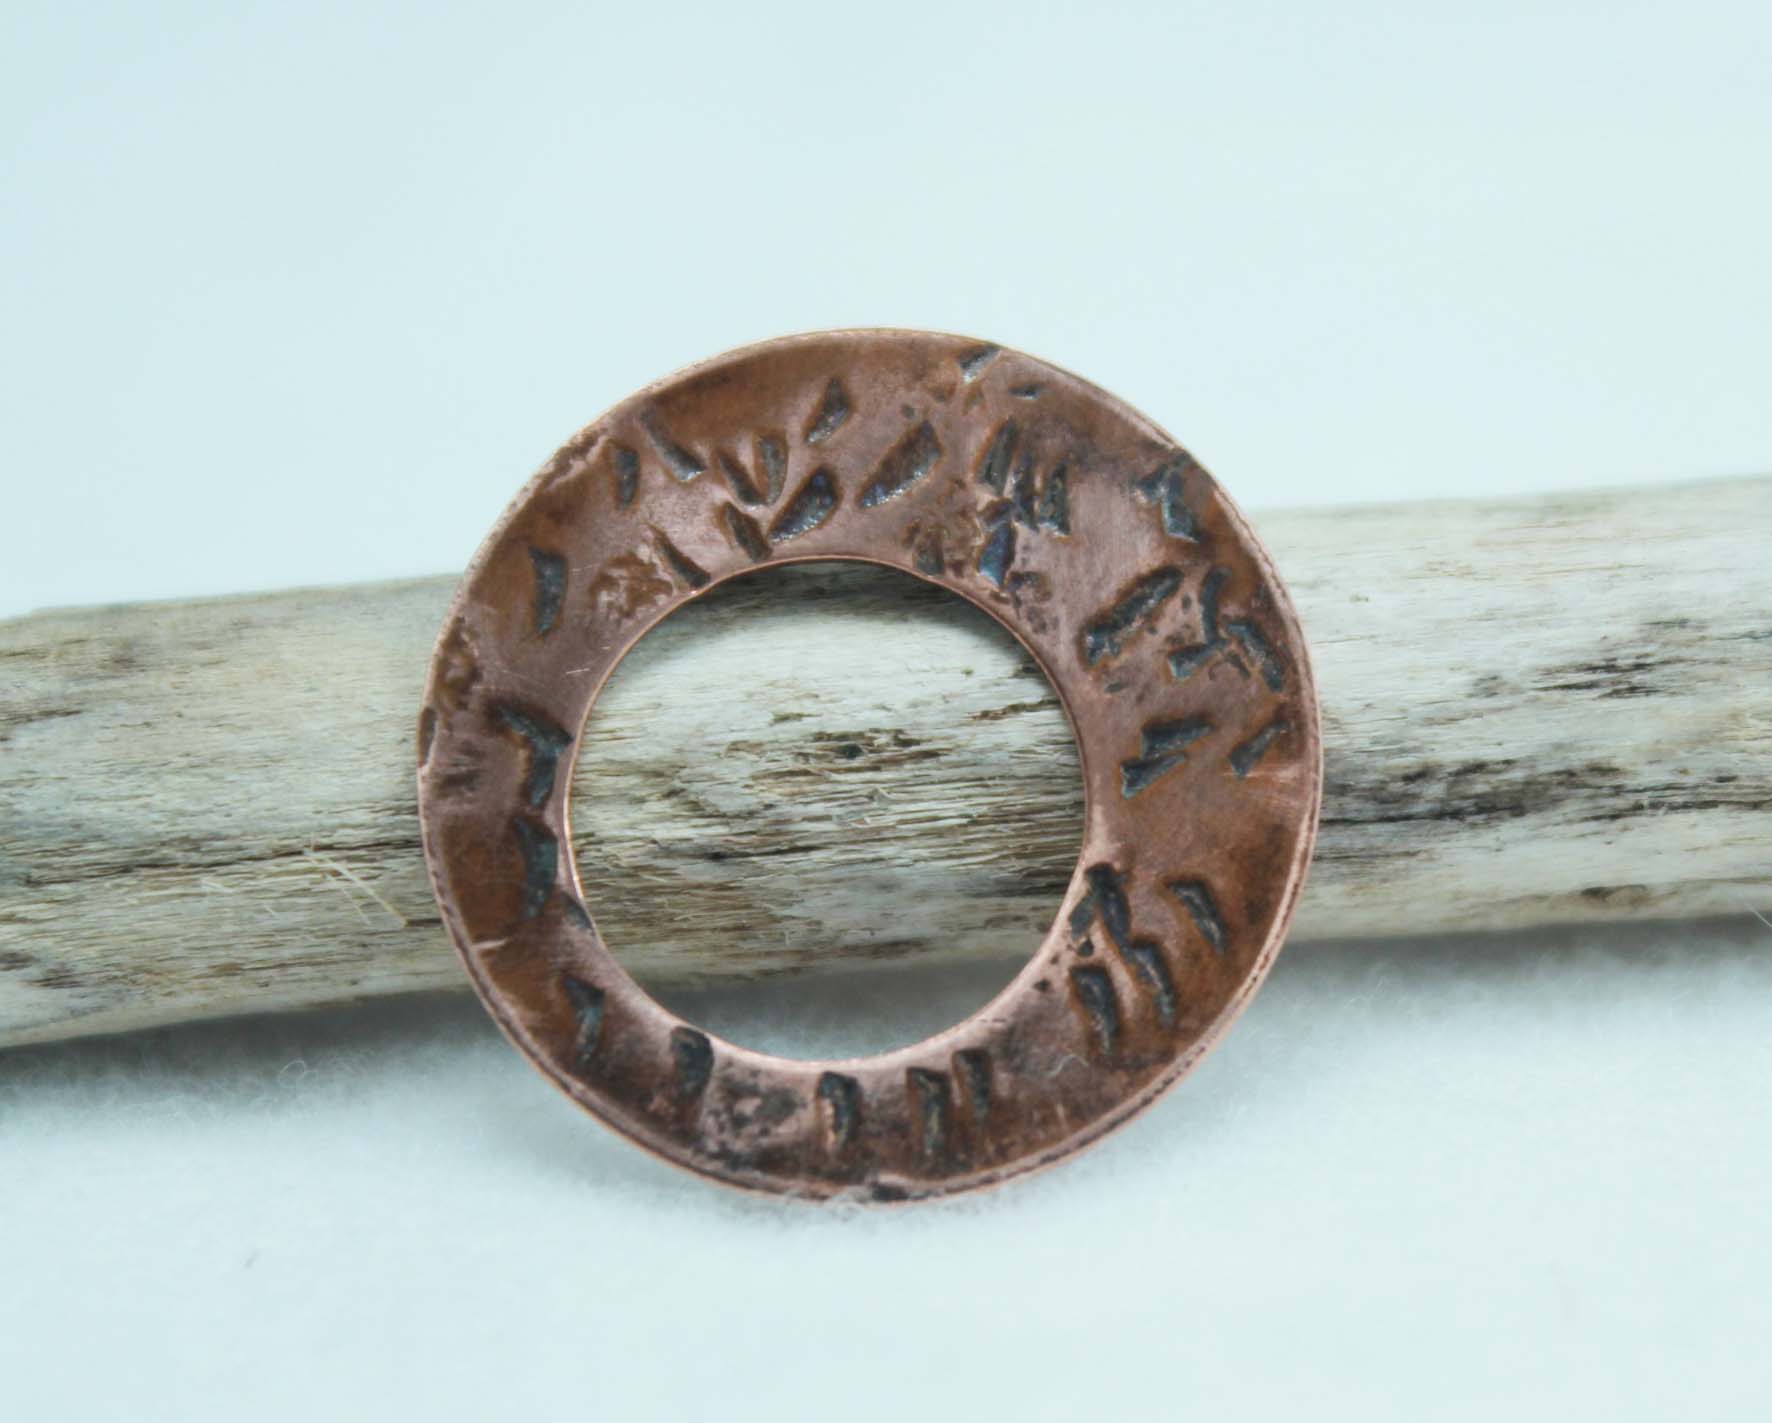
The disc has been textured using the flat end corner of the riveting hammer.
Random metal texturing tools you likely have around your house
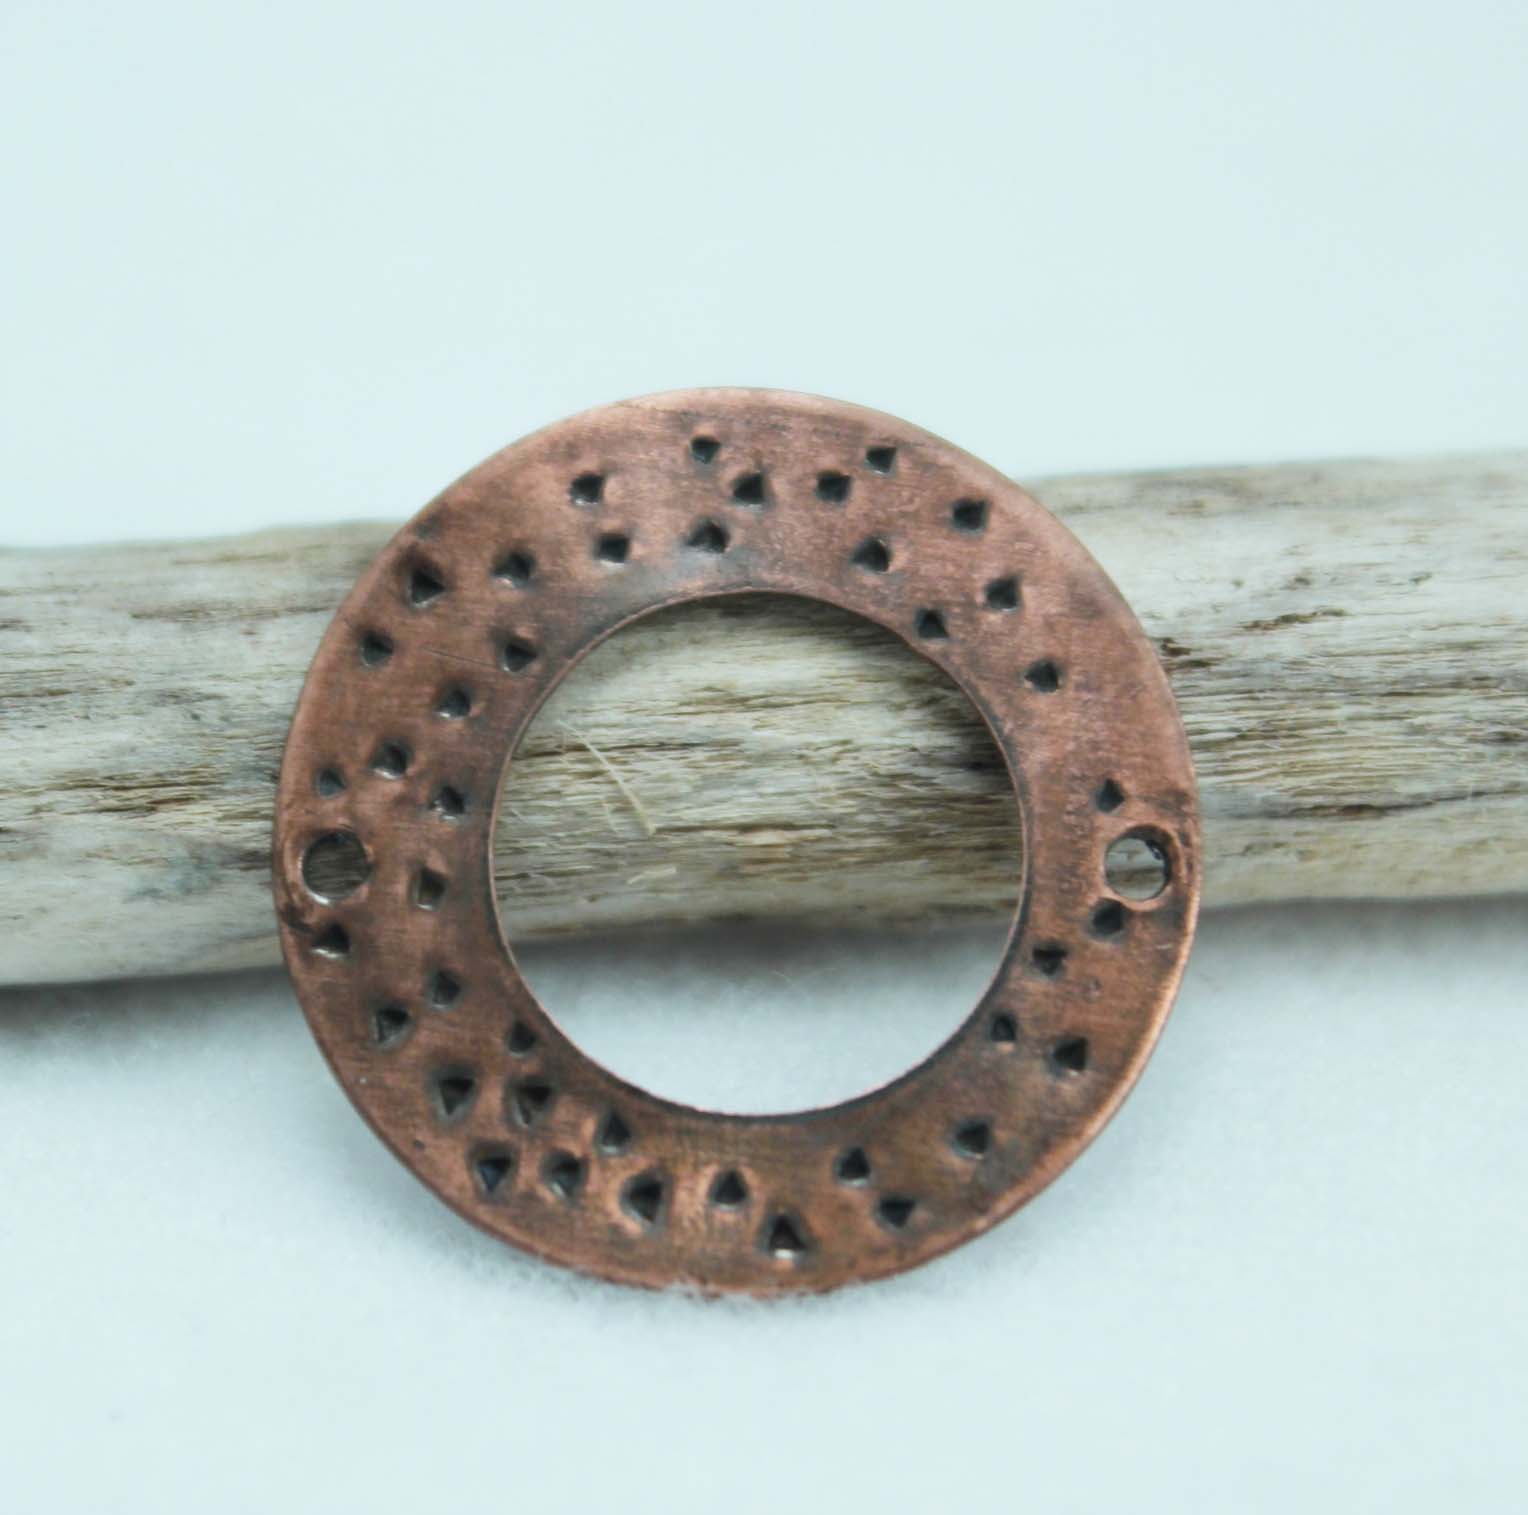
Cute little triangles were created on this disc using the tool shown above.
Stamping tools
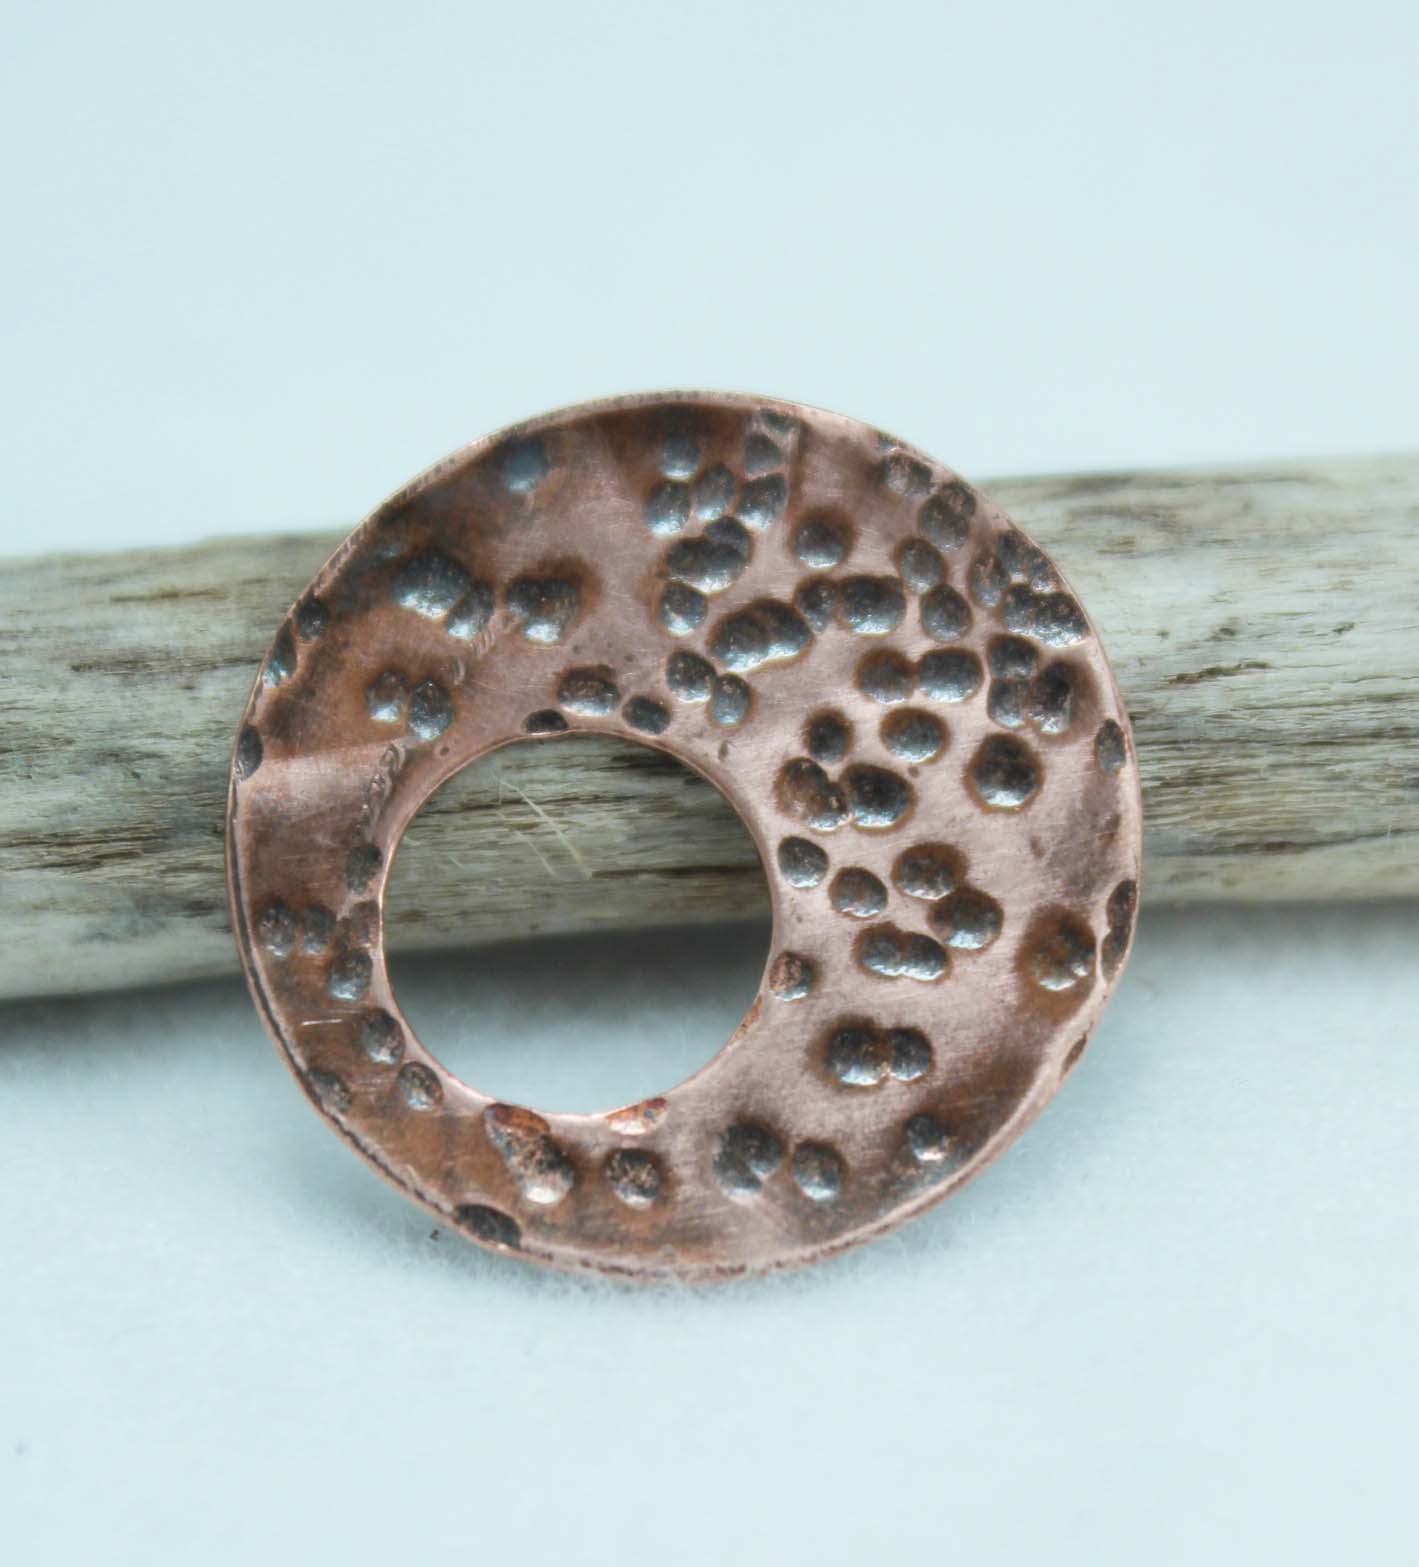
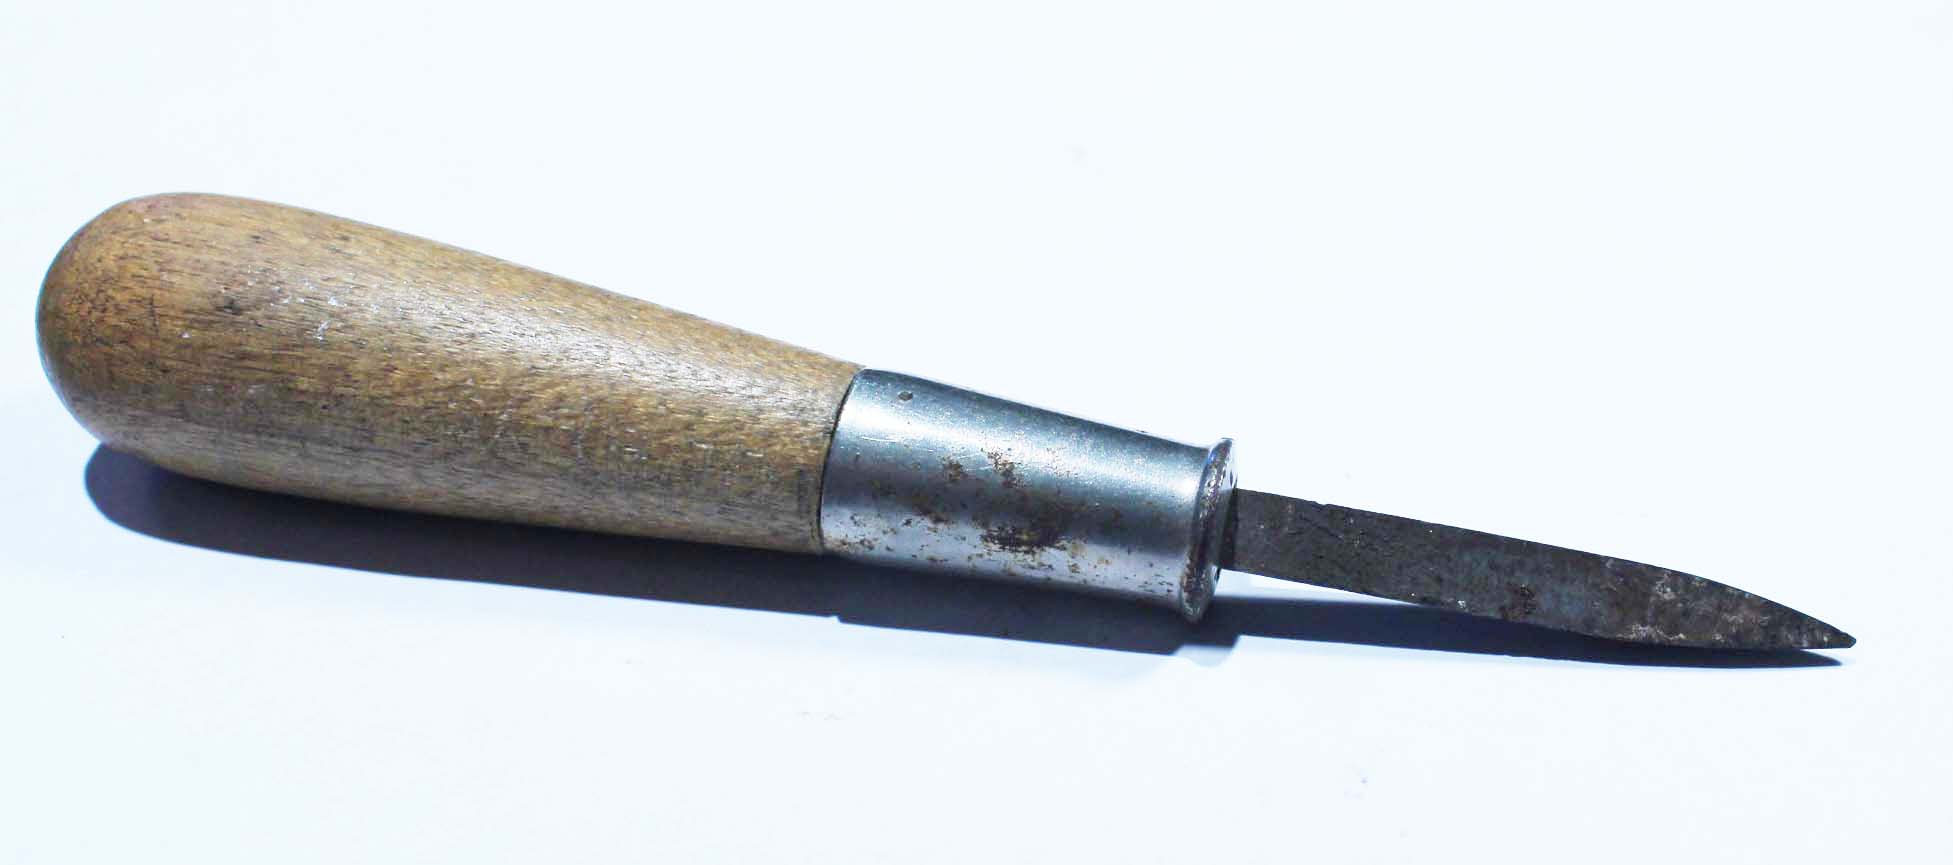
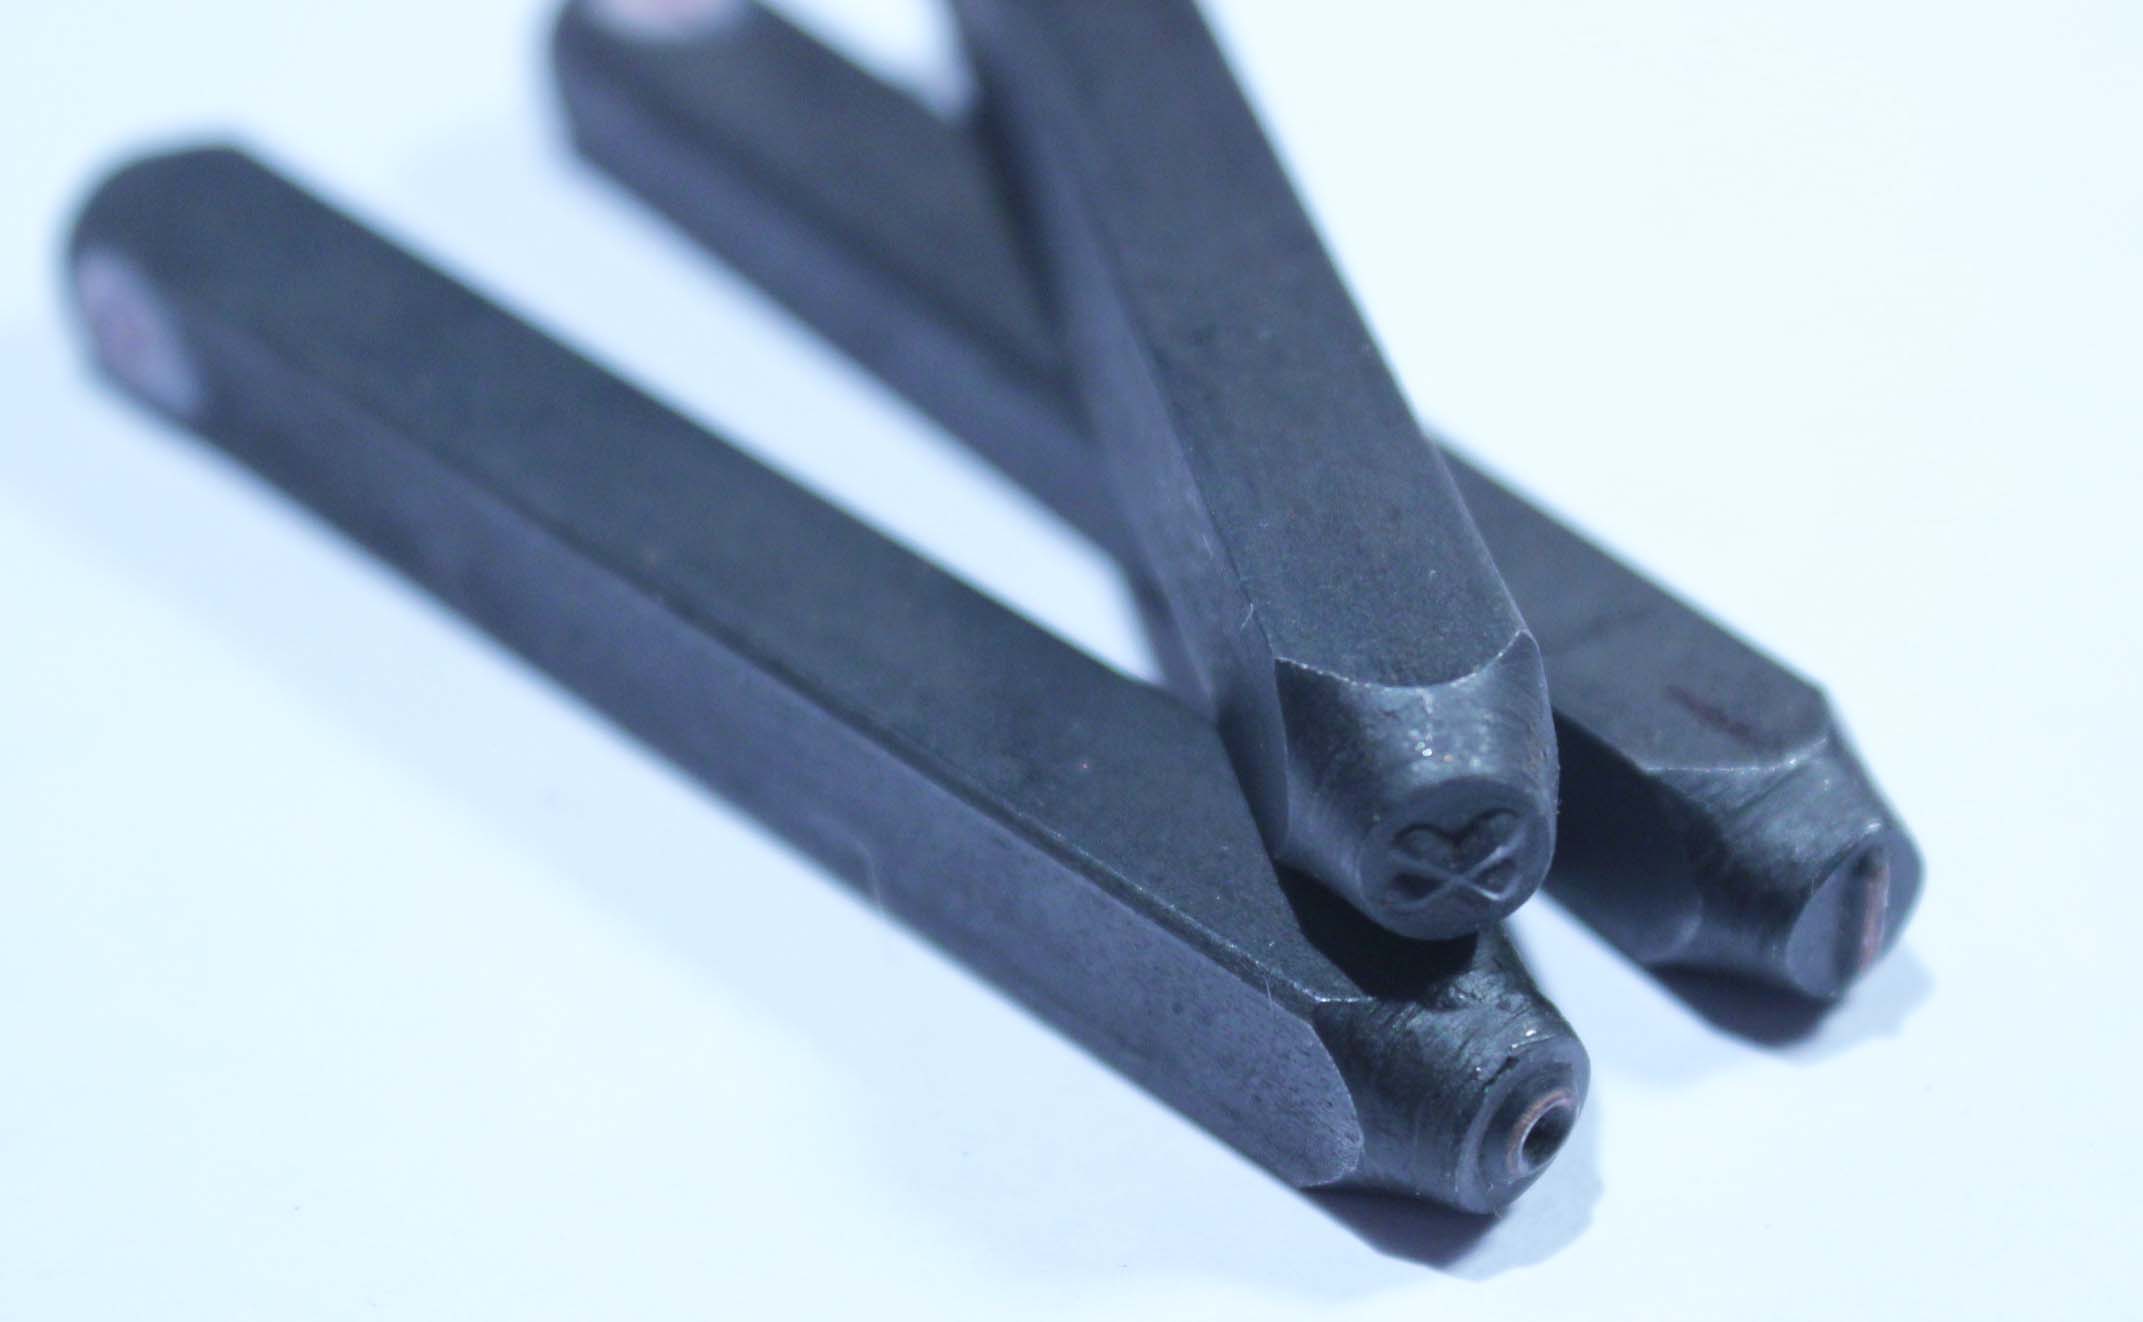
This is an old stamp I acquired in a toolbox from a guy who used to make signs. It’s one of my favorite stamps. It creates nice deep divots, which take patina nicely.

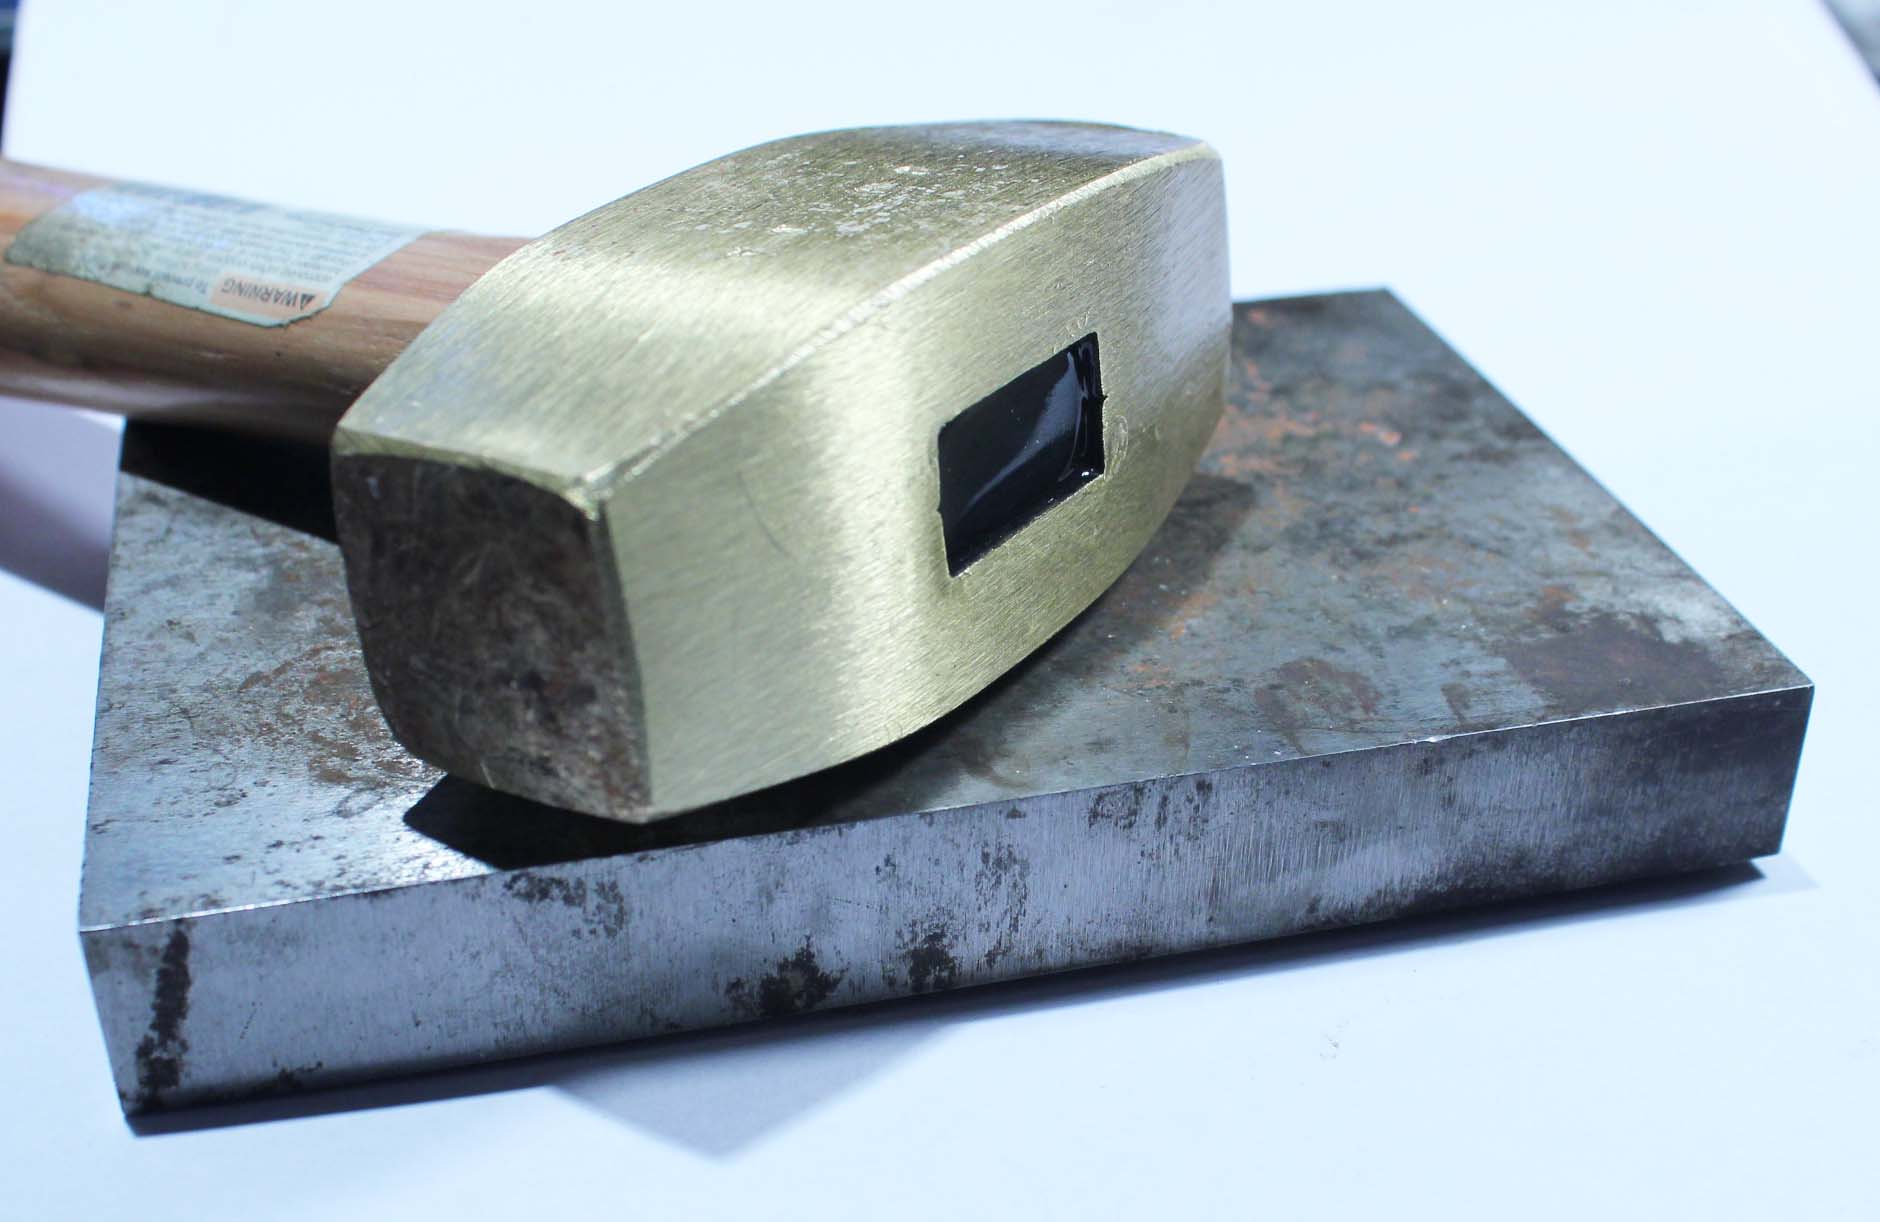
Brass hammer
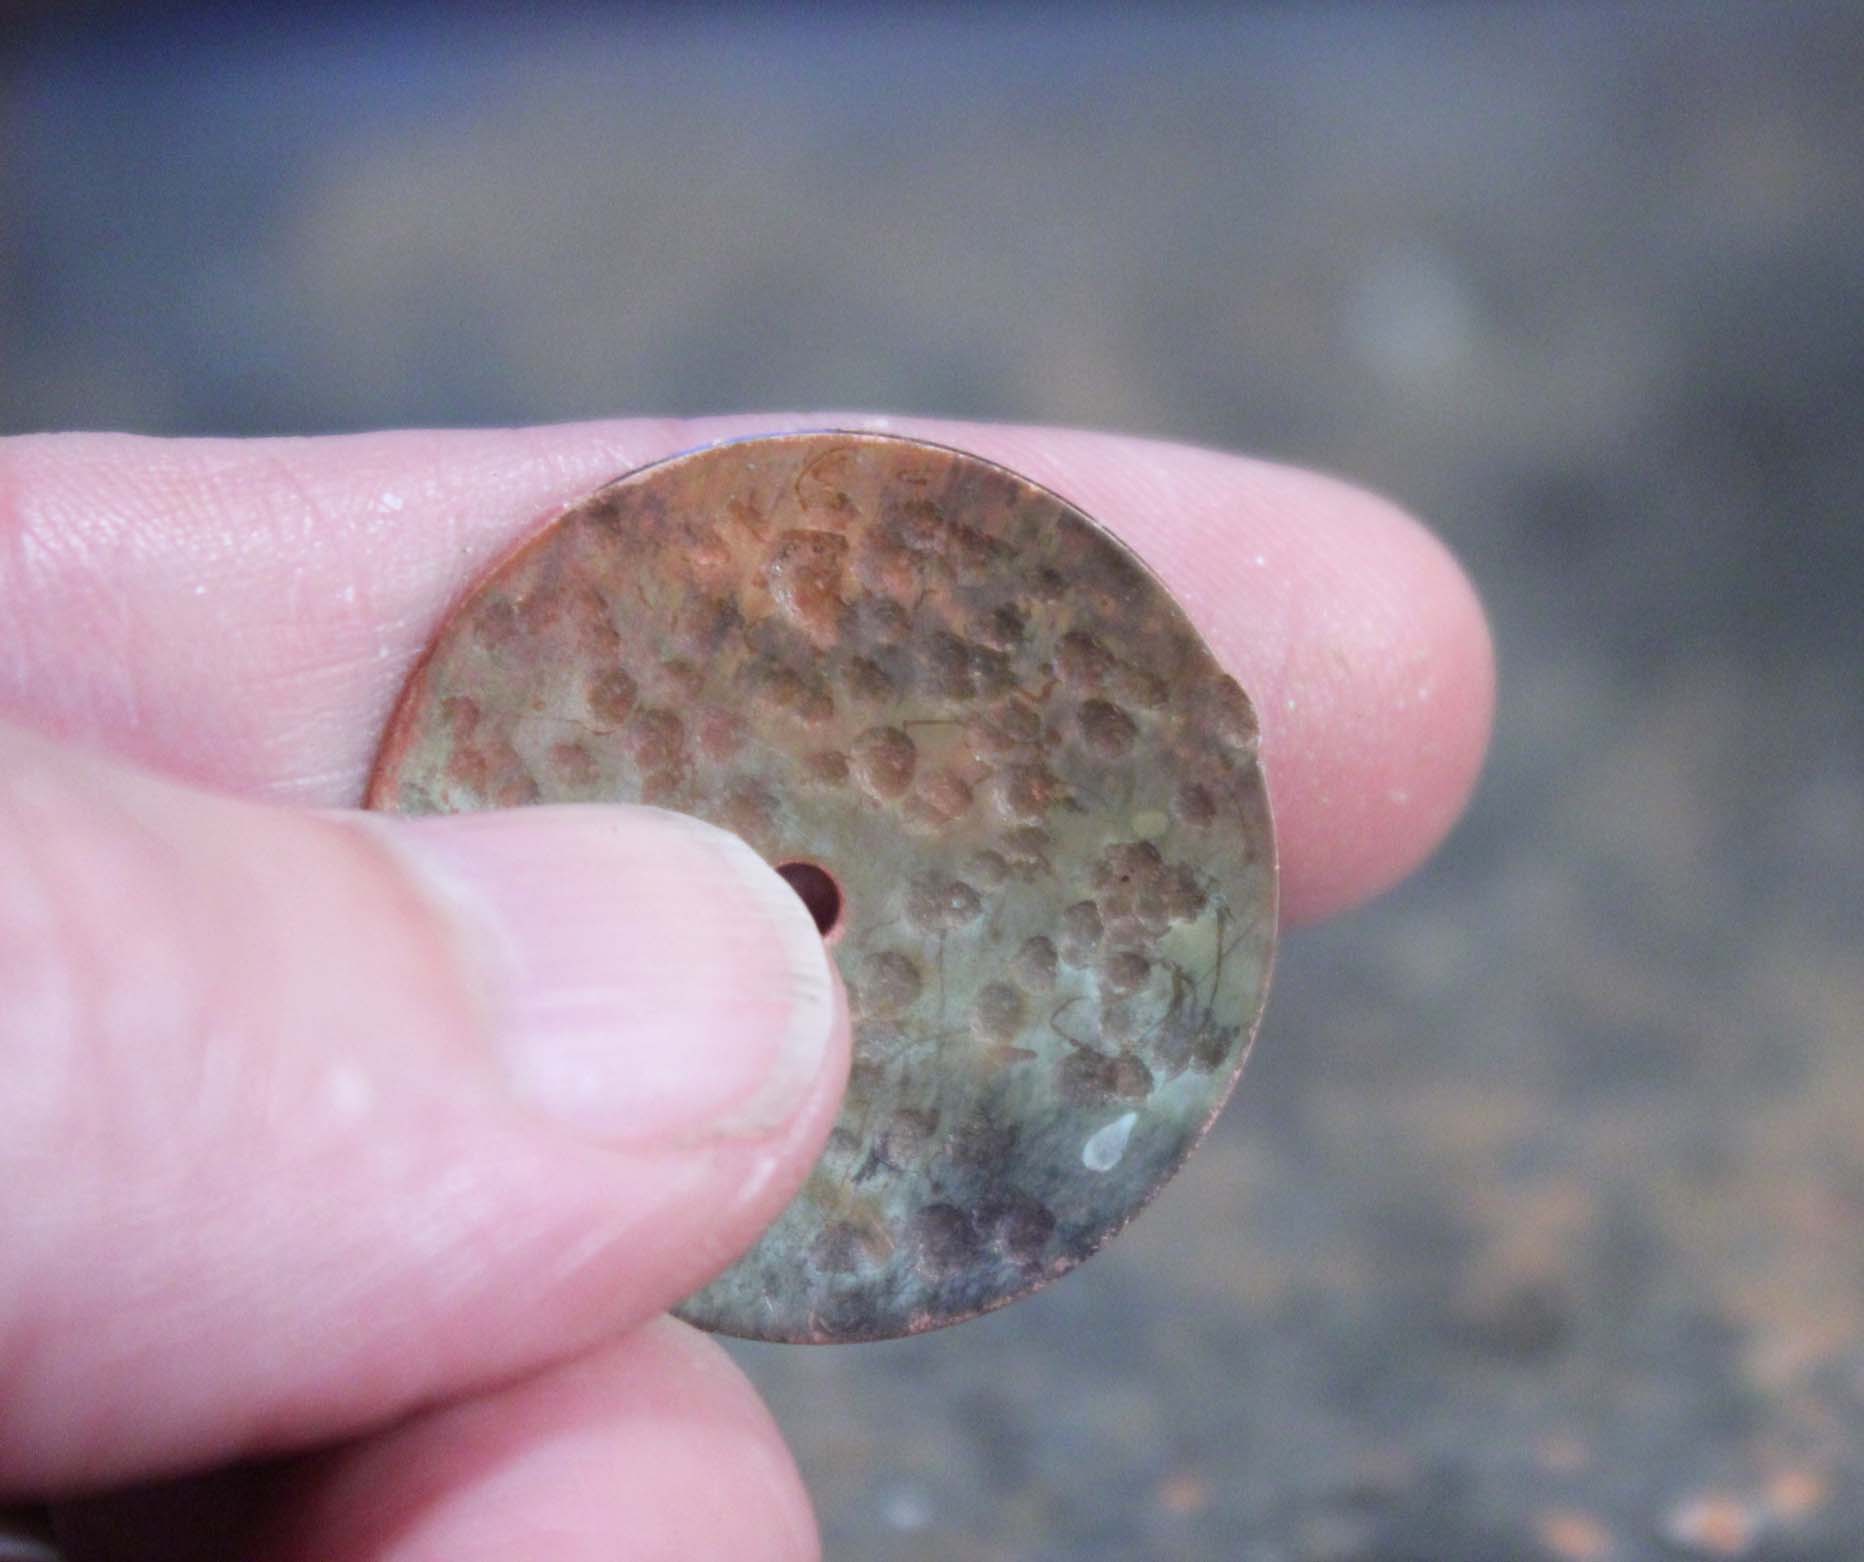
The brass hammer is my absolute favorite tool for creating texture! It absorbs the shock when used to strike metal stamps. Every time a stamp is struck, it adds texture to the brass. It creates one of my all-time favorite, organic textures on metal.
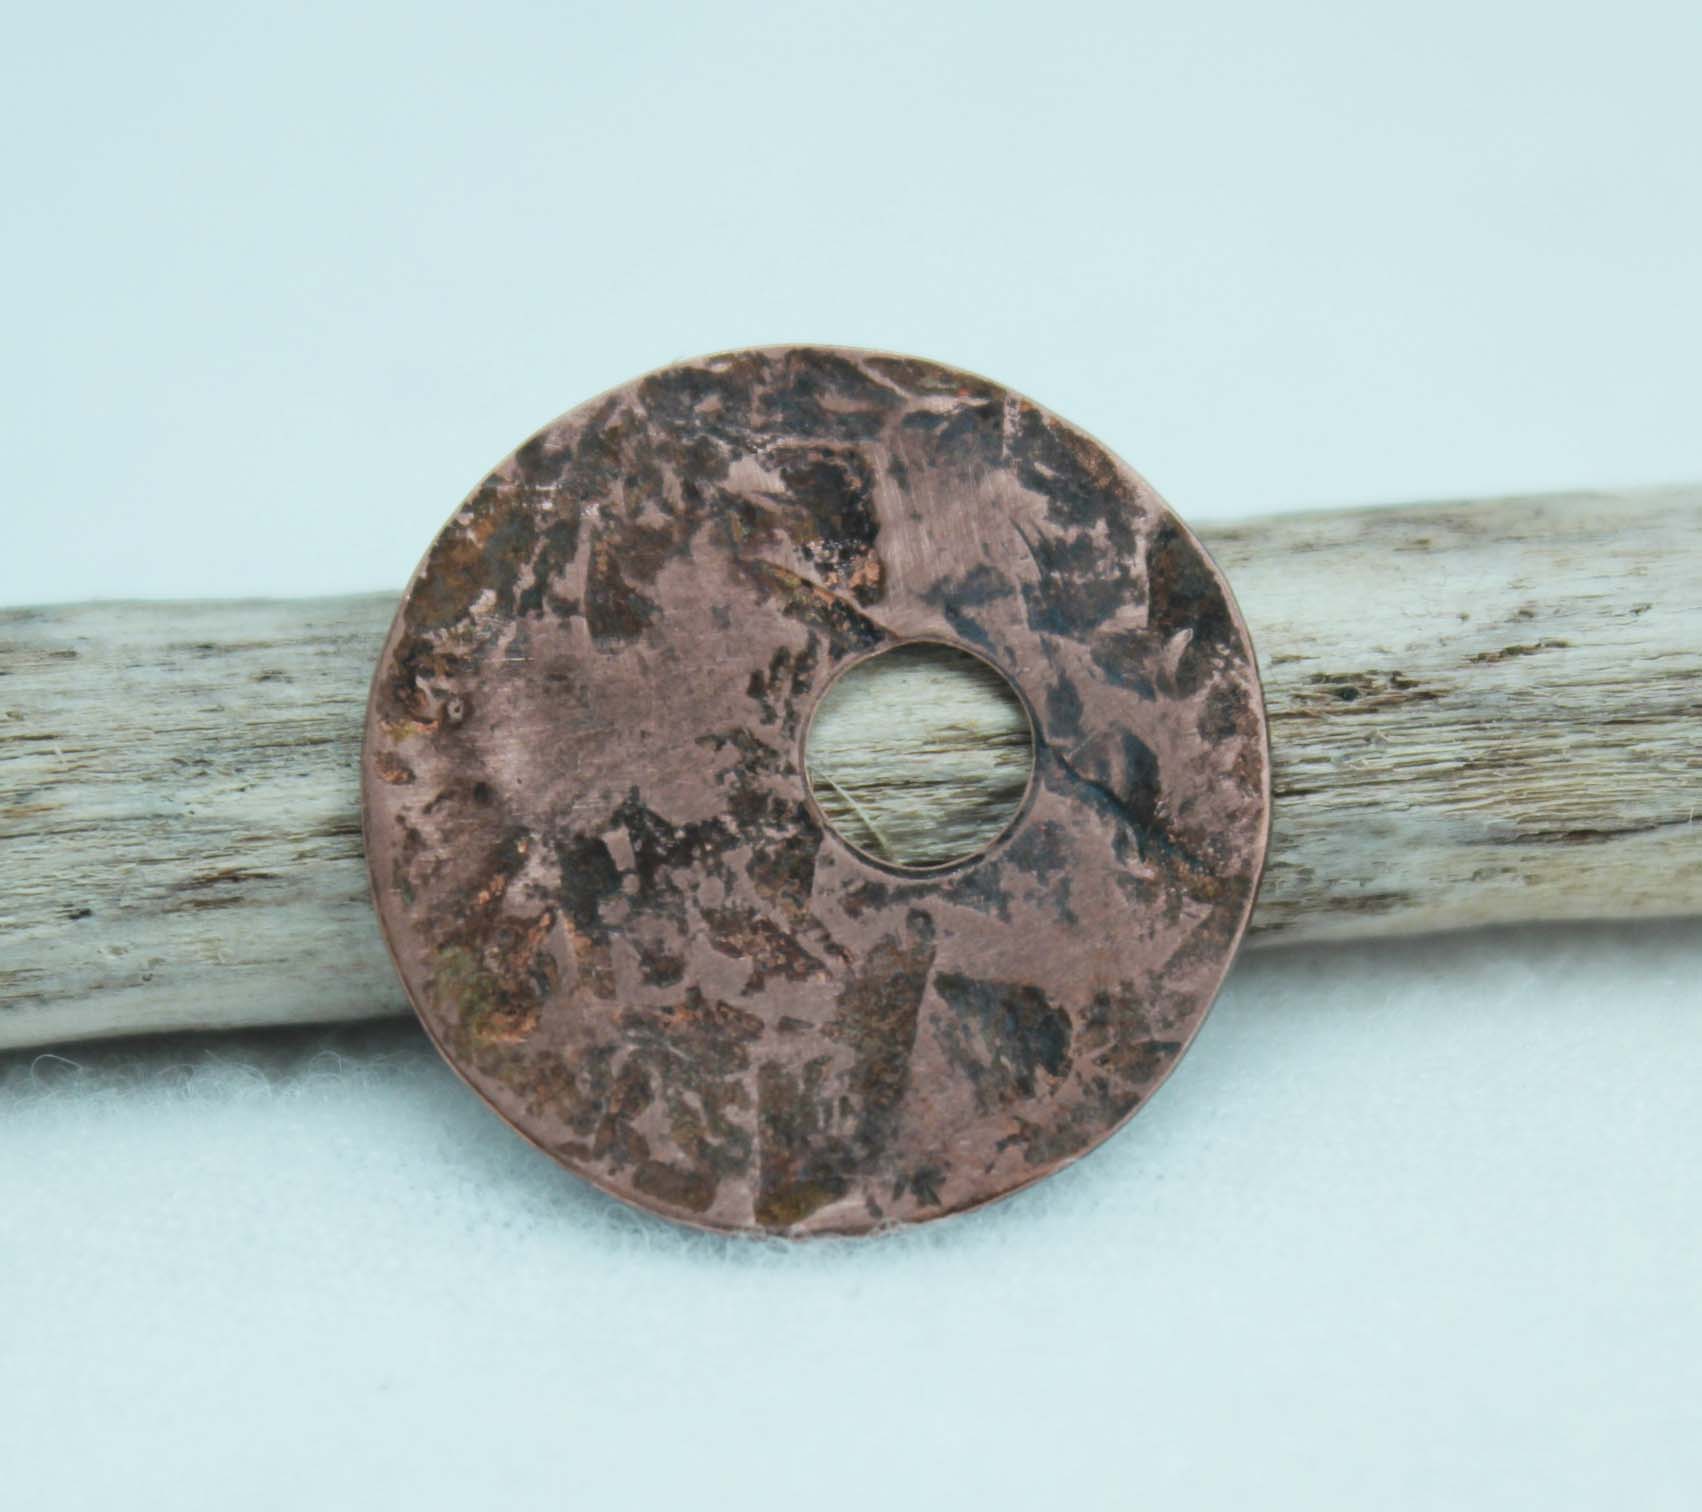
The brass hammer creates a beautiful look on the copper.
Other ideas
Letter stamps
I have yet to create patterns using letter stamps. I know some beautiful designs can be created using letters.
How about using nails or chisels? If using nails, make sure the piece is hardened so it won’t crush under the pressure from the brass hammer. Keep this in mind when visiting your local hardware store for jewelry making tools.
A quick tutorial for texturing metal
Tools you’ll need:
- Steel bench block
- Rubber or leather mat under the block
- If you’re stamping on metal, a brass hammer is required, and any other hammers or tools to be used as texturizing tools
With any of the tools we are using texturing metal, it’s important to find the right amount of force to use while striking. The point is to create texture on the metal. We don’t want to strike with so much force that we’re moving the metal and changing the shape of a piece altogether.
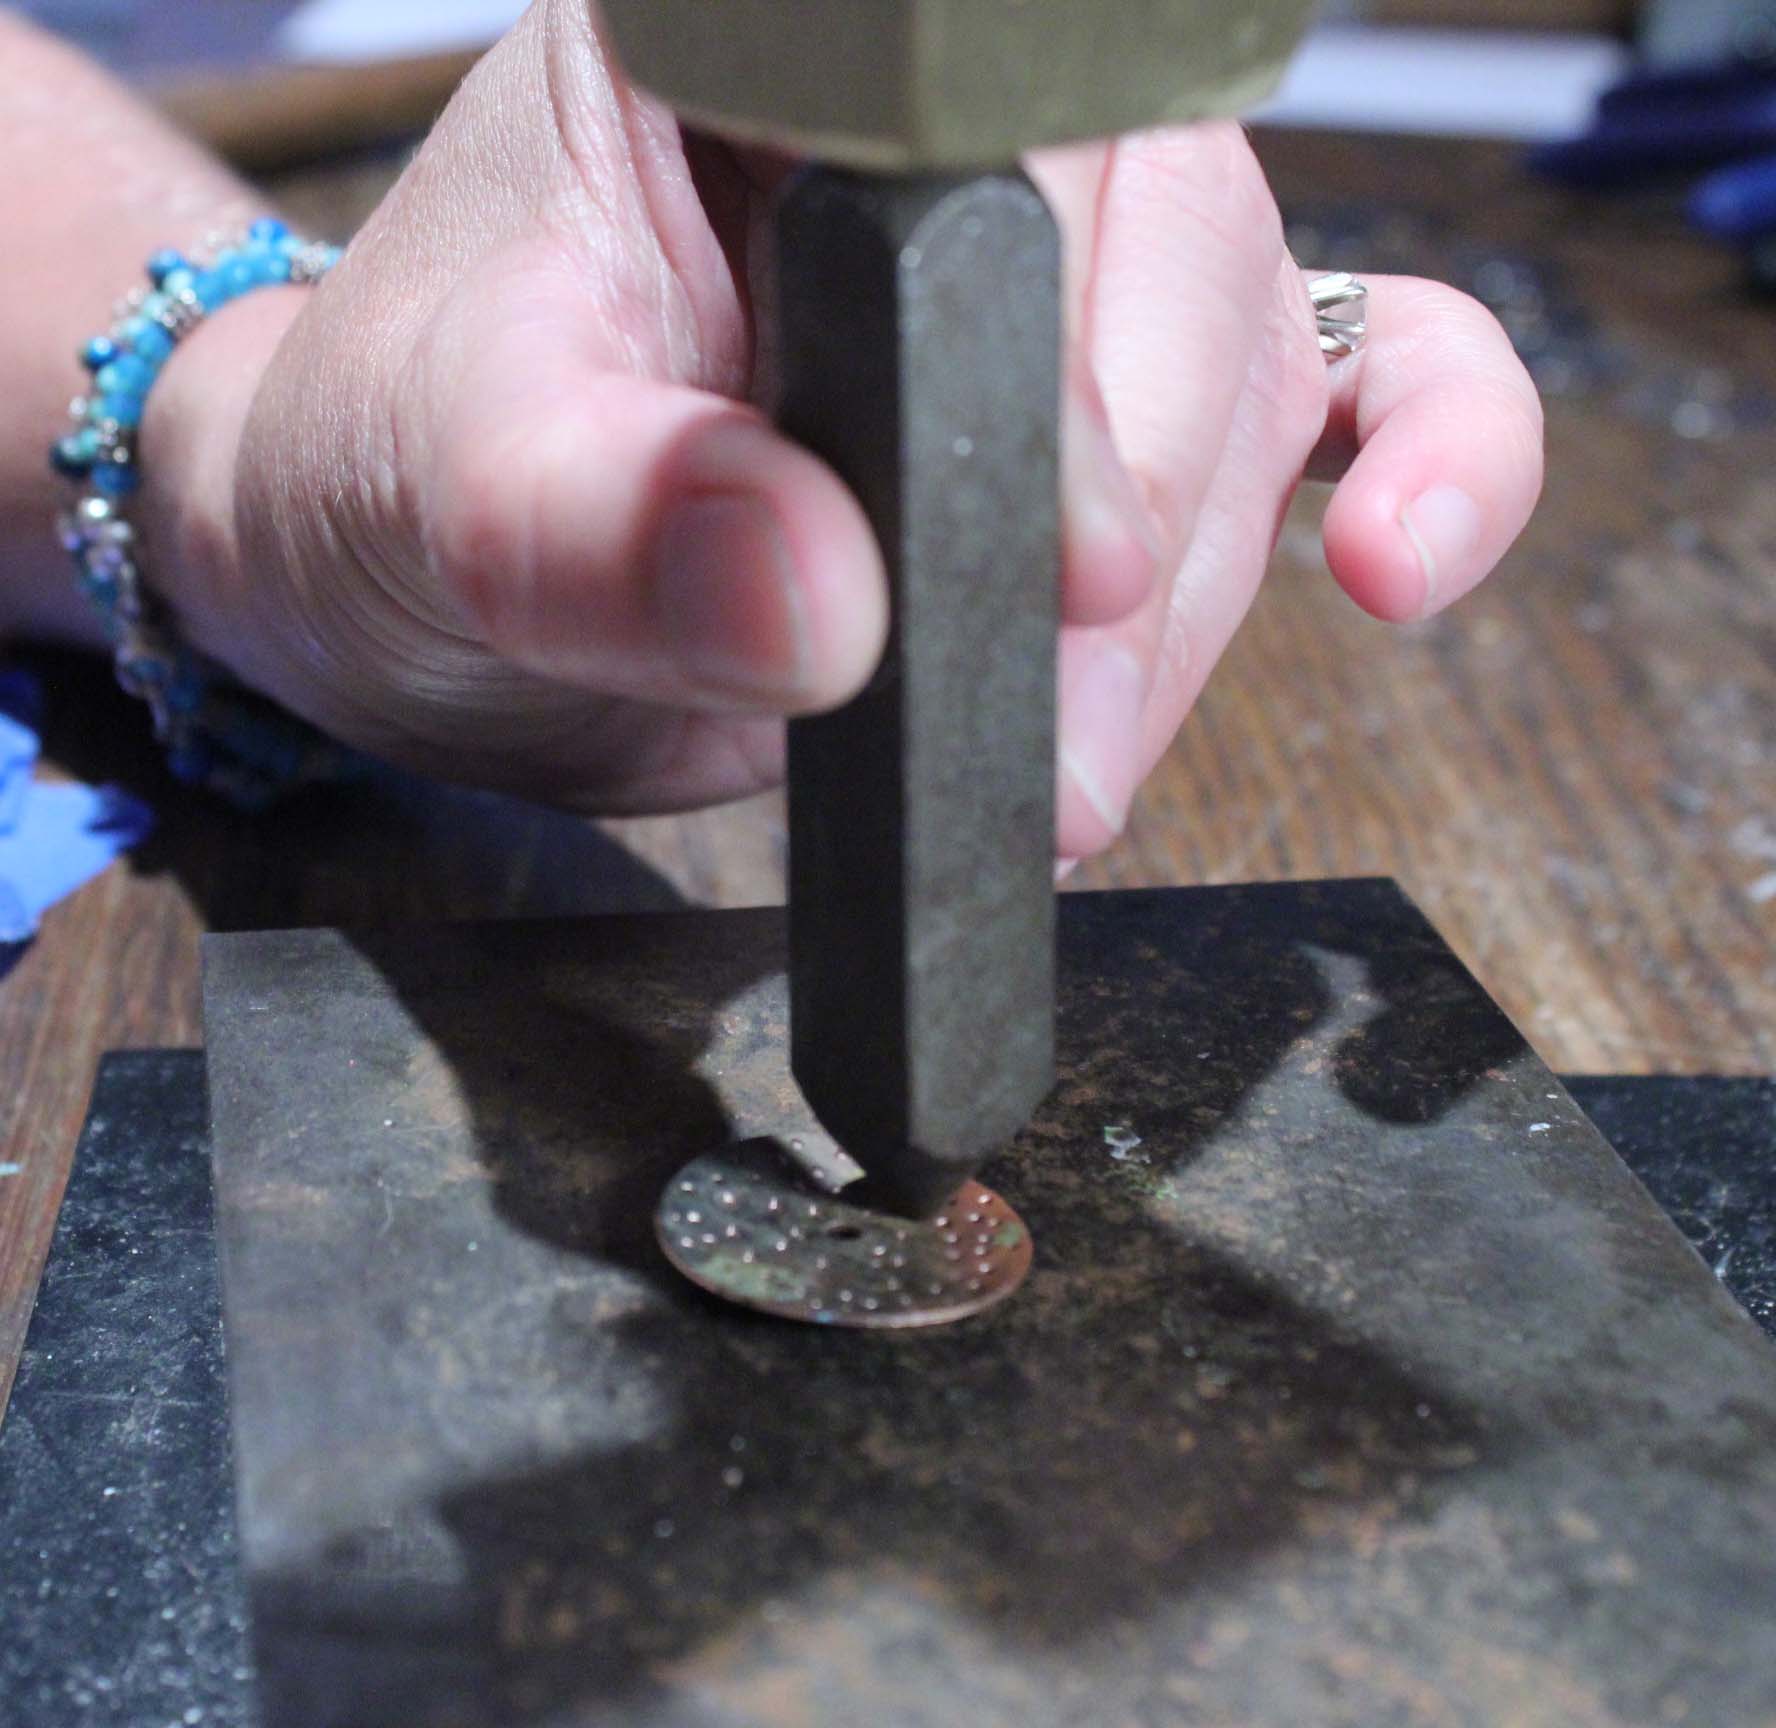
Use a stamp to add texture.
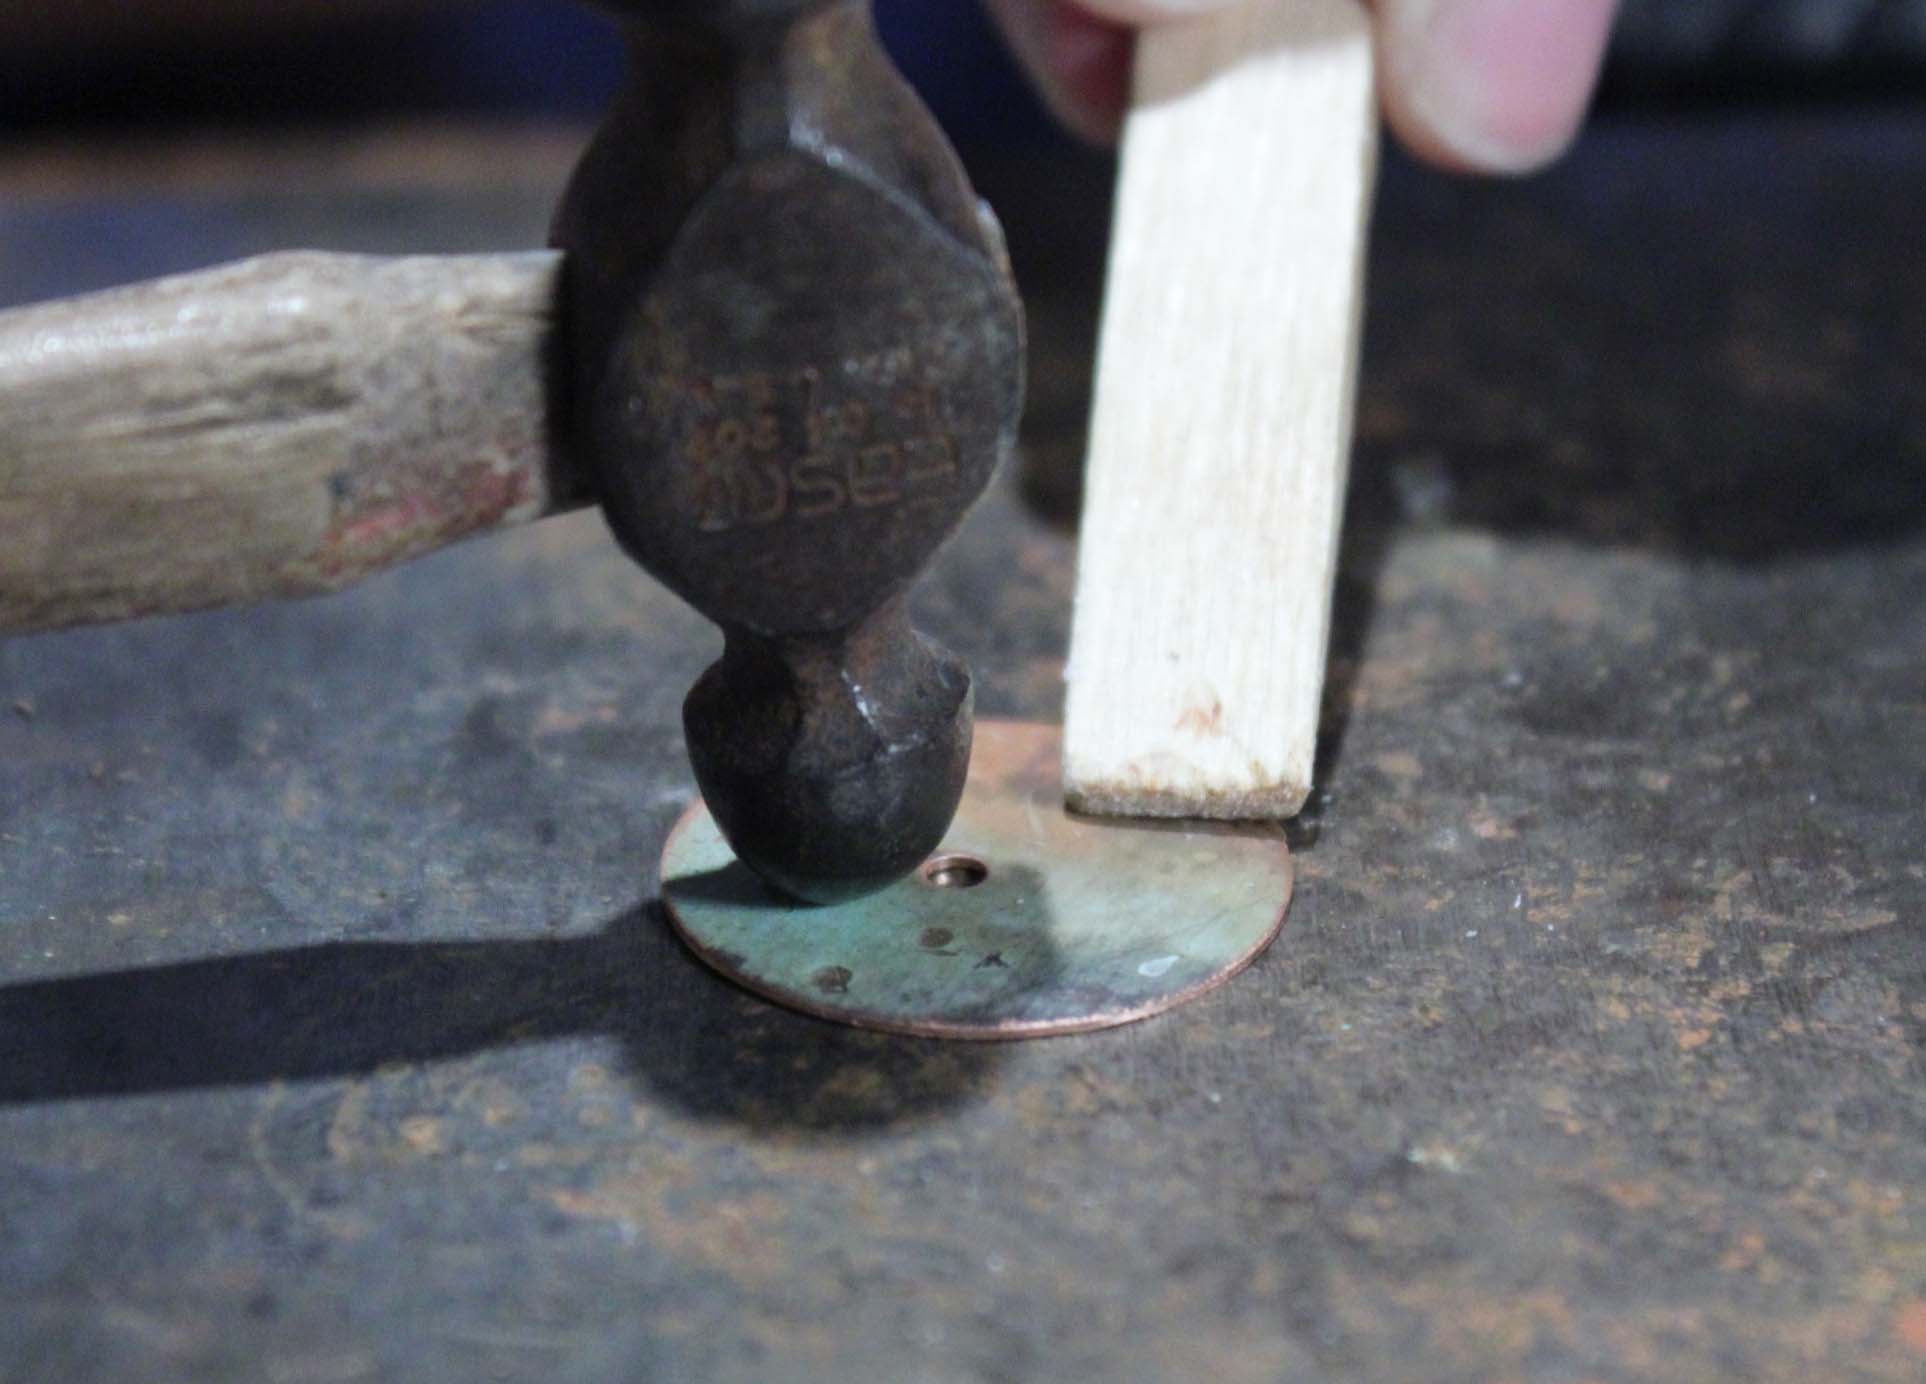
Use a ball peen hammer to texture the metal. Both ends of the hammer can be used and each will provide a different texture.
See the little trick in the photo above?
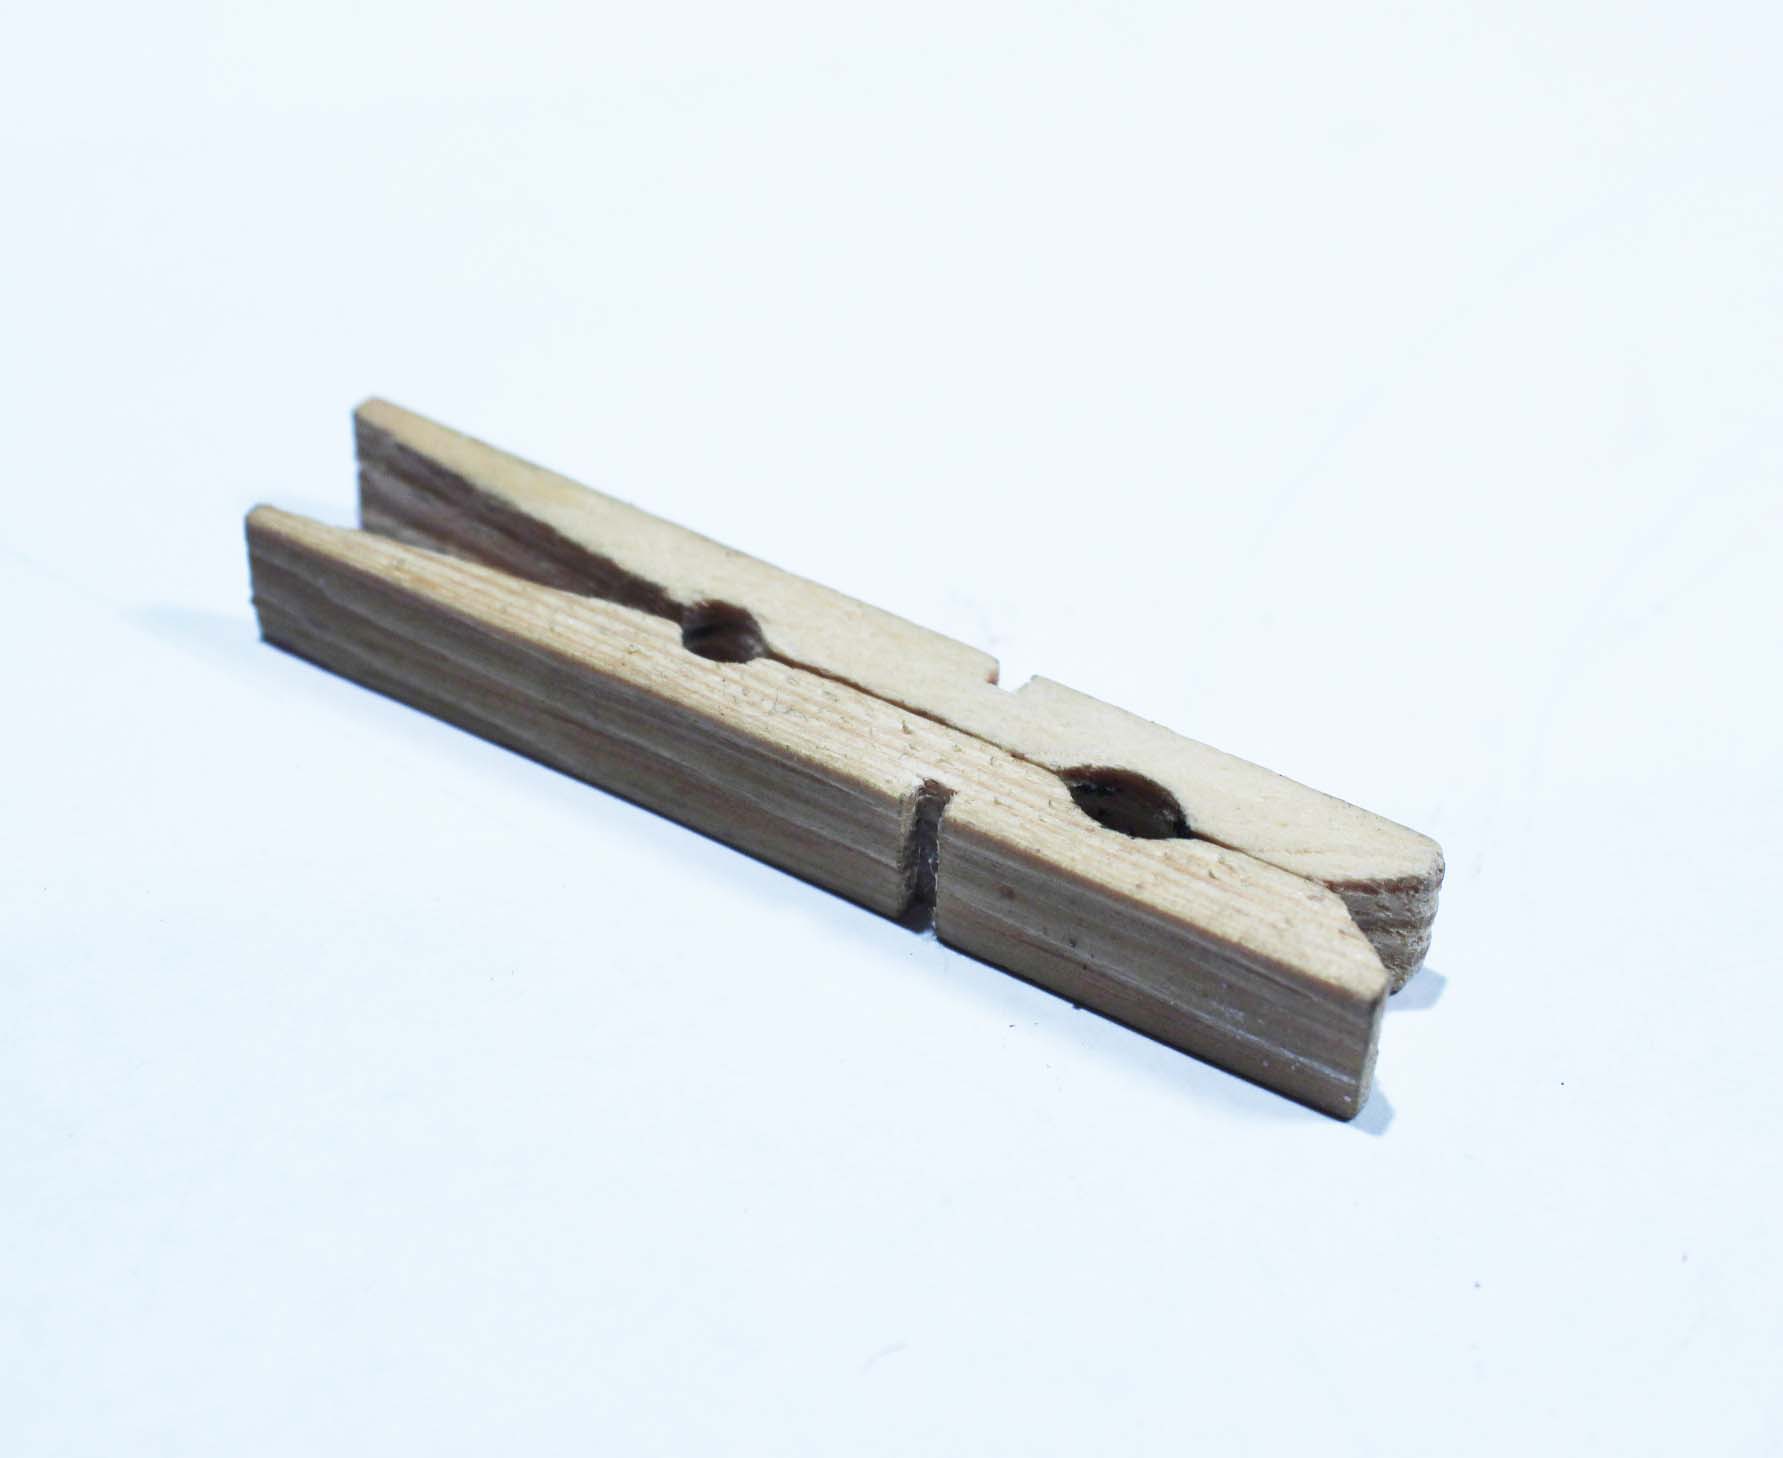
Remove the metal pieces from a wooden clothespin and use one half of the clothes pin to hold the metal pieces while striking. It’s a great save for the fingers!
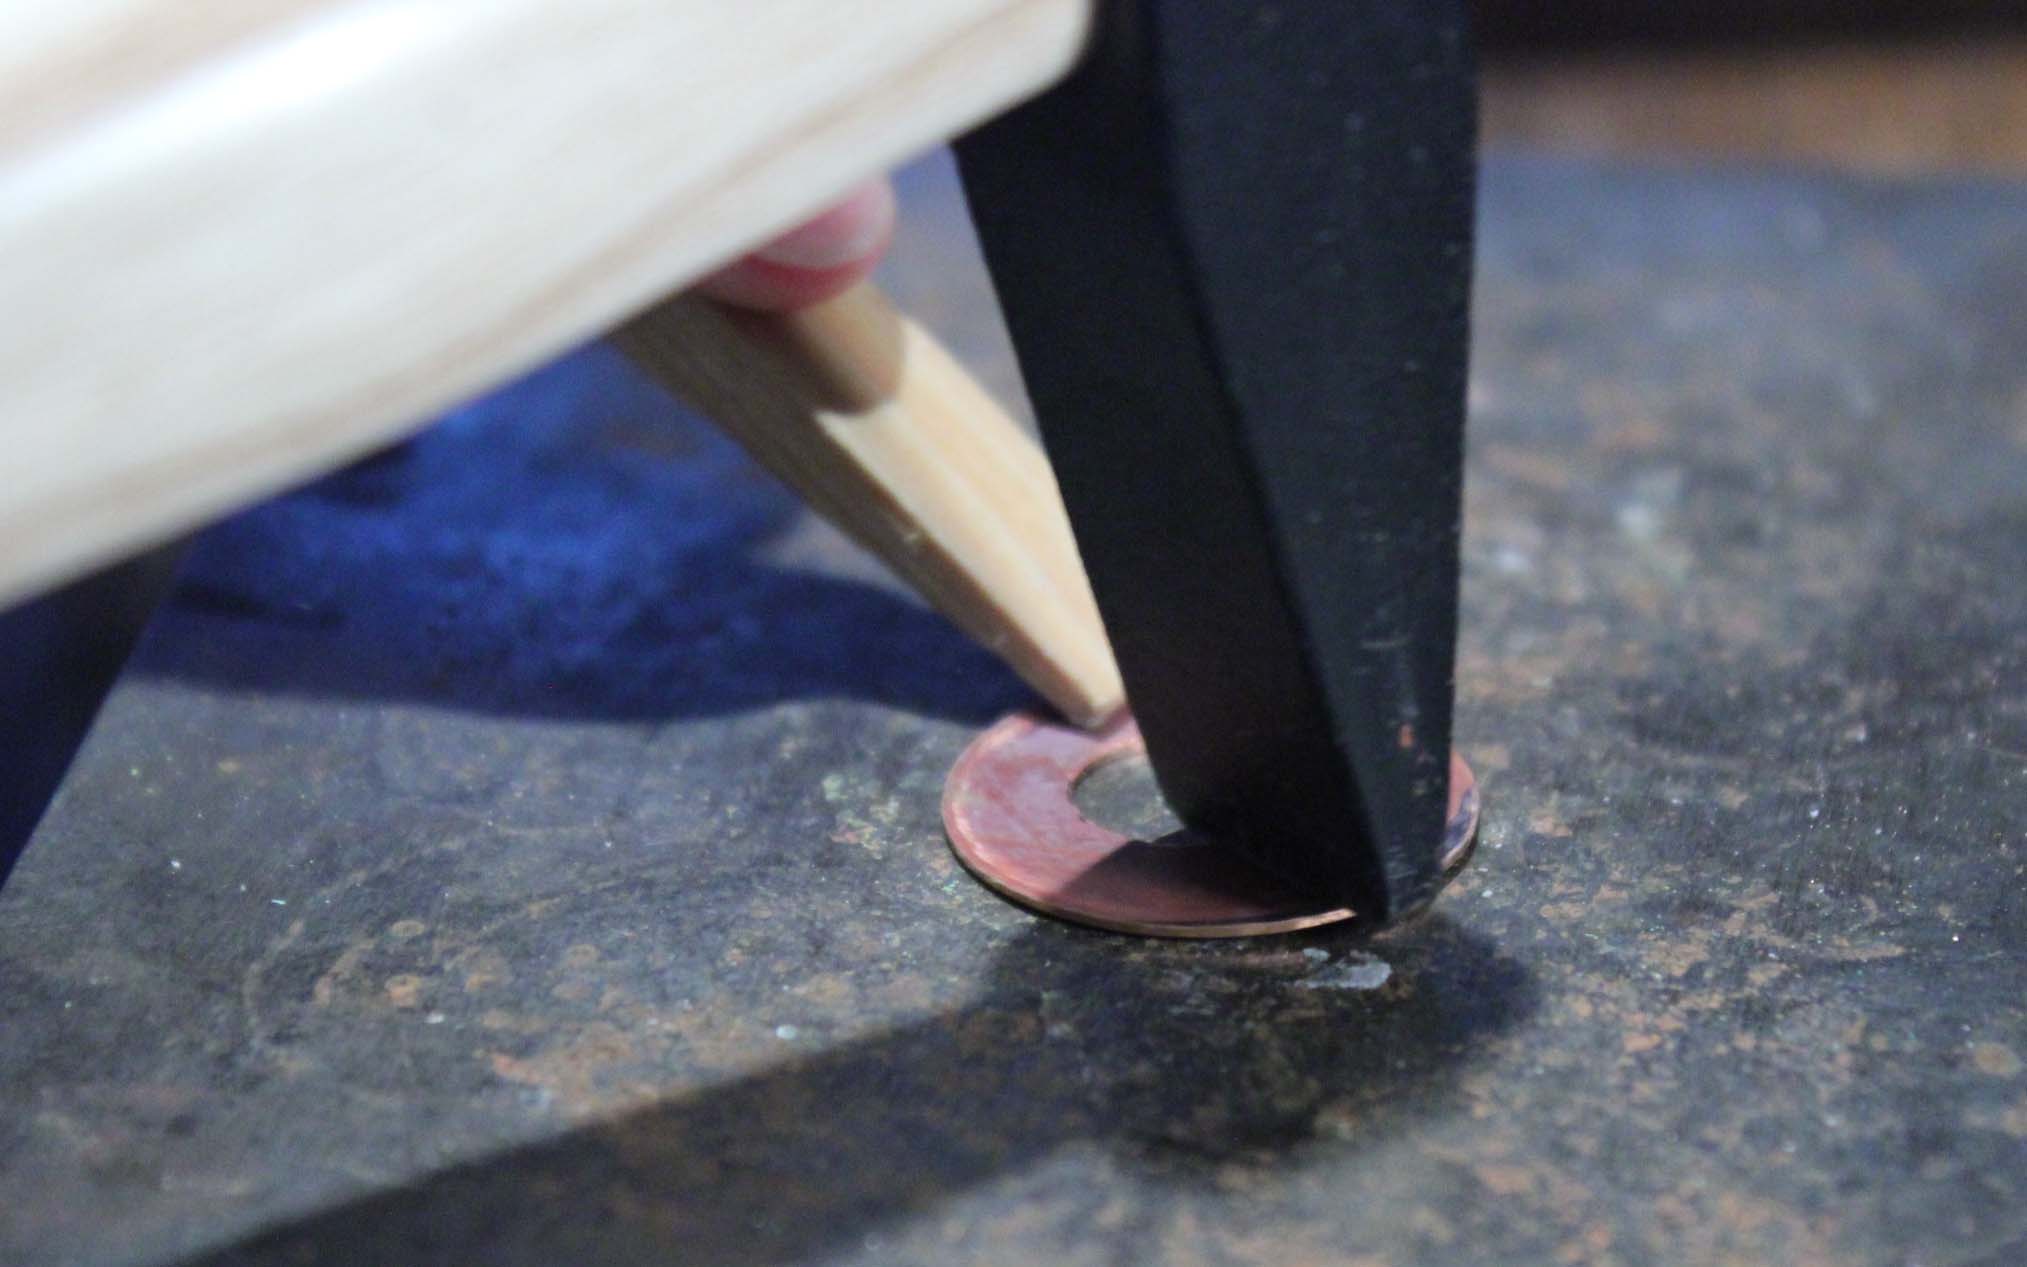
Use a riveting hammer to create texture. Both ends of the riveting tool create different textures. Use the corner of the square end to add elongated triangle shapes to a piece.
When striking the metal, it is best to avoid striking too close to the edge. It can cause your metal to become misshapen. Of course, you could use this as a design element by striking around the entire edge and use the intentionally misshaped piece. If this is your choice, just make sure there aren’t any sharp or ragged edges.
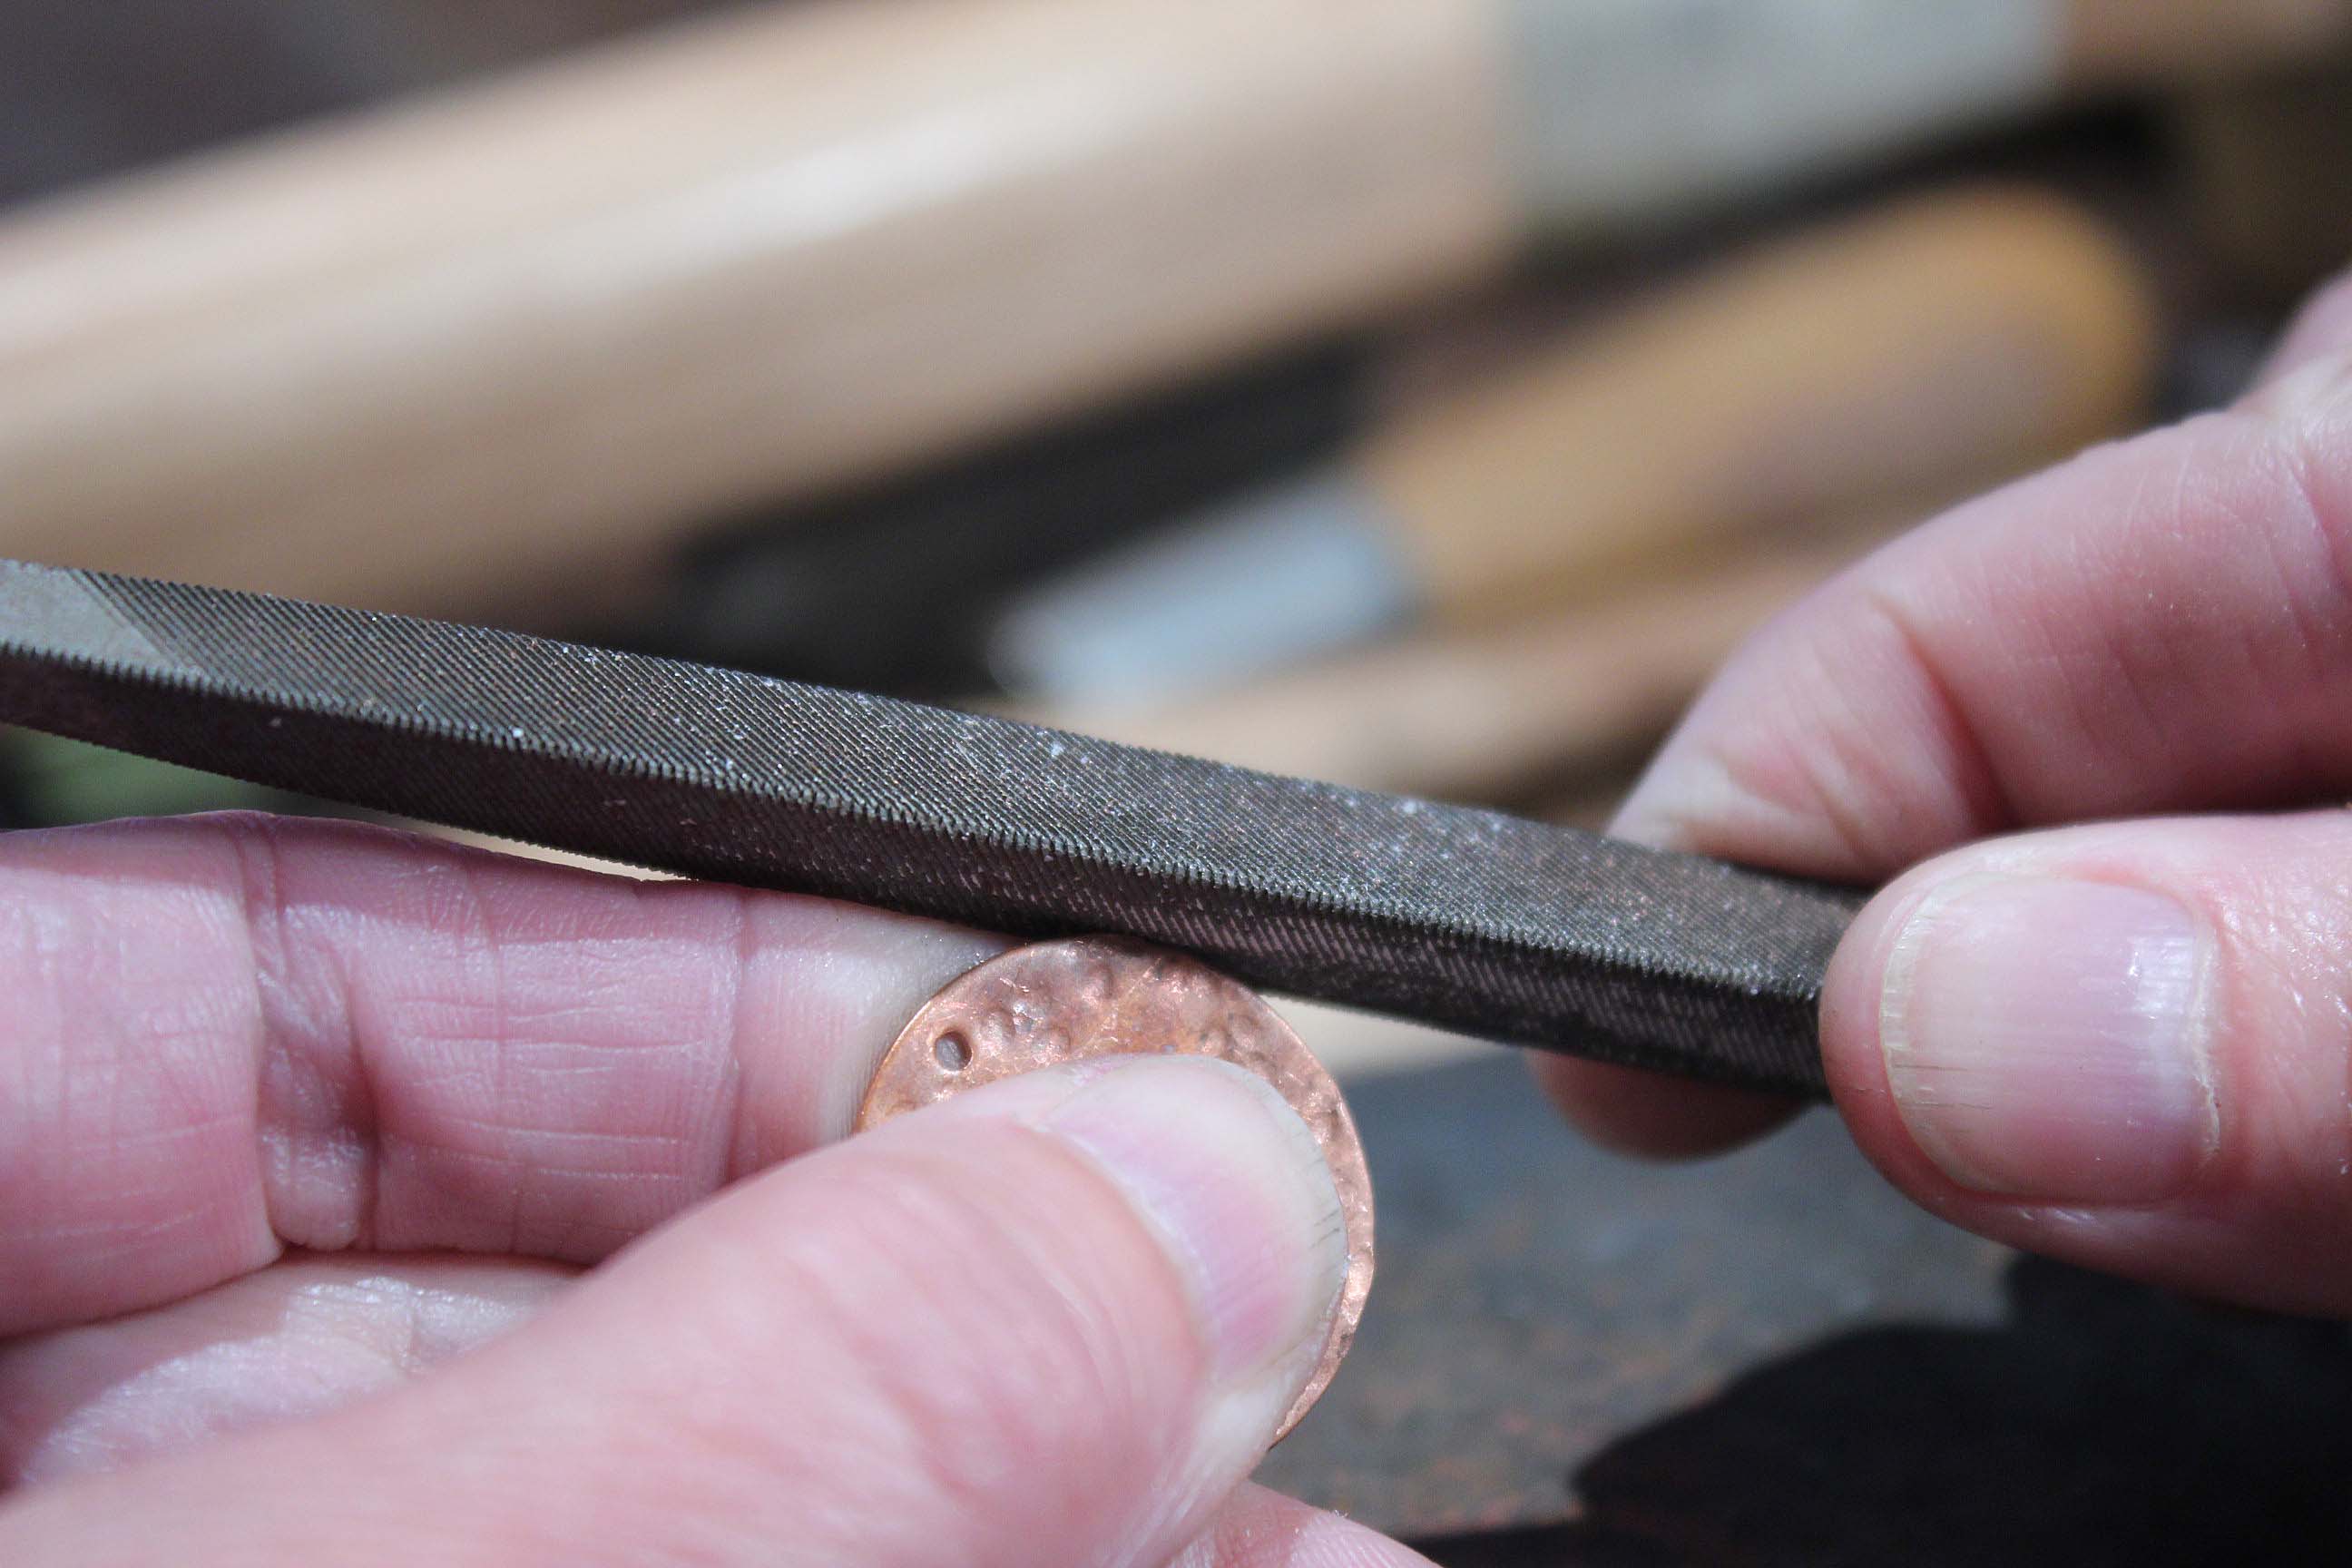
Remove unwanted misshaping of the edges with a file.
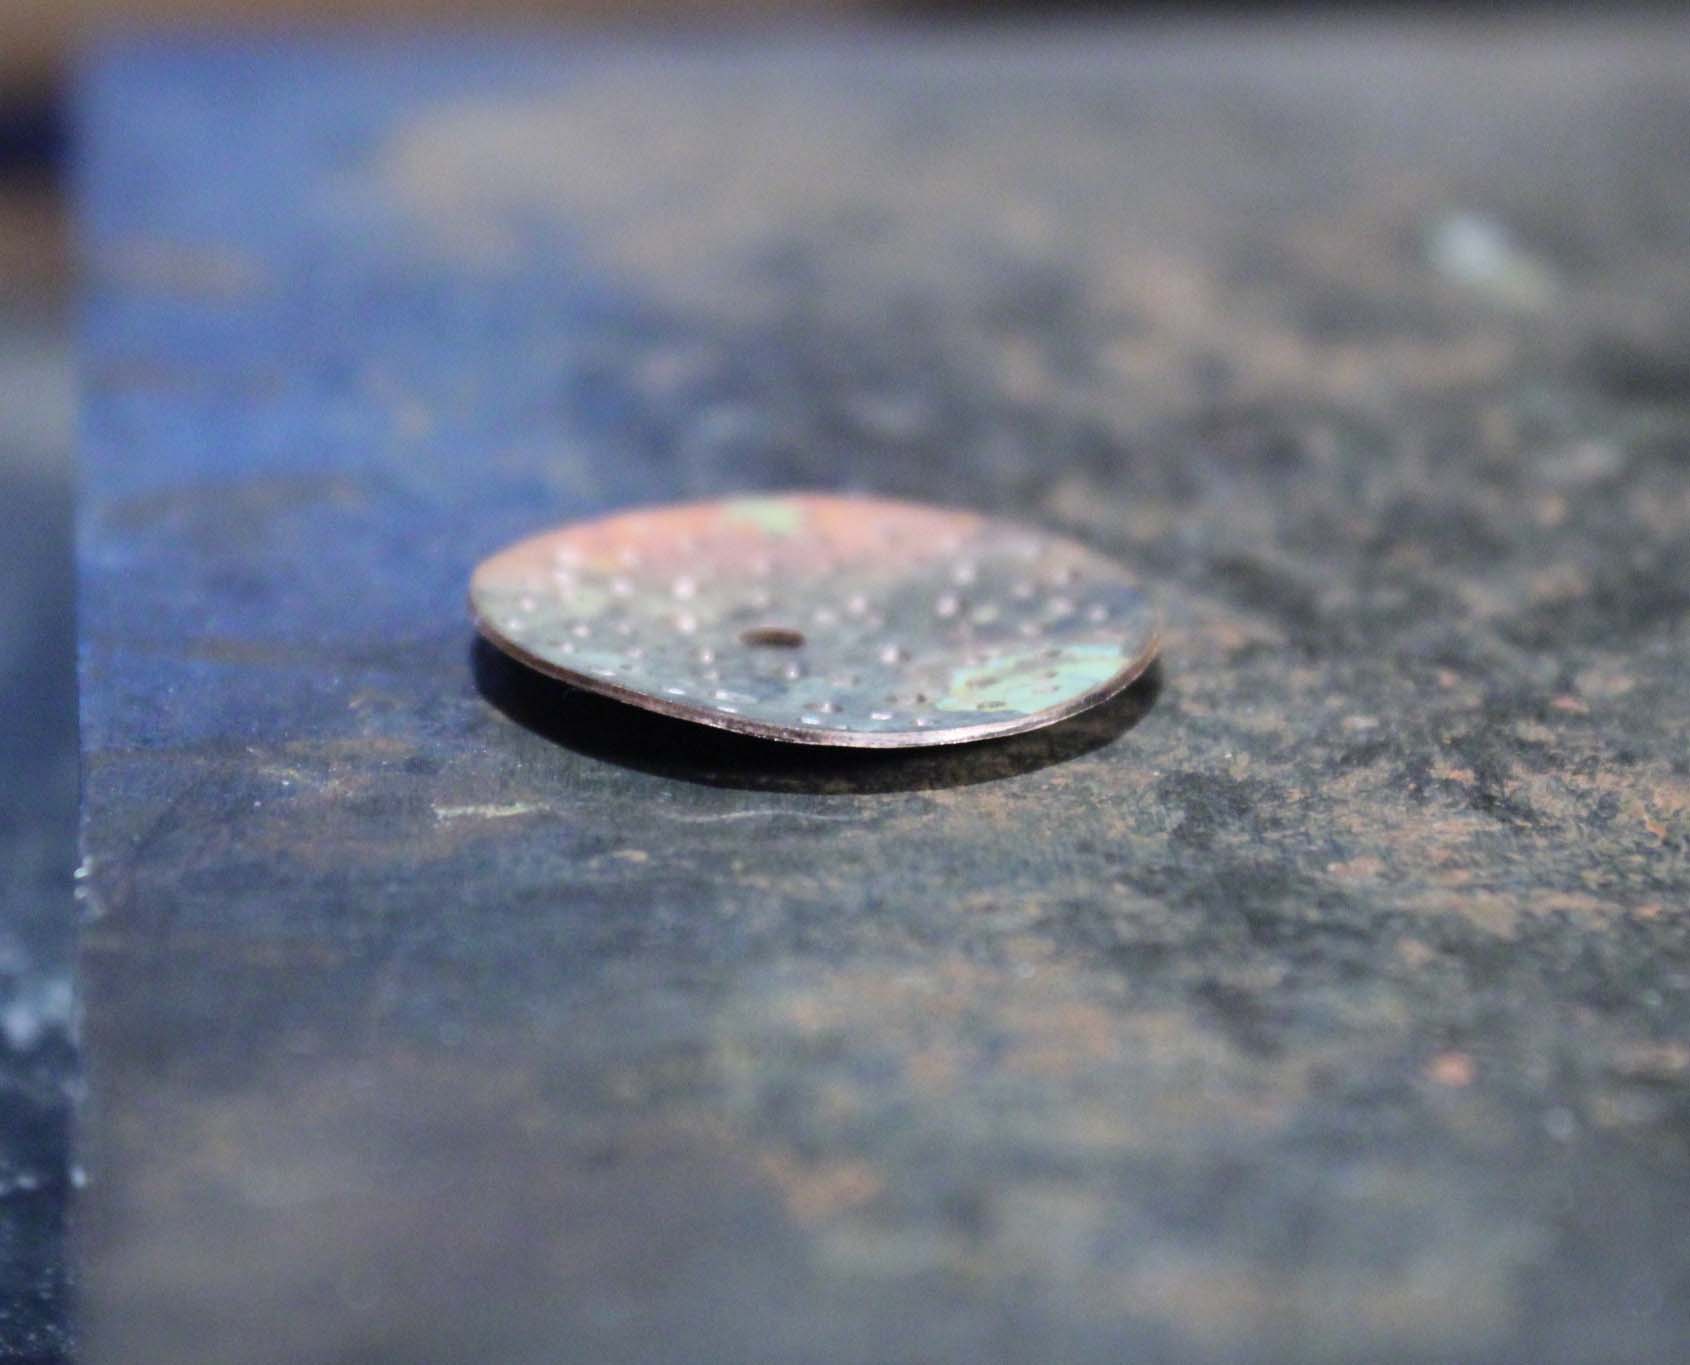
Repeated strikes on the same side of the metal will cause the metal to curve upward.
Correct this by turning the piece over so the back side is facing up.

Strike the metal with a rubber mallet to flatten, as many times as in necessary.
Nice and flat again. Ready for the tumbler.
Finish your pieces by adding liver of sulfer patina. Use a 1200 grit wet/dry sandpaper to lightly bring up the raised copper and accentuate the textures you’ve created.
Get creative. Search your surroundings and see what you can find to add texture to metal.
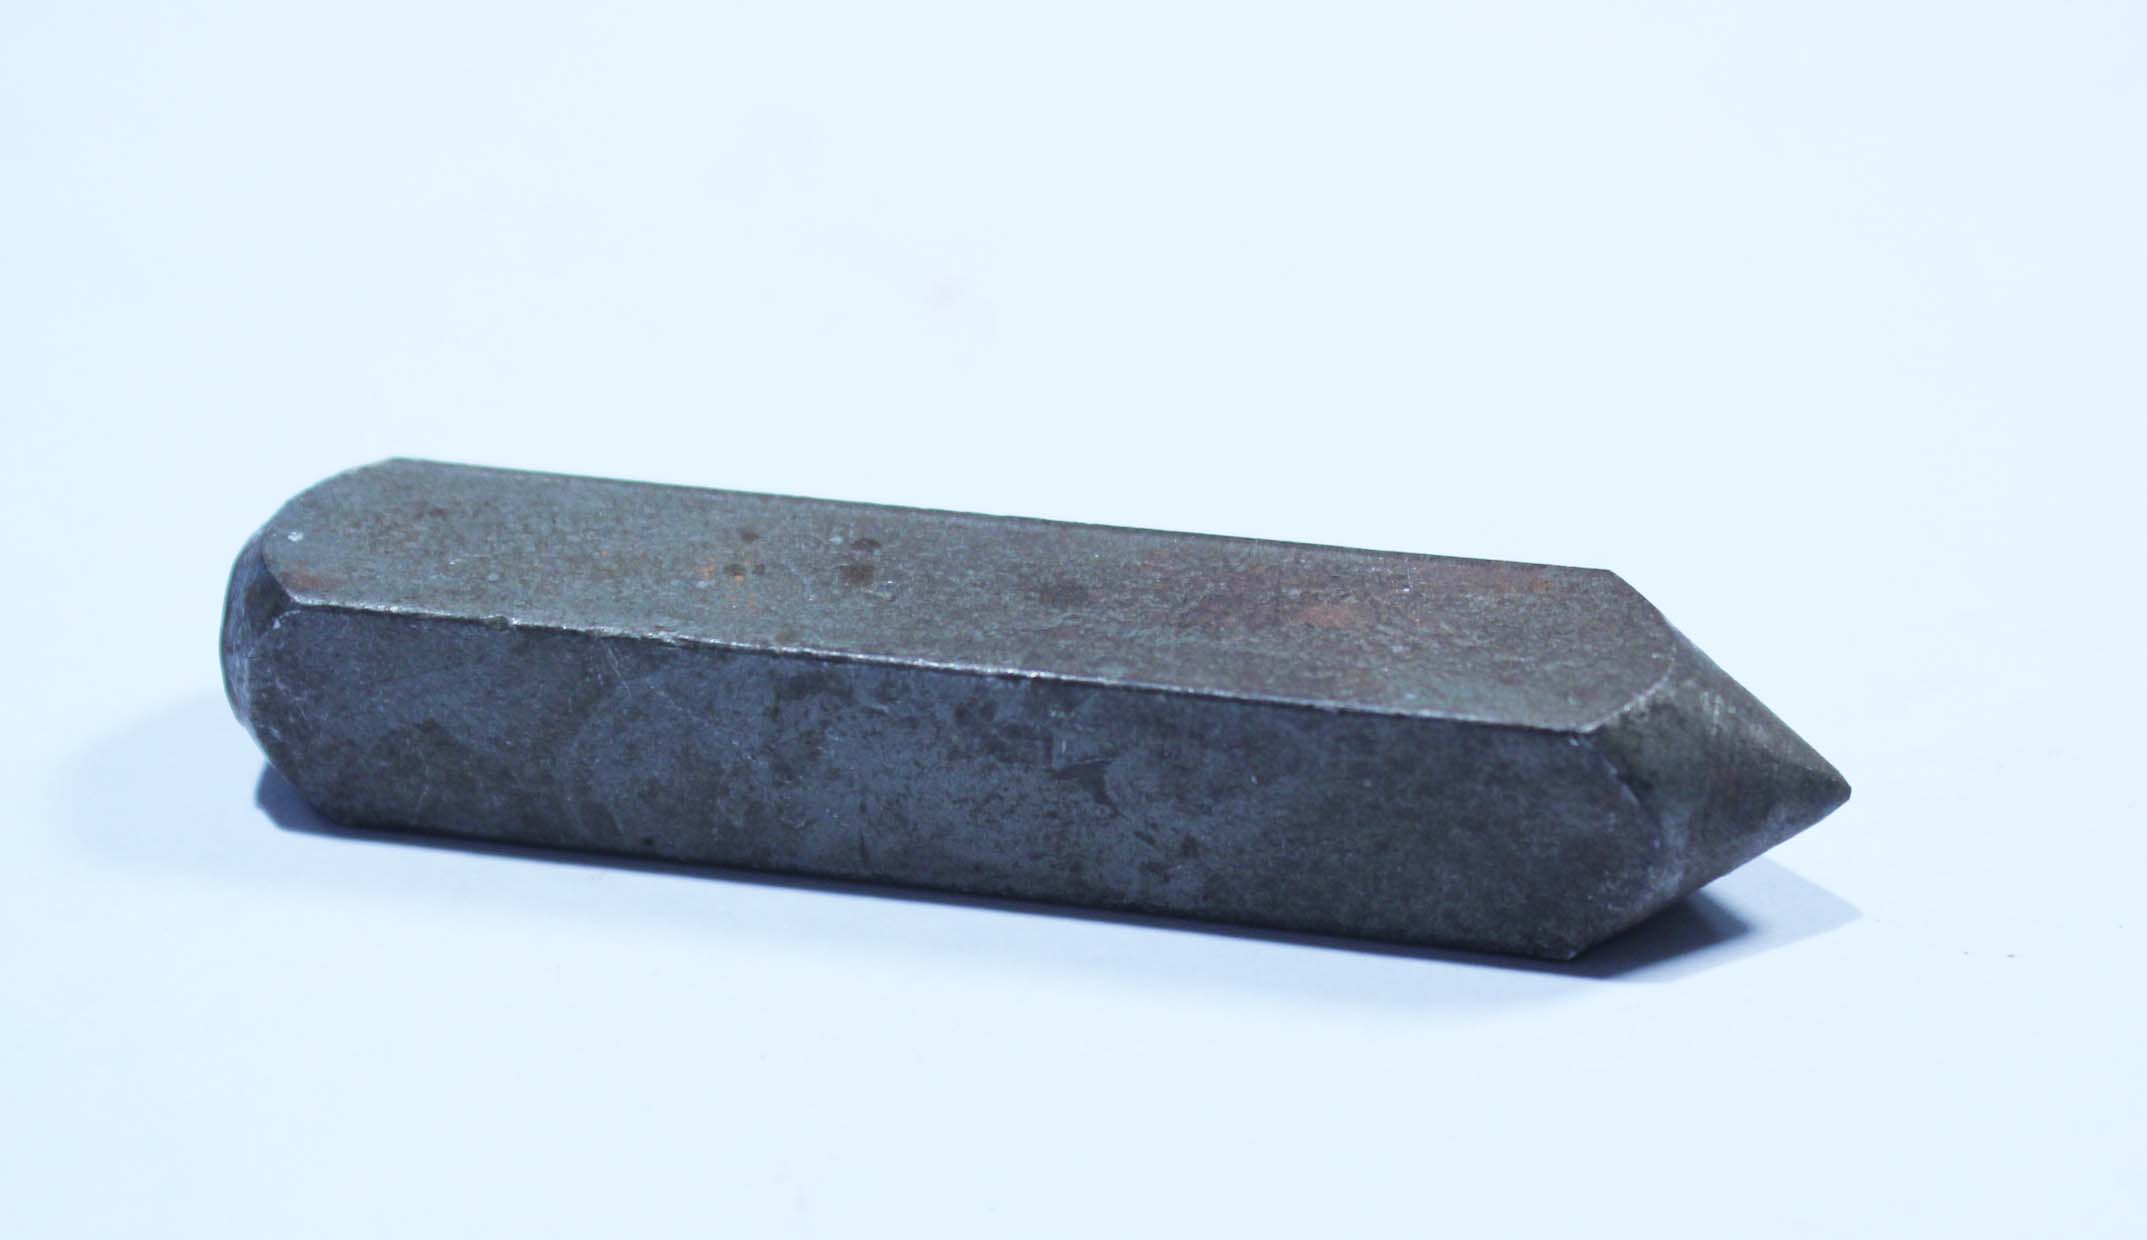
center punches