French hand sewing is very similar to heirloom sewing, which achieves the look of French hand sewing with the assistance of a sewing machine.
Both French hand sewing and heirloom sewing are characterized by intricate details, such as pintucks, lace, and smocking. Garments are typically made from fine, sheer fabrics, like linen and cotton, and are usually white. French hand-sewing techniques usually appear on children’s garments (particularly for infants), women’s blouses, lingerie and wedding gowns.
Here are three French hand-sewing techniques:
French seam:
One technique you’ll want to master is the French seam. French seams are ideal for lightweight and sheer fabric because the raw edge of the fabric is neatly hidden away. Keep in mind that although the technique is demonstrated on a sewing machine, you can also hand sew a French seam, though that would probably only be an appealing option when you are working on children’s garments.
Lace insertion:
This is a fairly straightforward technique and a good starting point if you are new to heirloom or French hand sewing. For this technique, you’ll need lace that is straight on both edges, a water-soluble pen, fine thread and a needle appropriate for delicate fabric. I did this on my sewing machine, but you could also do this by hand for authentic French hand sewing.
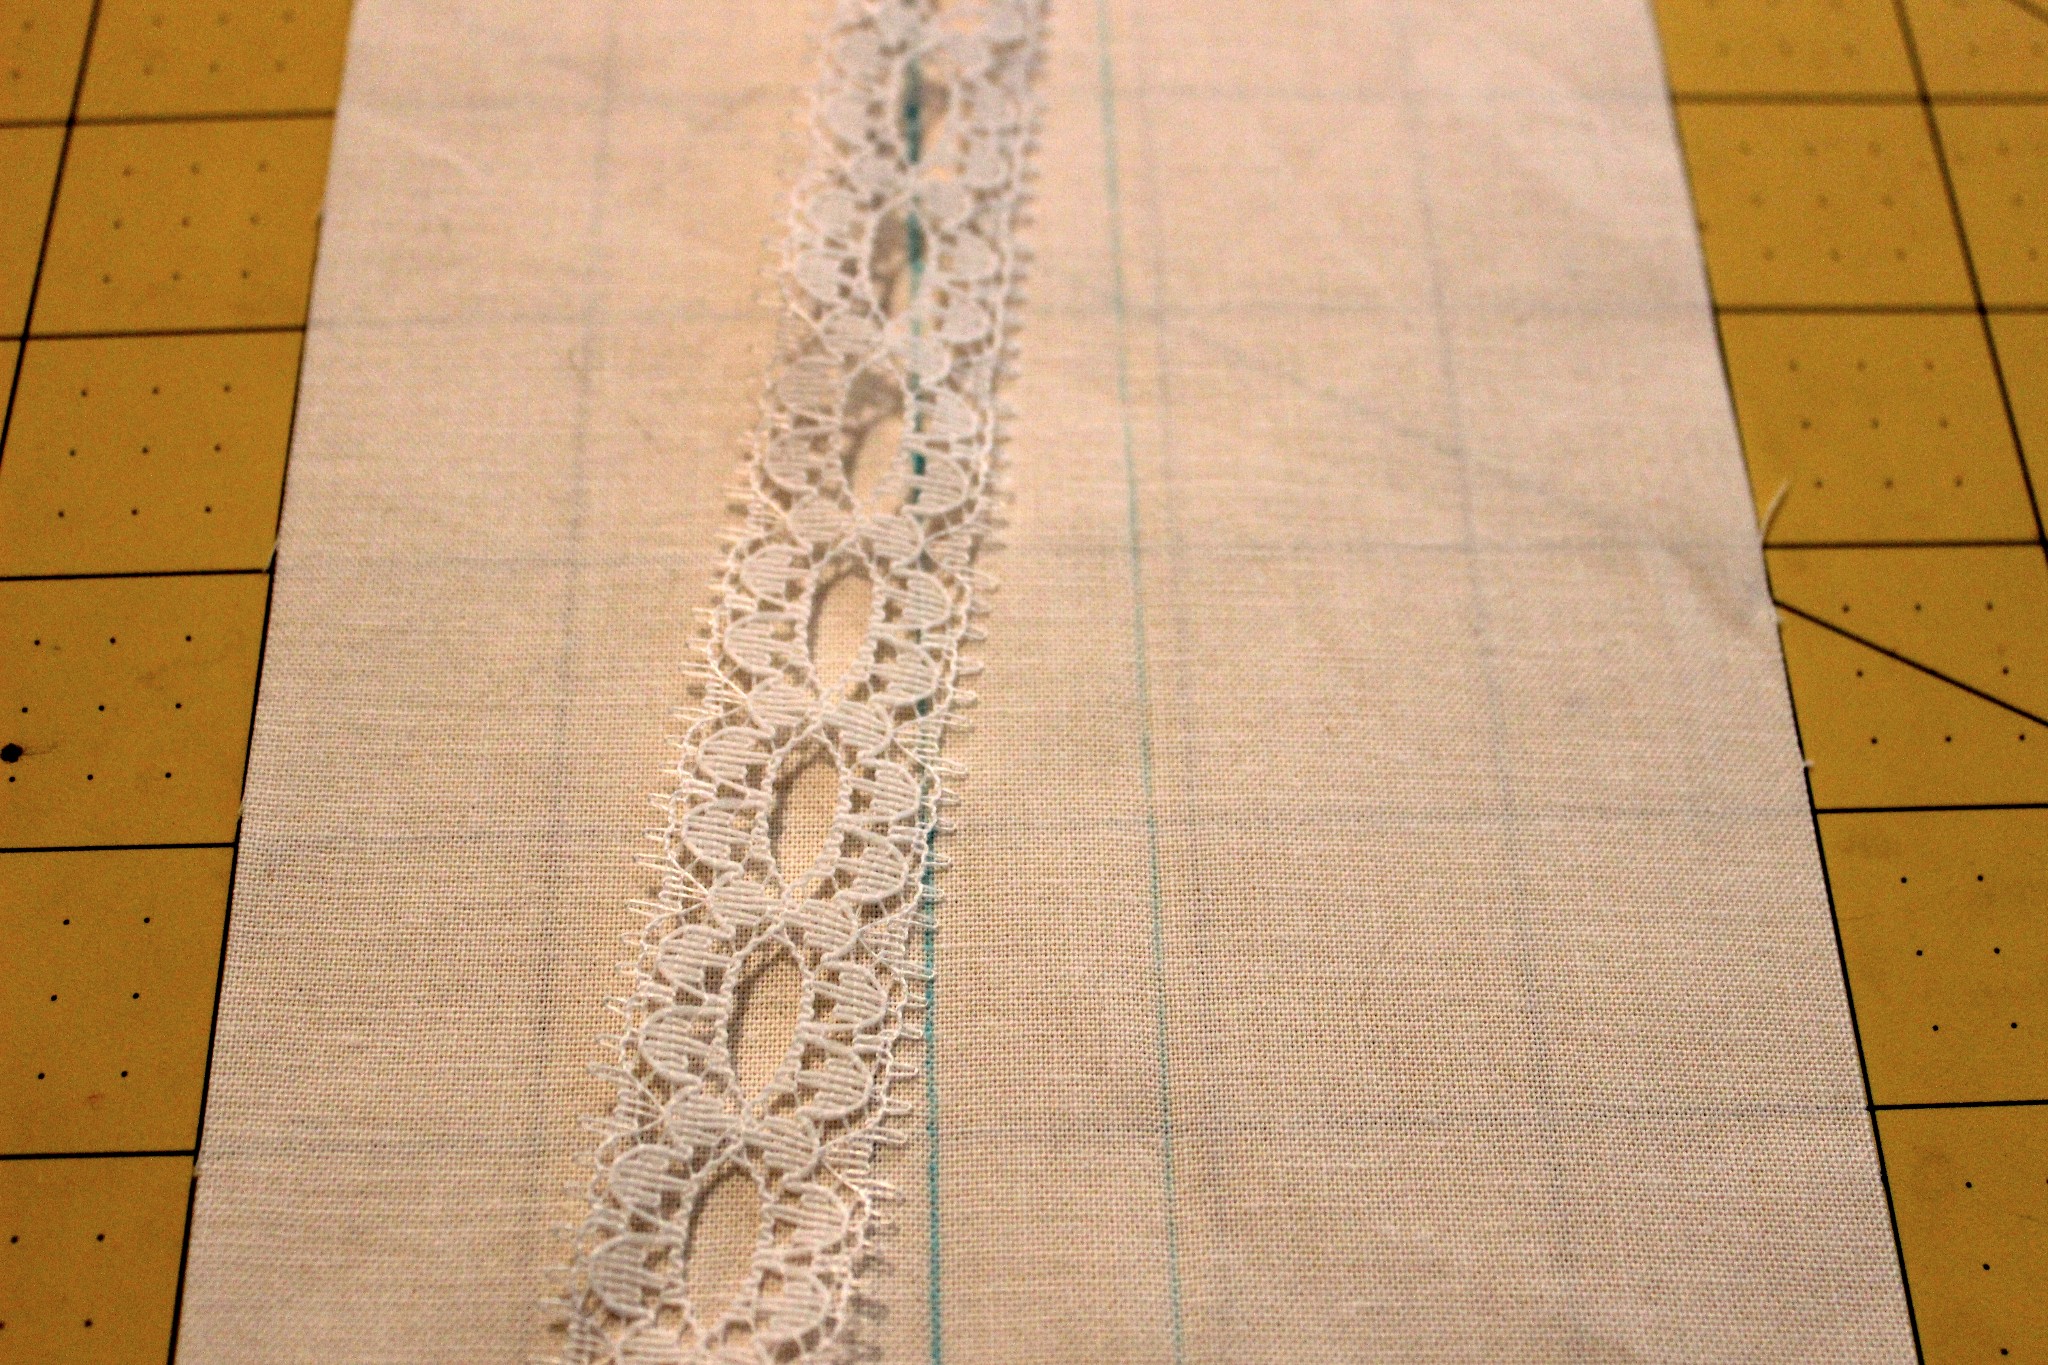
Step 1: Using the water-soluble pen on the right side of the fabric, mark the placement of the lace. Be sure to always test your pen first if you’re not sure the markings will come out.
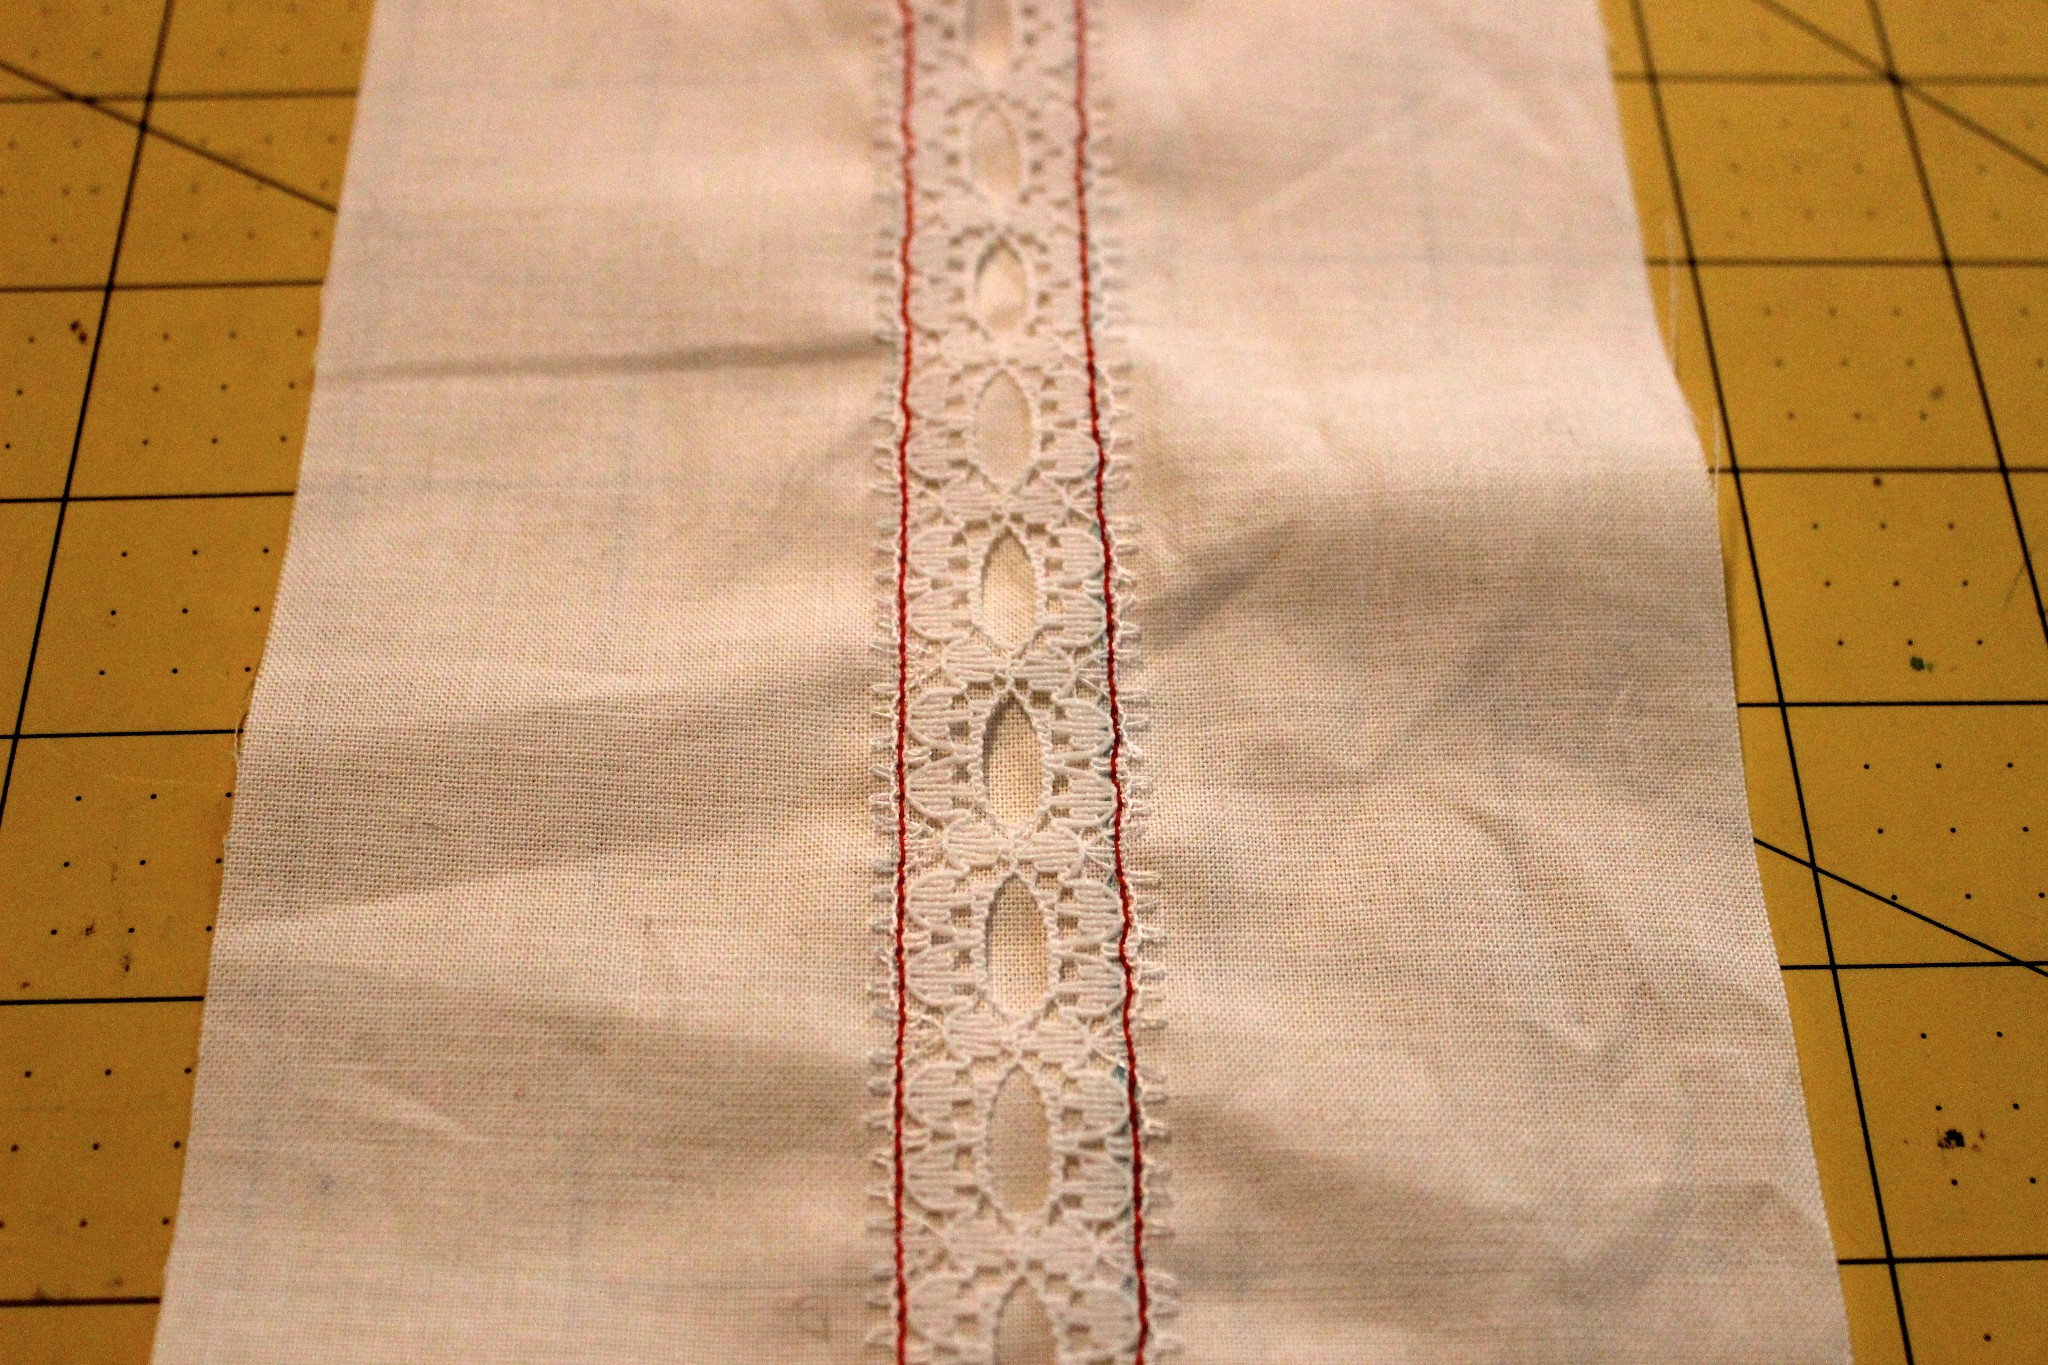
Step 2: Using a straight stitch with a length of 2.0, stitch down the length of the lace, close to the edge.
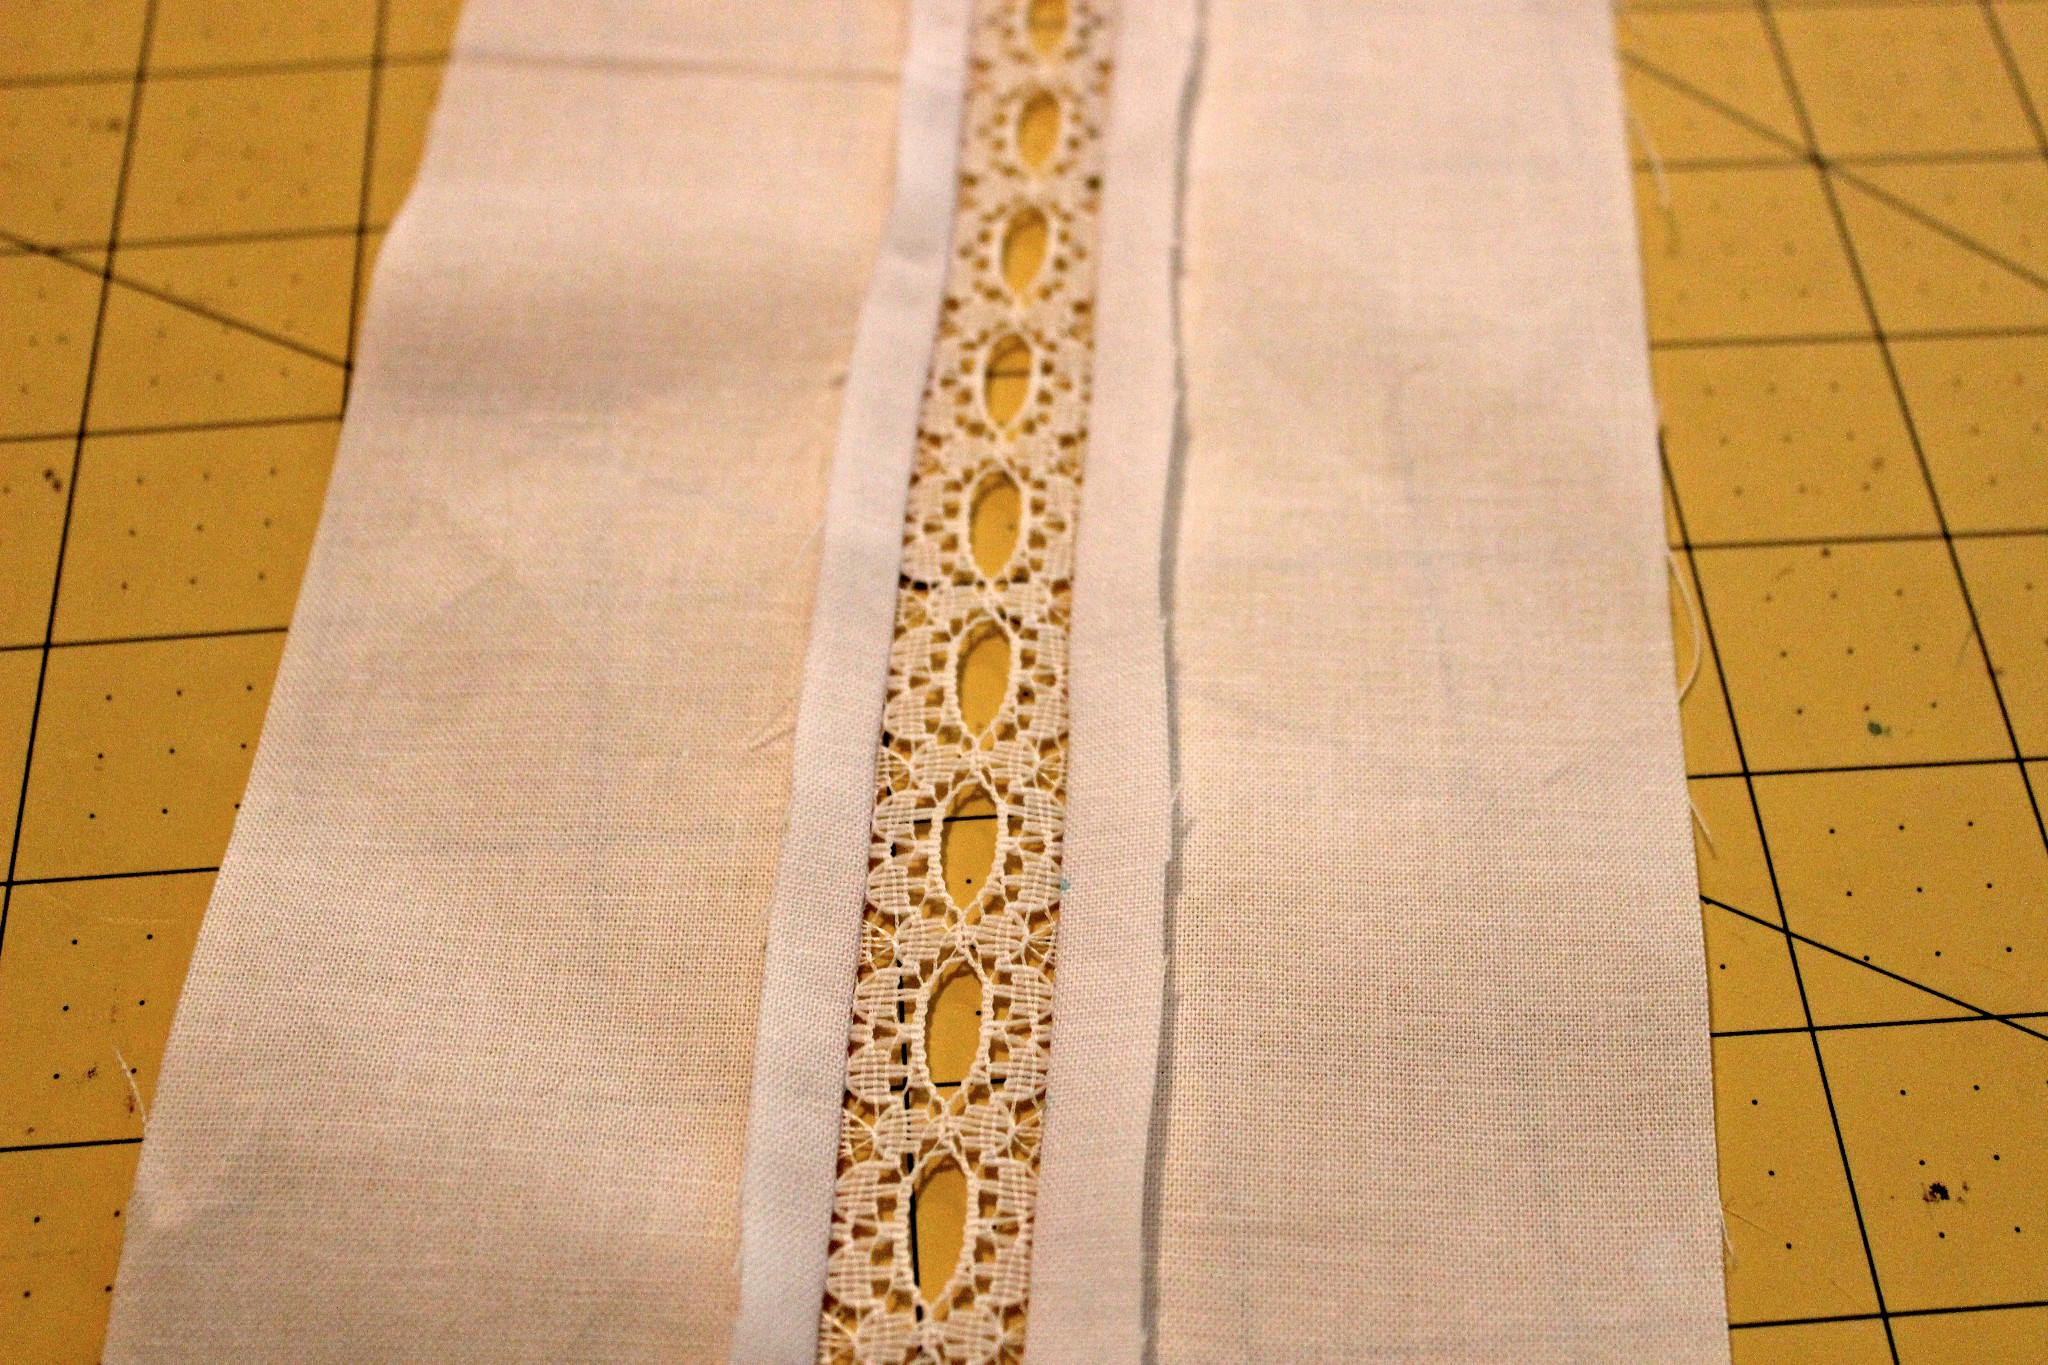
Step 3: On the wrong side of the fabric, cut through the fabric between the stitching lines, being careful not to cut the lace. Press the fabric away from the lace.
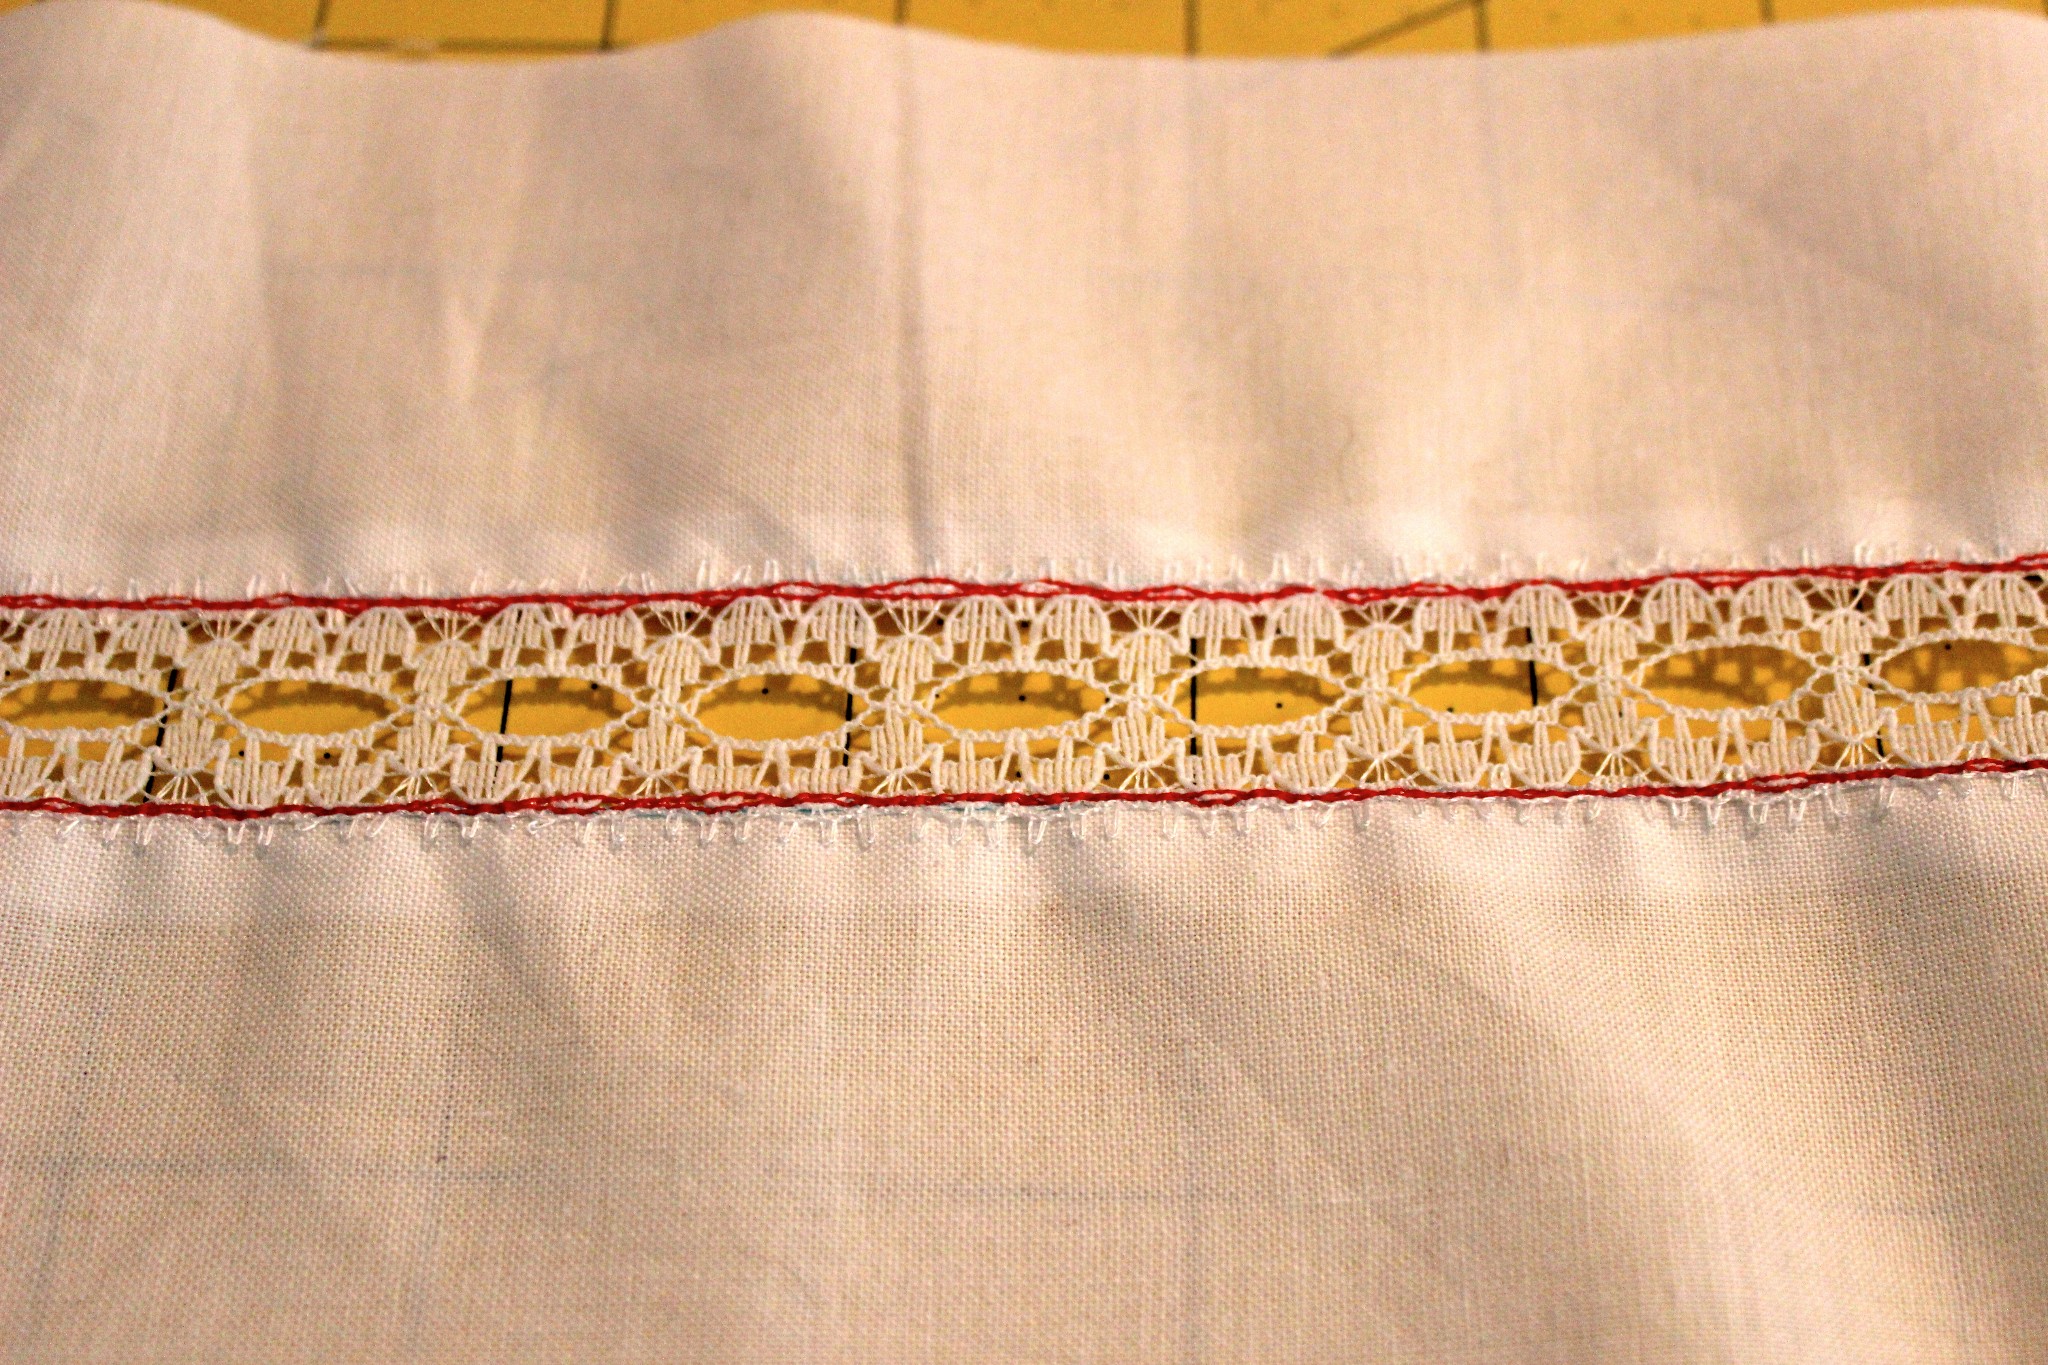
Step 4: On the right side of the fabric, use a zigzag stitch with a 2.0 length and 0.7 width to stitch over the previous stitching line. This should catch some of the fabric you pressed away from the lace on the back.
Step 5: Trim away the excess fabric on the wrong side of the fabric, press and starch the lace.
Pintucks:
Tiny pintucks also make frequent appearances in French hand sewing. For this technique, you’ll need a ruler, a water-soluble pen, and straight pins. Again, I did this on my machine, but you can do it by hand as well.
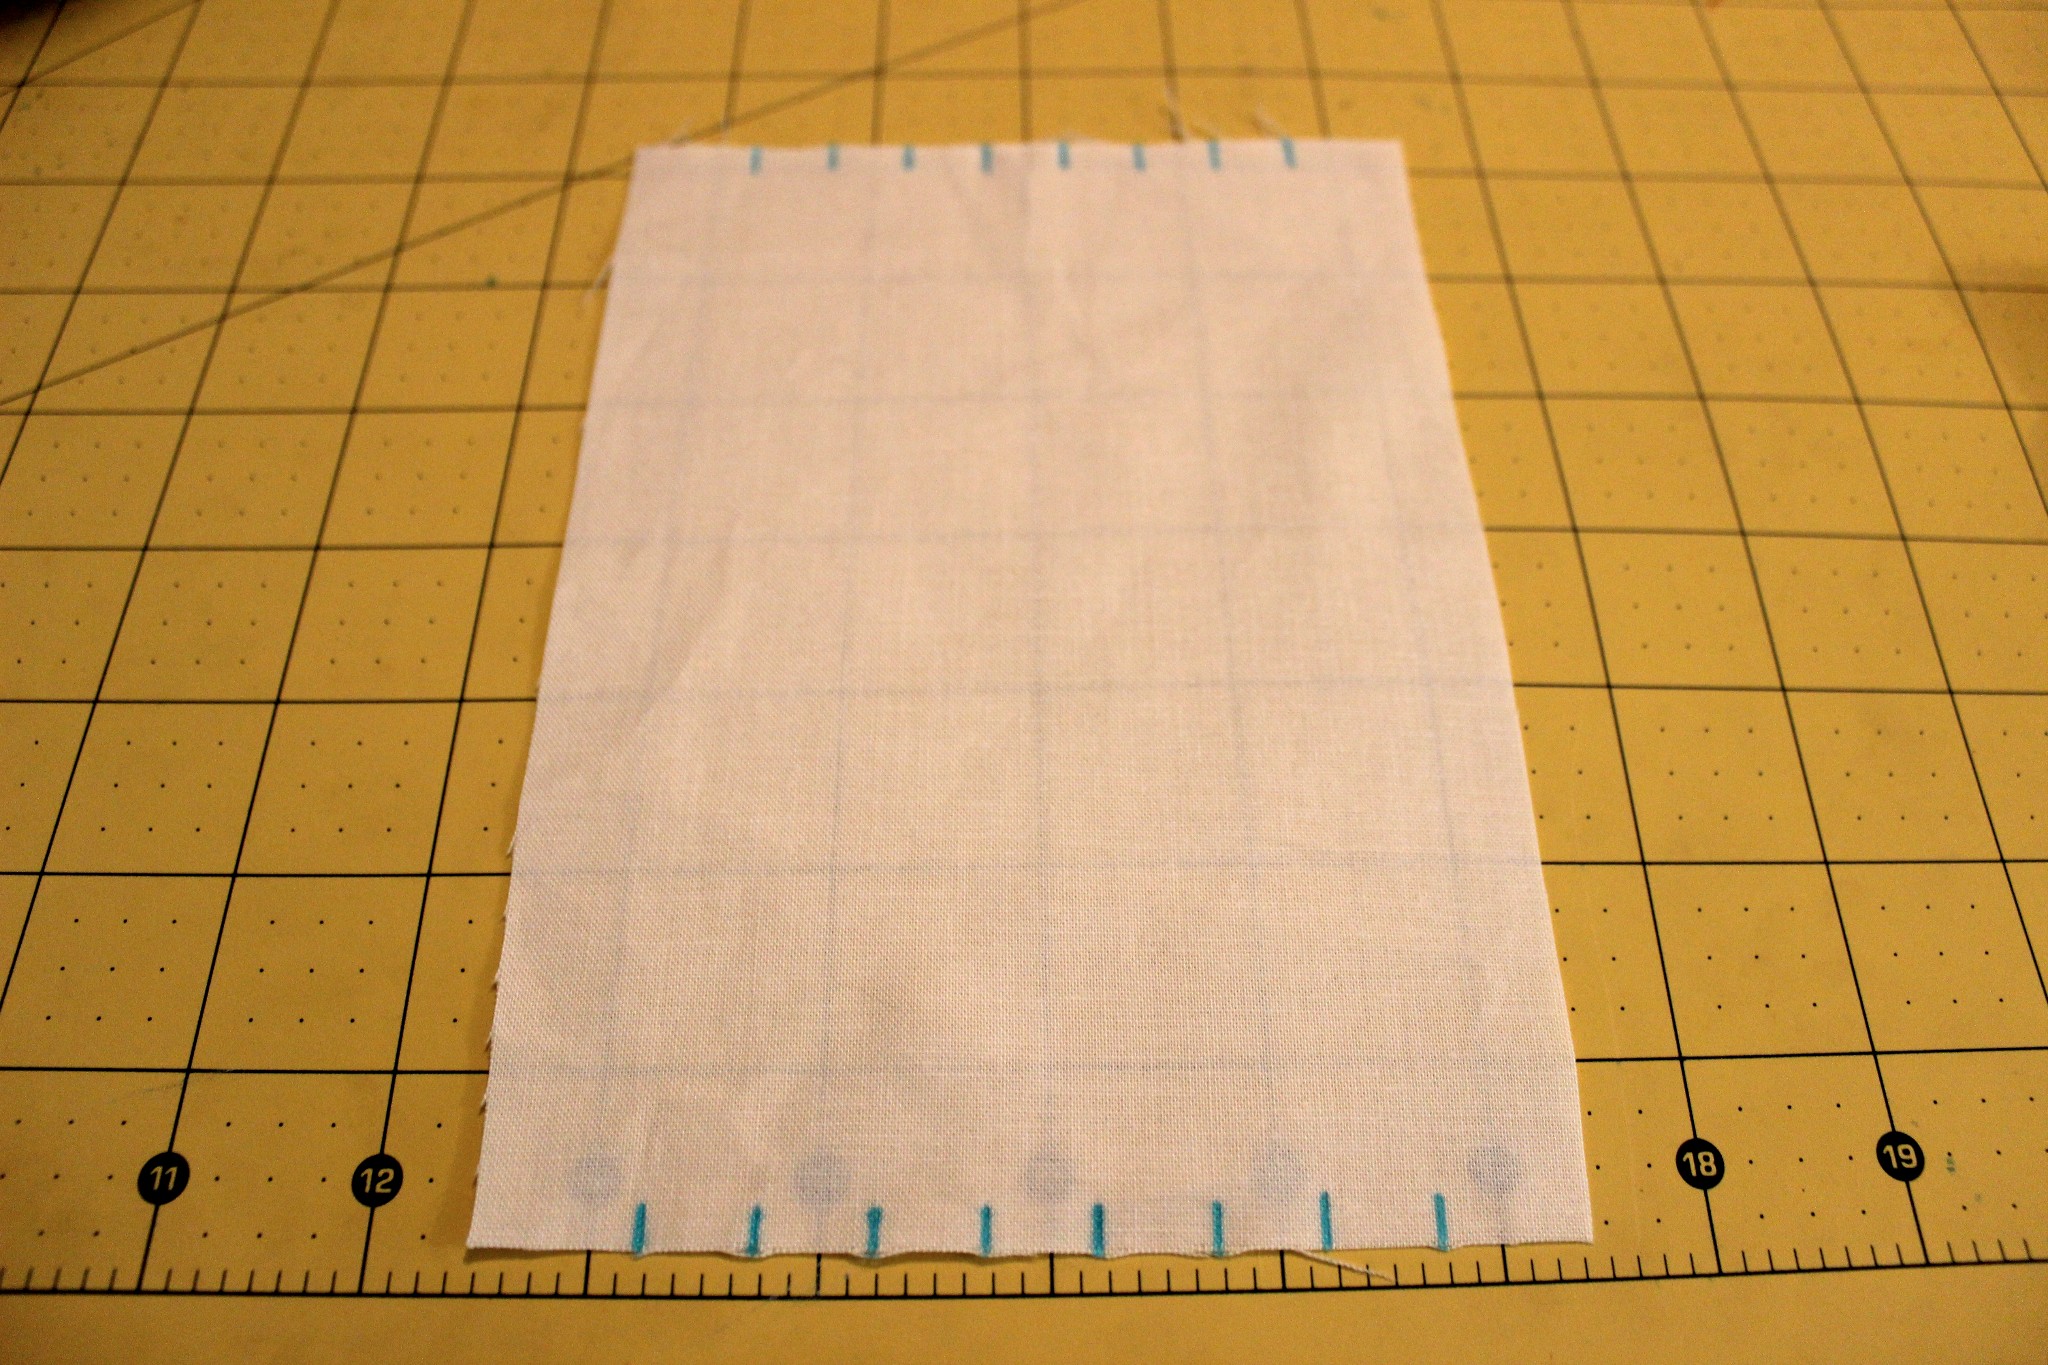
Step 1: On the right side of the fabric, use the ruler to measure out the marks for each pintuck. Each pintuck needs two marks. My marks were 1/2” apart.
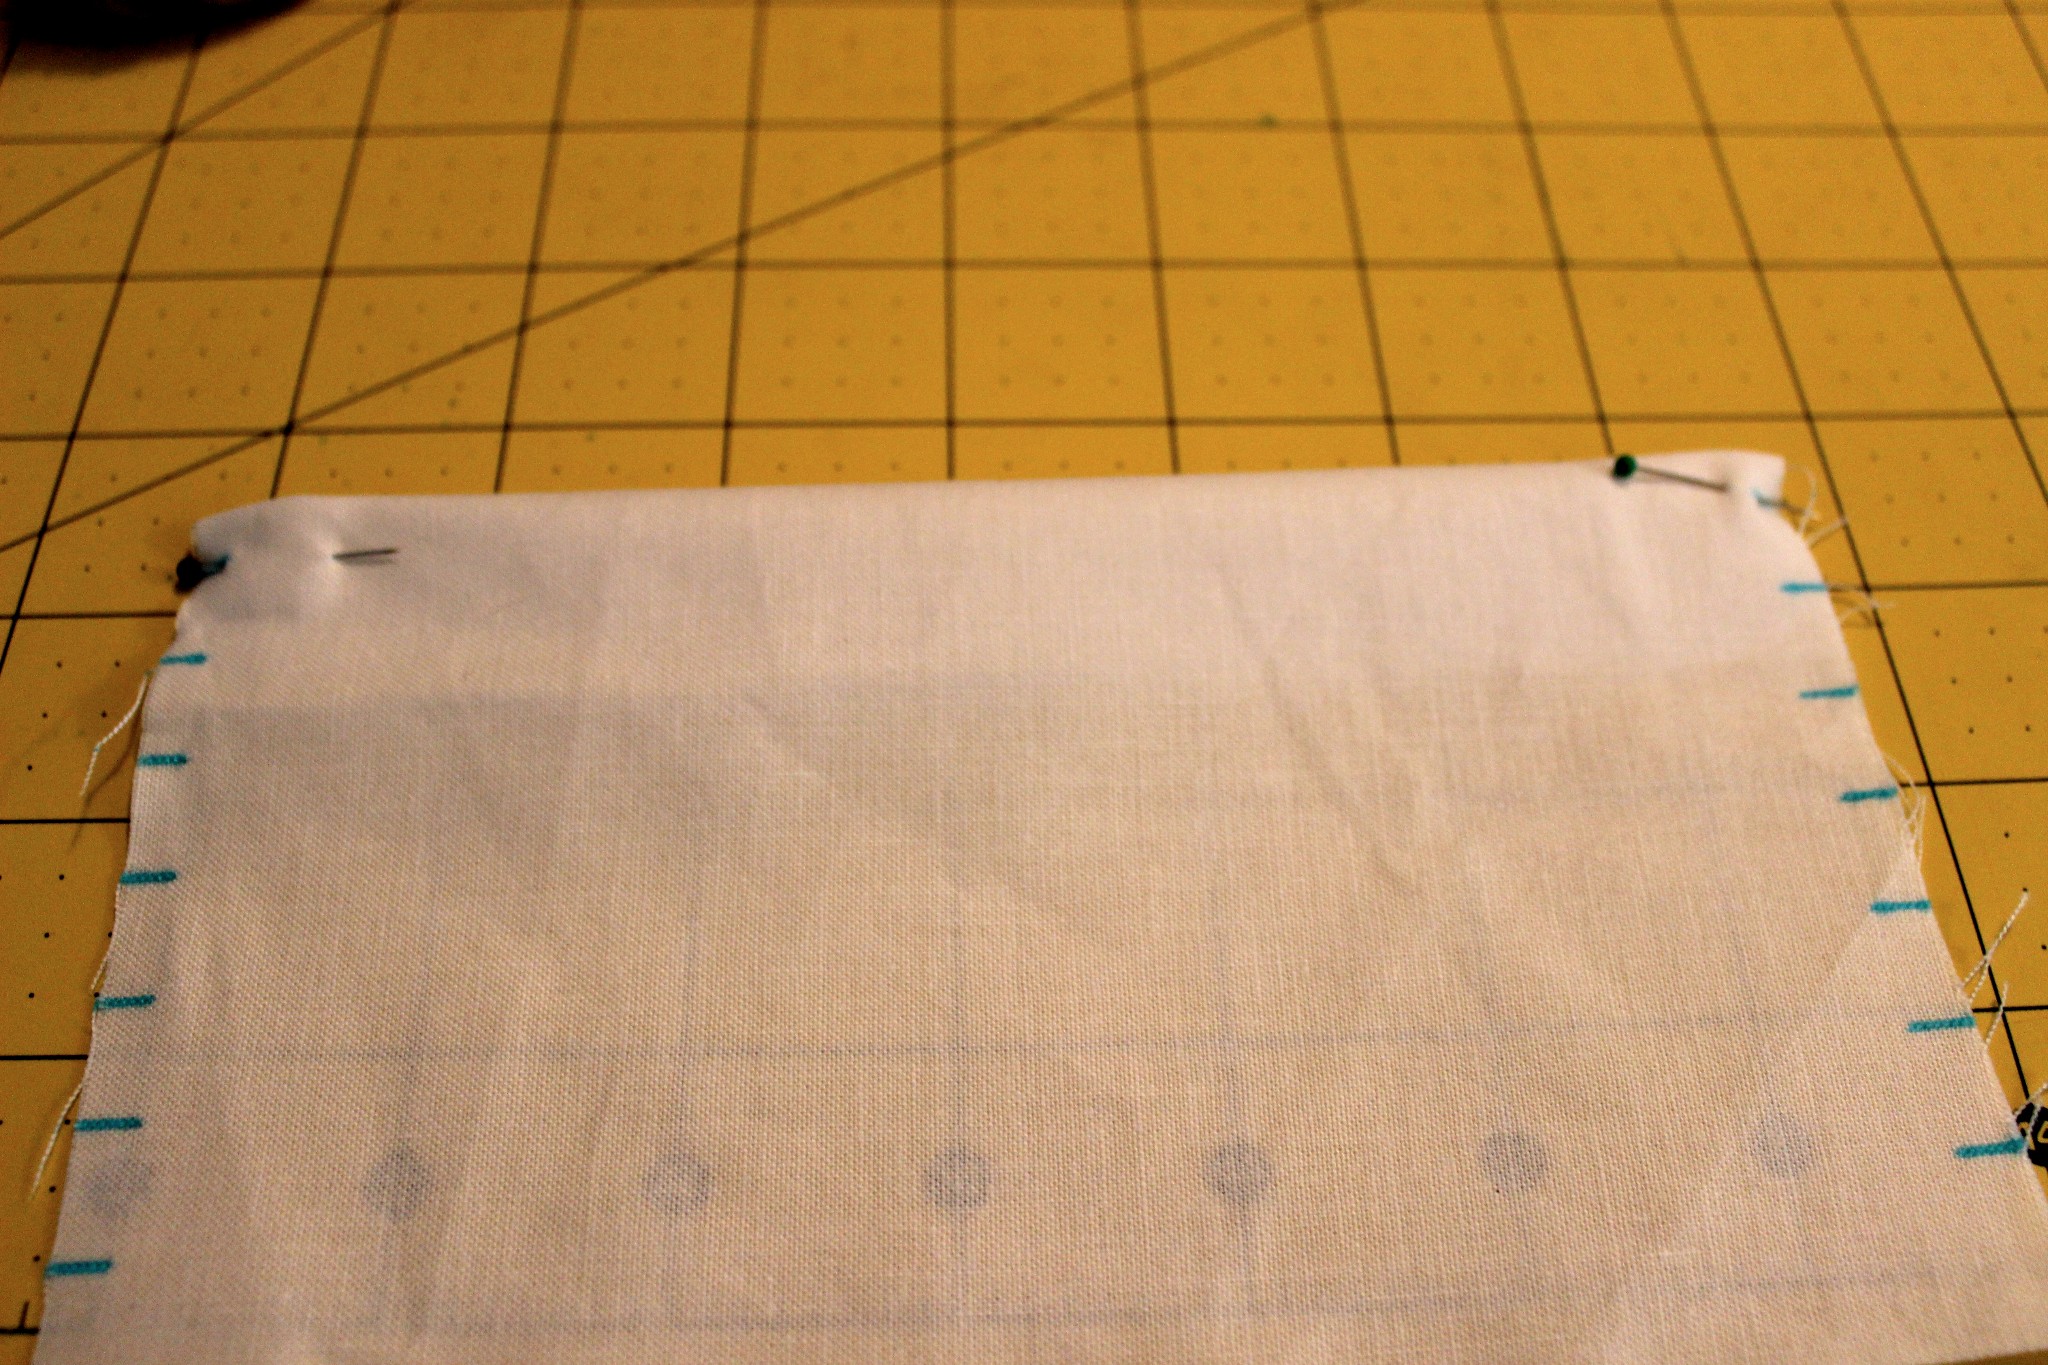
Step 2: Fold the fabric lengthwise, following the marks. You can start at either end or even in the middle. Just make sure you are folding all of the pintucks in the same direction. Then, pin in place. I pinned one pintuck at a time to make sure I wasn’t sewing over straight pins.
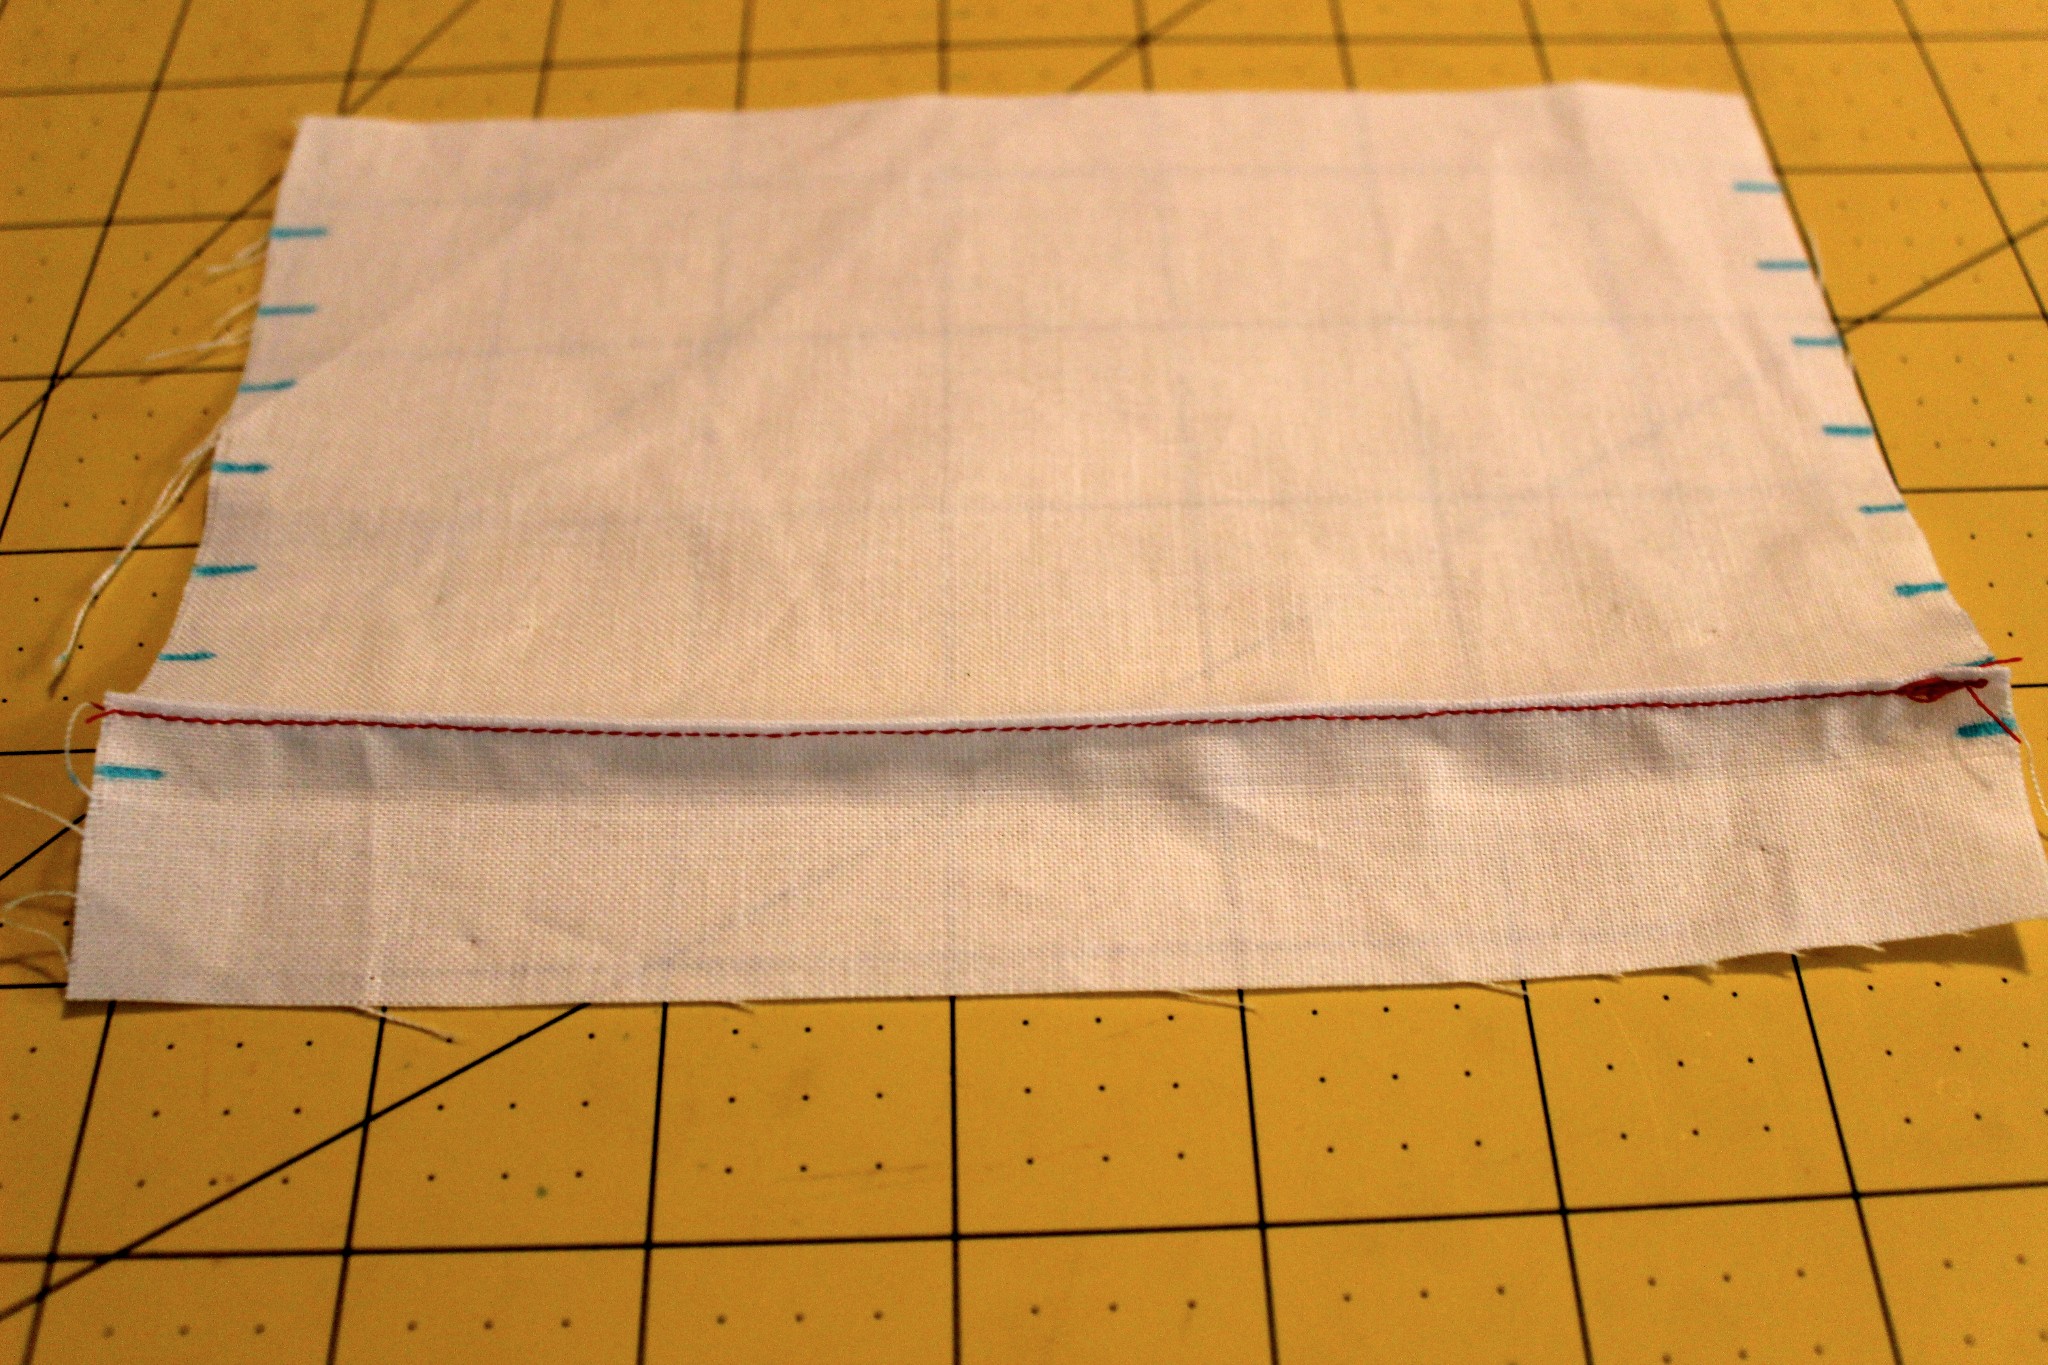
Step 3: Sew down the length of the fabric, close to the fold line.
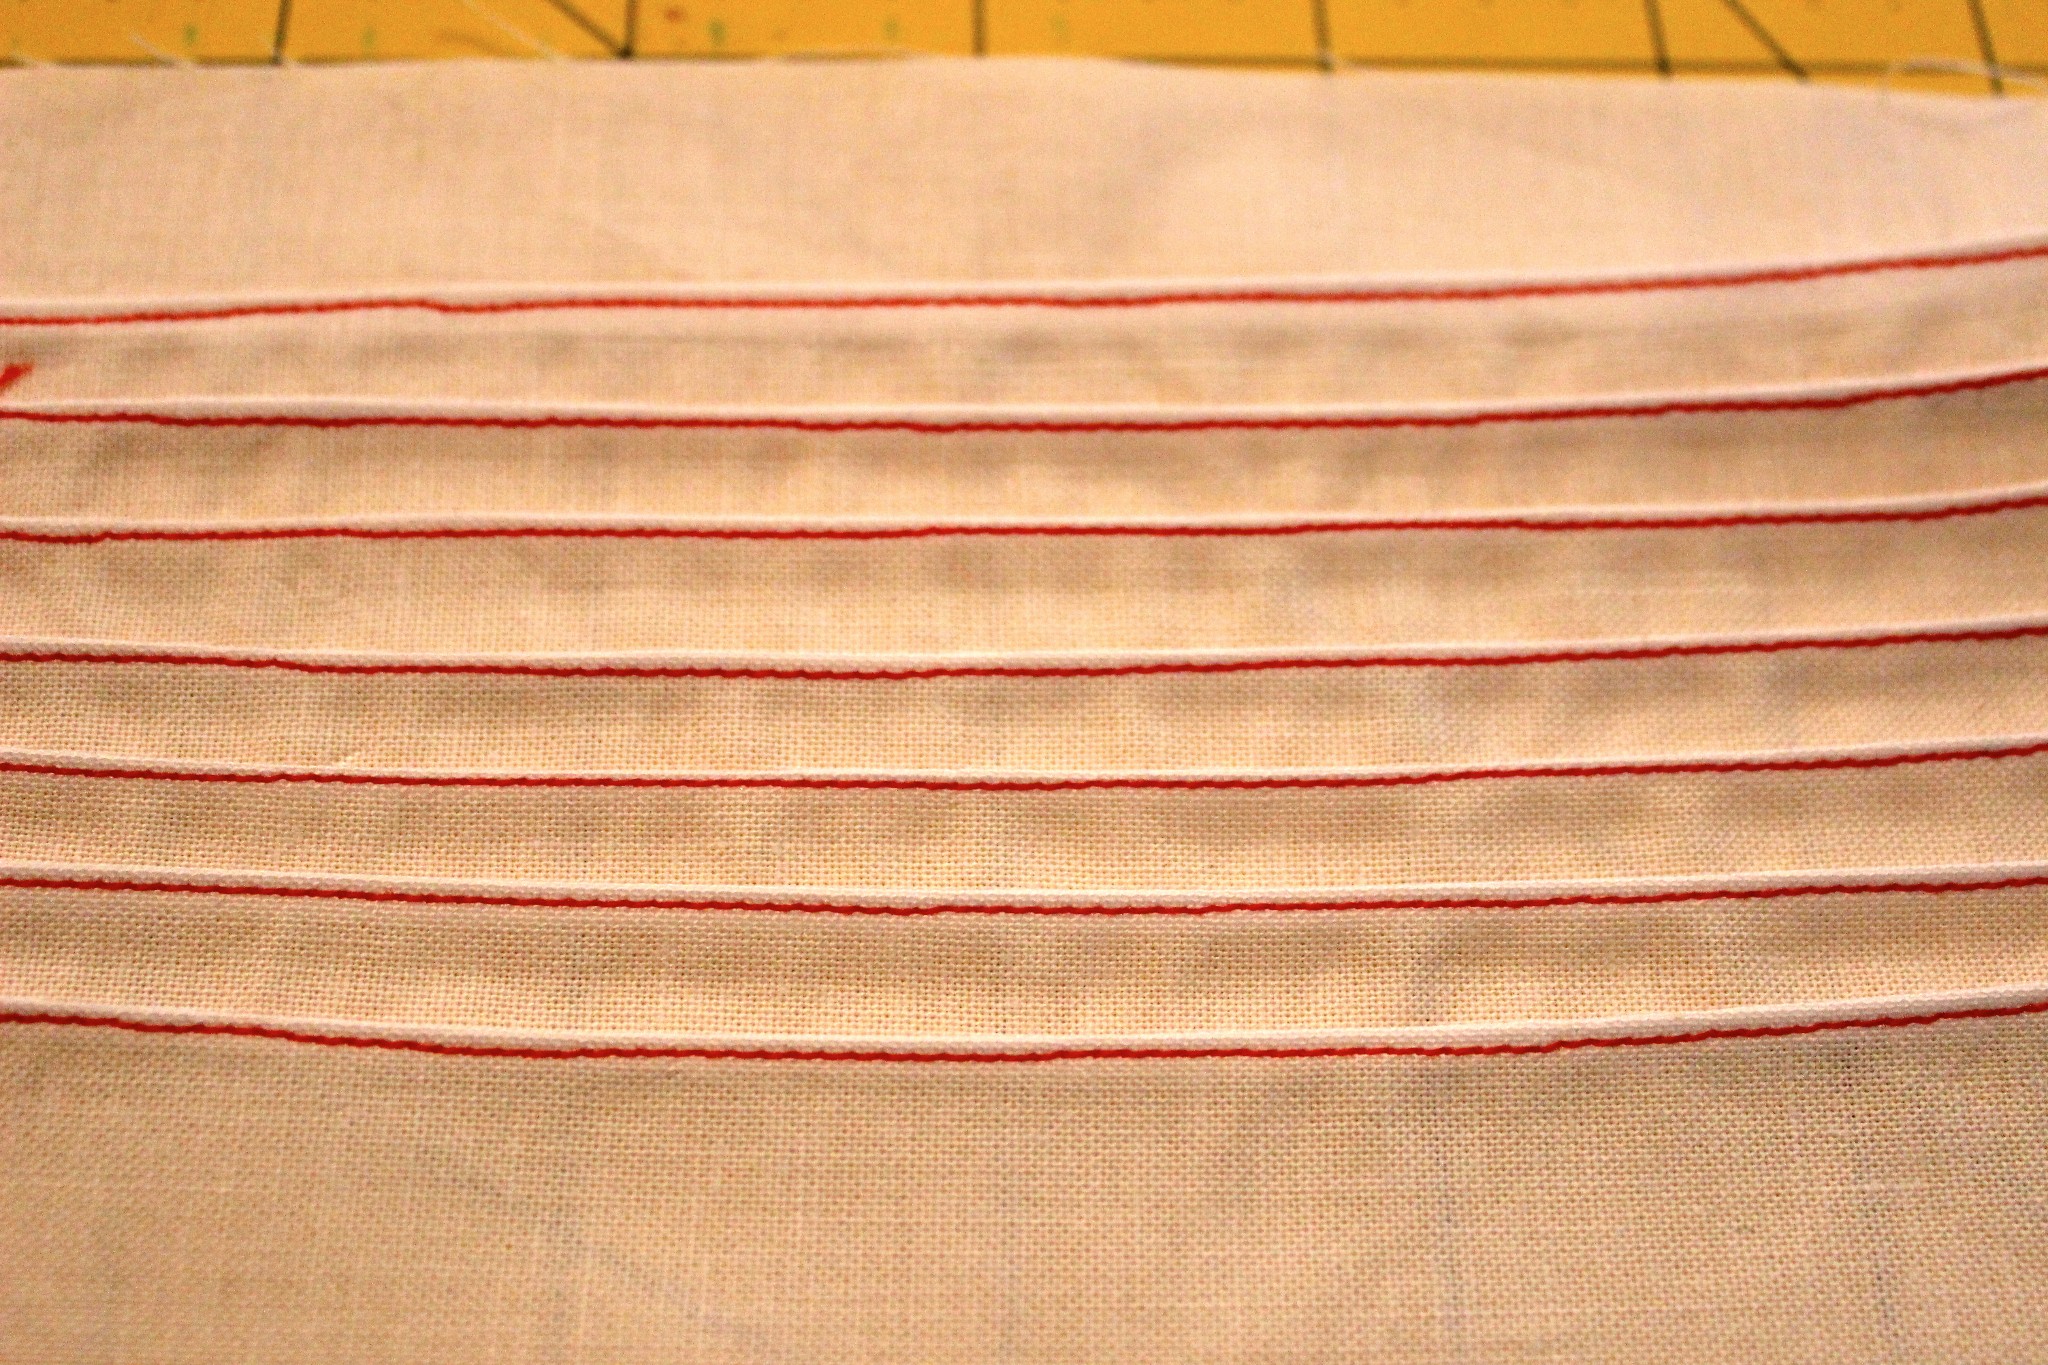
Step 5: Repeat the process for the remainder of the marks. Press the fabric so the pintucks lay flat.
If you’re interested in adding embroidery to your garment and love the look of hand stitching but prefer the speed and ease of your machine, you’ll love the Craftsy class Machine Embroidery, Hand-Stitched Looks! And come back to the Craftsy blog on Wednesday to learn how to make a church doll using heirloom embroidery techniques.

i have no comment