
If you knit, you’re eventually going to make a mistake. It’s a fact of life. That also means is that you need to know how to tink, or knit backward.
What is tinking?
Tinking is also called “unknitting,” and it’s exactly what it sounds like: It’s going back through your work and undoing stitches you’ve already completed.
Why you’d want to tink
1. Tinking is the less-soul-crushing alternative to ripping.
Here’s the great thing about tinking: Your stitches stay on your needles at all times. That means there are no live stitches hanging loose, like there are when you frog your work. That also means that your cat can’t come along in the middle of the process and rip out even more of your stitches!
The only trick to tinking is making sure that your stitches sit on the needle in the right direction as you’re removing them. (More on that later!)
2. Tinking is more efficient if your mistake is nearby or on a complicated pattern
If you’re working on a lace pattern or only need to go back a couple of rows, tinking is your best option. Save frogging for mistakes that are several inches back, or for times when you’re not sure you can keep track of where you ripped back to in the pattern.
If you’re not sure which one is right for you, see our post on Frogging vs. Tinking: Which is the Right Solution? to help you decide.
How to tink stitches
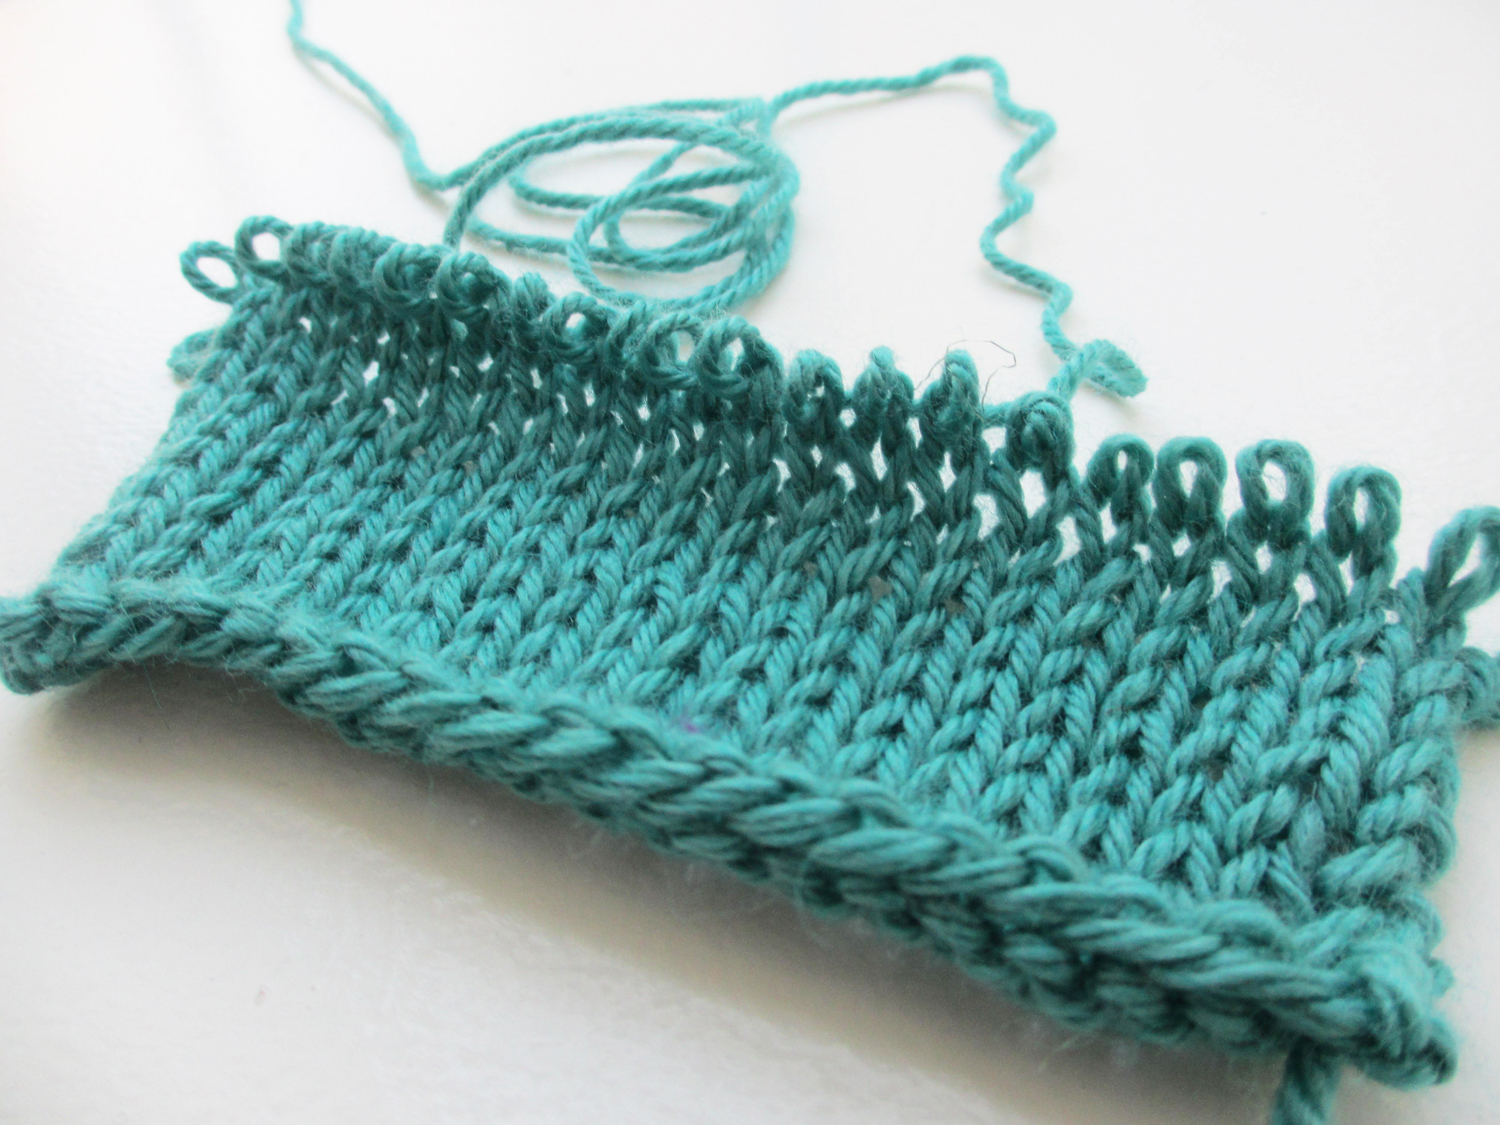
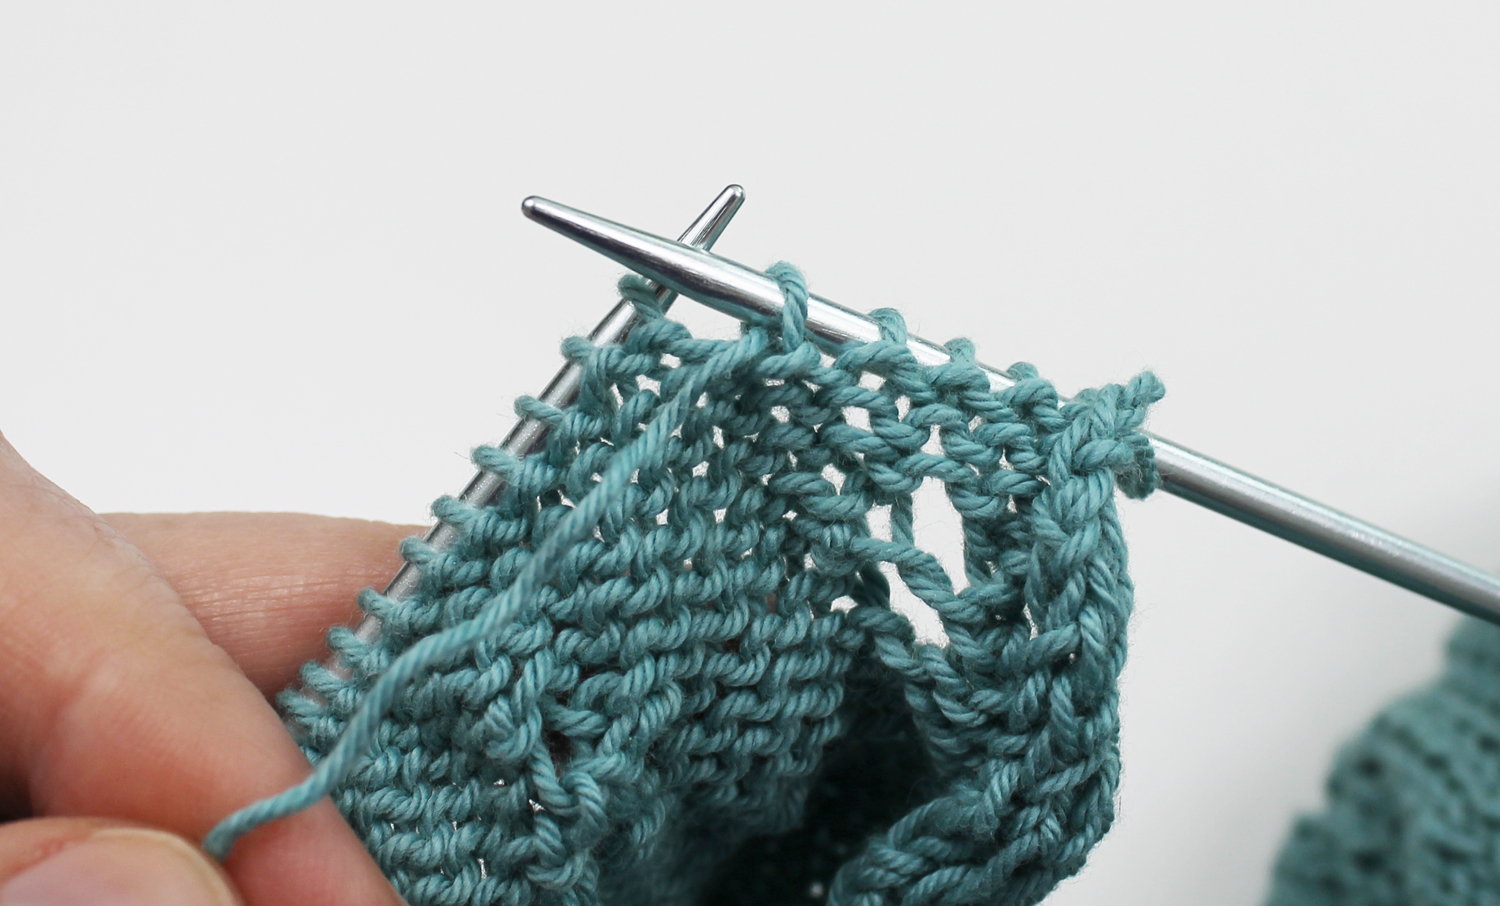
Let’s say I have some knit stitches on my right needle, but I forgot to decrease earlier in the row. I want to go back so I can make that decrease in the right spot. Here’s how I’ll tink the knit stitches:
Step 1:
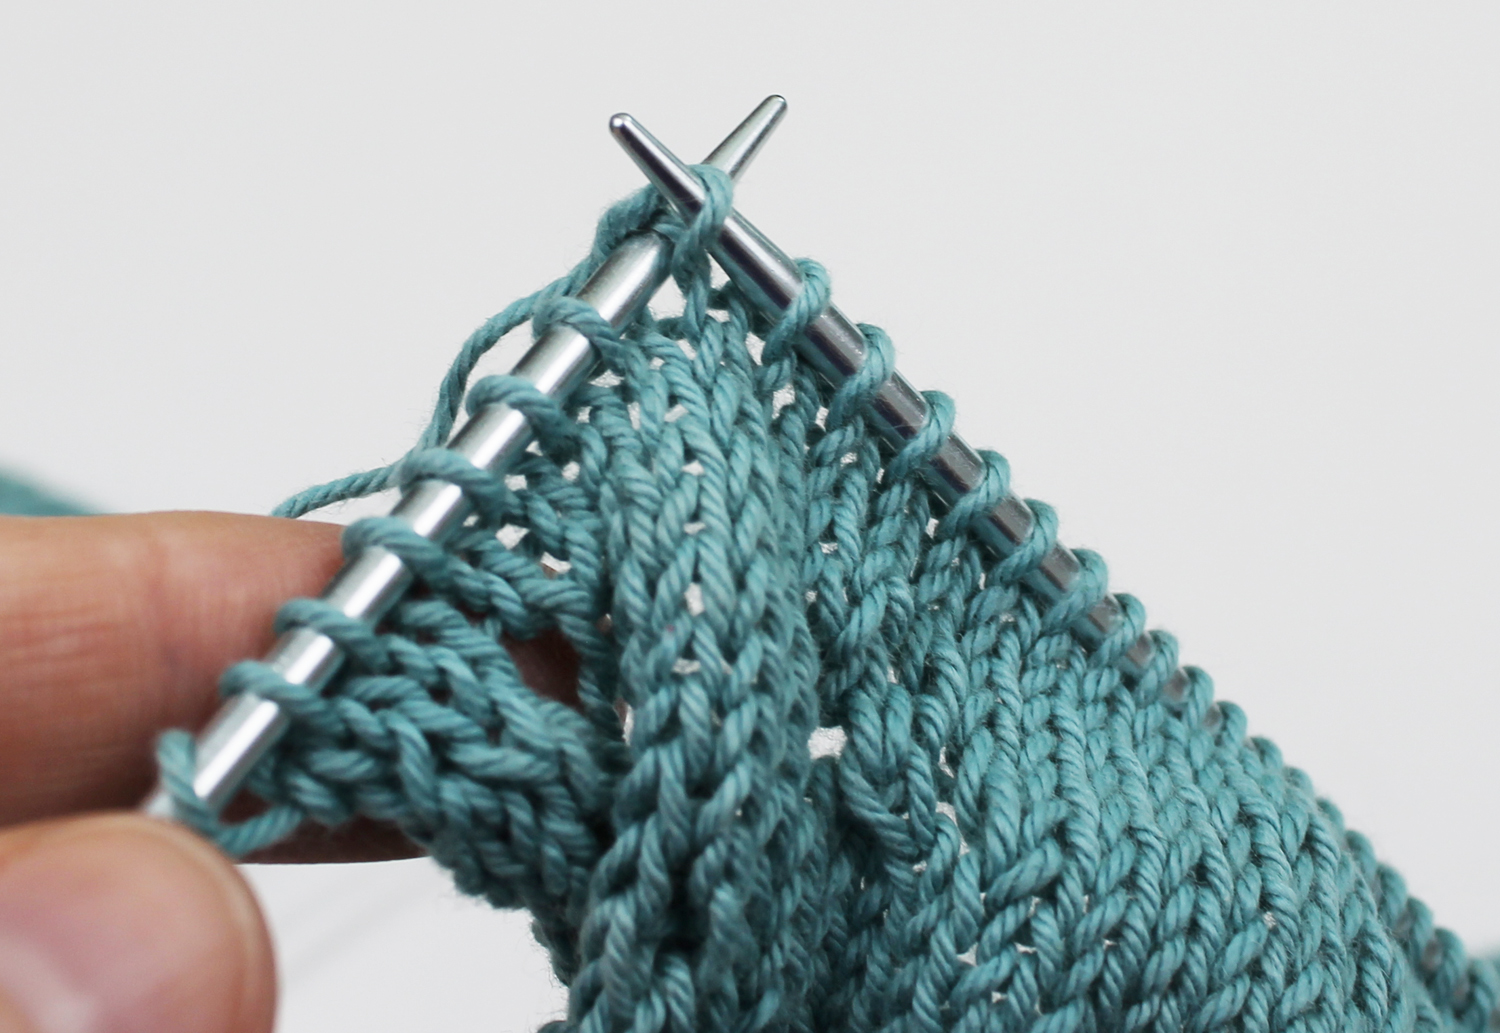
Insert the left needle from front to back into the center of the previous row’s knit stitch. You may have to stretch your work out just a little bit to see where that needle needs to go. Look for the little V, and insert your needle right into the center of the V.
The direction in which you insert the needle is important, because you want to make sure the knit stitch is sitting on the needle in the right direction. Otherwise, when you go back to knit that stitch, the stitch will twist. (For more info on this, see our post on “Putting Stitches on Knitting Needles Correctly + Why It Matters.”)
If you insert the needle through the stitch from back to front, for example, the stitch will be facing a different direction, which will look weird when you go back to knit it again.
Step 2:
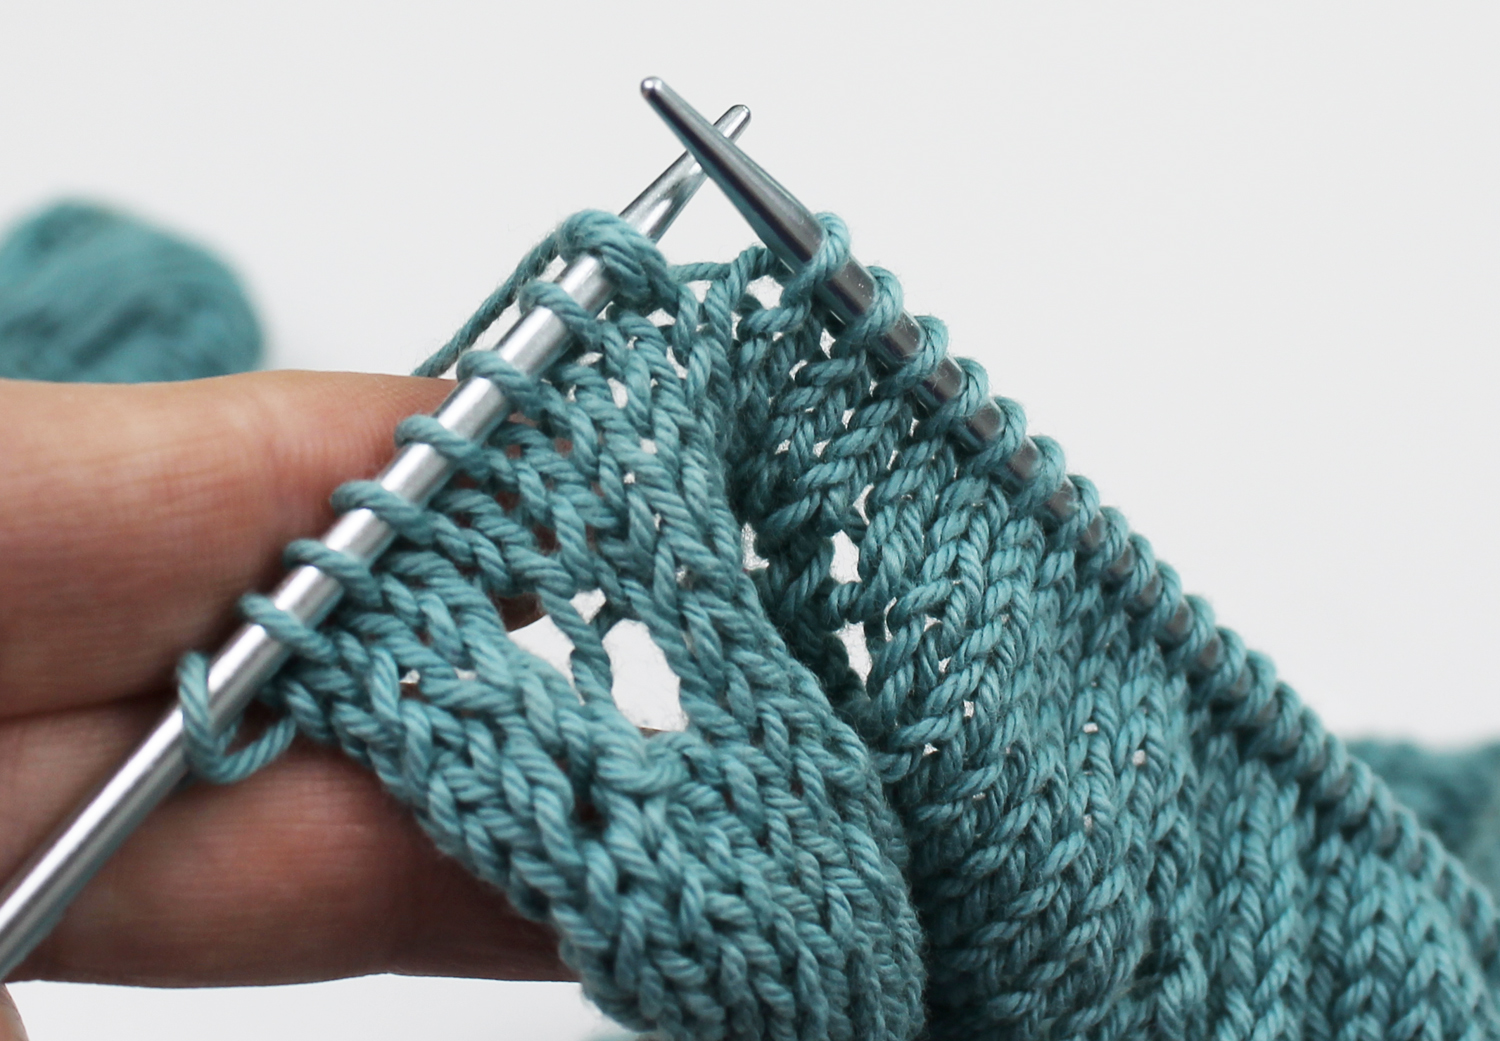
Now that the stitch from the previous row is safely secured on a needle, remove your right needle and gently pull on the working yarn to pull the current row’s knit stitch off. (Don’t worry! That stitch is safely on the needle, so pulling the working yarn won’t pull anything out.)
Step 3:
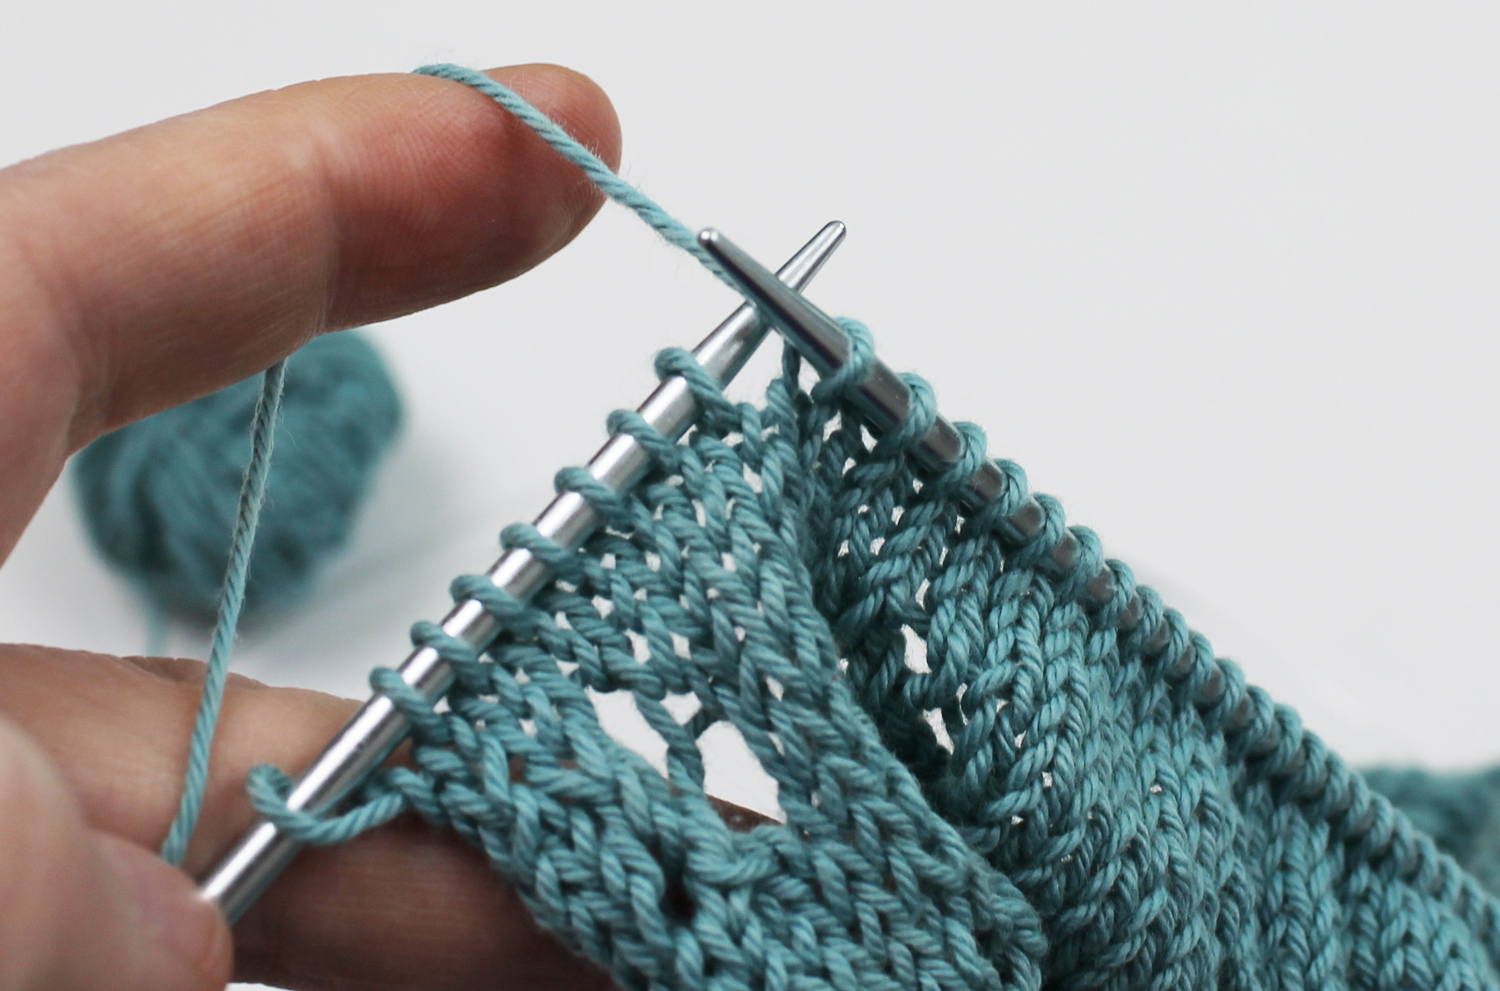
You just removed the stitch! If you want to speed up the process, you can hang onto the working yarn with your hand, pulling the working yarn as you move across to the mistake.
What about purl stitches?
Tinking works exactly the same for both knits and purls when they’re coming from the same needle. For this tutorial, we’ll use a knit stitch. For purls, you can use the exact same technique. The stitch will look slightly different on your needle, but you’ll still use the same front-to-back needle insertion.
Share tips, start a discussion or ask one of our experts or other students a question.
No Responses to “Fix Your Knitting Mistakes When You Learn to Tink”