
Sometimes the simplest details can take your quilting from ordinary to very special. One of those details is the addition of prairie points, or folded fabric triangles that can be used to embellish a quilt or smaller quilted projects. Table runners, pillow covers, quilted bags and other home decor projects can be decorated with prairie points, which are pieced individually or continuously.
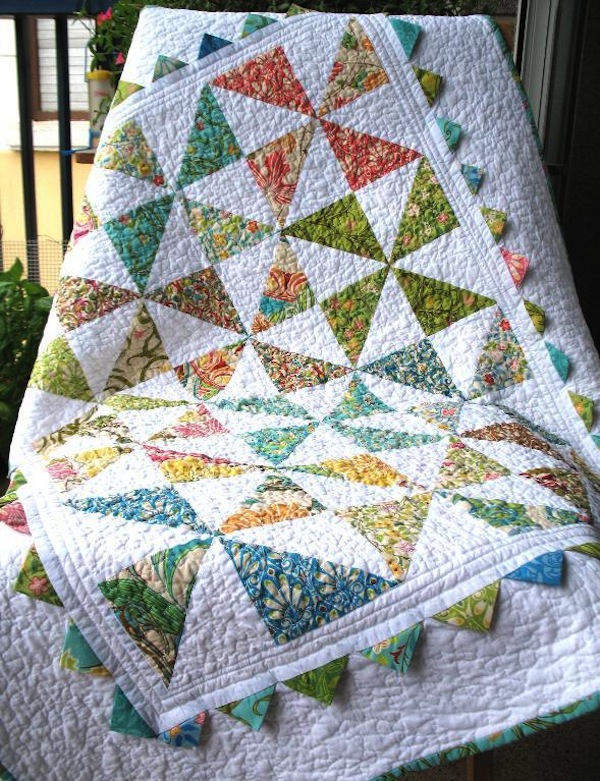 Image via Craftsy member Amanda
Individual prairie points
Traditionally, prairie points were individually cut, folded and pressed, which meant that great care was used to make sure they were spaced evenly apart. One great advantage to this method is that you can use various colors of fabric squares to make a scrappy version like the Pinwheel and Prairie Point Baby Quilt pictured above. You can also add single prairie points to quilt blocks if you’d rather not use them around an entire border.
For more information, see our posts where Sherri shares her method for folding individual prairie points using either quarter or center folds, and Hope describes some different options for how to stack or arrange prairie points.
Continuous prairie points
Continuous prairie points, however, allow the quilter to make a row of evenly spaced points from one strip of fabric through a special technique of marking, cutting and folding. If you want a row of identical, evenly spaced prairie points, we’ve rounded up some tips for making continuous prairie points. Read on for some great advice from the experts!
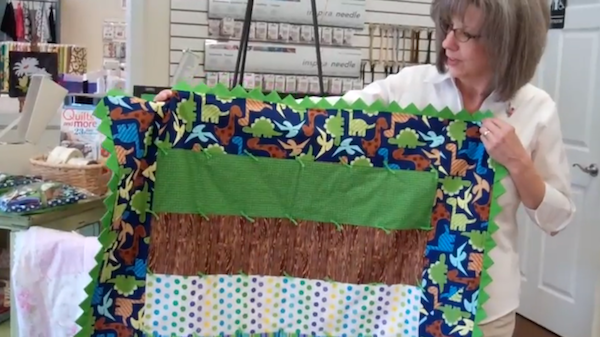 Photo via The Quilt Shop
Single color binding
Finish off the raw edges of a quilt with prairie points instead of a traditional quilt binding for a unique look. This basic video tutorial from My Quilt Shop can teach you how to measure, cut and fold a fabric strip to make continuous points. She shares tips on how to arrange the corners (the triangles edges should butt against each other) as well as how to add a quilt back to your project.
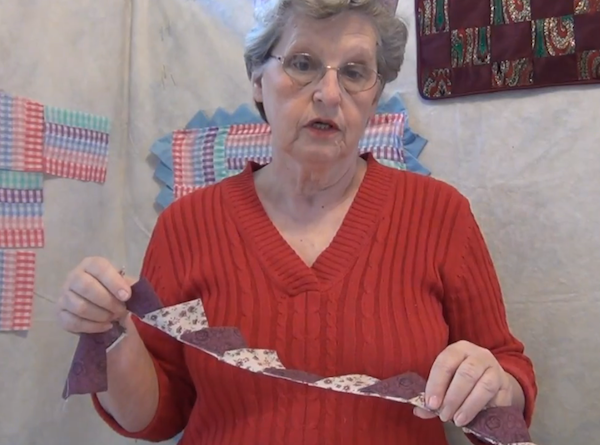 Photo via Carolyn Wainscott
Add a second color
If you can’t choose just one color for your points, try out this fun variation for alternating between two different colors of triangles. To get the two-colored continuous prairie points, simply sew two different 3 ¼” wide fabric strips together lengthwise to make a 6″ two-colored strip, and follow Carolyn’s tutorial as normal. Have fun by pairing two contrasting fabric prints. When added to the quilt edge, this strip will appear to have one color in the foreground and the other color in the background.
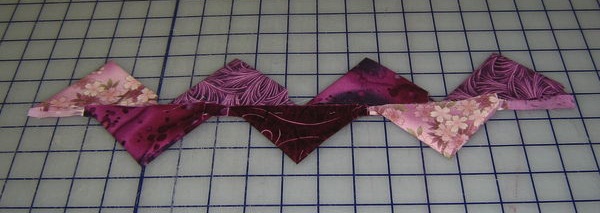
Make It Scrappy
If you are working from scraps, it is actually possible to sew them into continuous prairie points, with these tips from Quilting Board. The secret is to trim the fabric into equal-size squares and sew them together in offset rows in order to re-create the fold-and-press technique achieved in the above methods. This smart tutorial for making scrappy continuous prairie points uses 4 ½” squares, but you could also use pre-cut 5″ squares for a slightly larger point.
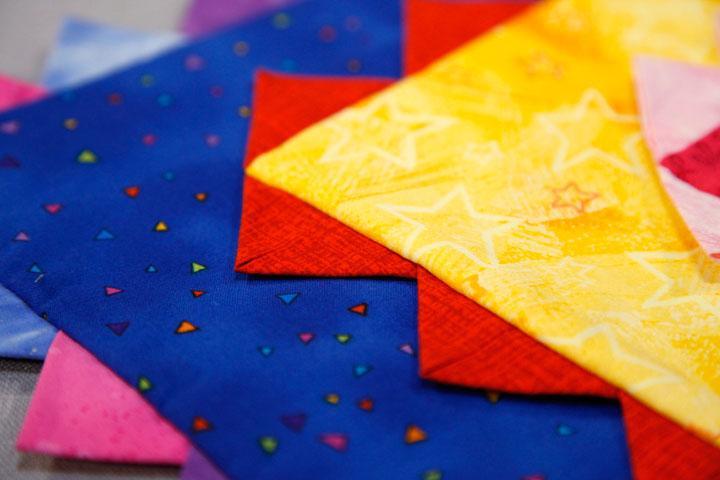 Photo via Craftsy instructor Mimi Dietrich
To learn more tips for continuous prairie points, check out the Craftsy course Finishing School: Edges & Bindings taught by Mimi Dietrich. In addition to prairie points, you’ll learn 13 creative options for finishing raw edges. You’ll also learn to master prairie points two ways.
Share tips, start a discussion or ask one of our experts or other students a question.
No Responses to “Quilting Tips: 3 Ways to Sew Continuous Prairie Points”