
I relish every step of preparing my loom for weaving, but I still want to get the job done efficiently. In this article I suggest a few tips for making the sleying process as simple and comfortable as possible.
I always dress my loom from back to front, so that sleying the reed comes after beaming and threading, and my tips are based on this sequence.
The scene is set like this:
You are sitting at the front of your loom, facing a mass of heddles all threaded with your design. Your warp ends are, I’m sure, neatly grouped and fastened with slip-knots. The next step will be to draw these ends through the reed either singly or in small groups.
Horizontal reed or vertical?
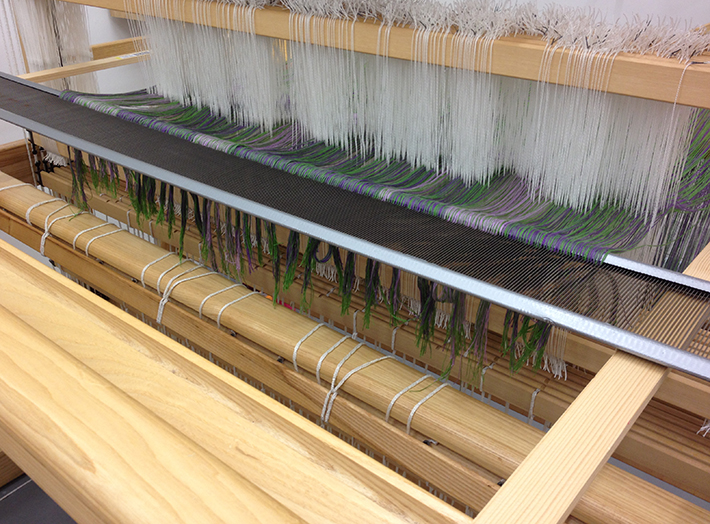
When I am working on a floor loom, I prefer to take the reed right out of the beater and place it horizontally for sleying. I put a couple of sticks – spare lease sticks or ordinary battens from the hardware store – through the loom so that they are resting on the breast and back beams, and place the reed flat so that it is supported on the sticks.
With the reed horizontal I can insert the reed hook from below and pull the warp ends down through the dents. The advantages of this are (i) that I have a clear view of the warp ends I am working with and (ii) that once the ends are sleyed they are very unlikely to slip out again.
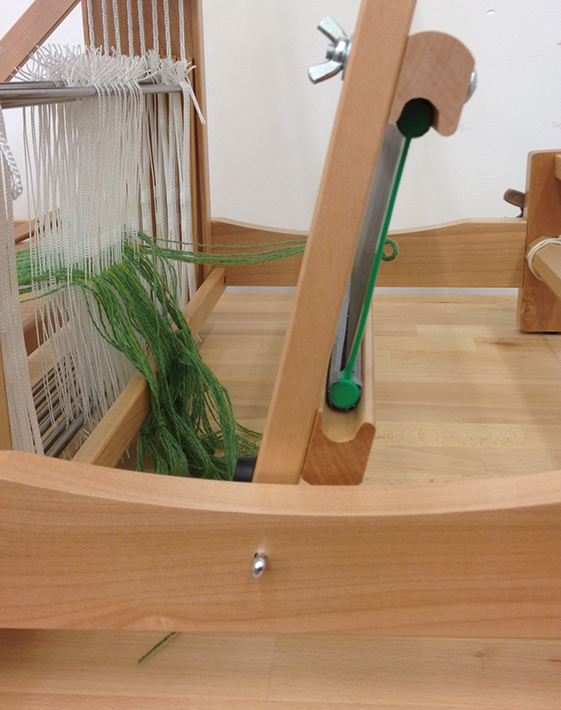
When I am working on a table loom, I sometimes find that there is not enough room to work comfortably under a horizontal reed. In that case, I leave the reed in the beater, but make sure that the beater is firmly fixed and – if possible – tilted slightly forwards. Some models of loom are designed so that you can insert pins to fix the beater in position; in other cases tying the beater loosely to the castle so that it slopes forward is sufficient.
Left-to-right or right-to-left?
I prefer to use my right hand for the sleying hook, while holding the unsleyed ends in my left hand. With the hook in my right hand, it makes sense to work from right to left, as I never need to cross my hands. If you prefer to hold the hook in your left hand then you will find that working from left to right is easier.
Handling the warp ends
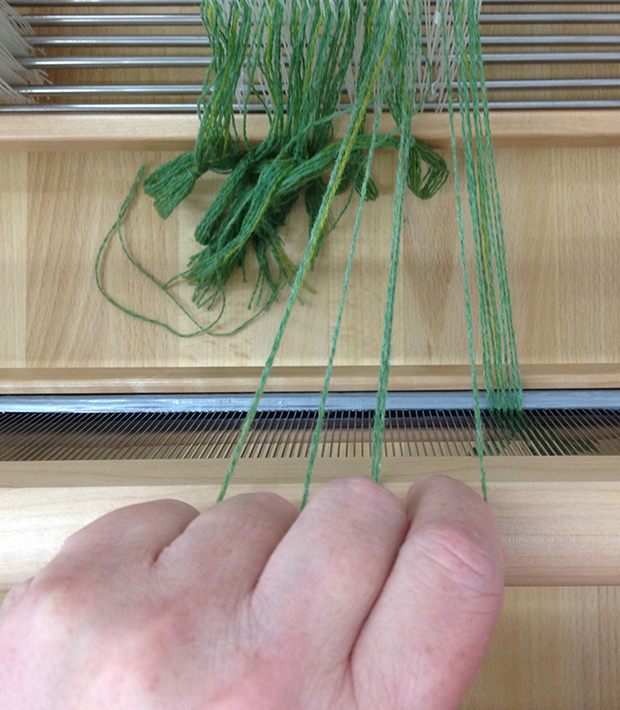
It is much easier to get into a rhythm with your sleying if you prepare four or five dents’ worth of ends at a time.
You may be fortunate in your choice of sett and reed, and be sleying a perfectly regular two ends per dent, say. However, it is almost certain that at some point you will need to vary the sleying pattern in order to get the sett you need. For example, today I was sleying wool at 15 epi in a 10-dent reed. I therefore needed to alternate 1/2/1/2. For 16 epi I would have needed a sleying pattern of 1/2/1/2/2.
Following your sleying pattern, separate out the groups of ends you need for the next few dents and hold them between the fingers of your non-hook hand.
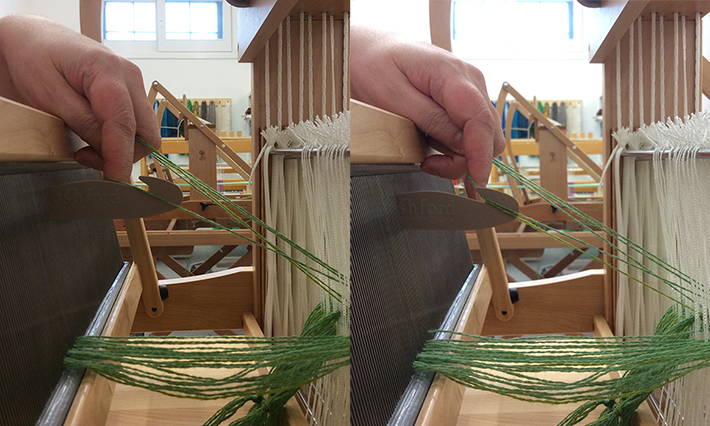
As you are sleying, you can use your index finger to push each group over the hook in turn. In the left-hand picture below I am placing the first group (a single end) over the hook. When I have pulled that end through the reed, I use my index finger to pick up the second group (two ends) and pass that over the hook in turn. There is no need to put the hook down until all four groups are sleyed.
Thinking ahead
You will want to tie slip-knots in your sleyed ends so that they don’t slide back out. This is particularly important if you take your reed out of the beater: you are going to have to lift it up and put it back, and if you think you would never, ever drop it… well, good luck with that!
Your knotted groups are also a useful preparation for attaching the warp to the front apron rod, so think ahead and tie them in groups of an appropriate size, e.g. half-inch or one-inch bouts, as you work.
Share tips, start a discussion or ask one of our experts or other students a question.
No Responses to “Getting Ready to Weave: Tips for Efficient Sleying”