
Patternmaking can open up a whole new world of possibilities in your sewing. Suddenly, you’re no longer confined to designs you can purchase. You can truly have the wardrobe of your imagination!
Read on for key methods on drafting your own beautiful dress patterns!
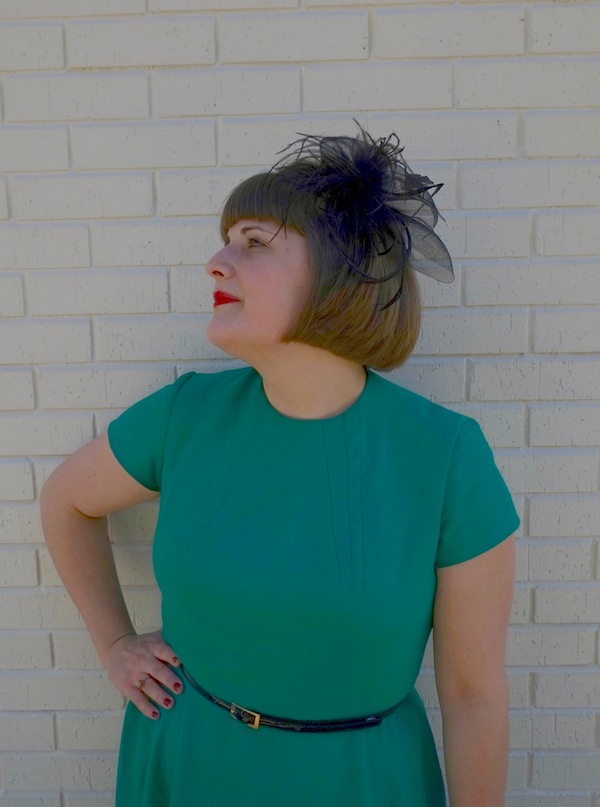
Photo via Rosie Wednesday
Once you understand how to get started with pattern drafting, here are two simple techniques you can use for making dress patterns your own.
Technique #1: Move and divide the darts.
Moving and dividing darts can help to perfect the fit of a garment, and also add visual interest to the dress your making. For the particular pattern for the green dress shown in the first image, I shifted the bust dart to the neckline, and split it into six darts. You just want to make sure that you keep the dart pointing at your bust apex, so that you get the shaping that you need to fit your bust.
From start to finish, here’s what the pattern making looks like for the bodice of the dress pictured above:
Steps to move the darts to the neckline, and split them.
Even if you aren’t interested in recreating the look exactly, this will give you a good idea of how to manipulate darts on any part of the bodice, and for any number!
Here’s all you need to do:
- Redraw new dart legs that go all the way to the bust apex.
- Draw points on the neckline where you want the darts to end up.
- Draw lines connecting the tip of the dart to those new points.
- Cut out the dart at the waist, and cut along each of the three lines. You’ll want to leave just a bit of paper in between the waist dart and your new darts to act as a pivot point.
- Close up the dart at the waist. Evenly distribute the open space across the three new darts.
- Fill in the new darts with paper, and clearly draw your new stitching lines. I like to use colored pencils for this step so I know which line is the finished one to use in construction.
Technique #2: Add volume.
Another straightforward way to transform a sloper into an entirely different pattern is to add volume. If you still want your dress to fit you at your waist, or wherever you chose to add volume, you can then add gathers, pleats, or tucks to shrink it back down to size.
For this dress, I’ve removed the darts at the skirt, added volume at the hem as well as at the waist, then taken that volume in with gathers.
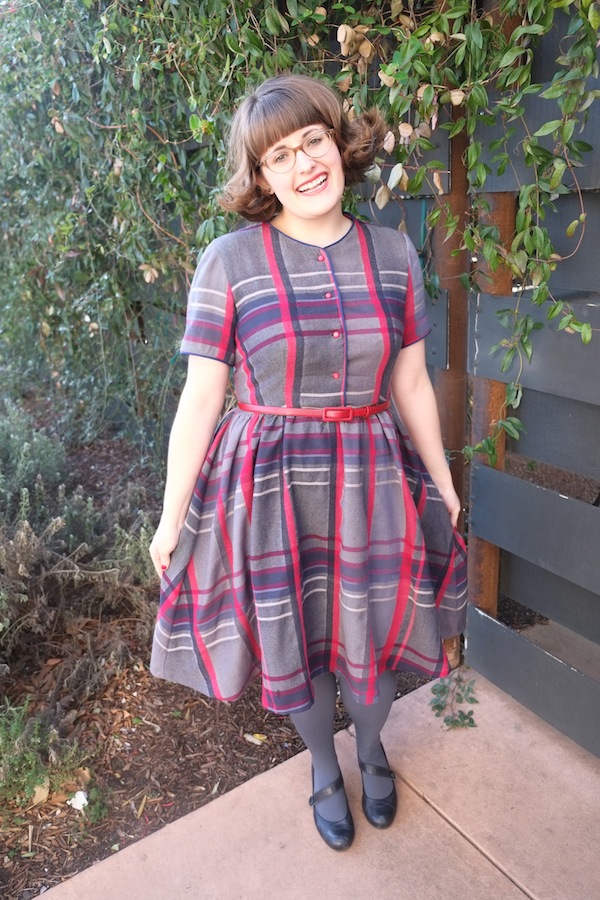
Photo via Rosie Wednesday
Steps to remove dart and add volume to skirt.
To add volume, you’ll need to:
- Begin by removing the dart at the waist. You won’t need it for shaping with all that extra volume! Draw a line connecting the tip of the dart to the hem of the skirt.
- Cut out the dart, then cut on the blue line almost to the tip of the dart. You want just a little bit of paper remaining for a pivot point, as you did with the bodice example above.
- Close up the dart at the waist. This will create fullness at the skirt, so your pattern will look like an a-line shape now.
- Cut down the full length of the pattern, running parallel to the grain line. Spread the pattern apart till you reach the desired fullness.
- Fill in the remaining space with the pattern paper of your choosing, connecting the waist and hem lines with your french curve ruler.
- Repeat for the back pattern piece. If you want your skirt to be balanced with equal volume on front and back, measure the length of the hem and make adjustments to make the two equal.
With just these two techniques, you’ll have a whole new world of possibilities for making dress patterns! To learn more about patternmaking, see Patternmaking Classics: The Wrap Dress.
Share tips, start a discussion or ask one of our experts or other students a question.
No Responses to “Tips for Making Dress Patterns: 2 Must-Know Techniques”