
Whether it’s a casual fall flannel or a piece for your work wardrobe, sewing a shirt dress is such a rewarding project. Chances are you have at least one button-up shirt in your closet (if not several) and being able to make and customize them yourself is a wonderful thing.
Sewing this kind of garment isn’t overly complicated, I tackled my first as an ambitious beginner, but there are some little things that can really make a difference.
You can be on your way to better shirt making with these handy tips and tools!
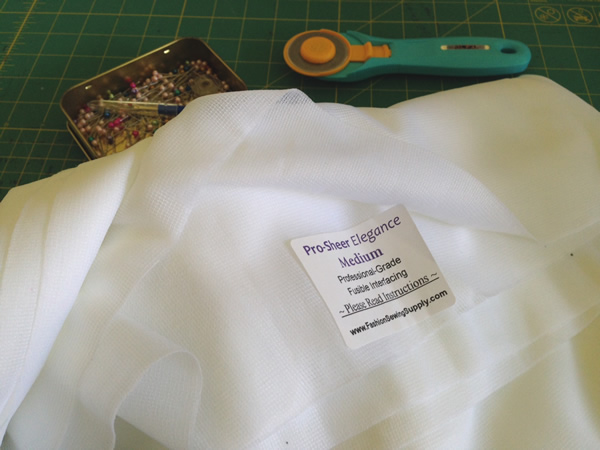
Interfacing. It’s kind of a big deal.
One mistake that’s easy to make is using the wrong type of interfacing, and it can really make or break your shirt. Not all interfacing is created equal, and it can be very different across the craft, quilting and garment markets. If you’ve ever sewn a shirt with a collar that was just a little too thick to fold over naturally or had a button band that looked really ridged on your form, you probably figured out pretty quickly that you picked the wrong interfacing.
We’ve all been there. For a more professional-looking shirt, seek out a professional grade, garment-specific, interfacing. A quick online search will prove there are many different options, so make sure you consult your particular shirt pattern to get the right type.
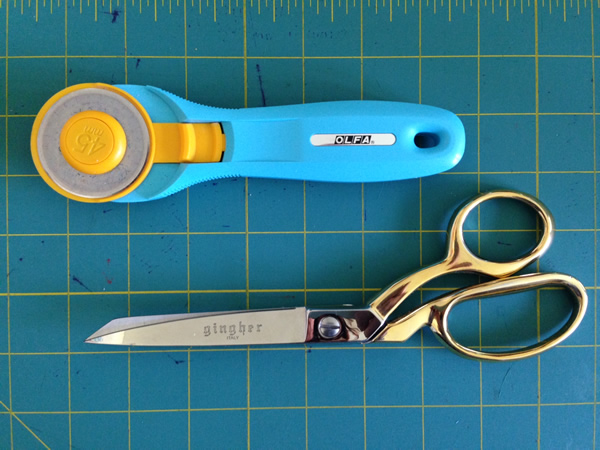
Cut corners… accurately.
Having proper cutting tools is really beneficial to all garment sewing, but there are many parts and pieces involved with tailored shirts so it’s important to cut accurately. Invest in quality cutting tools that are comfortable for you to use. Whether you like traditional sheer or rotary methods, make sure your edges are sharp and precise.
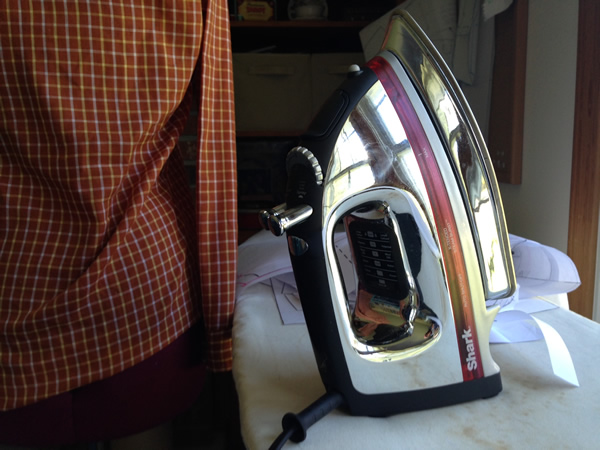
Press like a pro.
Ironing your finished button-up shirts is very important for a clean look, and pressing them during construction is equally important. (Remember: There’s a different between pressing and ironing!)
When you want to go the extra mile at the ironing board, invest in a quality iron with some weight behind it to really help you press a flat seam. A tailors ham, a seam roll, pressing cloths, and a sleeve board are also worthy investments for easier, professional-looking seams.

Chalk it up to good marking.
When you sew a classic tailored shirt, you will rely on pattern markings to help you line up everything, from shoulder seams to collar stands and button holes. Identifying which piece goes where and in what direction, is vital to a well-tailored shirt.
Each sewer will have their own favorite method, or combination of methods, to use in marking their pattern. It doesn’t really matter which one you like (chalk, erasable marking pens, etc.) as long as you’re marking your fabric and marking it accurately. Make it easy and worth your while to transfer all your pattern markings.
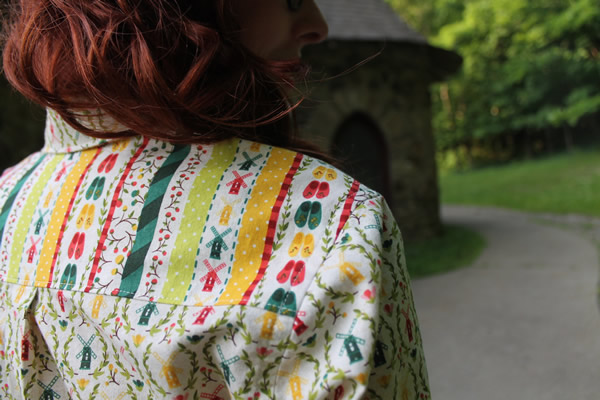
It’s all in the details.
Don’t under estimate the little things like the neatness of your top-stitching, the placement of a pocket, matching prints across crucial seams, and turning a well pointed collar. Button-up shirts have some differences between the men and women’s versions, such as which side of the button band your buttons are on. Pay attention to those subtle details and you’ll be making shirts that rival their ready-to-wear competitors in no time at all.
Looking for more sewing tips to get you all buttoned-up?
Tackle truly tailored garments and sew a beautiful button-up blouse with Craftsy’s online sewing class The Classic Tailored Shirt! Learn the secrets of creating crisp, timeless shirts with professional details, with expert shirtmaker Pam Howard as your guide.
Enjoy hours of up-close instruction, and answers from Pam in your virtual classroom, throughout 12 HD videos with anytime, anywhere access. Plus, with Craftsy’s handy bookmarking feature, return to specific techniques as many times as you need! “
Share tips, start a discussion or ask one of our experts or other students a question.
No Responses to “Better Your Button-Up: Tips + Tools for Better Shirt Making”