
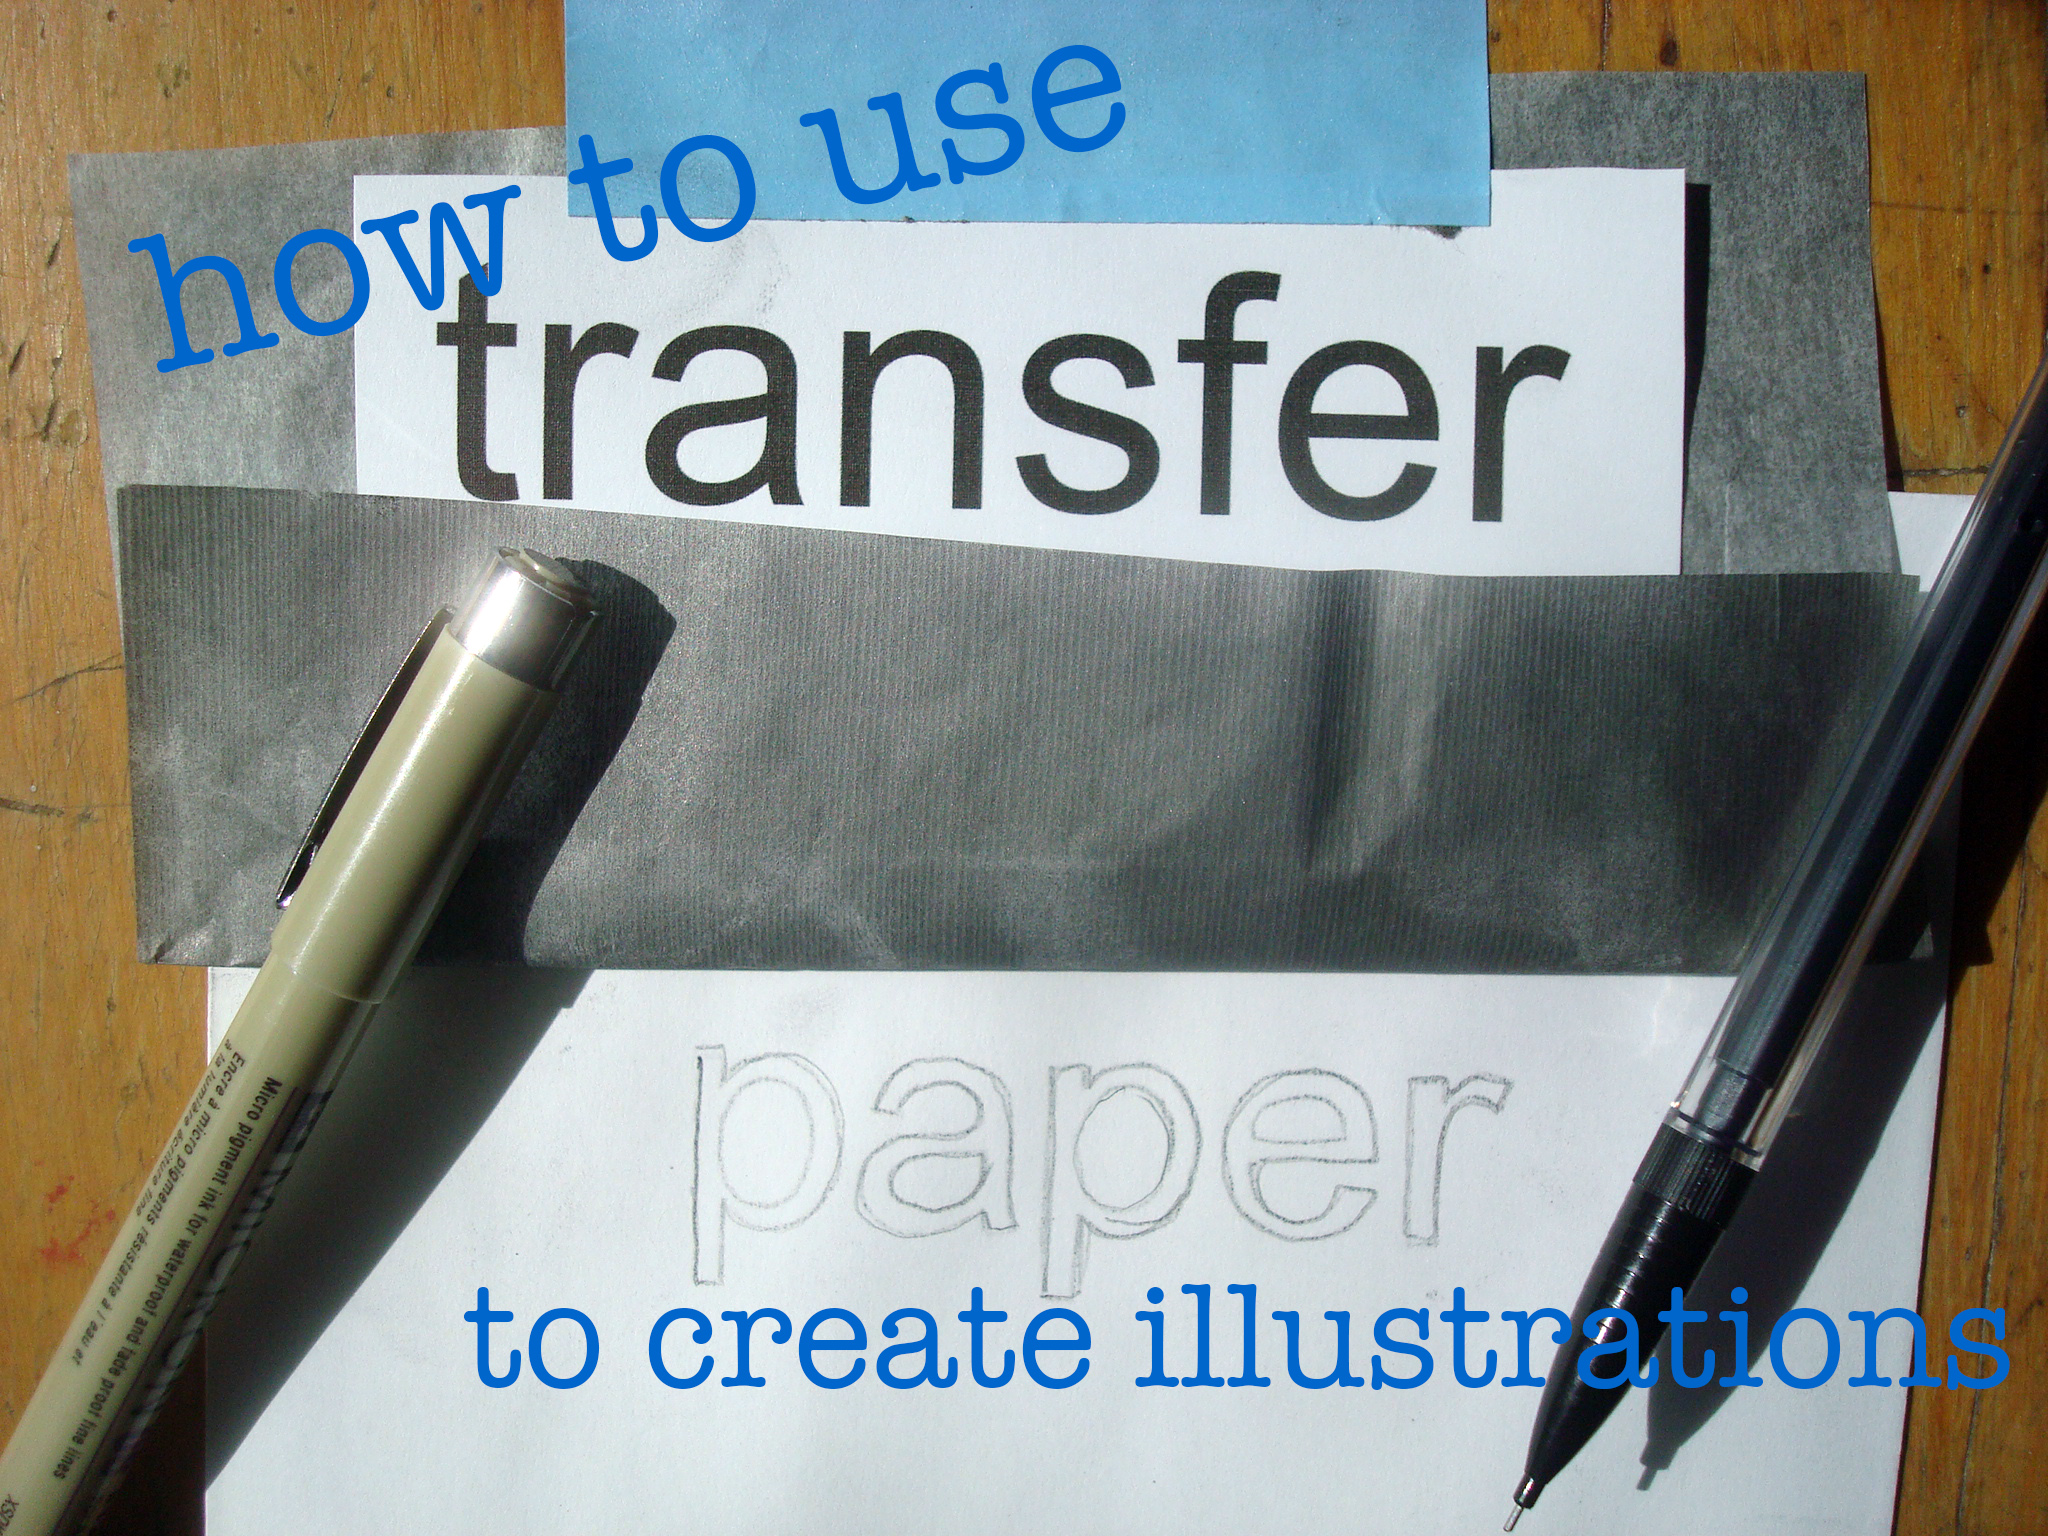
Transfer paper is a great tool for any illustrator to count among their art supplies. It’s a specialized type of paper used for transferring imagery, featuring a bottom surface which is coated so that it will transfer an image when pressure is applied from above. Typically the surface is coated with graphite, but other finishes are available, including opaque white or yellow, which allow for transferring images on to dark surfaces rather than limiting your art world to just black and white.
 Illustrations and photos via CakeSpy
Mastering transfer paper is easy, and it will prove helpful in all sorts of illustration projects, from easily tracing and transferring tricky imagery such as lettering or architectural structures to transferring a finished sketch to your final working surface.
Here, we’ll guide you through how to use transfer paper to create illustrations and strengthen your artistic skills.
Notes
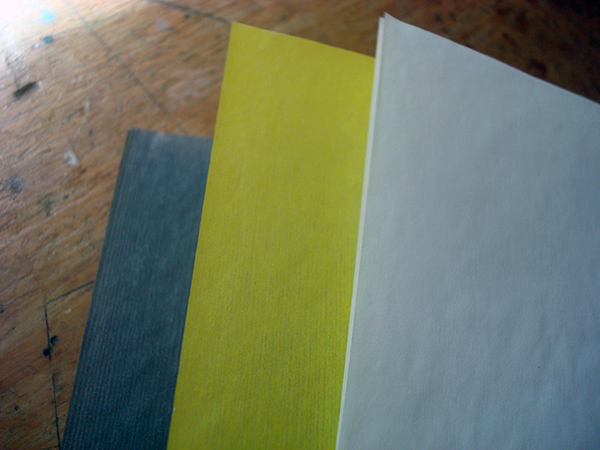
Transfer paper comes in a few different forms and finishes. It can be purchased by the sheet, by the book or by the roll.
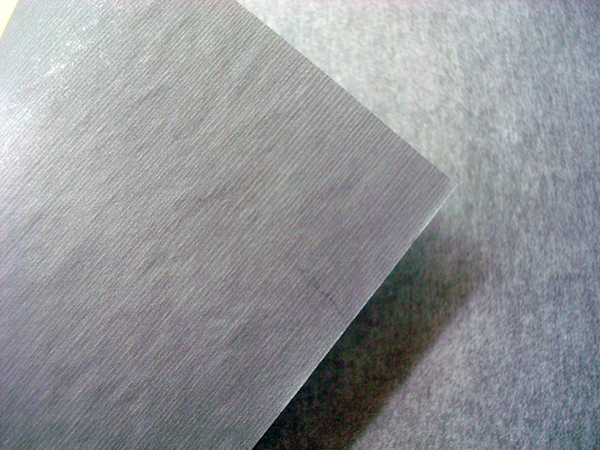
Only one side of transfer paper will transfer your image. Typically, the matte side should face up, and the darker or slightly smoother-looking side will be the side to face where you want the finished imprint.
For illustration, be sure to invest in a transfer paper that is specifically marked as wax and acid-free. Wax or grease can cause spots on which paint won’t adhere.
How to use transfer paper
Step 1:
Determine what size of transfer paper you need and cut it out. It’s fine to make your transfer paper piece slightly larger than the artwork.
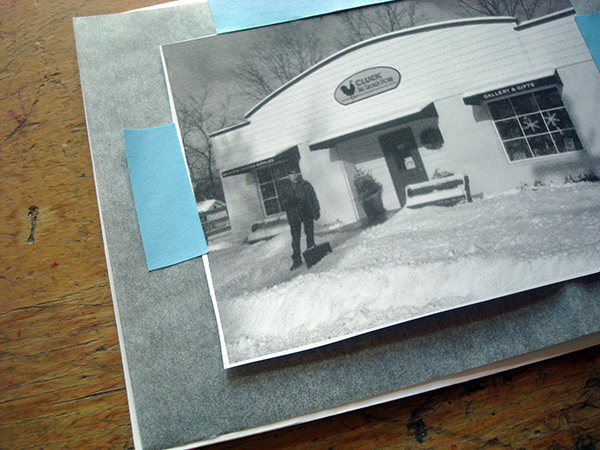
Step 2:
Place the transfer sheet above the surface you’d like to transfer it on to, graphite or coated side down. Place your desired image above the transfer sheet, on a sheet of paper that is not too thick (like a sheet of printer paper).
Step 3:
Place a small piece of removable tape on top to keep it in place. Do not cover any portion of the image which you intend on tracing with tape, as this will make it harder to make an imprint on the final working surface. You can add tape on the sides, too, if you think it will be easier to keep the image in place.
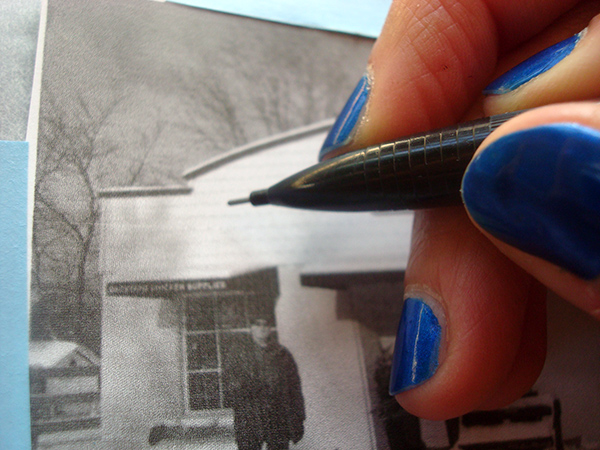
Step 4:
Assertively, but not so aggressively as to indent the paper below, trace the image in question. You can do the tracing with a stylus, ballpoint pen or pencil (it doesn’t have to be the same media you’ll use on the final image). If desired, lift up a portion of the transfer paper to make sure you’re tracing correctly. Leave out any parts of the image you do not want to include in your final image.
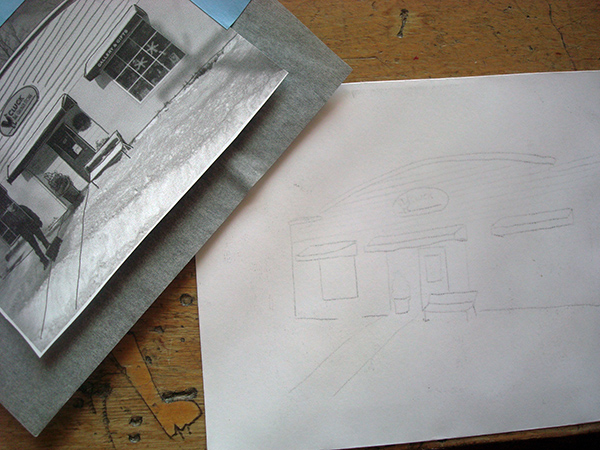
Step 5:
Once finished, remove the transfer paper. You may have to clean up areas where the graphite has “rubbed” into the paper. If you are working in pen and ink above the traced image, simply erase when you are erasing your pencil lines.
Tip: Depending on what you’re drawing, transfer paper can sometimes be used more than once. Line drawings don’t use up too much of the treated graphite, so you can probably eke a few illustrations out of it.
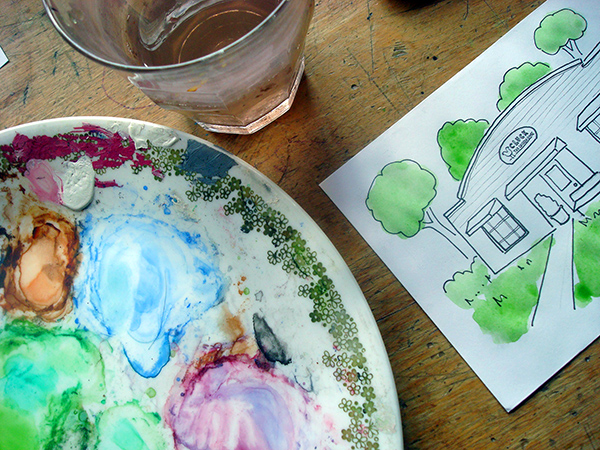
Step 6:
Finish up your illustration however you’d like! Ink in the lines and color in with pen and ink, or use whatever media you prefer.
DIY transfer paper
Don’t have transfer paper on hand? Here’s an easy and inexpensive stand-in you can make using tracing paper: Turning a pencil slightly on its side so as to take advantage of as much graphite area as possible, cover every surface of the paper with graphite. Try to be as even as you can. Now, this graphite side can be faced down and used as transfer paper.
Bring your creativity to life in an illustrated story! Learn the techniques to make a picture book that will delight children & publishers alike in Shadra Strickland’s The Art of the Picture Book.
Share tips, start a discussion or ask one of our experts or other students a question.
No Responses to “Make an Impression: How to Use Transfer Paper for Illustrations”