
It is summertime, finally, and with the sun shining and a few days off, there is definite travel in my, and more than likely your, future. I like to take embroidery projects on the road with me, but sometimes it can be tricky to keep all my stitching supplies in order. I’ve done a little practicing to find what helps keep needles and floss organized in the car, in addition to figuring out what I might be able to take on an airplane given safety regulations.
As you are getting ready to hit the road with a current WIP, keep these tips in mind to help you have a smooth traveling embroidery experience.
In-flight stitching
Some summer vacations will take us on flights and because of this its best to downsize some of our embroidery supplies and tools while traveling. Current Travel Security Agency (TSA) regulations might cause our embroidery scissors to be confiscated and land in some bin to live out a lonely existence where they will never meet with embroidery floss again.
To avoid this, I highly recommend leaving the embroidery scissors at home. Especially if they are a valuable keepsake pair, vintage or your favorite pair that you just don’t want to part with.
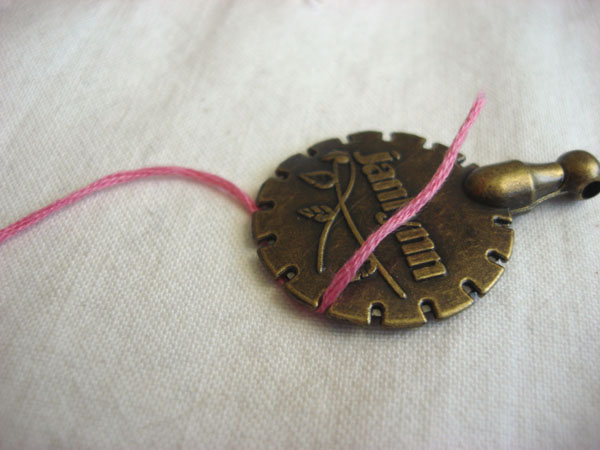
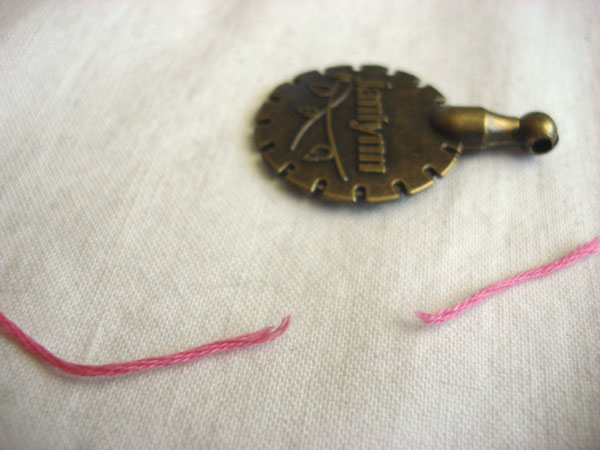
Instead, a round thread/floss cutter works, just as well. I found this one in the quilting section of the local fabric store. It was under $10 and can easily fit in a project bag or hang from a long chain as a necklace pendant, if you prefer.
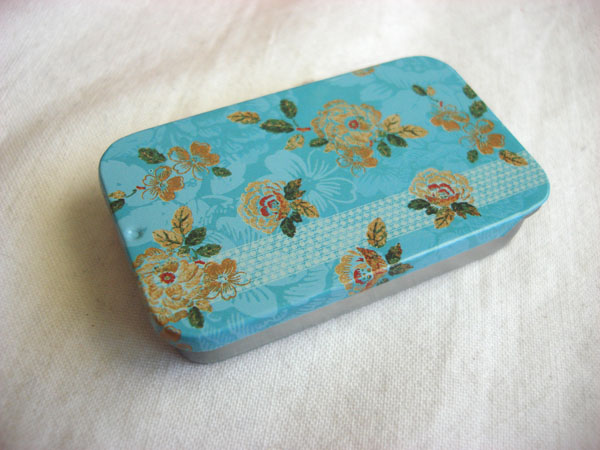
If carrying a cutting tool is something you prefer to avoid, you can precut pieces of floss and pack them along with your supplies, as well. I use a spool or embroidery floss card to store the floss and prevent it all from tangling up.
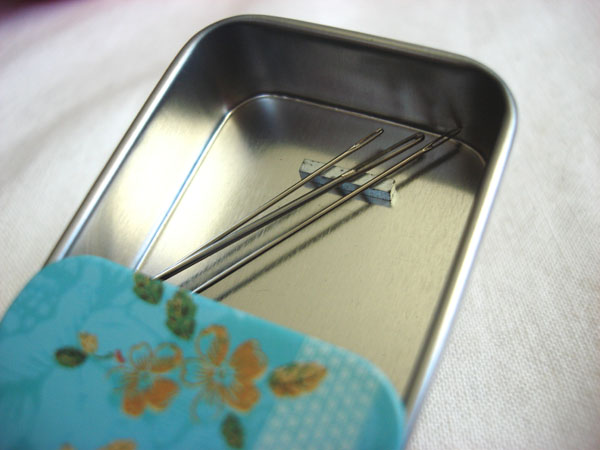
I usually only take one or two needles along with me in a flight carry-on bag, and pack a needle book or an extra package of needles in my checked suitcase if I feel like I might need more during the course of the trip.
The size of embroidery project should be comfortable to carry as well. Or, transfer your current project to a smaller hoop that is easily held in one hand and won’t take up too much space in case you have to pack it in to a small airline seat.
Road trip embroidery
Taking a trip by car or train makes it a bit easier to take embroidery along with you because you have a little more wiggle room in terms of what you cart along. I still downsize my supplies for a road trip, but have found some great tools that help stitch while moving.
It is up to you if you want to take your embroidery scissors or a rotary cutter with you on the road. One thing that I have really found helpful is a magnetic needle holder or case. Nothing is worse than dropping a needle and it rolling into that weird Bermuda Triangle area under the seat where it is never to be found. A magnetic case holds the needles close and prevents them falling away.
Embroidery travel bag: a quick tutorial!
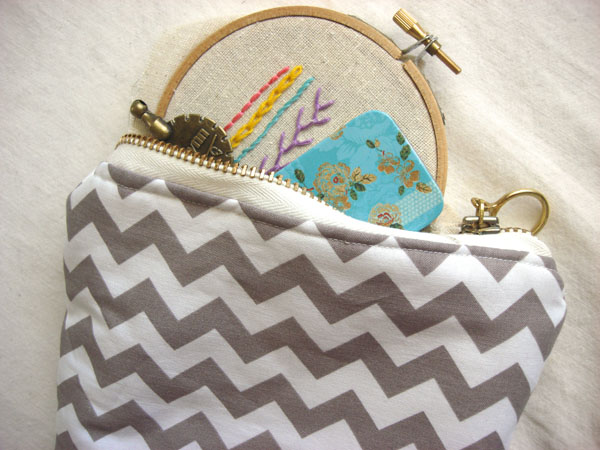
I like to keep my travel embroidery projects in a zippered pouch where I can drop everything in at once and run off with it. If you would like a zippered pouch for your embroidery items, here is a quick tutorial for you to make your own if you like.
Supplies needed:
– Two 9″ x 10″ pieces of fabric for exterior
– Two 9″ x 10″ pieces of fabric for interior
– Two pieces of 9″ x 10″ batting
– 7″ zipper
– Coordinating thread
– Sewing machine and supplies
– Scissors
This particular pouch finished at 7″ x 9″. If you want a larger bag, you can still use this tutorial with larger fabric size and a longer zipper.
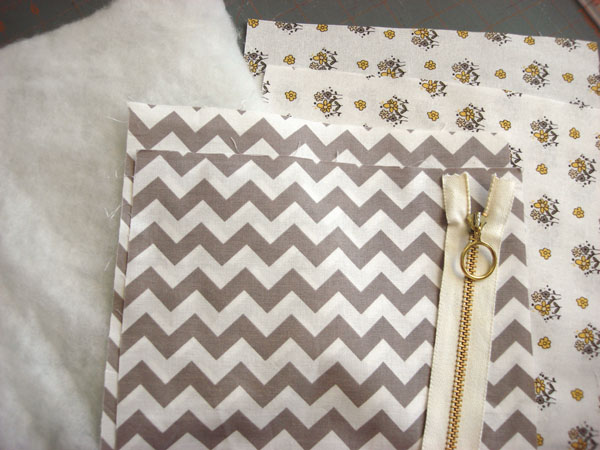
Step one:
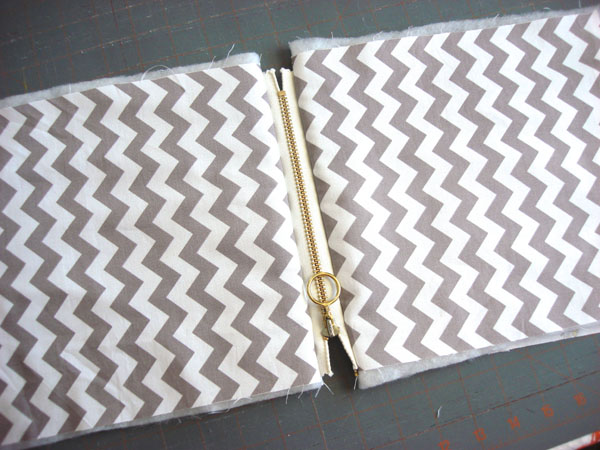
Place the zipper face down over the exterior piece of fabric, with the furthest edge of the zipper tape along the top edge of the fabric. The batting should be underneath the exterior piece. Place one interior or lining piece of fabric face down over that and pin in place. Using a zipper foot on a sewing machine, stitch along this top edge.
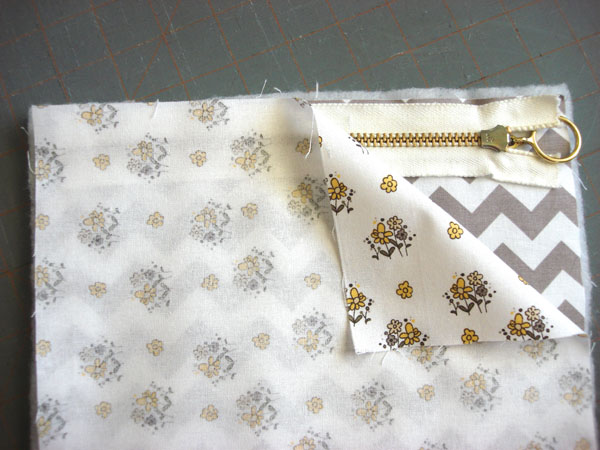
Step two:
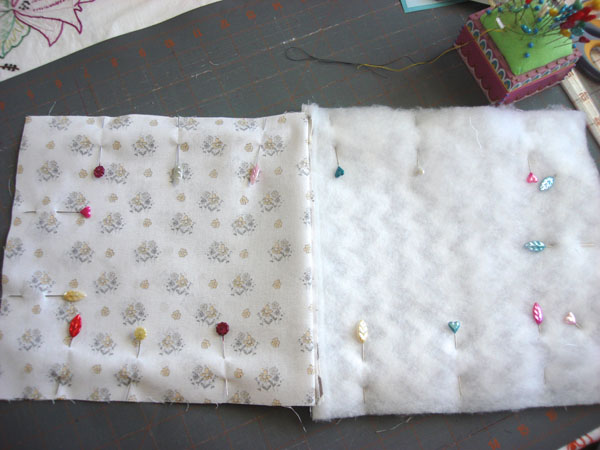
Repeat the instructions from Step one by placing the zipper face down with the unsewn edge along the top of the exterior piece and the lining face down over that. Again, the batting is underneath the exterior piece. You’ll have the right sides of the interior/lining facing each other, as shown in the photo below. Pin in place and sew.
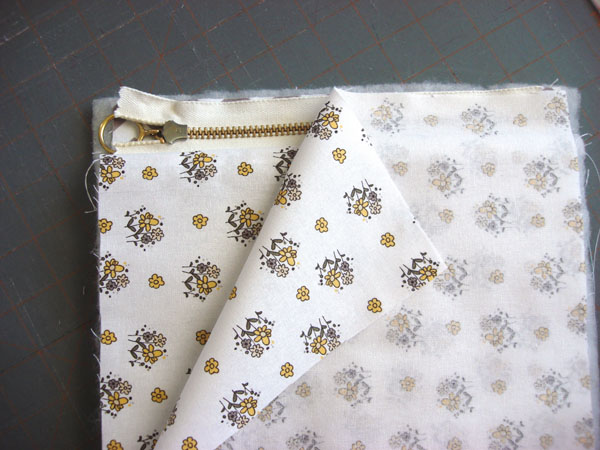
Step three:
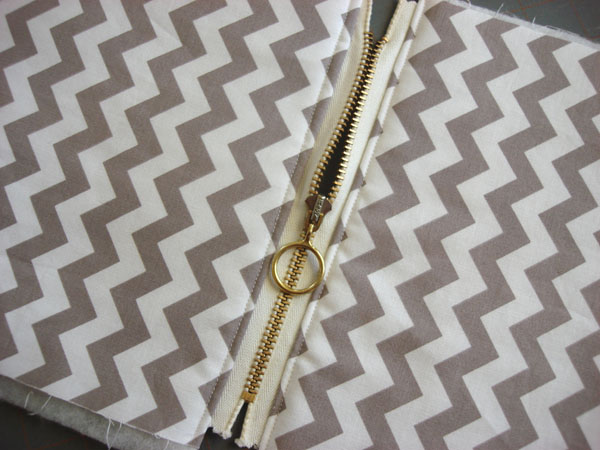
When you turn the fabric out, it should look something like this, with the right sides of the interior/lining and exterior facing out on either side.
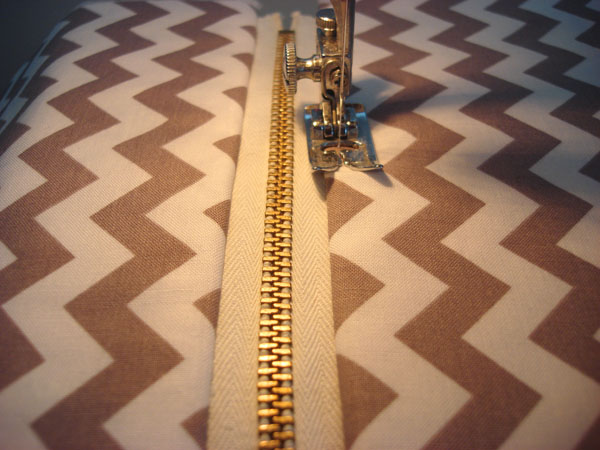

Top stitch along each side of the zipper, as shown in the photo above.
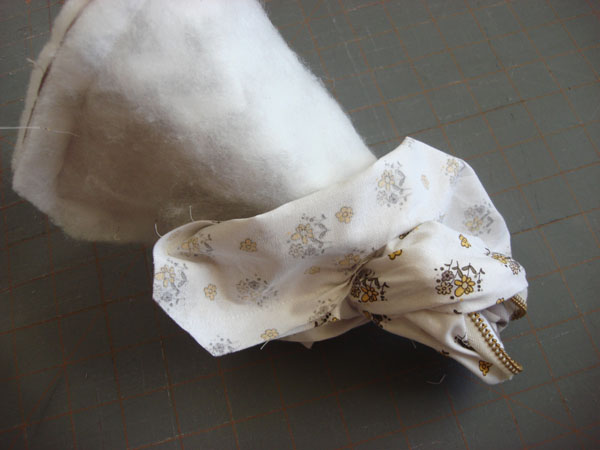
Step four:
Unzip the zipper about halfway.
Take the two exterior pieces and bring them right sides together and pin in place. Pin the interior/lining pieces together as well, marking a 2-inch space to leave unsewn on the interior/lining piece. Sew around these pieces using a 1/2″ seam allowance.
Step five:
Turn the bag through the unsewn space in the lining/interior and then top stitch this space shut.
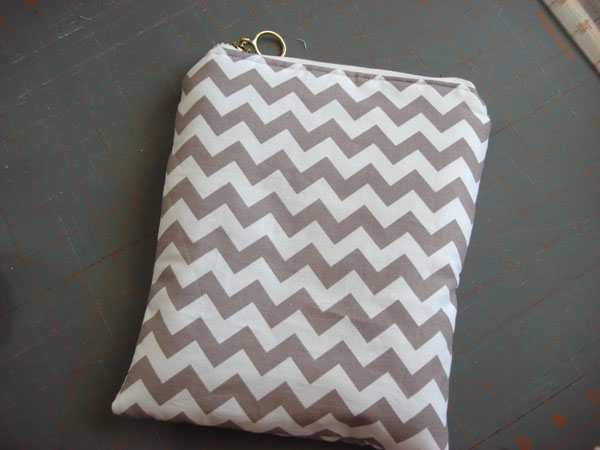
Your pouch is complete and ready to hit the road, wherever you might go.
Share tips, start a discussion or ask one of our experts or other students a question.
No Responses to “Tips for Traveling With Embroidery + A Travel Case Tutorial”