
 If you feel befuddled by branches, there are some helpful tips and tricks that will make it easier to record the trees that you see. Best of all, you can do this in three simple steps.
For supplies, you’ll want to use your favorite pens and ink, as well as paper you like to work on. Personally, I’m a fan of Pilot pens and Legion paper — for this drawing, I used Stonehenge Warm White.
If you feel befuddled by branches, there are some helpful tips and tricks that will make it easier to record the trees that you see. Best of all, you can do this in three simple steps.
For supplies, you’ll want to use your favorite pens and ink, as well as paper you like to work on. Personally, I’m a fan of Pilot pens and Legion paper — for this drawing, I used Stonehenge Warm White.
Here’s a simple approach to draw trees in urban sketching

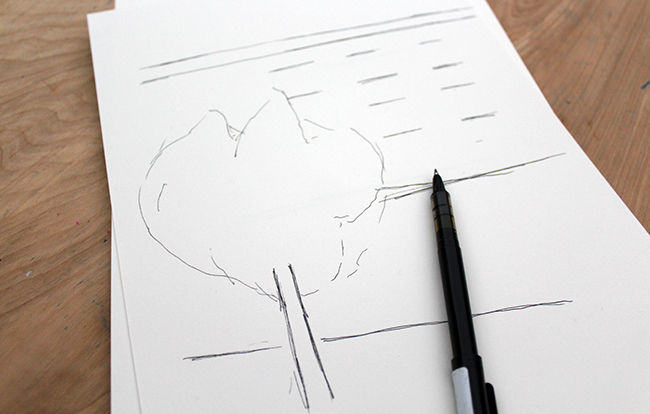 Blocking out the shapes needn’t be detailed or fancy. The width of the trunk and an outline of the leaves will do.
Step 2: Build form with simple shapes.
Once you’ve got the proportions done, turn your focus on the branches. Take a long look at the lower leaves and the crown. Where do the shadows fall? What is the fullest part of the tree? From here, draw what those shapes look like. Some of the bigger (and darker) shapes will probably fall near the bottom of the branches, with less overall definition because the the leaves are clustered in this section.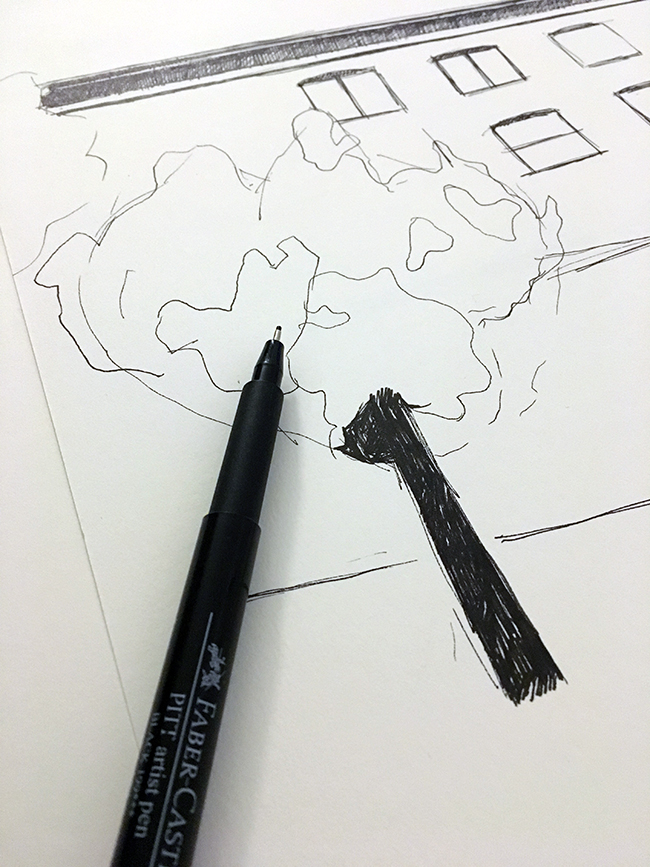 Remember, keep these shapes simple. A quick line or two will do for a tree branch, and you can make hashmarks to signify leaves.
Step 3: Give your tree volume.
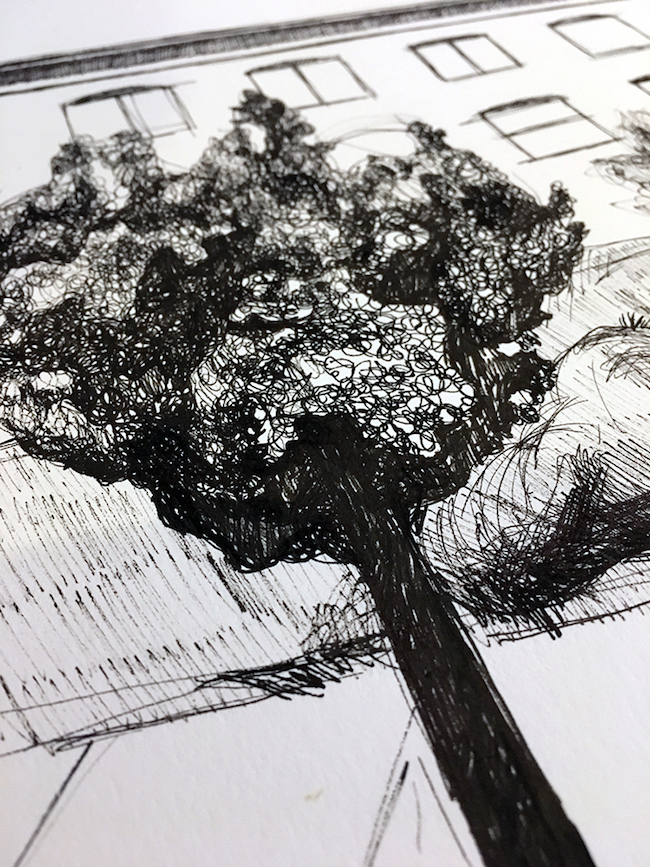
With your large and small shapes defined, you now have a roadmap for how and where to apply shading.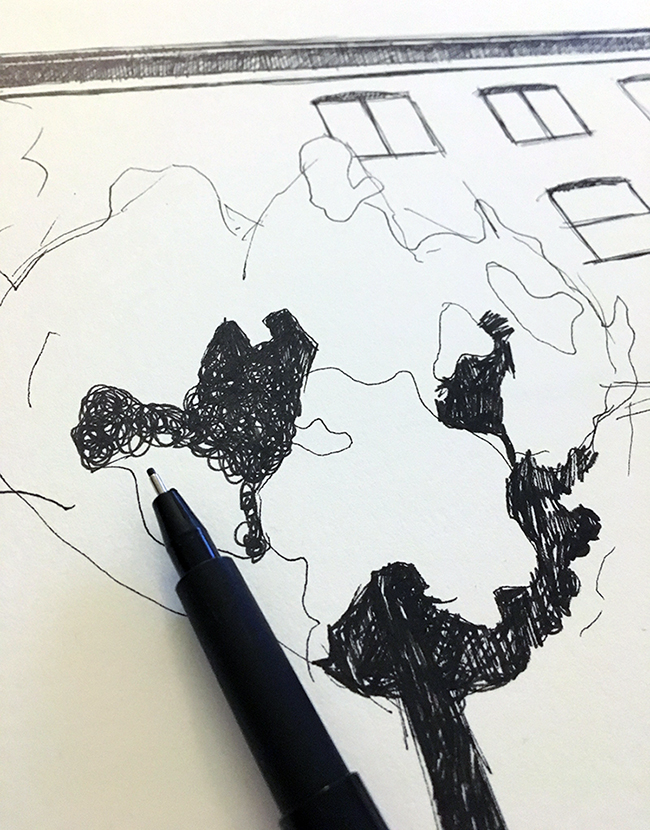 Working dark to light, begin to fill in the areas that you just made. I started with the darkest parts first and used my pen to practically cover the space in black ink. By doing this, I built contrast and made the other branches stand out in comparison.
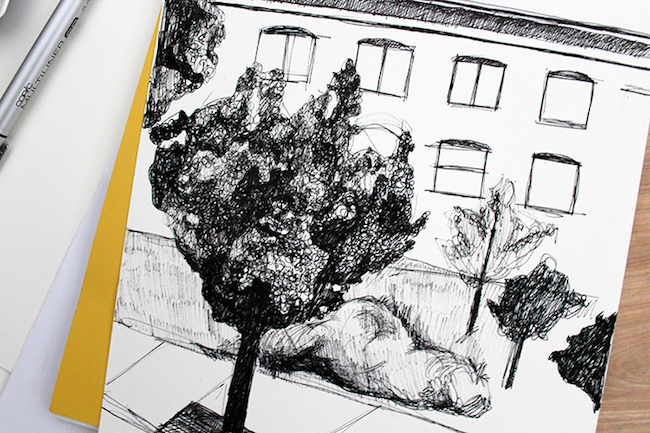
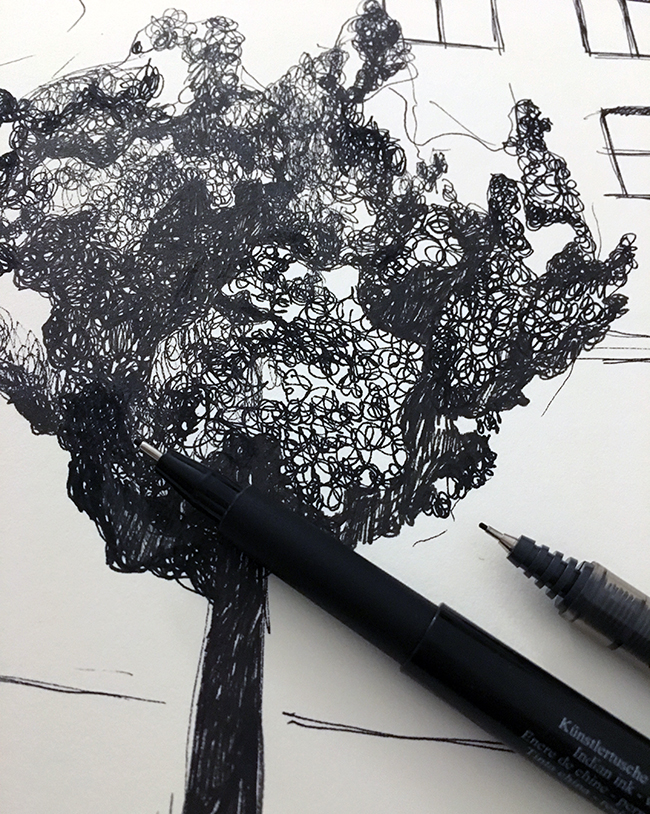 To give your drawing a “tree-like” look, pen textures are vital.
To mimic bustling leaves, try using squiggly lines. They tend to appear loopy, just like what you’d find on the real thing. For darker areas, make your squiggles tight and close together. When you’re working on lighter areas, make the loops larger and more spread out. You’ll still get the look of leaves, but these areas will pop next to the dark ones.
To give your drawing a “tree-like” look, pen textures are vital.
To mimic bustling leaves, try using squiggly lines. They tend to appear loopy, just like what you’d find on the real thing. For darker areas, make your squiggles tight and close together. When you’re working on lighter areas, make the loops larger and more spread out. You’ll still get the look of leaves, but these areas will pop next to the dark ones.
Share tips, start a discussion or ask one of our experts or other students a question.
No Responses to “How to Draw Trees in Urban Sketching”