
Last week we began our skill building series by learning the first steps for how to make a shooting board.
Now, let’s finish up your shooting board and learn how to use it.
Completing the shooting board
1. Cut mating pieces flush
We left off with a test fit for the rails on your shooting board. Test for a snug fit in both recesses you made, and carefully remove any extra material remaining with your chisel.
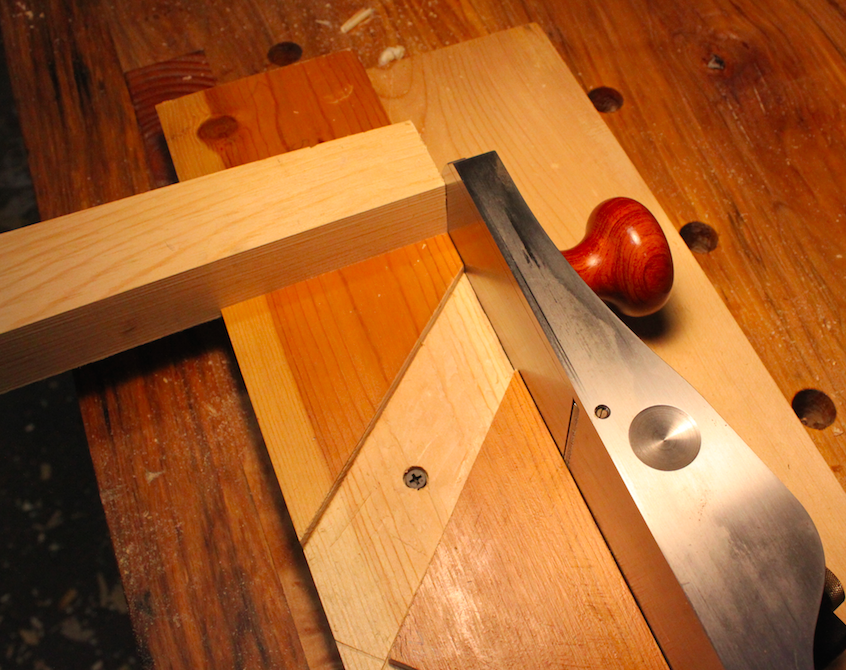
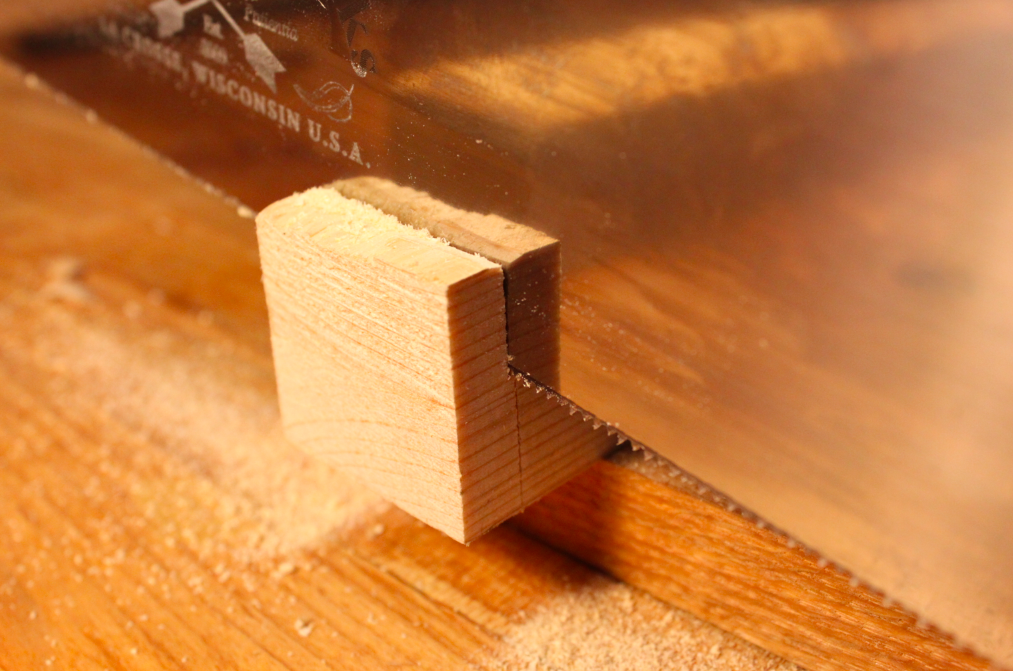
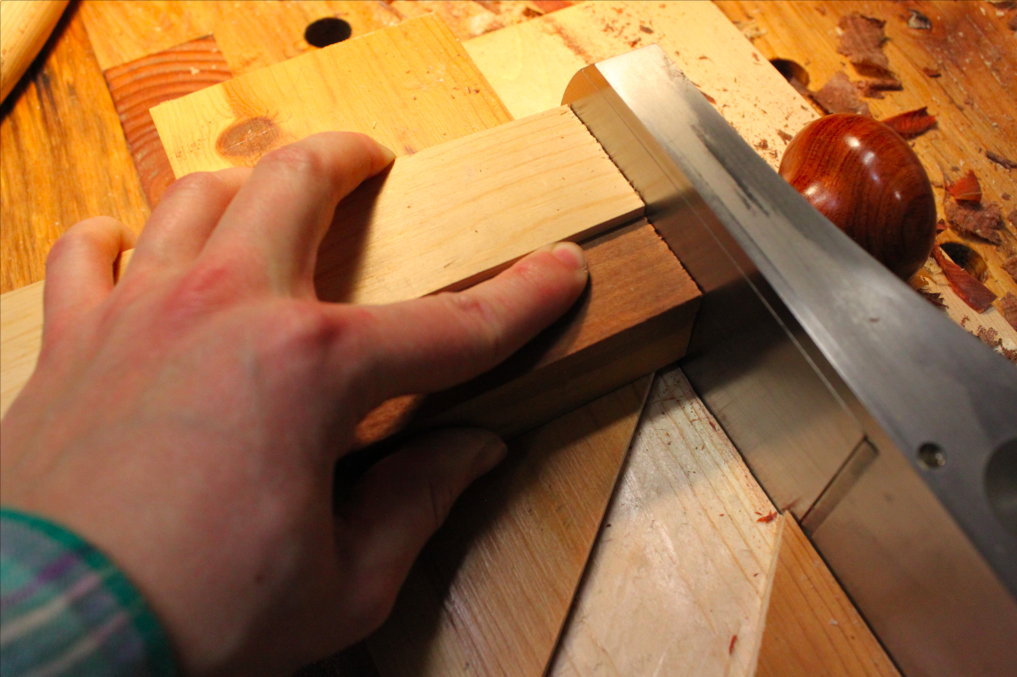
When you are satisfied with the fit, tap one of your 45-degree rails snugly in with your mallet, then use your knife to mark the line which you need to cut so the end is flush with its mating part.
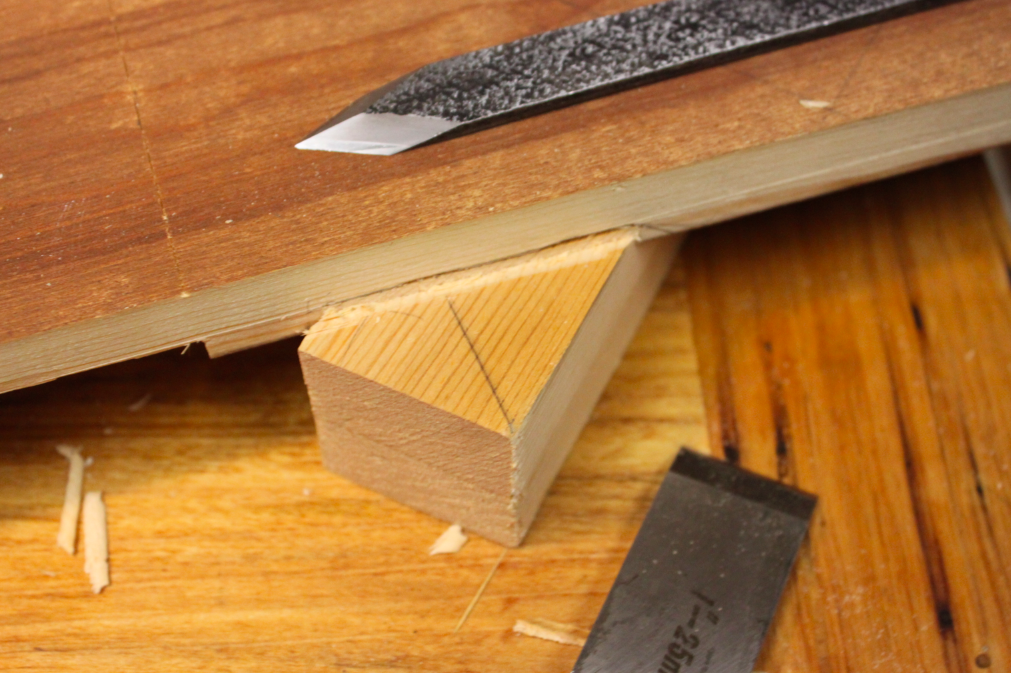
Using the same techniques we discussed in last week’s post, scribe a light line across with your knife, then deepen it with a few extra strokes. Use your chisel to pare to the line to create a “shelf” for the saw.
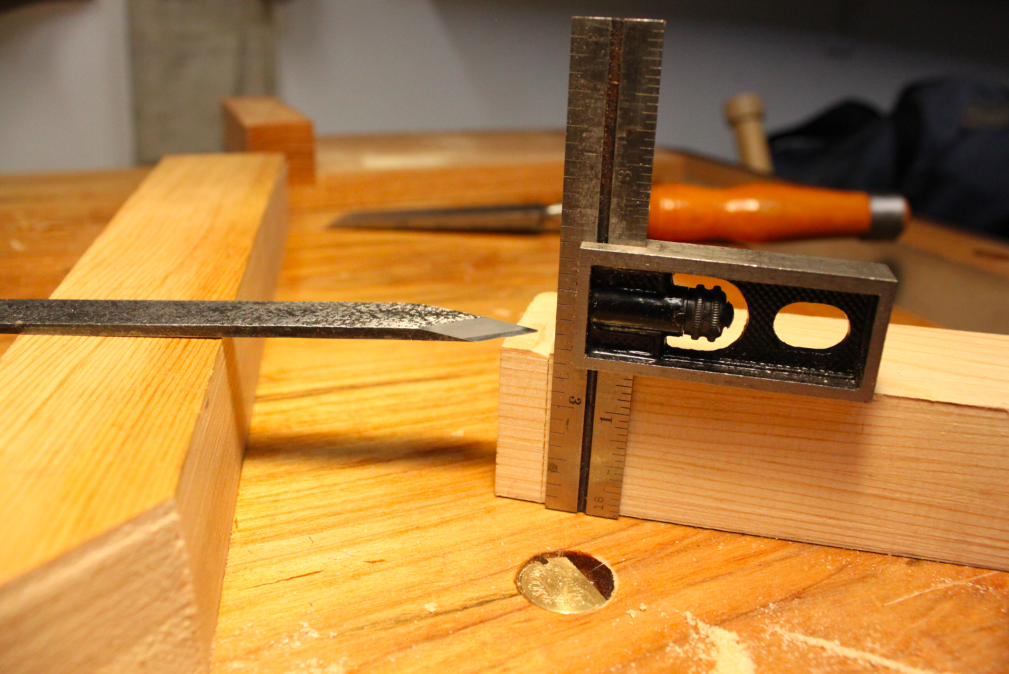
Remove the rail with a few light taps of your hammer and use your ruler to mark down the sides of your cut so you can check that you are cutting square as you saw down.
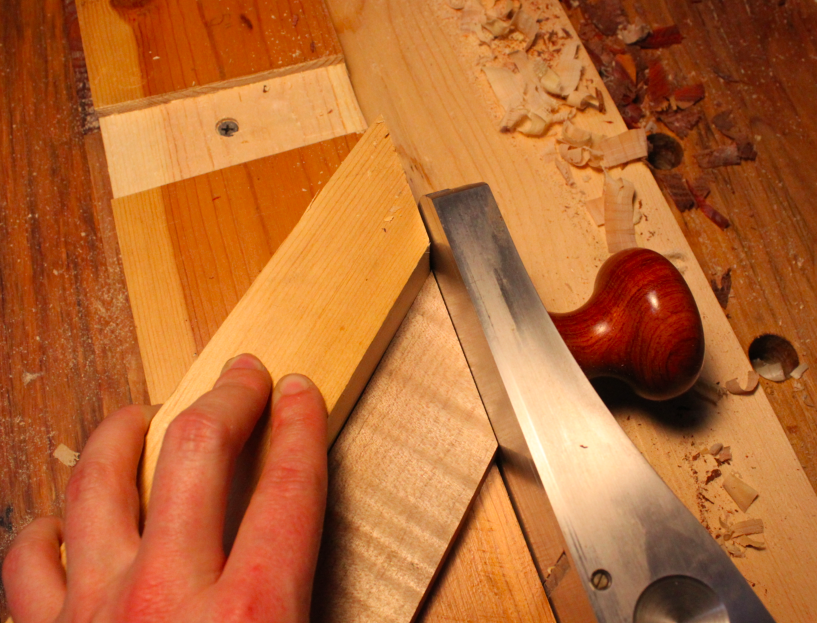
You can tap the piece back into its mate to help hold it more securely as you saw, or you can use your bench hook and use gravity to keep it still as you saw.
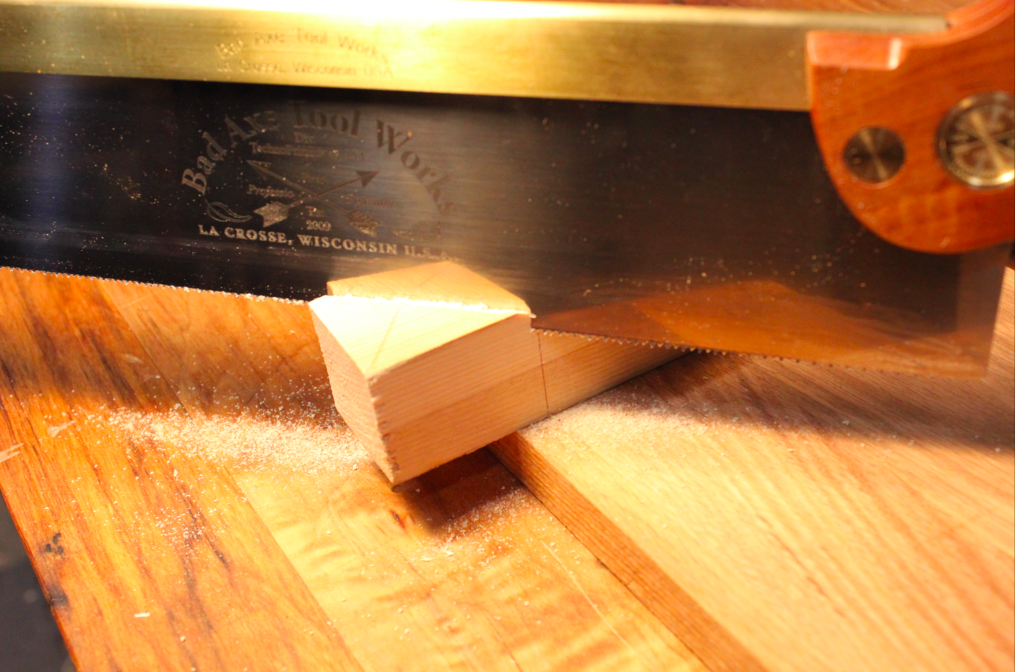
Rather than splitting your line as you saw away the waste, saw on the waste side of the line and try to leave a little extra material at the end that you can plane flush with your first few passes once your shooting board is assembled.
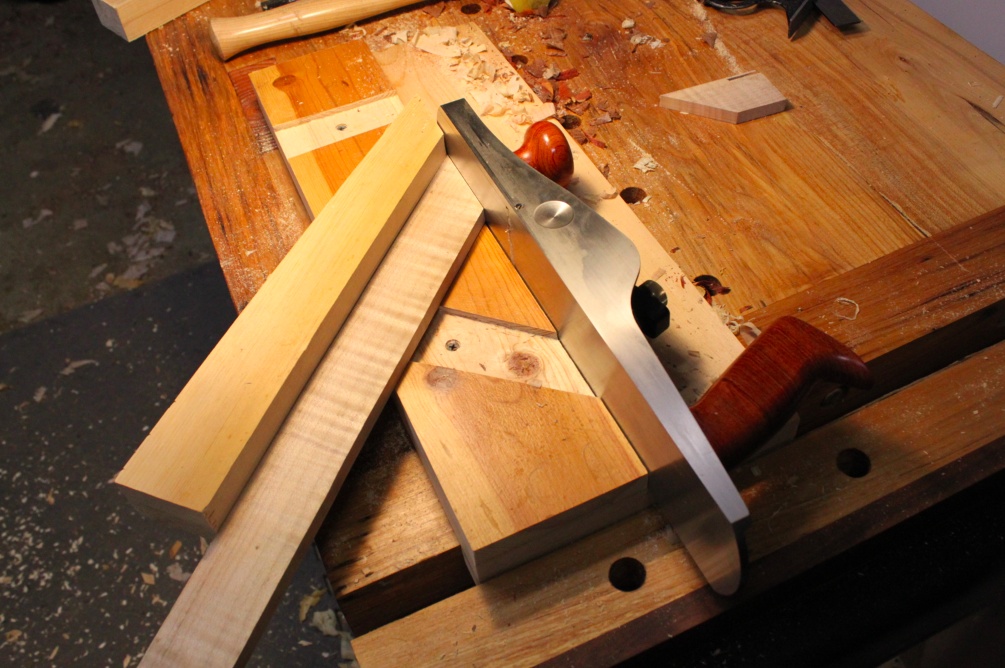
Repeat the above process with your rail which will allow you to shoot 90-degree pieces. Both pieces should now fit snugly and protrude just slightly when fitted in their mating piece.
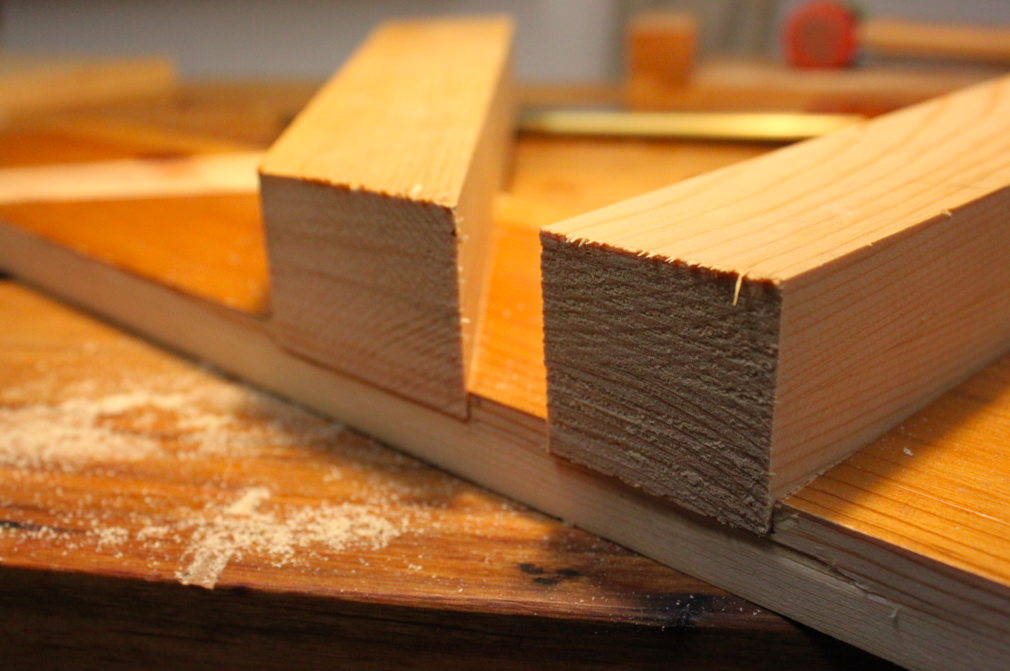
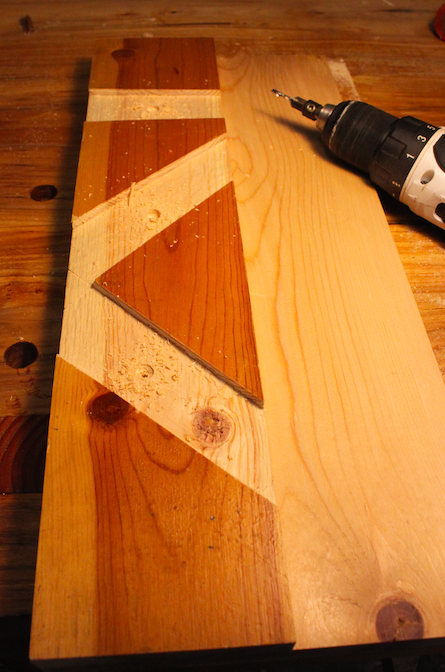
Put this whole setup aside and grab the two pieces you haven’t touched yet, the 8″ x 19″ x 3/4″ and 8″ x 1″ x 3/4″ boards.
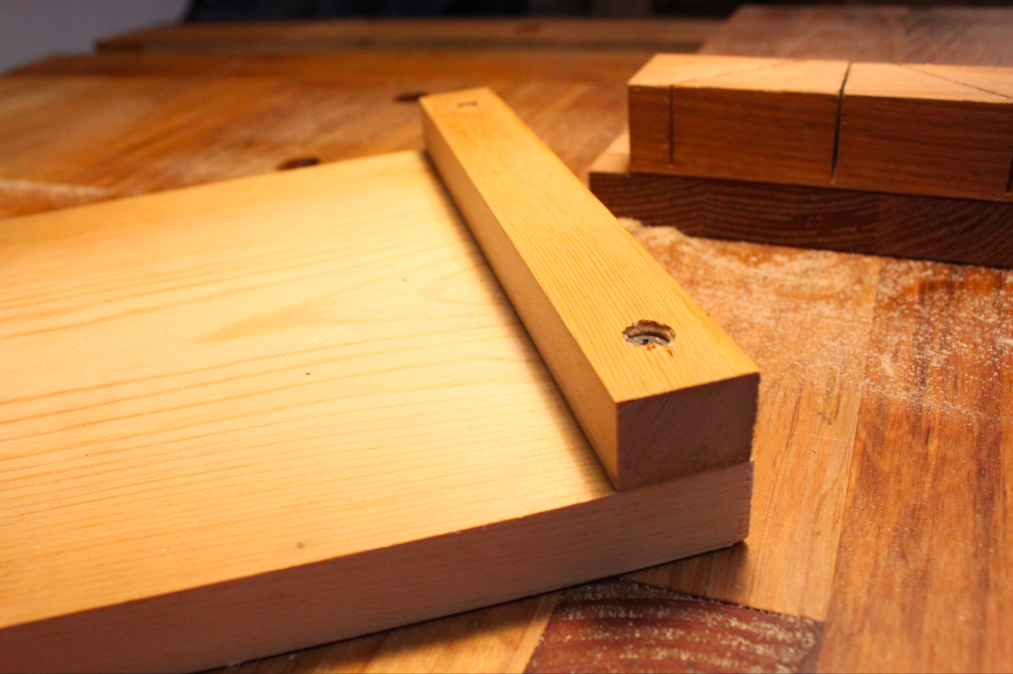
2. Attach the bench stop
Remember why bench hooks work? They use the gravity of the forward motion of your saw to hold the bench hook snug to the bench. This handy addition to your shooting board will perform the same function, only the forward force of pushing your hand plane will be what holds the shooting board against the bench.
You can take this security to the next level with both bench hooks or shooting boards by clamping the stop into your vise as shown below, but both will work perfectly well by butting the stop up against the side of your bench top if you don’t have a vise.
If you’re a hand tool fanatic, grab your egg beater drill, a drill bit and a couple screws. If you’ve been waiting with baited breath for the moment I pull out a power tool, here it is. When attaching items with screws, I usually vote for efficiency over anything else.
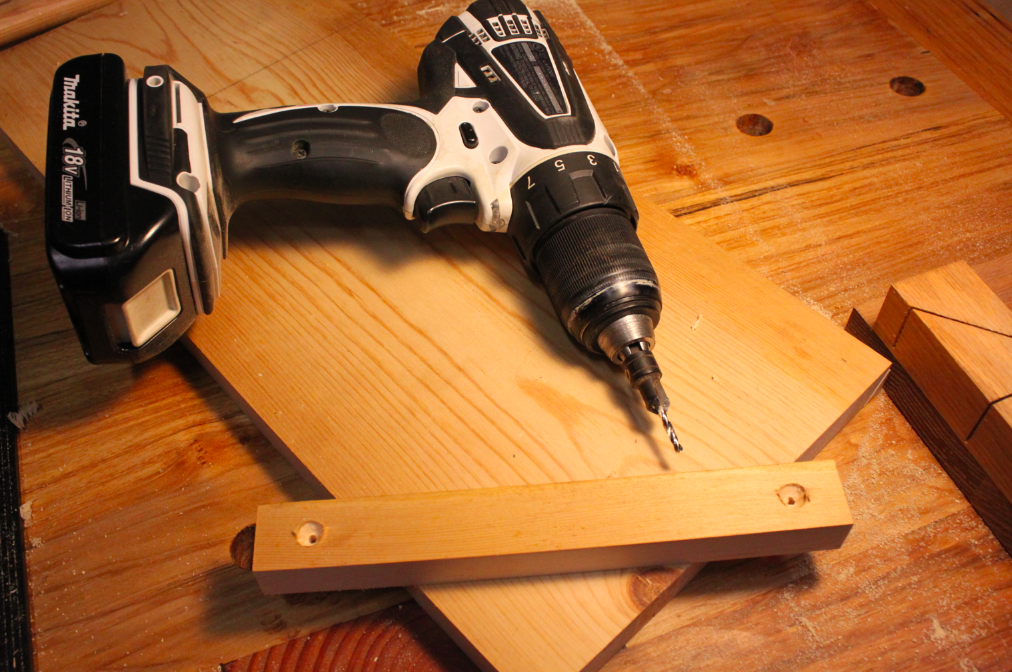
I put my favorite countersink drill bit into my driver and arbitrarily drill two holes to attach the bench stop to the bottom of the shooting board. Dab on a bit of glue for good measure and screw the bench stop onto the bottom of your piece.
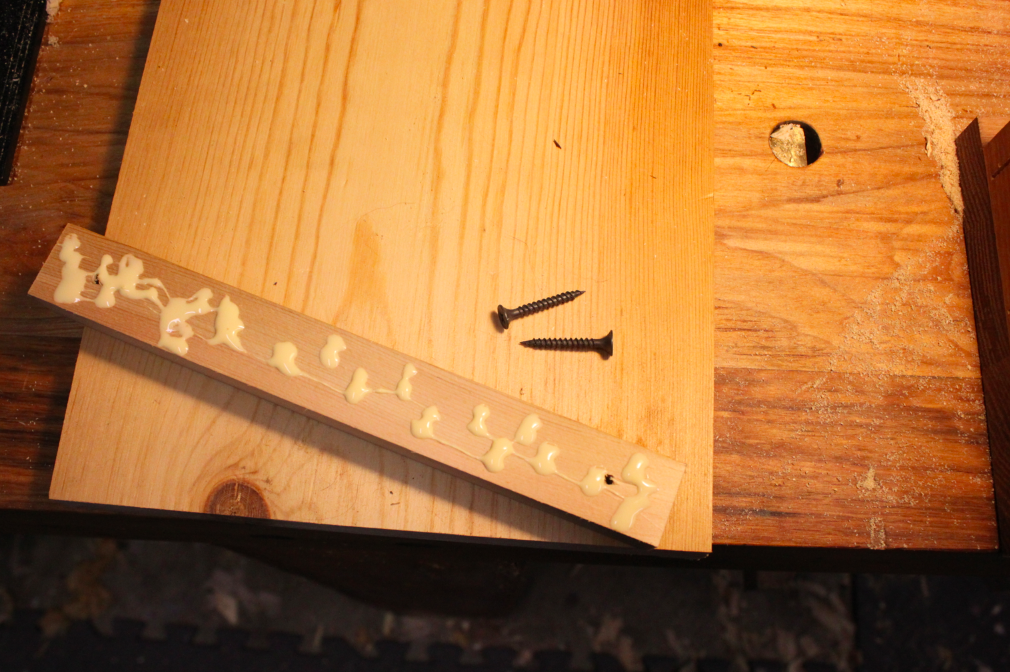
3. Finish assembly
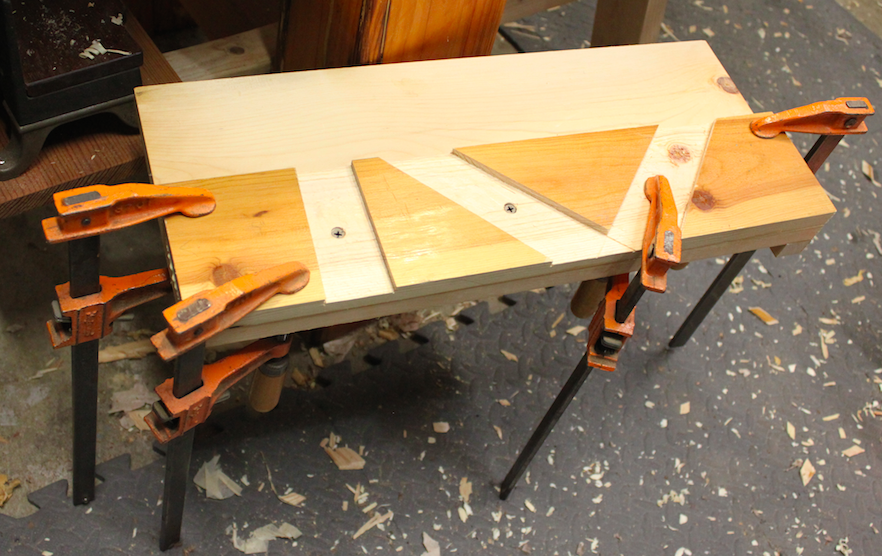
Line up your two major components as shown in the photo below and glue them together long grain to long grain. Clamp them up and let them sit overnight. If you don’t have ample clamps, or if you get frustrated by boards slipping when clamping them together, you can add a couple of countersunk screws to hold the pieces snug while the glue dries. You can then leave them or remove them and fill the holes with plugs, whichever you prefer. Because this is a shop fixture, beauty is not one of my main concerns.
Using a shooting board
Once you’ve removed the clamps and cleaned up any errant glue that may have oozed out during the process, set the shooting board on your bench top. If you like, clamp the bench stop in your end vise. Grab a plane. Make sure your plane blade is set to make a dead square cut and is nice and sharp. Put in your 45- and 90-degree rails with a light tap with your mallet. Take a few passes with your plane to true these up.
If you look very carefully, you will notice a tiny bit of the long grain where your plane travels will get planed away as you’re doing this. This will allow the blade to pass through the shooting board, but it will not continue to cut unless you continue to advance your plane blade. A bit of the backs of your rails may splinter off at this point as well, so avoid this by using your chisel to chamfer away the back of the rails (behind where the plane will cut as you advance it forward). Because my shooting board isn’t meant to be pretty, I didn’t bother cutting the chamfer and didn’t suffer much tearout.
Now, try shooting an end square. If it is in the way, remove the 45-degree rail first. With just a hair of material ahead of the rail, use one hand to hold your workpiece square to the shooting board, like you would with a bench hook as you began a cross cut. Use your other hand to advance your plane forward swiftly, through the cut in one pass. You should remove a gossamer end grain shaving. Take several passes until the plane stops cutting, then check the piece for square.
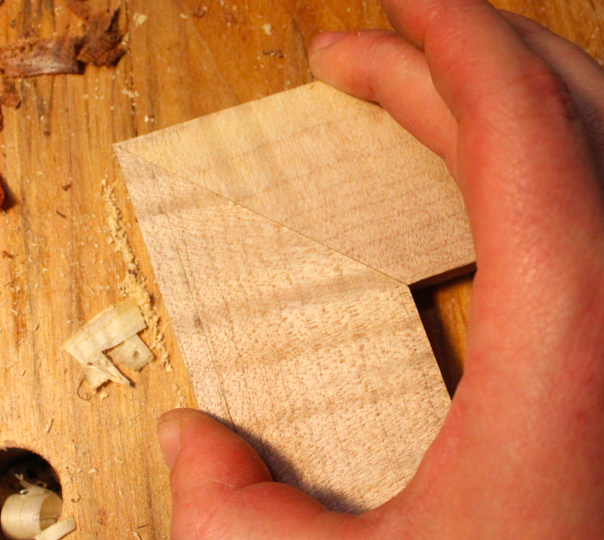
The same process is used shooting a 45-degree cut. Hold your workpiece just a hair forward of the rail and swiftly advance your plane forward through the cut. When the plane stops cutting, you should have a perfect 45-degree angle. Trim two pieces, and they should fit together flush with no gap.
You may have noticed that I used pine to build this shooting board. You can use anything you like: oak would make a nice, strong, long-lasting shooting board and walnut would make a beautiful board, but I think you’ll find that a few scraps of whatever you have will suit you just fine. If you are still struggling to plane boards flat and square, perhaps cabinet-grade plywood will suit you best because it is basically guaranteed to be free of any possible wood movement or other oddities.
If you are a more experienced hand tool user, there are all kinds of improvements you could make to this design: you could cut a rabbet for the stop on the bottom and eliminate the need for screws, you could modify the design to form a ramp for the plane so that as it travels forward into the cut, the whole plane blade is used to make the cut instead of just the bottom corner.
While I have built several shooting boards at this point, I have found this board to be the easiest to make, the most economical (because it’s built from scraps) and it allows for lots of great practice with several hand tools.
Share tips, start a discussion or ask one of our experts or other students a question.
No Responses to “Skill Building: Using a Shooting Board Part 2”