
A V-neckline is a lovely look on a variety of garments, from an elegant evening gown to a casual cotton top. Because that V is front and center, you want it to be perfect.
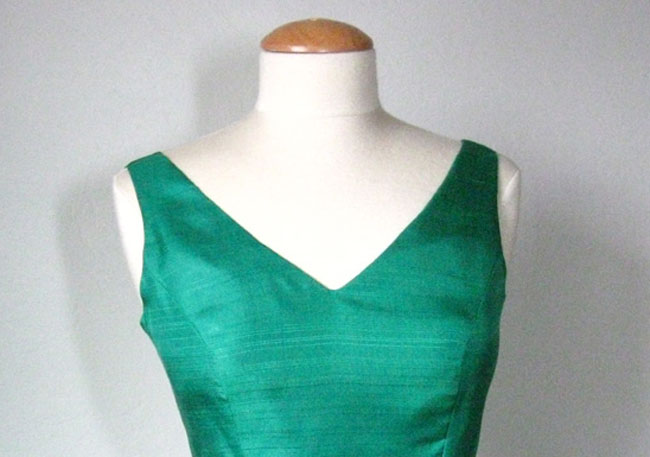
Here are my best tips to achieving a smooth, pucker-free, perfect V-neckline.
1. Handle your pattern pieces carefully
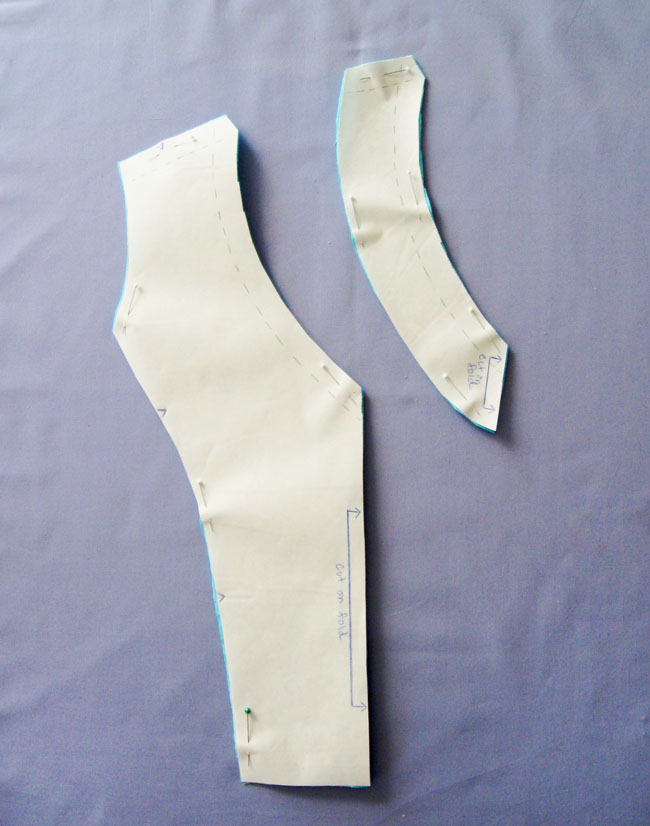
For a typical V-neckline, there’s the center front of the garment, which is cut on the fold, as well as the accompanying facing. Cut these out carefully and don’t handle them more than is necessary.
Keep them flat and don’t let them stretch out. The cut edge of the V-neckline is a bias cut, and it can stretch out of shape easily. I try to avoid picking them up by the ends, because the fabric’s own weight could stretch out the fabric.
Avoid pressing the fold of your fabric — this be will on the the center front, and you’ll only have to press the crease out later. Some fabrics come off the bolt with a crease that’s difficult to remove, so I often cut the center front piece from a different section of my yardage, just softly folding it over to be able to cut on the fold.
2. Staystitch the V-neckline
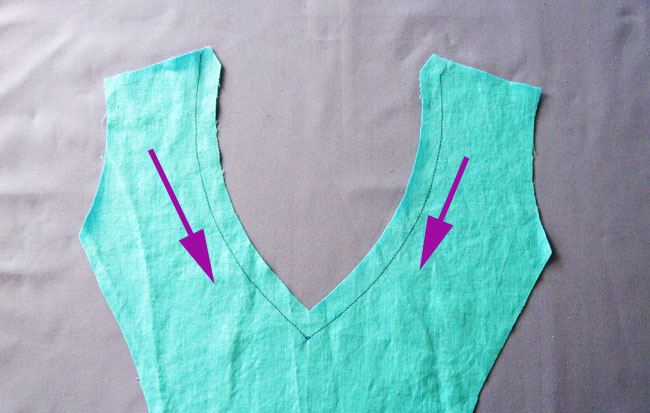
Staystitch the neckline edge of your garment. Staystitching serves to reinforce this area at the bottom, where it will be clipped, as well as keeping the neckline stable and preventing distortion. Use a regular stitch length (2.5) and sew at ½” from cut edge (if your seam allowance is 5/8″).
Note the direction of stitching: from the shoulder down to the center point of the V. For staystitching, generally speaking, it’s best to go from the widest to the narrowest point. Or, you can stitch continuously and pivot at the center point.
3. Make a paper template of the V-neckline
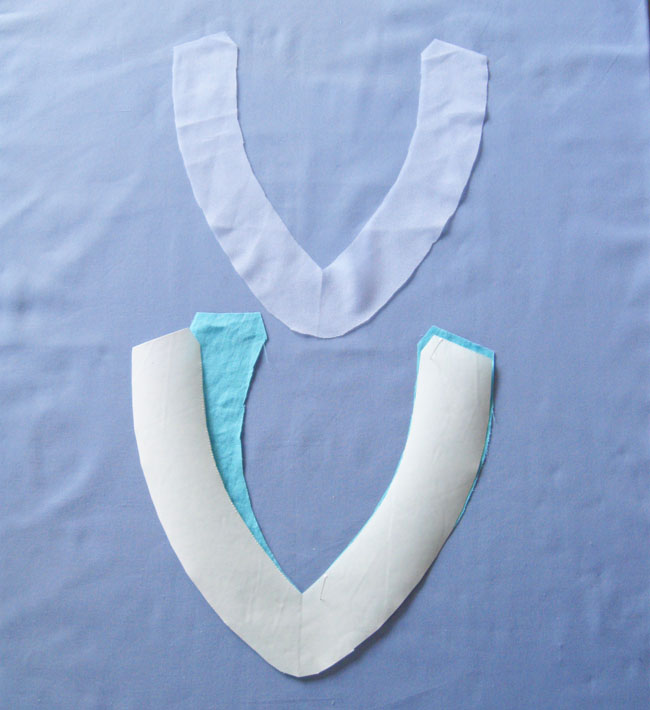
The facing pattern piece is usually half of the total shape, and indicates to cut on the fold. Use the pattern piece to cut out a full version of this facing, which you can use to make sure that your cut-out fabric pieces are the proper shape. You can use something as simple as basic white printer paper and it is perfectly fine to iron over it.
4. Use the paper template to retain the shape
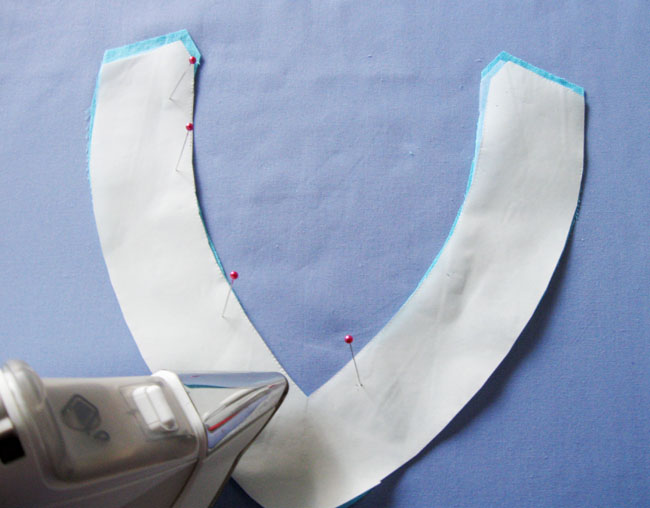
Since the facing fabric is cut on the bias, you need to do a bit of coaxing to get it into the right shape. Your paper template can help.
Place the interfacing on your fabric facing piece, then place the paper template on top to make sure it’s the right shape. Put in a few pins to hold everything in place. Press right on top of the paper to fuse the interfacing to the fabric.
5. Consider for block fusing
Another option is to block fuse a piece of fabric and then cut out your fabric facing with the fusible already applied. This is a really good way to maintain the proper shape.
6. Use the template when attaching the facing
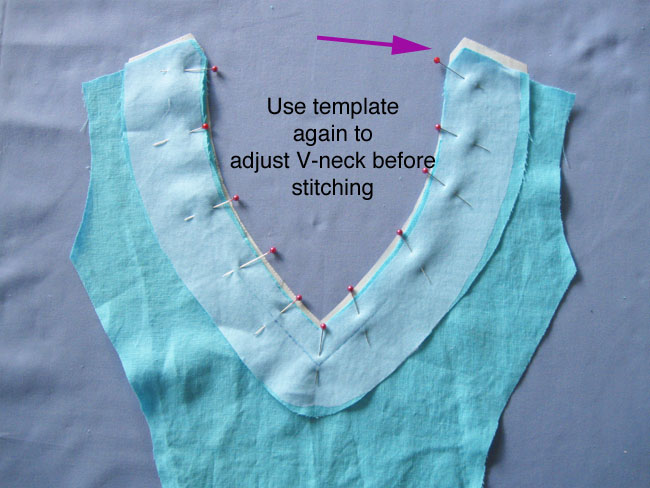
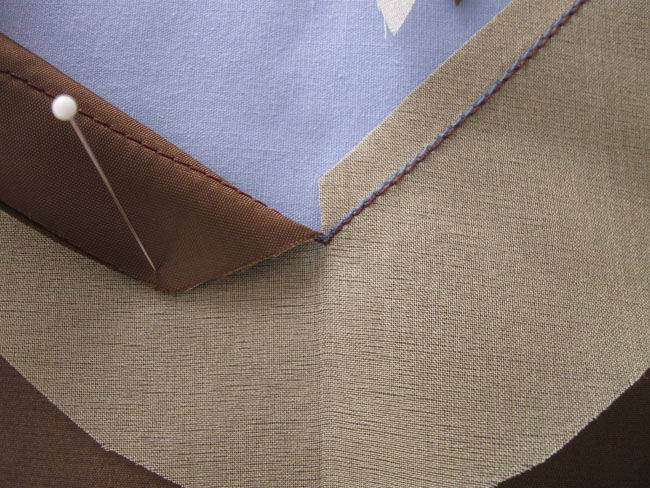
Again, use the paper template when you pin the facing onto the garment prior to stitching.
In the photo above, the paper template is below all the garment pieces. Place the garment front onto the template and adjust it into place. Then pin the facing onto the garment front. It should be a very close match. You might have to adjust the garment front to fit the template, and with a fabric like linen you can mold it back into shape with your hands or ease it to fit the facing edge.
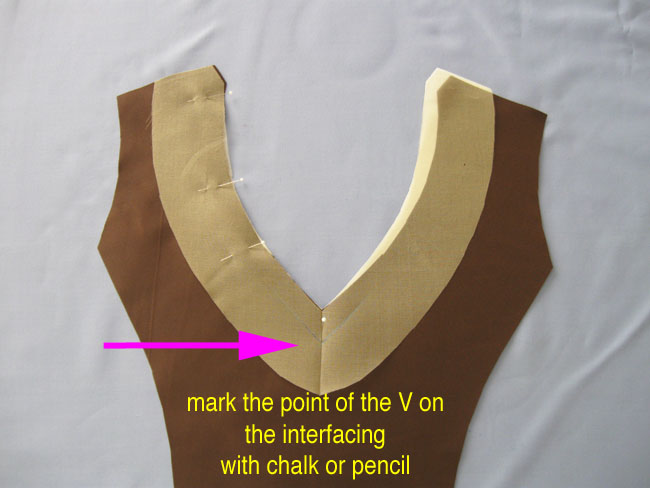
Note that I marked the stitching line at the point of the V with chalk. It really helps to give yourself a guideline to sew and where to pivot the needle when stitching.
7. Use silk organza as a stabilizer
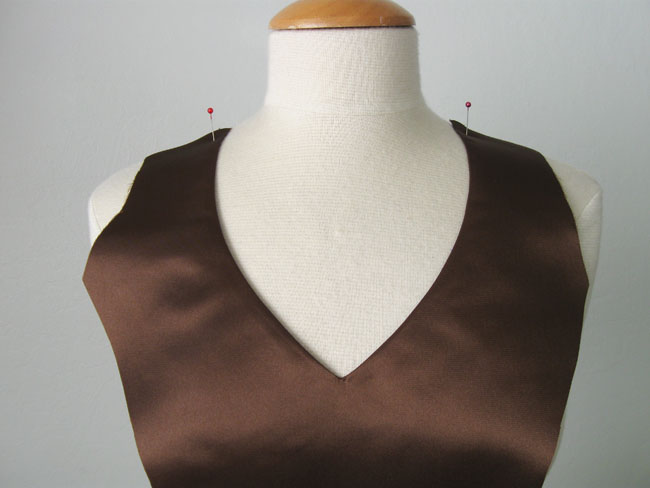
The V-neck dress I made used satin taffeta, which is a fabric that shows every little wrinkle or missed stitch. If you’re using a crisp fabric like this, try using a lightweight stabilizer — like silk organza — in place of other interfacings.
Silk organza doesn’t add any bulk, doesn’t usually show though with a line of demarcation on the right side, and helps to achieve very crisp pressed edges. I cut out the silk organza using my template and then attached in the same step as the staystitching. I marked the center pivot point of the V with chalk as well.
8. Use an open-toe presser foot
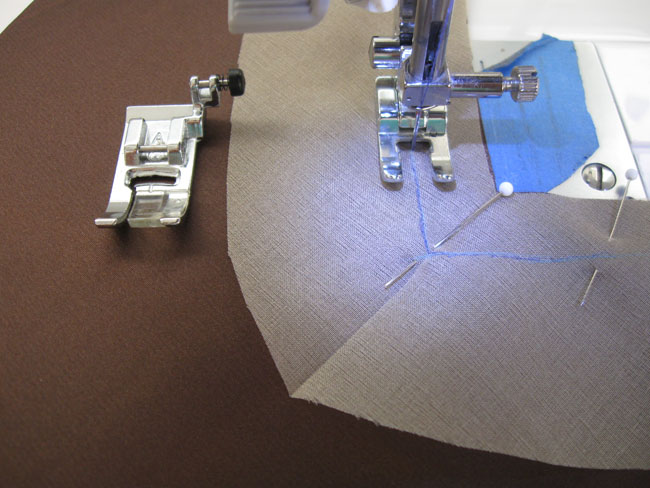
When precise sewing is required, the standard presser foot can make it difficult to see markings, dots or the exact point where the stitching needs to pivot. For example, the regular foot for my sewing machine has metal and plastic in the center, which obscures the spot where the needle is piercing the fabric.
In this case, try using the open toe foot, which is a presser foot that has nothing in the center, so the needle is completely visible. I often switch to this foot when I am sewing any lines that I have marked in chalk and want to be very accurate.
9. Clip precisely
Once you’ve sewn on the facing, the moment of truth has arrived. Most times when you turn the facing and there’s some puckering or pulling at the center of the V, it’s because it hasn’t been clipped far enough. I have some tips that can make your clipping successful:
- Take a deep breath and clip straight down to the point of the stitching at the center of the V.
- Your clip should be just to the stitching, leaving about one thread of the fabric.
- If your fabric is loosely woven, it helps to use a smaller stitch length for about 1″ on either side of the V.
- Go slow, clip, turn it over and check. If it needs more clipping, then another tiny clip should do it.
- As always, it pays to practice on some scraps of your fabric, which will let you see how the fabric behaves and how far you have to clip to get a smooth V.
- Trim your seams and then turn and press.
Share tips, start a discussion or ask one of our experts or other students a question.
No Responses to “9 Quick Hacks for Pucker-Free V-Necklines”