
Start a new holiday tradition this year by painting a cozy winter scene. Whether that’s a snowy house surrounded by evergreen trees or a simple Christmas tree painting, perfecting the glowing hue of Christmas lights is a must-know skill. Here’s how it’s done.
Watercolor Christmas Lights
Level: Easy
What You Need
Instructions
1. Create Your Composition
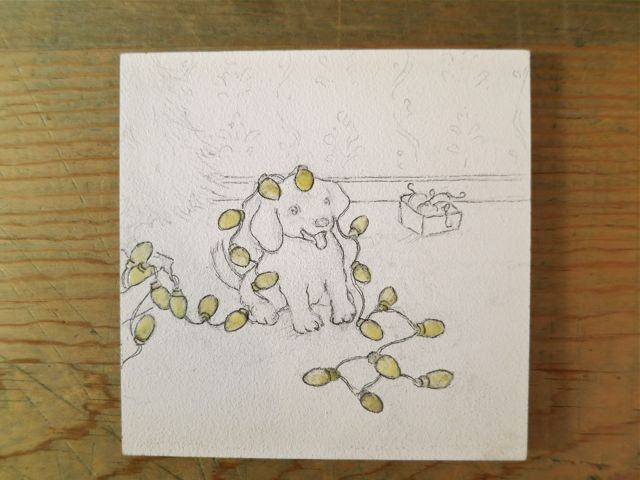
Using a pencil, draw your composition on watercolor paper. Make sure to press lightly as you draw so the lines aren’t too dark to show through your paint.
Once your drawing is complete, apply masking fluid to the bulbs so no background paint seeps into them.
2. Fill the Background
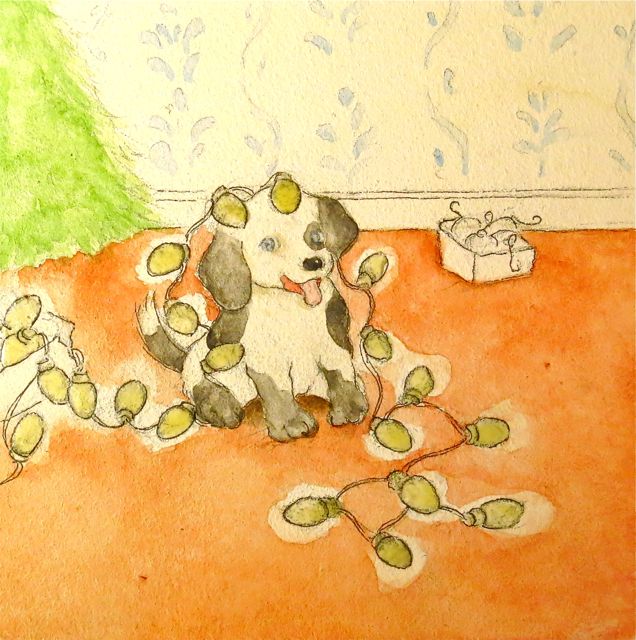
Fill in your background color, trying not to saturate the area around the bulbs. They will be radiating the hue given off by each light bulb.
Pro Tip: If you are unsure that you’ll be able to control wet watercolors as much as you need to, a very light pencil line may help you keep aware of the areas you need to avoid saturating. A masking medium over the whole “glow” area might make too stark of a line to look natural. Just try to blend the color fading to no color around the bulbs.
You’ll be surprised how much the final details of a painting can make up for any imperfections at this stage, so try not to panic if it doesn’t look perfect.
3. Light the Lights
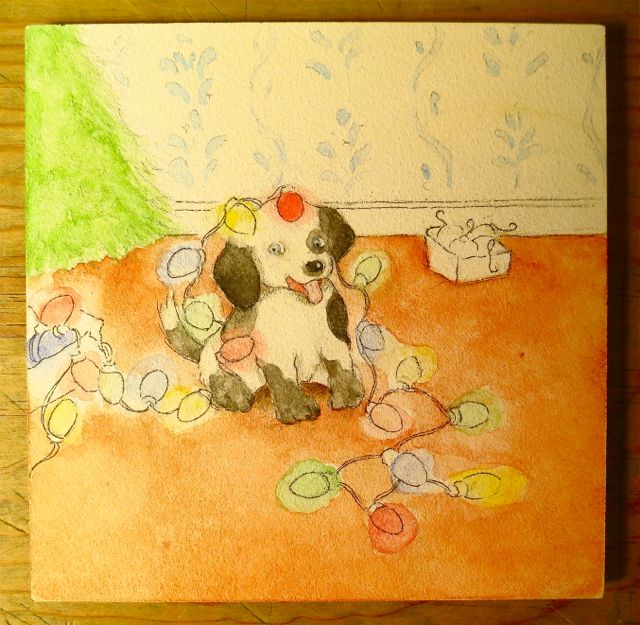
Lay your color hue over and around each bulb. We’re creating an old-fashioned, multi-color string lights, so we made sure we kept a repetition of the order of colors along the string. While doing this, we tried to blend a little of the harder color lines in the background as much as possible.
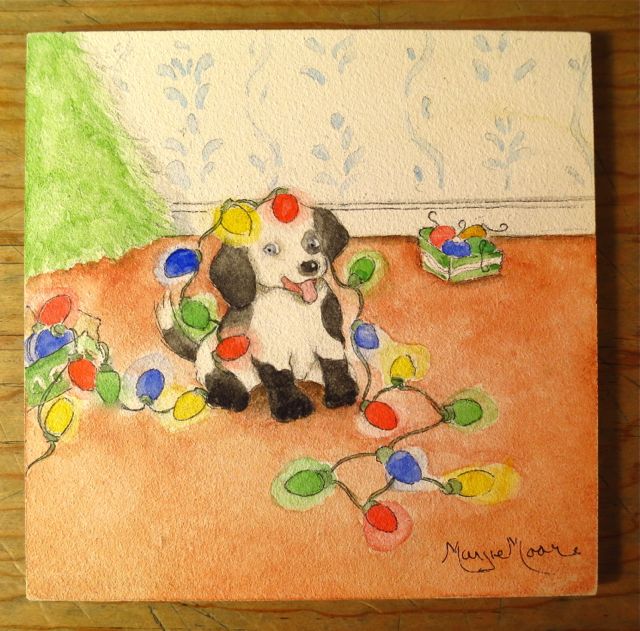
4. Saturate Each Bulb
Finish up the effect by painting each bulb, matching color of the hue in its order on the string. Paint the string itself, too. We used the typical dark green these lights usually come in.
Pro Tip: We didn’t use masking fluid on the actual string the lights are placed on here. Some things work better unmasked. Thin lines that are masked before painting can often have a lot of jagged edges when the medium is removed.
Unless you are painting a very dark background that would obscure small or thin unmasked details beyond redemption, it is cleaner and saves a lot of tidying up after to just color right over them.
As you can see below, the color of the floor did not override the darker green we used on the string. This made it a nice clean finish.
Looking to get started with watercolors? Check out the class Startup Library: Watercolors below!

Brilliant and so easy to follow
Where would I get picture to paint
I can’t wait to paint this!
wonderful!!!