
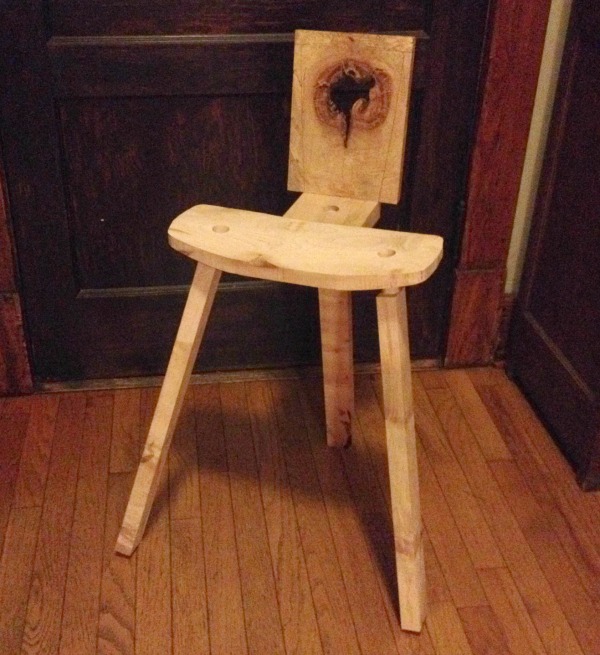
Now that we shaped the seat, the next task for the Tage Frid-inspired stool is making the legs, which contribute so much to the look of this unique piece of furniture. The taper and splay of the legs lead the eye upward, and their oval shape complements the curves of the seat and back, giving the stool a sense of visual and physical lightness. The exposed joinery of the wedged tenons in the seat is a beautiful reminder that this stool was made by hand. Let’s get started on the legs and the wedged tenon joint.
Step 1: Mill the legs
The legs will eventually be oval, so they start as rectangles. Find wood with grain as straight as possible and mill it to 2” by 1 ⅛”. You can plane the legs to final dimension or cut them using the table saw. Either way, cut them all at the same time. Finish this step by cutting the legs square to final length, accounting for the tenon that goes all the way through the seat.
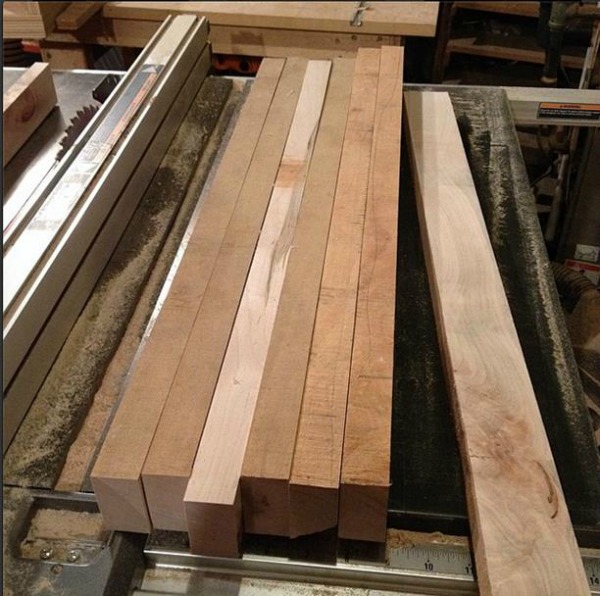 Mill all the legs at the same time to make sure they are exactly the same dimension.
Step 2: Cut square tenons
Tage Frid described using a tenon cutter on his drill press to cut the round tenons for the legs and the stretchers. My drill press table won’t turn vertically so I couldn’t use that technique. Instead, I started by cutting a typical square tenon and then making it round. The shoulders of a tenon are the surfaces that are perpendicular to the tenon. The cheeks of a tenon are the parallel surfaces.
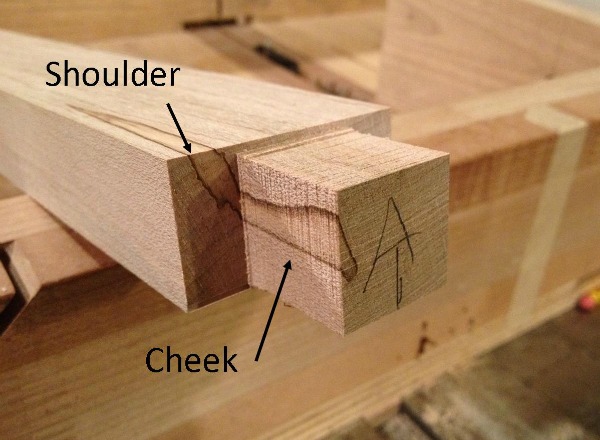 The anatomy of a tenon
Using a dado stack with a crosscut sled, I crept up on the exact blade height, then cut all the shoulders and cheeks on the wide faces of the legs. I followed the same procedure to cut the shoulders and cheeks on the narrow faces.
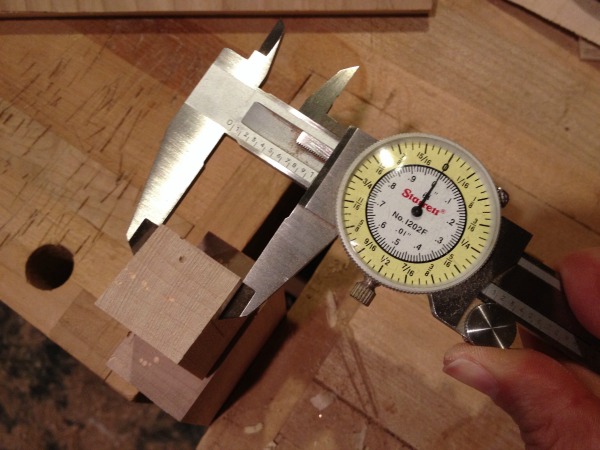 Gradually adjust the blade height and measure each attempt until you are right on the money.
Step 3: Make the squares into circles
Using a square and pencil, make reference lines to find the center of the tenon. Use a compass to draw a circle with a 1” diameter. To remove the material at the corners, use a rip-oriented handsaw to cut the corners at 45 degrees, just to the outside of the circle. Make sure the cut is perpendicular to the shoulder of the tenon. Use a flush cut saw along the shoulder to cut the corners free. With the corners removed, use rasps and sandpaper around a block of wood to round the tenon with the circle as a guide.
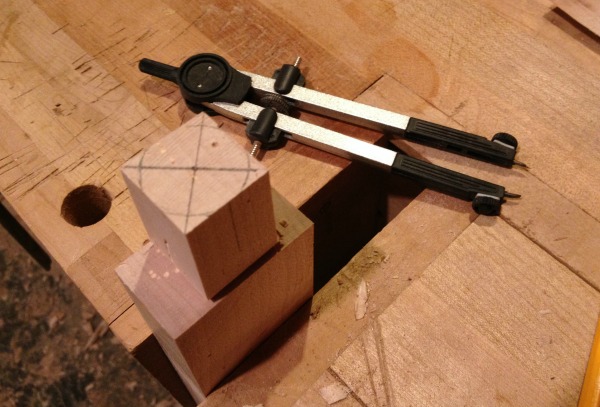 Use a quality compass to draw accurate circles.
How tightly should the tenons fit?
If the tenons are too tight, it will be impossible to assemble the stool. Glue adds a bit of thickness and stickiness, making it difficult to insert the tenons without resorting to hammering. The tenons should be tight enough to maintain the proper splay angle but loose enough to fit in fairly easily. In typical mortise and tenon joints, the tenon should be able to stay in the mortise if you hold it upside down. That’s a bit too tight in my opinion for the legs of a stool because you have to have wiggle room when you attach the stretchers.
A tip on fitting tenons
If you insert the tenons into the holes and they bind, pull them out and examine them. There will be some areas that are smooth and glossy. Those are the places that contact the mortise the most. Sand those spots a little more and you’ll get a good fit.
 Make the tenon round with files and sandpaper.
Step 4: Fit the legs to the seat
When you have rounded the tenons and are satisfied with the fit, insert all three legs into the seat. The legs are still rectangular at this point. For the two front legs, a narrow side should face forward. For the back leg, a wide side faces forward. With a pencil, draw lines for the wedge slot for each tenon. It is critical that the wedges be oriented correctly with the grain of the seat. Otherwise, the seat could split when you hammer in the wedges. (I learned that lesson the hard way!) For the two front legs, draw the lines perpendicular to the grain of the seat. For the back leg, draw the line perpendicular to the grain of the seat extension.
Step 5: Cut slots for the wedges
The tenons on the legs will be inserted into the mortise holes from the bottom and a wedge will be driven in from the top to lock them in place. Using the lines for the wedge slots you drew on top of the tenons, extend the lines perpendicularly down the center of the tenon. With a bandsaw or hand saw, cut down the middle of your lines and stop before you reach the shoulder.
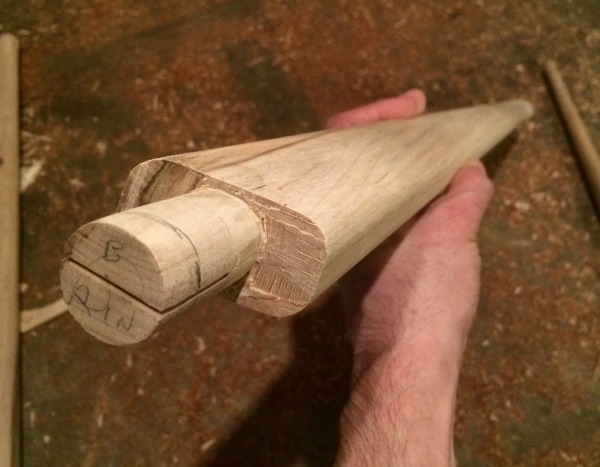 Round tenon with slot for wedge
Next up: Tapering the legs and making them oval
With the tenons cut and inserted into the seat, set the stool on a flat surface, step back and have a look. It’s finally starting to look like a stool! In my next installment, I’ll describe the steps for tapering the legs and making them oval. We will also make the stretchers and cut wedged tenon joints for them as well. With those steps accomplished, we’ll be ready to put it all together. Stay tuned!
Share tips, start a discussion or ask one of our experts or other students a question.
No Responses to “Making a Tage Frid-Style Stool: How to Make a Wedged Tenon Joint in 5 Steps”