
You’re headed out the door to this year’s holiday celebration, and it hits you: Did you remember a present for Aunt Silvia? You know, your brother-in-law’s cousin’s mother twice removed?
Don’t worry, we have a quick and easy jewelry solution for your gift-giving needs!
Here’s a quick wire pendant tutorial for a last minute gift idea.
Materials Needed:
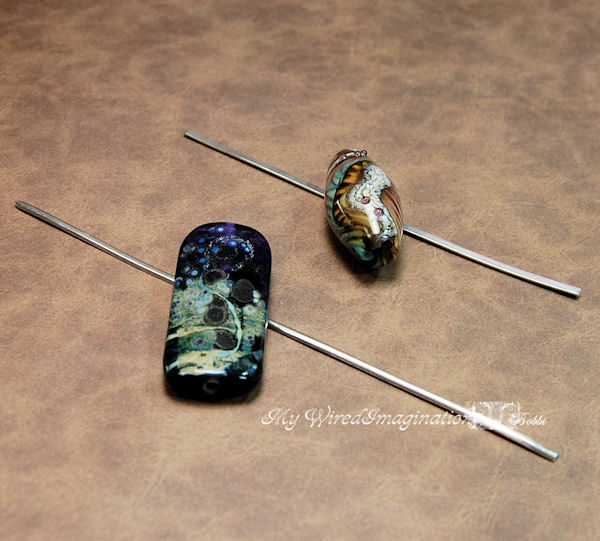
- A decent-sized pendant bead, preferably with a larger hole (Come on, dig through that bead stash! You know you’ve been hoarding a few for “just the right project.”)
- A length of heavy gauge 1/2-round soft wire twice the length of your bead, plus 2 inches. Use the heaviest wire that will fit through your bead when doubled. Round and square will also work in a pinch. For mine, I’m using 12-gauge, 1/2 round wire.
Tools needed:
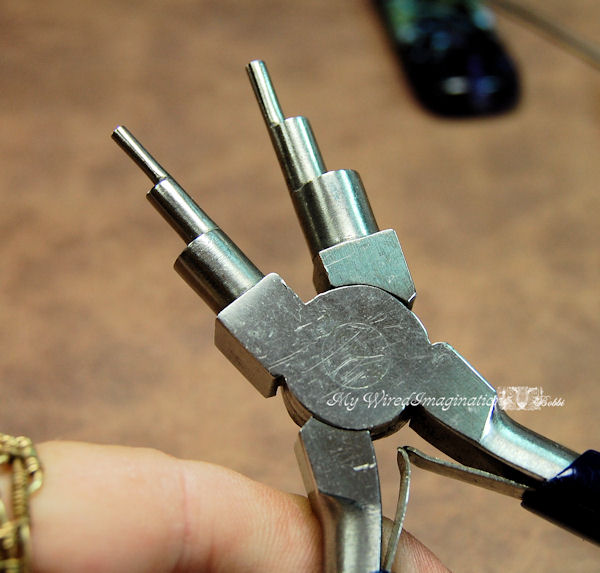
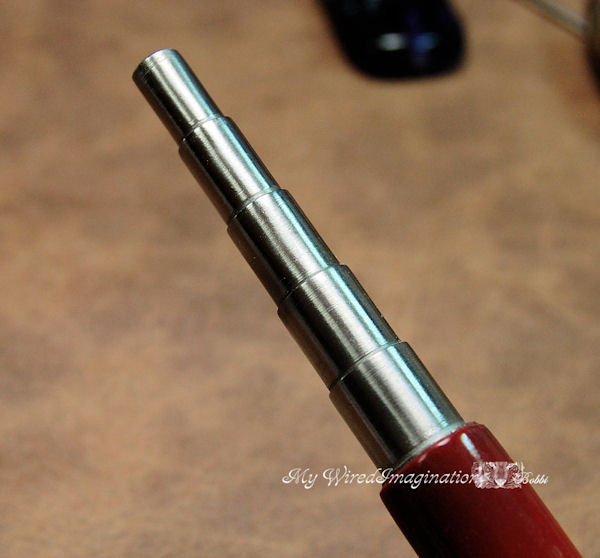
Mandrel to form the loop in the wire. My personal favorite is the stepped round nose pliers with six different step sizes.
You can use a plain stepped mandrel, a wooden dowel or large bail making pliers — whatever you have available — though pliers do work best.
You’ll also need flush cutters, regular round nose pliers and a ruler.
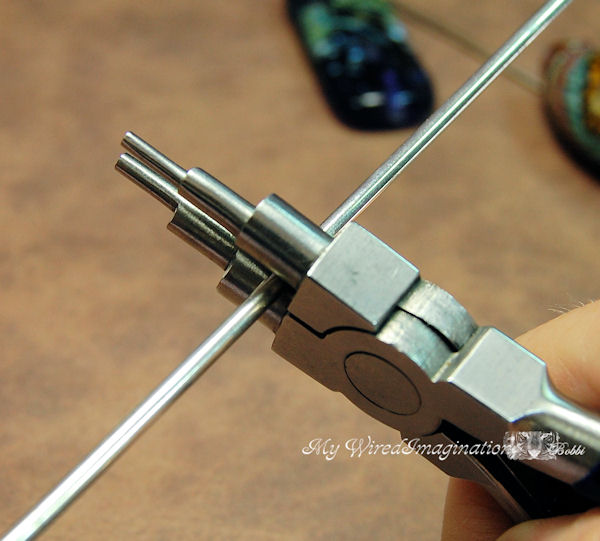
Step 1:
With large round nose or bail pliers, grasp the center of the wire with the flat side of the wire facing away from you.
Step 2:
Place your thumb and index finger on the wire on either side of the pliers, and push straight down, forming a large U shape.
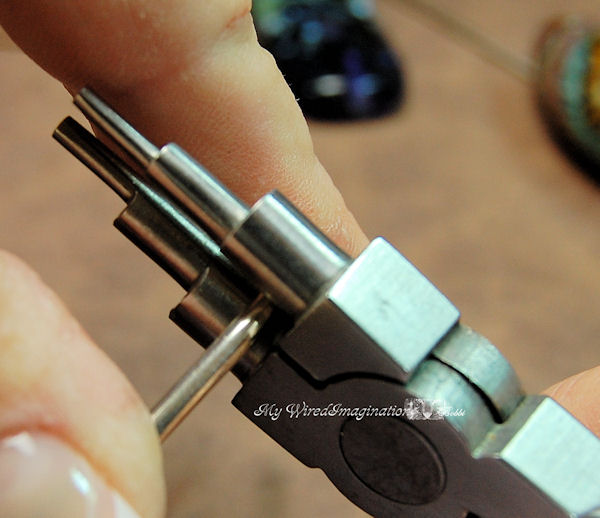
Step 3:
Loosen the pliers a little so the top jaw of the pliers is now on the side of your loop, and turn the pliers down against the wire. Depending on how heavy your wire is, you will need a bit of force.
If you were to slip the wire off the pliers, it should look like this.
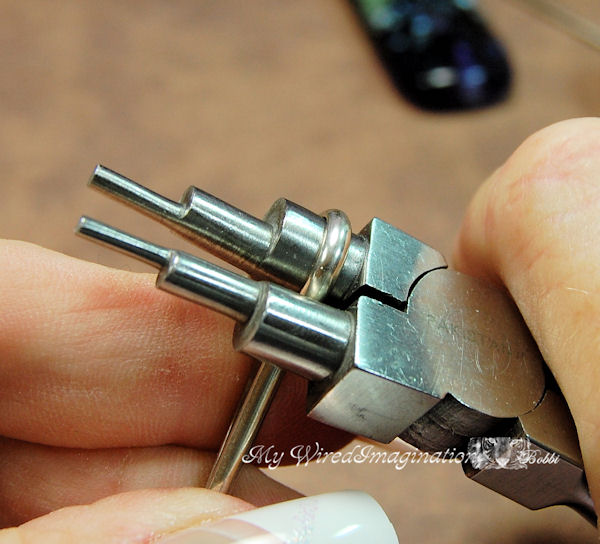
Step 4:
Put the wire back on the pliers, let the top jaw of the pliers slide to the other side of the loop and turn the pliers down against the wire.

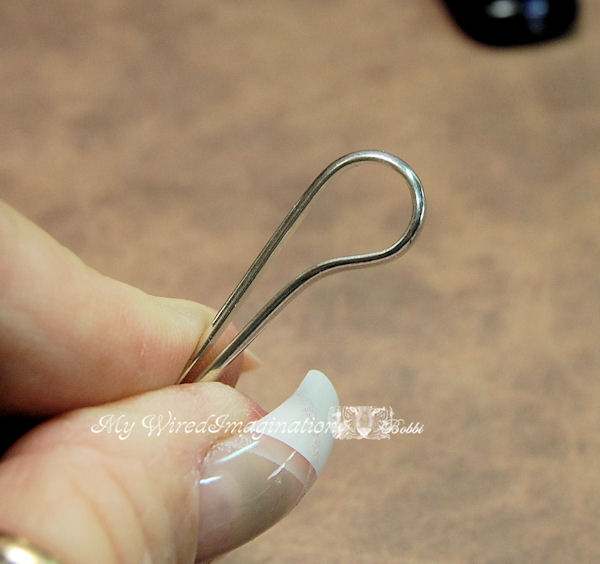
Step 5:
Your loop should look like this. If your wires aren’t as close as mine, use a pair of flat nose pliers to close the gap between the two sides of the loop.
Step 6:
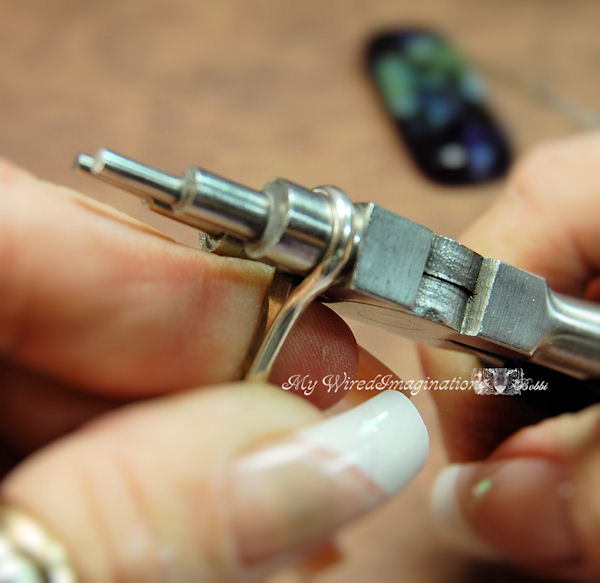
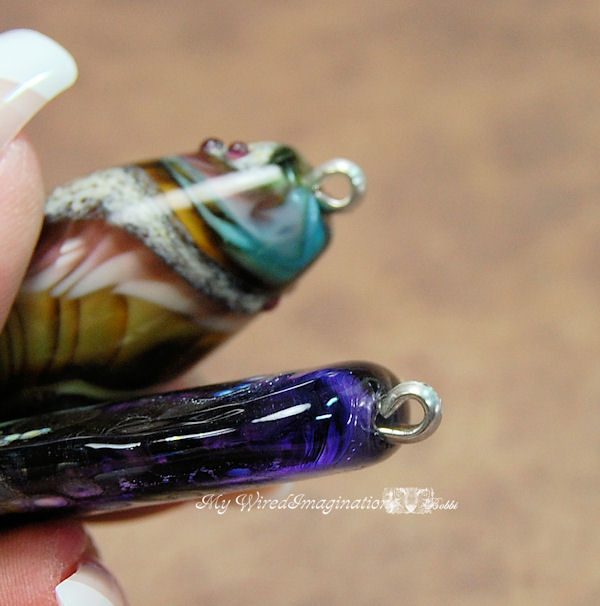
With the wires close together, slide them into your bead as shown.
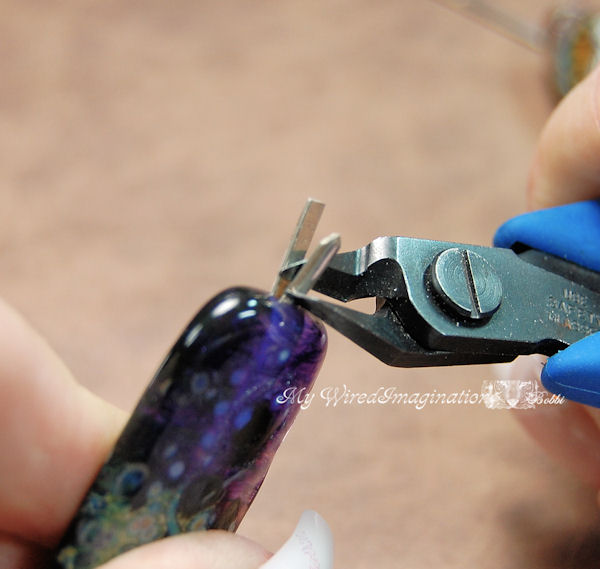
Step 7:
Gently slide your cutters in between the two ends, and trim one of the wires close to the bead.
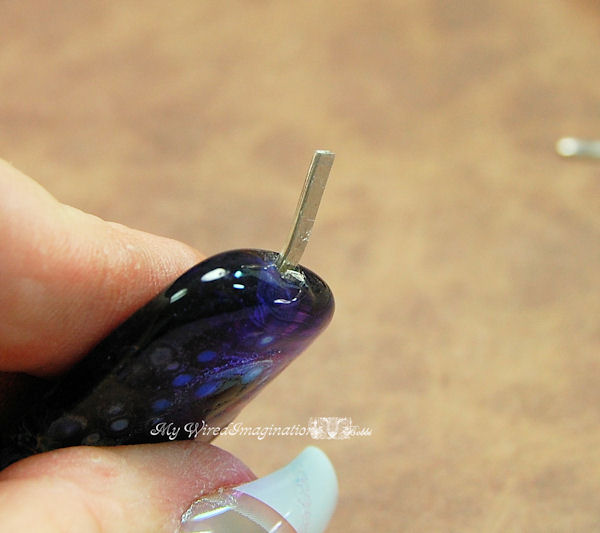
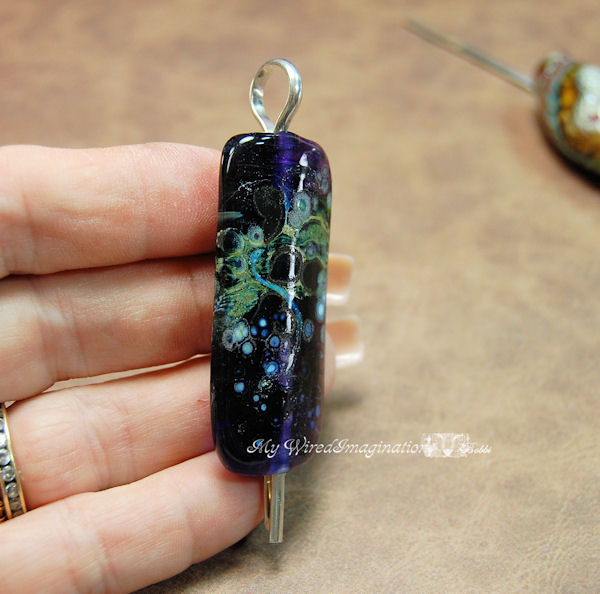
Step 8:
Gently angle the remaining wire away from the center a little.
Step 9:
Use round nose pliers to turn a small loop in the wire. The rounded side of the wire should be facing outward.
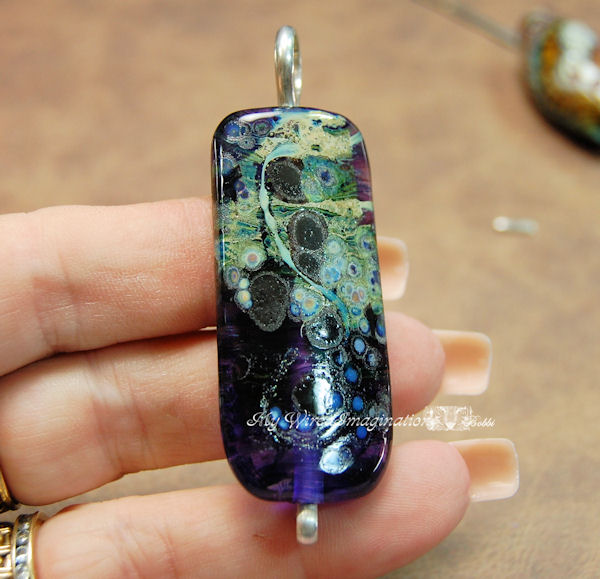
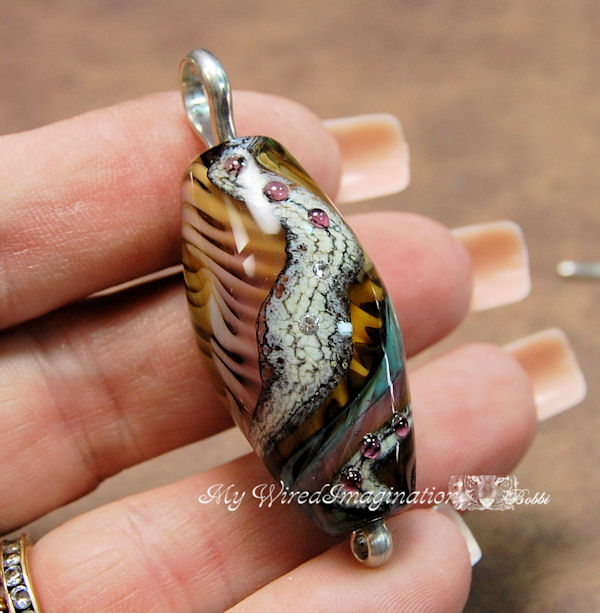
Your pendant is finished! This design allows the bead to swivel, so all sides are visible when worn.
Thank you Leslie IronMountain01 and Lisa TouchofGlassDesigns for the killer focal beads used in this tutorial.
Share tips, start a discussion or ask one of our experts or other students a question.
No Responses to “Last Minute Gift Idea: 10-Minute Wire Pendant Tutorial”