
Shooting will almost magically add unmatched control and precision to your woodworking. What’s more, it is not difficult to set up the tools or to learn the technique.
Only two tools are required
The requirements are a hand plane that you probably already have and a jig that you can easily make in your shop at minimal cost – a shooting board.
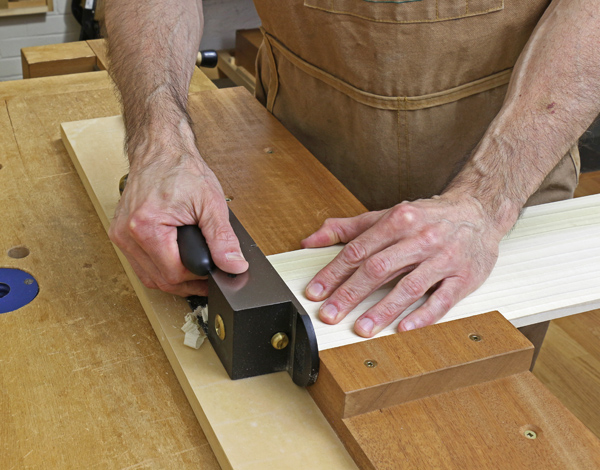
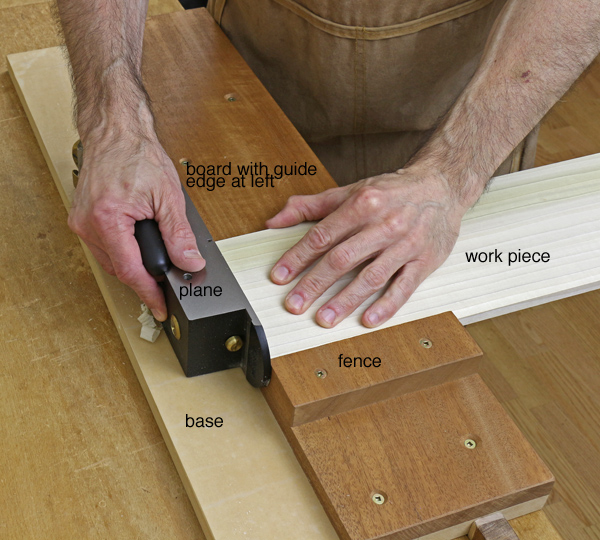
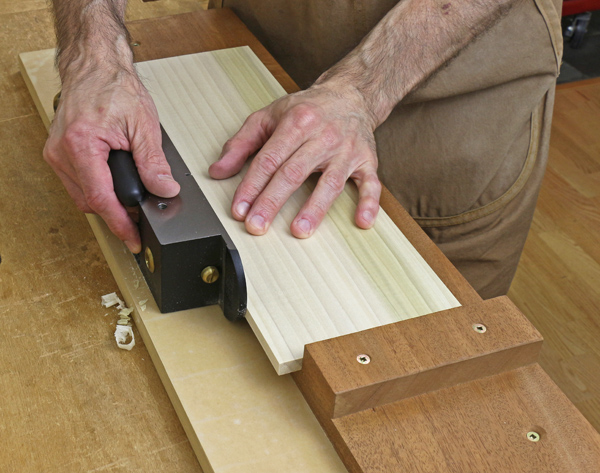
Basically, shooting involves using a plane on its side, taking advantage of the 90-degree angle between the sole and the sidewall. The plane is pushed along the straight edge of a board that guides it as it cuts shavings from the work piece, which is held by hand on the top of that board and against a fence set at a specific angle, usually 90 degrees. The plane rides on the base of the jig.
The photos above and below give an overview of the set up.
The details of what’s going on
Now let’s take a closer look with a schematic elevation diagram that shows the interaction of the plane with the guide edge and the work piece. This will resolve the common confusion about why the plane does not continuously cut away the guide edge of the shooting board.
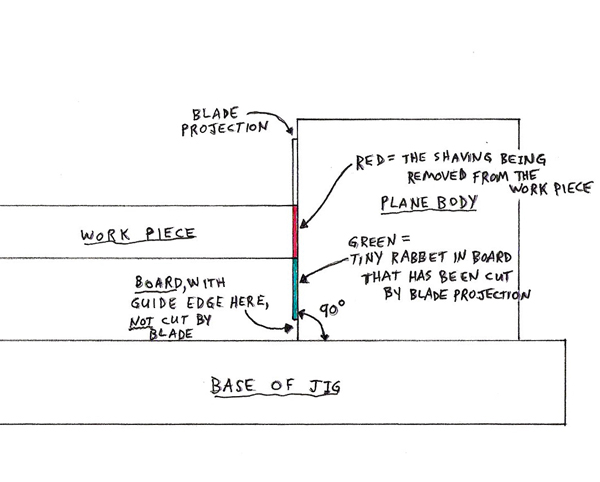

First, note that the cutting edge of the blade does not extend to the outer 3/16″ of the sole of the plane, which therefore does not cut wood. Instead, it rides on the guide edge of the board, never cutting into it.
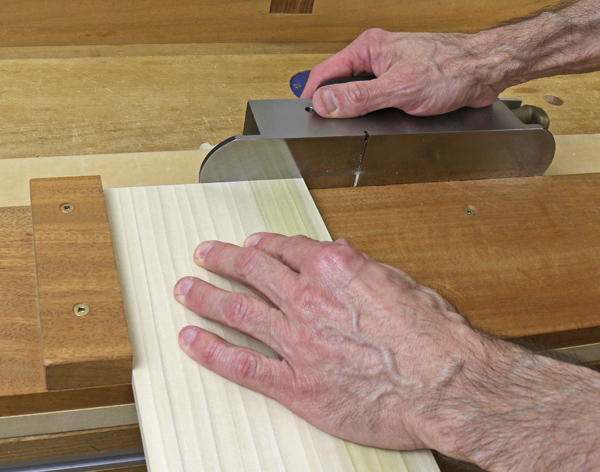
Second, realize that when you “break in” a new shooting board, the depth of cut of the blade actually makes a very shallow rabbet in the guide edge. In use, the work piece projects over the minute depth of this rabbet, making it available to be cut by the blade. After each cut is made, the work piece is simply advanced laterally, by hand, registering it against the toe of the plane (see photo below). The amount of wood thus projected is then cut by advancing the plane.
Then the plane is pulled back, the wood is advanced laterally, and the process repeats. It feels like slicing salami on a machine at a deli.
How the fence works
The other part of shooting magic occurs near the front end of the board where the work piece is held against a fence. This fence is set at 90 degrees to the guide edge, thus ensuring that the plane will cut a 90 degree end on the work piece.
The fence has the added benefit of supporting the wood fibers held against it so the plane does not break away fibers as it would at the end of the stroke if cutting unsupported end grain.
Shooting boards can be constructed with a fence at 90 degrees (as seen here), 45 degrees or any angle to the guide edge to produce the desired angle on the end of the work piece. A bit more elaborately, a “donkey ear” fence can be constructed that is 45 degrees (or any angle) to the surface of the board. In other words, it angles up off the shooting board and is used to trim miters across the width of a work piece.
Here, then, is what is achieved by shooting:
- Phenomenally accurate trimming of the work piece in .001″-.002″ increments.
- The angles to the faces and to the length of the work piece are precisely controlled.
- The resulting surface, since it comes from a sharp plane blade, requires no further smoothing or refinement.
No machine, not even a CNC router, can match that level of precision!
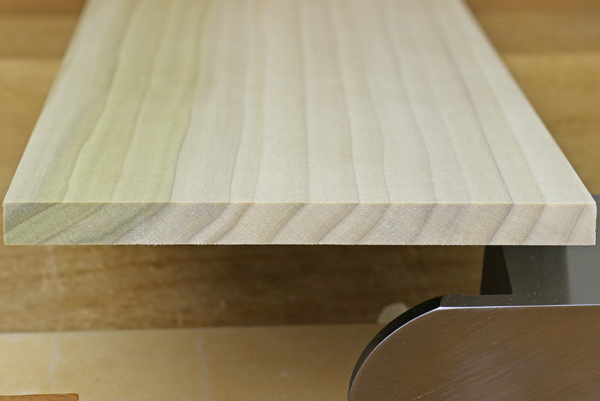
Shooting is commonly thought of regarding end grain trimming, such as for sizing the width of a drawer front to its opening in a carcase. However, it is equally effective for accurately cutting long grain edges of small boards, as in the photo below, to automatically produce a square edge, especially for thin stock, on which it is otherwise quite difficult to plane an accurate square edge. Note that the shooting board fence is employed only as a stop, not as an accuracy registration, in long grain shooting because the plane sole produces a straight edge in its usual manner.
I am surprised as I often encounter woodworkers who are well beyond the novice stage but still have not employed shooting in their work. Virtually every woodworker can benefit from this technique.
Yes, it is simple, but like almost any essentially simple craft technique, there are subtle refinements that can greatly enhance its usefulness. We’ll discuss those tomorrow on the Craftsy blog.
Share tips, start a discussion or ask one of our experts or other students a question.
No Responses to “All About Shooting: A Gateway Woodworking Skill”